This article explains how to set up a CI/CD pipeline in Jenkins using Docker for building and deploying applications.
In this lesson, we will walk through setting up a CI/CD pipeline in Jenkins that leverages Docker for building and deploying applications. The pipeline automates tasks such as checking out code, running tests, building Docker images, and pushing those images to Docker Hub. This guide will help you understand each step of the process, ensuring your builds are traceable and consistent.
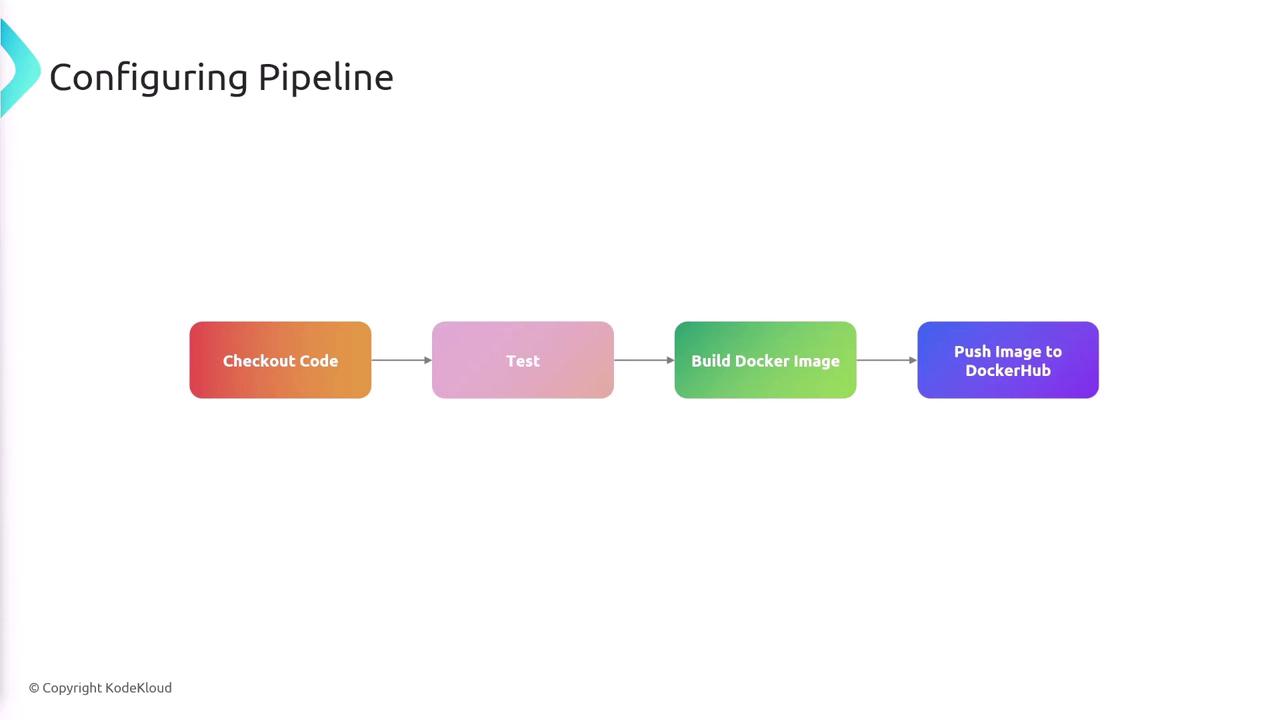
The CI/CD pipeline is structured with the following stages:
Check out the source code.
Run tests and verify code quality.
Build a Docker image.
Push the Docker image to Docker Hub.
Before pushing an image, ensure that Jenkins has the appropriate Docker credentials for authentication. Also, verify that Docker is installed on the Jenkins machine so that it can execute Docker CLI commands.
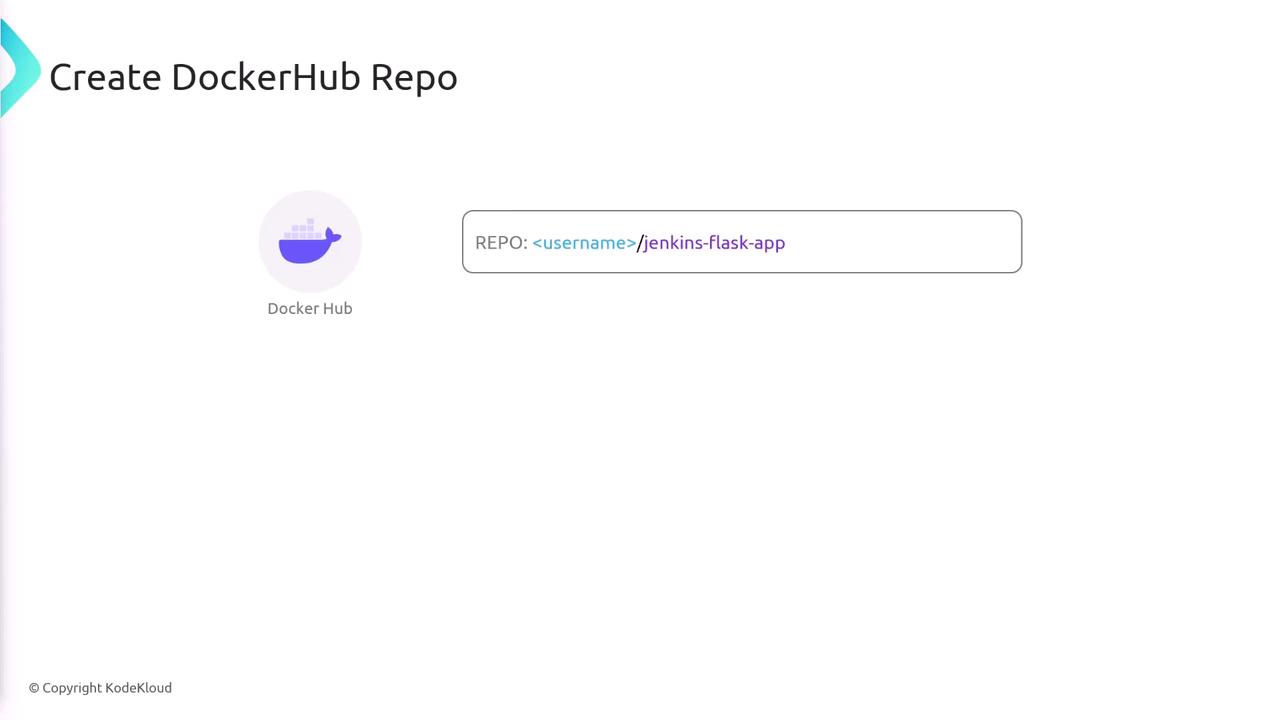
To begin, create a Docker Hub repository. For example, you might name it “jenkins-flask-app” under your Docker Hub username. The repository path should adhere to the following format:
<username>/jenkins-flask-app
When building the Docker image, you should use the format \<username>/<repo-name> along with a tag. In our example, we append the Git SHA (provided as an environment variable in Jenkins) to the image tag, ensuring each image can be correlated with a specific Git commit for easier troubleshooting.
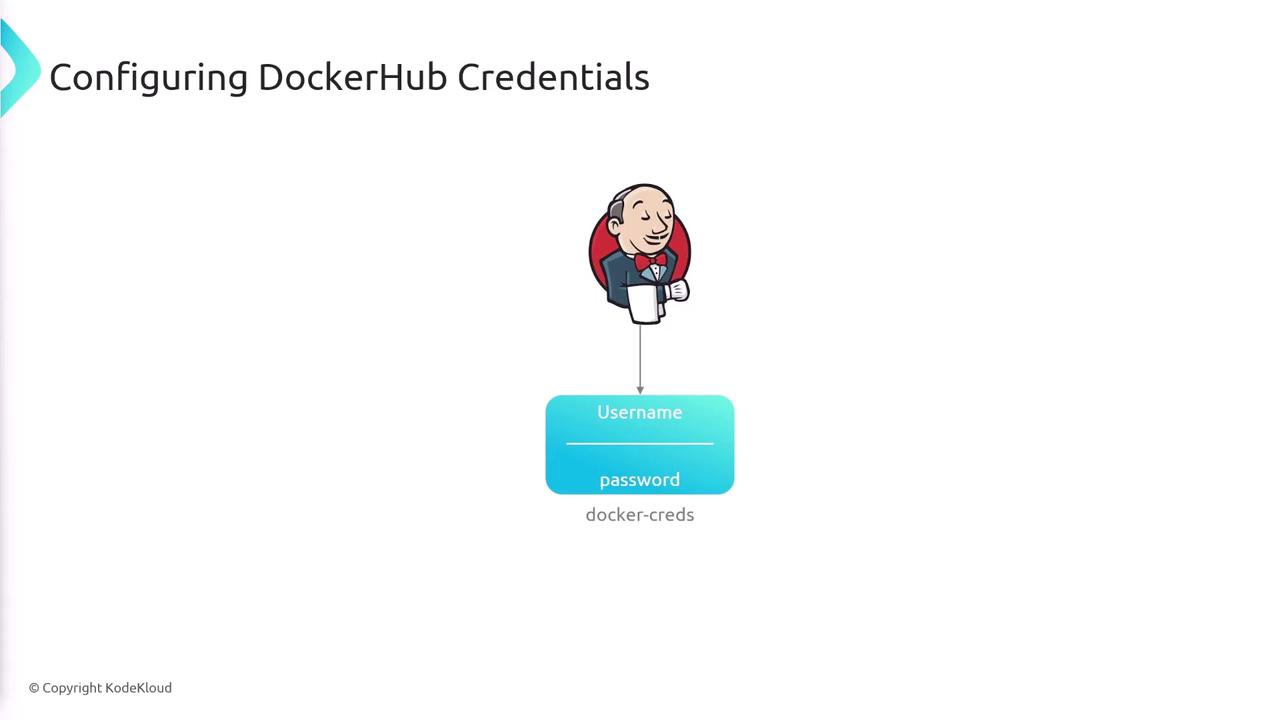
Remember to add Jenkins credentials for Docker access (username and password) so Jenkins can authenticate and push images to Docker Hub securely.
Environment Configuration:
The pipeline sets the IMAGE_NAME and IMAGE_TAG using the Git commit SHA. This ensures that each Docker image can be traced back to its corresponding commit.
Setup Stage:
Installs necessary dependencies as defined in your requirements.txt.
Test Stage:
Executes tests using Pytest to verify code quality before proceeding with the build.
Docker Authentication:
Uses a secure method to log in to Docker Hub. The credentials stored in Jenkins are injected and passed to the Docker CLI, ensuring they are not exposed in logs or command history.
Build and Push Stages:
The Docker image is built using the specified tag and subsequently pushed to Docker Hub, making it ready for deployment.
This automated pipeline integrates manual Docker build and push steps into your CI/CD process in Jenkins. By associating every build with a specific Git commit, this configuration enhances traceability and simplifies troubleshooting.For more information on setting up CI/CD with Jenkins and Docker, check out Jenkins Documentation and Docker Documentation.This concludes the configuration for integrating Jenkins with Docker in your CI/CD workflow.