Jenkins Project: Building CI/CD Pipeline for Scalable Web Applications

Jenkins

Unit testing with pytest

In this guide, we demonstrate how to set up a Jenkins Pipeline to run automated tests on a Flask application using Pytest. Follow the step-by-step instructions below to integrate your Flask project with Jenkins and ensure your code remains robust with continuous testing.

Setting Up the Jenkins Pipeline

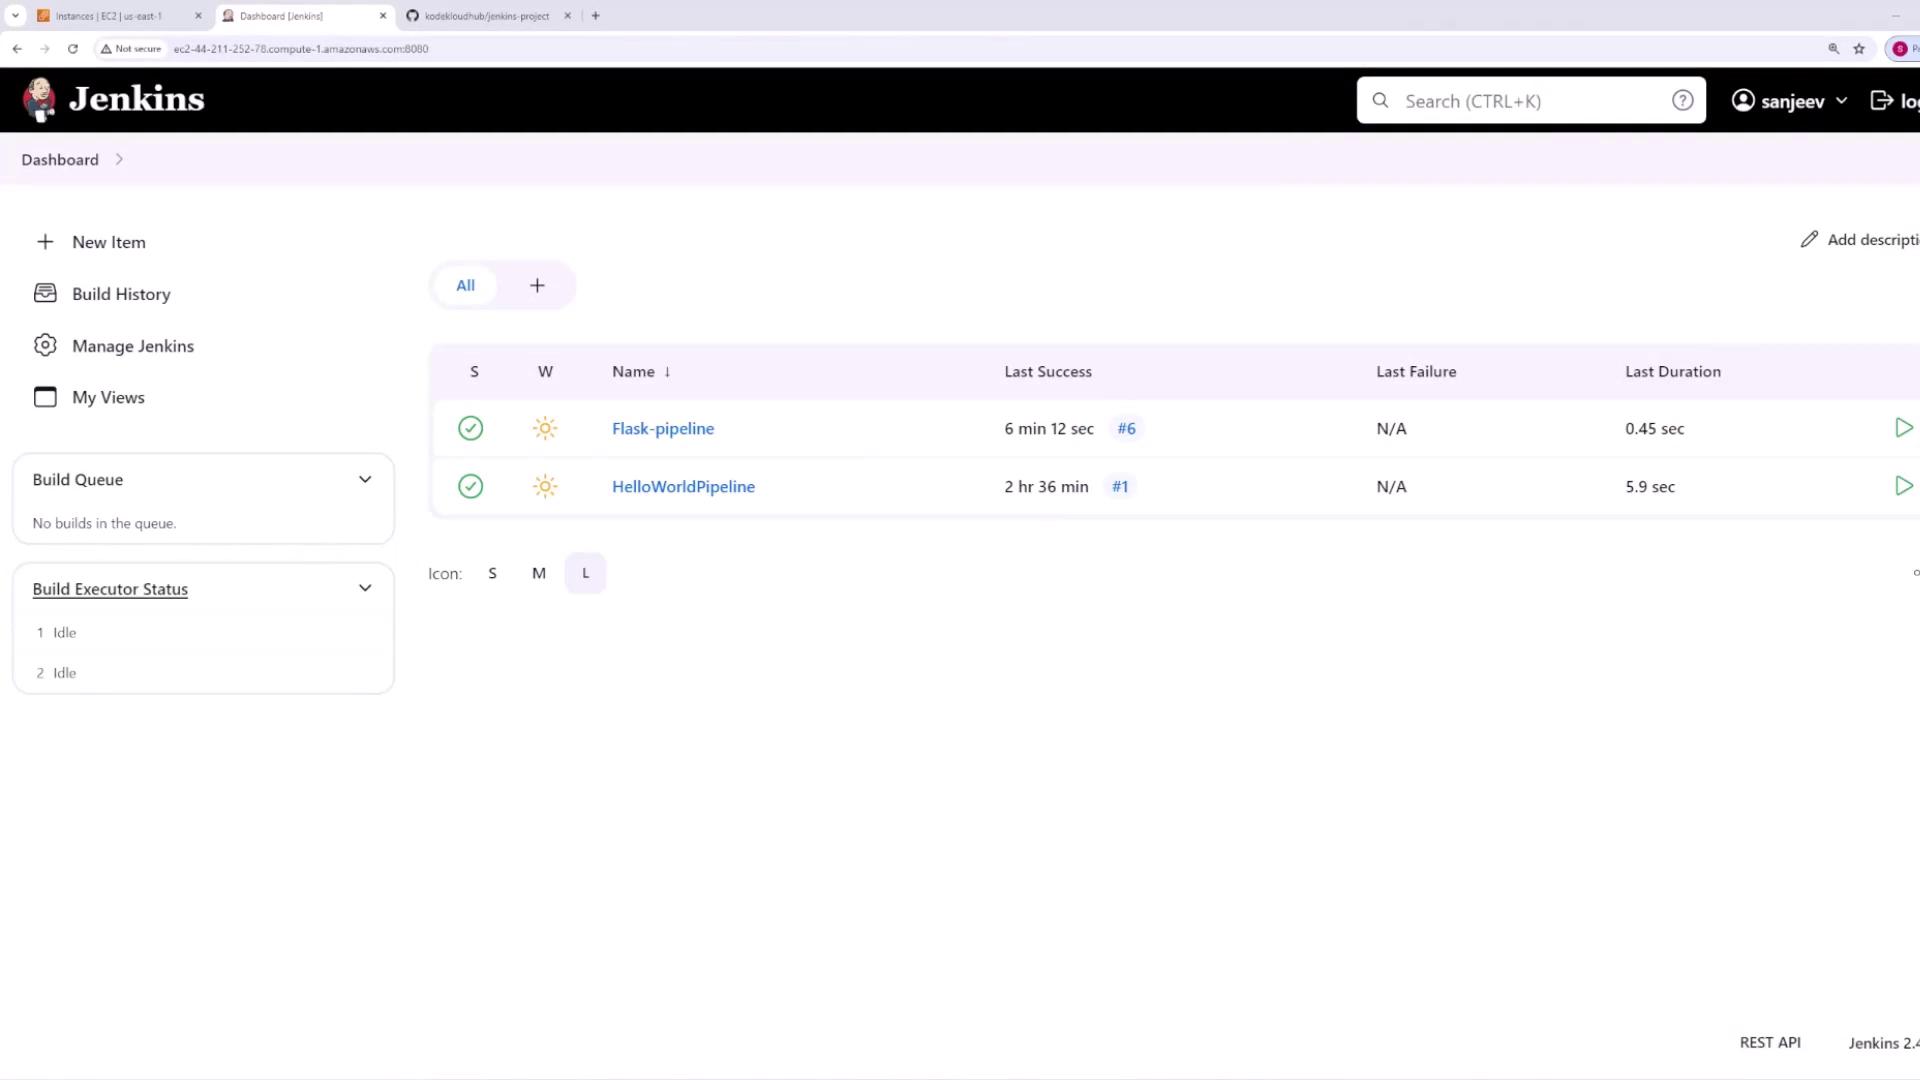
Begin by creating a new pipeline in Jenkins for your Flask project:
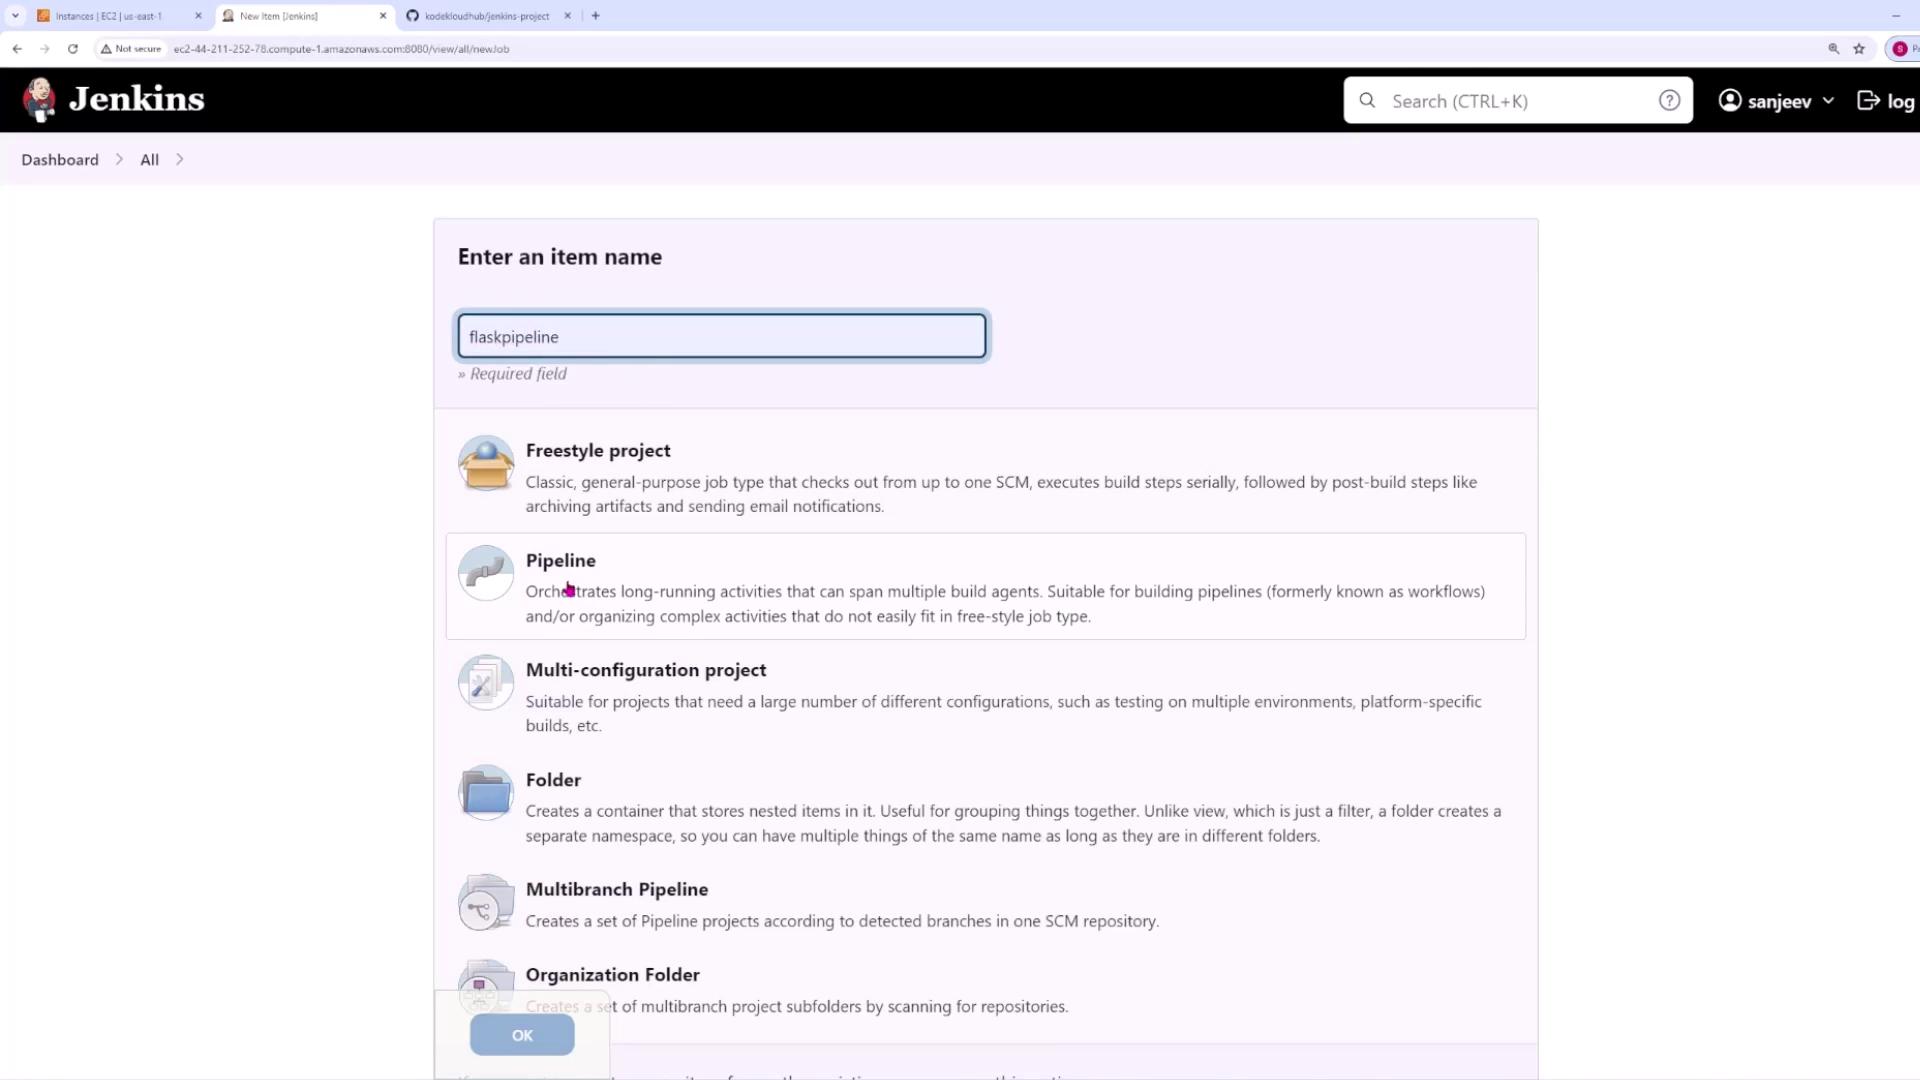
  1. In Jenkins, create a new item, name it "Flask Pipeline," and select Pipeline as the project type.

    The image shows a Jenkins dashboard with two pipeline projects listed: "Flask-pipeline" and "HelloWorldPipeline," displaying their last success times and durations. The build queue and executor status are also visible, indicating no builds in the queue and two idle executors.

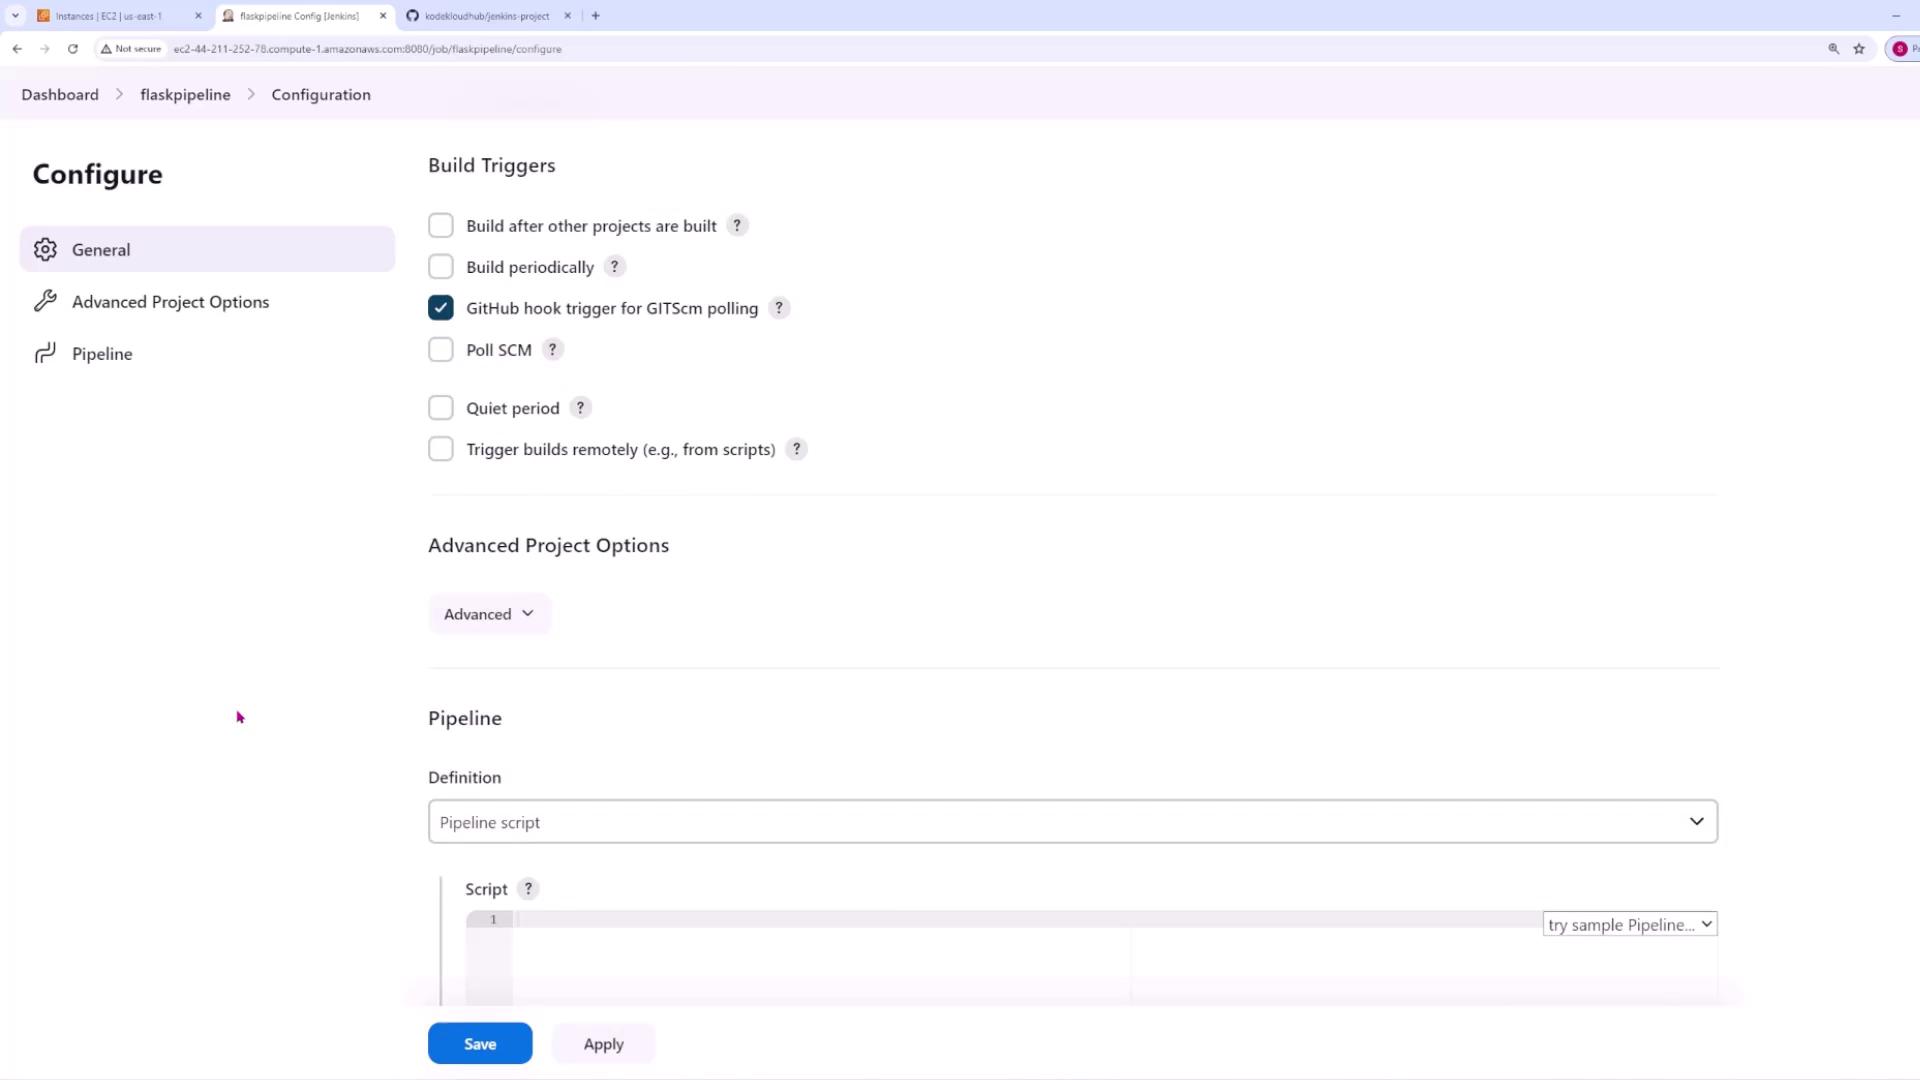
  2. Configure the build trigger to use the GitHub hook trigger for Git SCM polling.

    The image shows a Jenkins interface where a user is creating a new item named "flaskpipeline." Various project types like Freestyle project, Pipeline, and Multi-configuration project are listed as options.

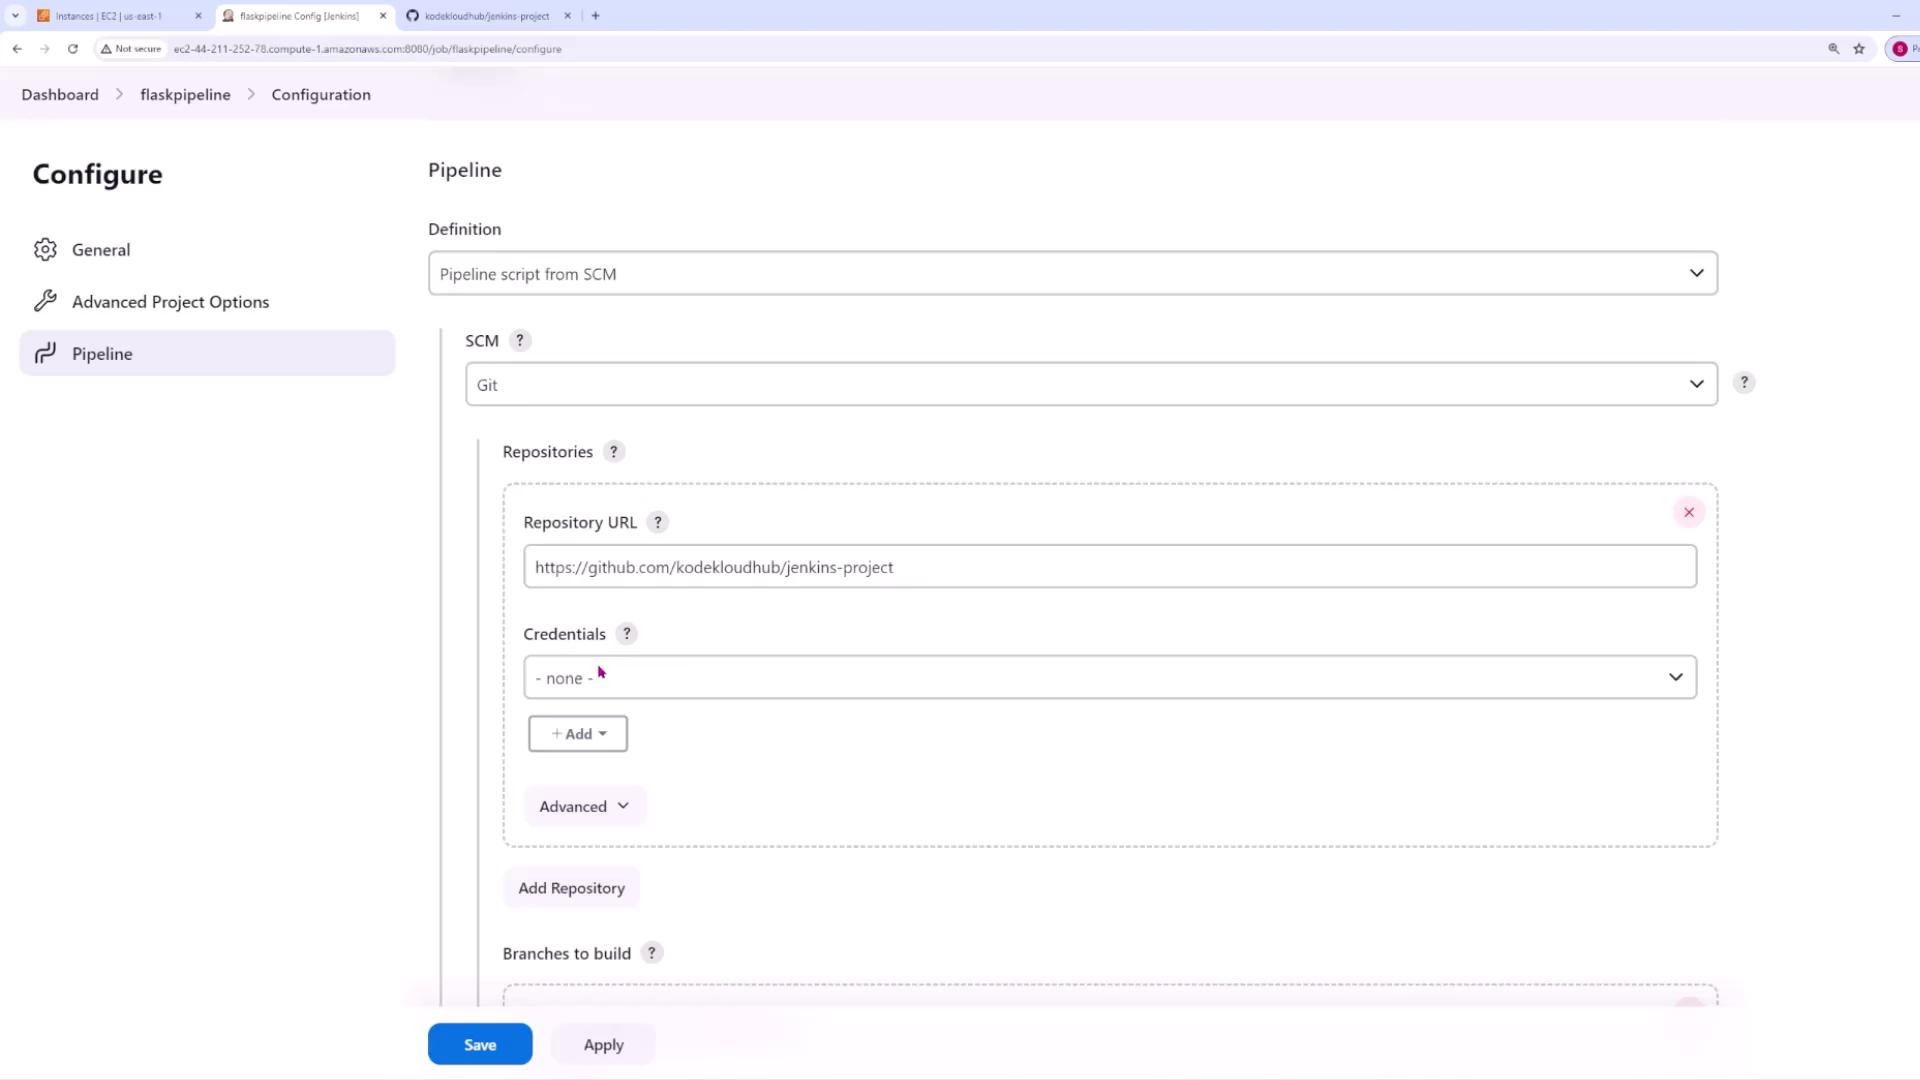
  3. For the pipeline configuration, use a Jenkinsfile stored in the application's Git repository instead of defining the script directly in Jenkins. This way, Jenkins fetches its instructions from your GitHub repo.

    The image shows a Jenkins configuration page for a project named "flaskpipeline," with options for build triggers and pipeline script settings.

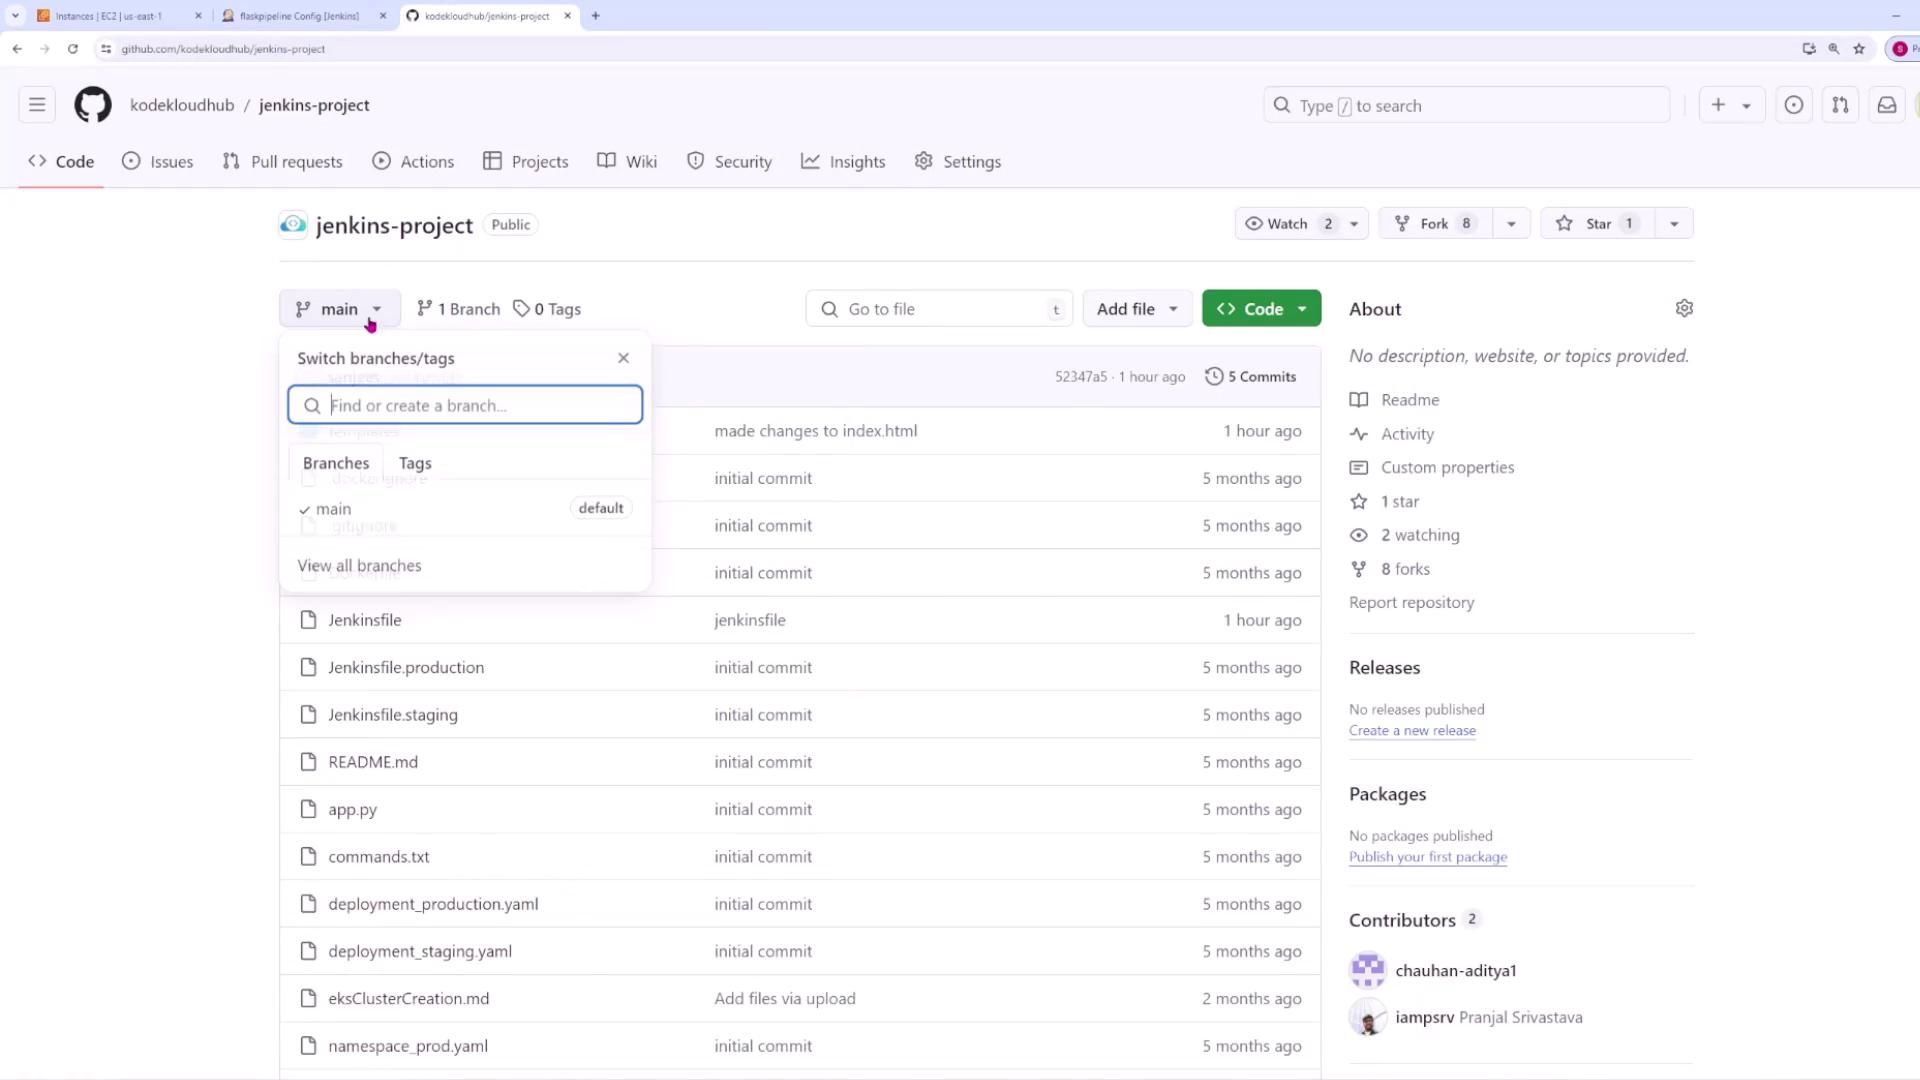
  4. Select Pipeline script from SCM, choose Git, and enter the URL of your Git repository. If your repository is private, be sure to provide the appropriate credentials.

    The image shows a Jenkins configuration page for setting up a pipeline with a Git repository URL and credential options. The interface includes options to save or apply the configuration.

  5. Specify the branch to build as "main" (or your designated branch) if your repository contains only that branch.

    The image shows a GitHub repository page for a project named "jenkins-project" by "kodekloudhub," displaying a list of files and a branch selection dropdown. The repository has one branch, several commits, and contributors listed on the right.

  6. By default, Jenkins will look for a file named Jenkinsfile in the repository's root directory. If your file is located elsewhere or under a different name, provide the full path accordingly. In our case, the Jenkinsfile is in the root directory.

Exploring the Application Files

Our project is a straightforward Python Flask application. Below is an overview of the key files:

Main Application Code: app.py

from flask import Flask, render_template, request

app = Flask(__name__)

# A dictionary to store tasks with an ID
tasks = {}
task_id_counter = 1

@app.route('/', methods=['GET', 'POST'])
def index():
    global task_id_counter
    response_text = ""

    if request.method == 'POST':
        if 'add_task' in request.form:
            task_content = request.form.get('task_content')
            if task_content:
                tasks[task_id_counter] = task_content
                task_id_counter += 1
        elif 'delete_task' in request.form:
            task_id_to_delete = int(request.form.get('task_id_to_delete'))
            tasks.pop(task_id_to_delete, None)

    return render_template('index.html', tasks=tasks)

Unit Tests: test_app.py

This file sets up the automated unit tests using Pytest.

import pytest
from app import app as flask_app, tasks

@pytest.fixture
def app():
    yield flask_app

@pytest.fixture
def client(app):
    return app.test_client()

def test_index(app, client):
    response = client.get('/')
    assert response.status_code == 200

def test_add_task(client):
    # Adjust 'task_content' as needed based on your form data
    response = client.post('/', data={'task_content': 'New Task', 'add_task': True})
    assert response.status_code == 200
    assert 'New Task' in tasks.values()

def test_delete_task(client):
    # First, add a task
    client.post('/', data={'task_content': 'Task to Delete', 'add_task': True})
    task_id_to_delete = list(tasks.keys())[0]
    response = client.post('/', data={'task_id_to_delete': task_id_to_delete, 'delete_task': True})
    assert response.status_code == 200
    assert task_id_to_delete not in tasks

Dependency File: requirements.txt

This file lists the external dependencies needed to run the Flask application:

blinker==1.7.0
cachetools==5.3.2
certifi==2023.11.17
charset-normalizer==3.3.2
click==8.1.7
colorama==0.4.6
exceptiongroup==1.2.0
Flask==3.0.1
google-ai-generativelanguage==0.4.0
google-api-core==2.15.0
google-auth==2.26.2
google-generativeai==0.3.2
googleapis-common-protos==1.62.0
grpcio==1.60.0
grpcio-status==1.60.0
idna==3.6
iniconfig==2.0.0
itsdangerous==2.1.2
Jinja2==3.1.3
MarkupSafe==2.1.4
packaging==23.2
pluggy==1.3.0
proto-plus==1.23.0
protobuf==4.25.1
pysn1==0.5.1
pysn1-modules==0.3.0
pytest==7.4.4

Use the command below to install the required packages:

pip install -r requirements.txt

HTML Template: index.html

The user interface for the Flask application is defined in the templates/index.html file. Here is an excerpt including the relevant styling:

<html>
<head>
<style>
input[type="submit"]:hover {
  background-color: #45a049;
}
ul {
  list-style-type: none;
  padding: 0;
}
li {
  background-color: #fff;
  margin-bottom: 8px;
  padding: 12px;
  border: 1px solid #ddd;
  border-radius: 4px;
}
.task-item {
  display: flex;
  justify-content: space-between;
  align-items: center;
}
.task-text {
  margin: 0;
}
</style>
</head>
<body>
    <!-- The rest of the HTML content -->
</body>
</html>

Note

Ensure that all files are correctly committed to your repository before triggering the Jenkins pipeline.

Configuring the Jenkins Pipeline with a Jenkinsfile

Below is the initial version of the Jenkinsfile that sets up the stages of the pipeline:

pipeline {
    agent any
    stages {
        stage('Checkout') {
            steps {
                git url: 'https://github.com/kodekloudhub/jenkins-project.git', branch: 'main'
                sh "ls -ltr"
            }
        }
        stage('Setup') {
            steps {
                sh "pip install -r requirements.txt"
            }
        }
        stage('Test') {
            steps {
                sh "pytest"
            }
        }
    }
}

This configuration consists of:

  • Checkout Stage: Retrieves the source code from Git and lists the files.
  • Setup Stage: Installs dependencies as specified in requirements.txt.
  • Test Stage: Executes the tests using Pytest.

After verifying that everything works locally with the tests in test_app.py, commit your changes and push them to your repository using:

git add .
git commit -m "initial commit"
git push origin main

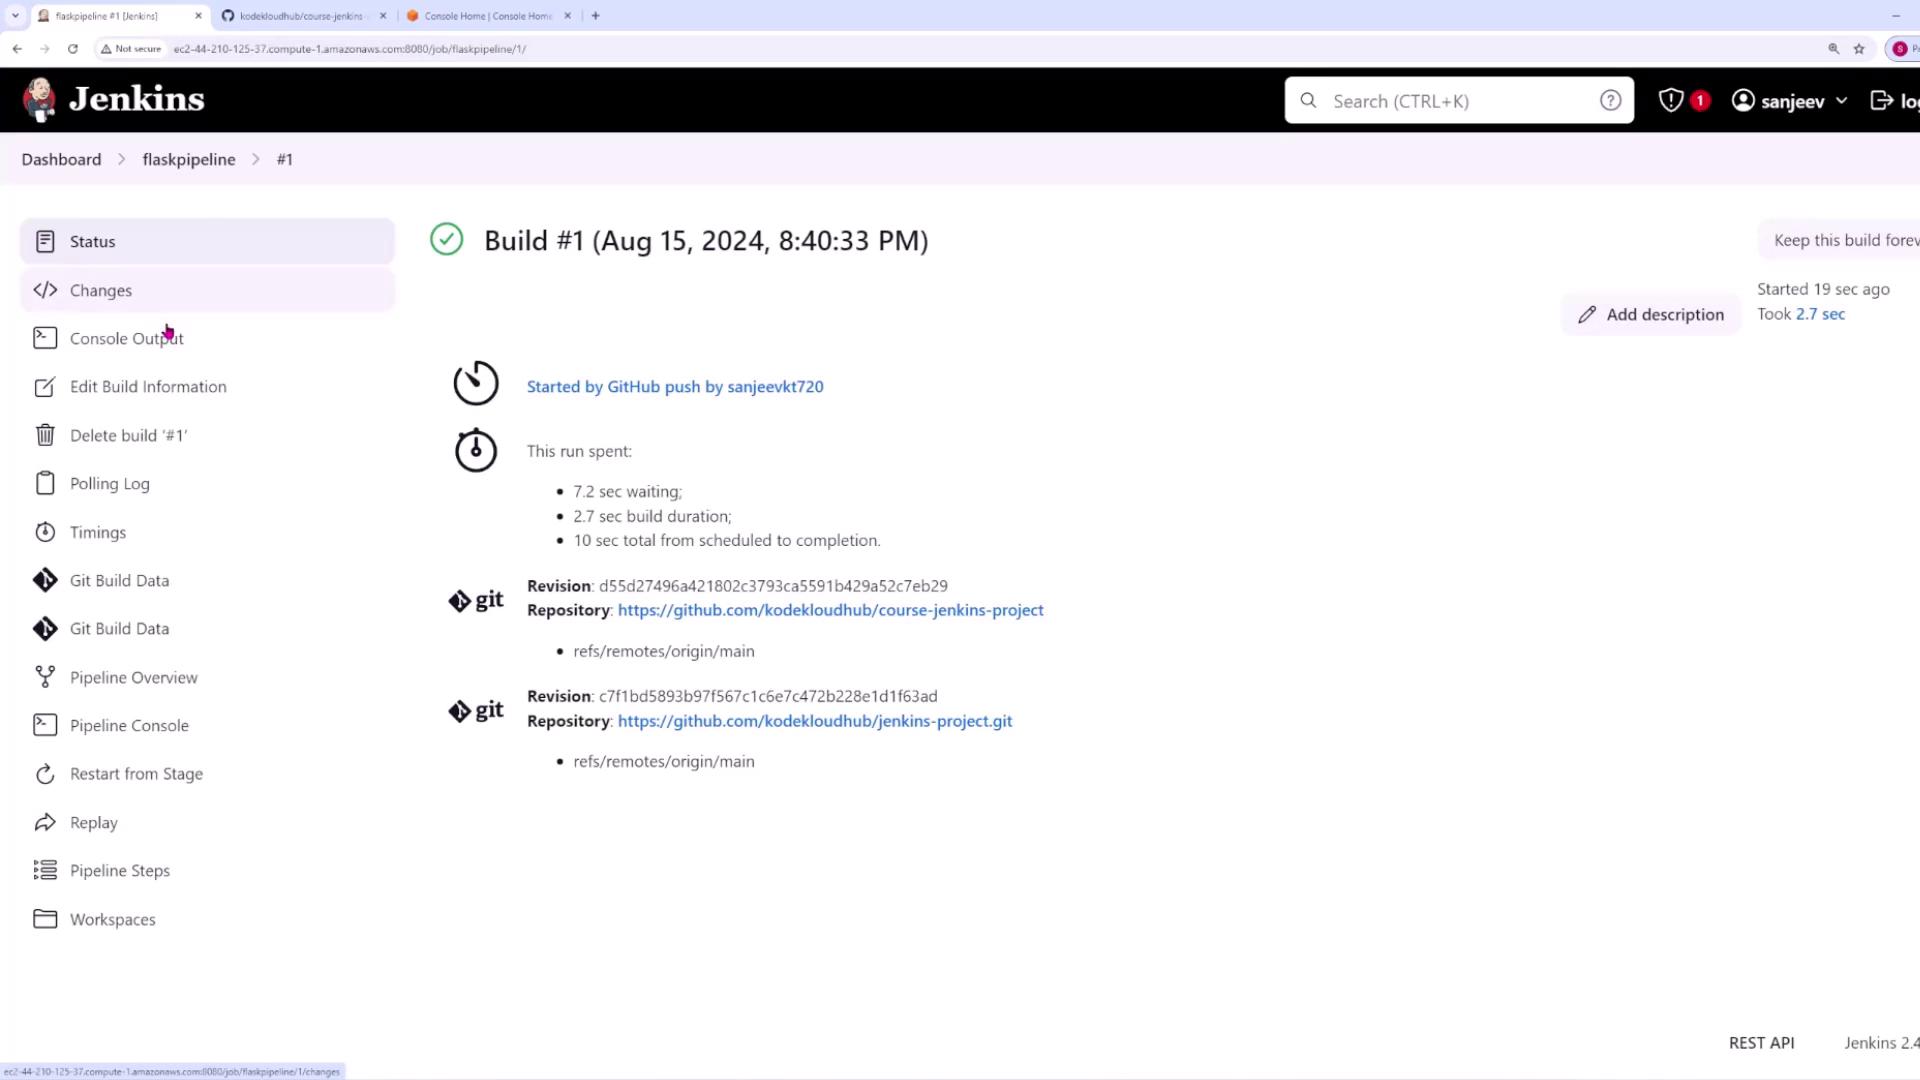
Jenkins will pull the code, read the Jenkinsfile, and execute the defined steps. Click on a running build in Jenkins to view the console output, which shows details such as the checkout process, dependency installation, and test results.

The image shows a Jenkins build interface for "flaskpipeline," displaying build details such as start time, duration, and GitHub repository information.

The console output will confirm the following sequence:

  1. The source code is checked out (twice if the default checkout is not skipped).
  2. The file list is printed using ls -ltr.
  3. Dependencies are installed from requirements.txt.
  4. Pytest runs and confirms that all tests pass.

Optimizing the Pipeline: Skipping the Default Checkout

To avoid the redundant default checkout, update your Jenkinsfile with the skipDefaultCheckout() option:

pipeline {
    agent any
    options { skipDefaultCheckout() }
    stages {
        stage('Checkout') {
            steps {
                git url: 'https://github.com/kodekloudhub/jenkins-project.git', branch: 'main'
                sh 'ls -ltr'
            }
        }
        stage('Setup') {
            steps {
                sh 'pip install -r requirements.txt'
            }
        }
        stage('Test') {
            steps {
                sh 'pytest'
            }
        }
    }
}

This adjustment ensures that Jenkins performs only a single checkout, executing the steps as defined in the "Checkout" stage.

After committing and pushing these changes, your pipeline will run with the optimized configuration. Below is an excerpt of the test output:

+ pytest
============================= test session starts ==============================
platform linux -- Python 3.9.16, pytest-7.4.4, pluggy-1.3.0
rootdir: /var/lib/jenkins/workspace/flaskpipeline
collected 3 items

test_app.py ...  [100%]

============================= 3 passed in 0.14s ==============================

This output confirms that the tests have passed and the pipeline is executing as expected.

Quick Tip

Integrating continuous testing within your CI/CD pipeline ensures that issues are identified early, making maintenance and scaling more efficient.

Conclusion

By following this approach, you can seamlessly integrate a Flask application with Jenkins to perform automated unit tests using Pytest. This pipeline configuration supports continuous integration and assists in maintaining code quality throughout the development lifecycle.

For more details on continuous integration with Jenkins, visit the Jenkins Documentation.
Further reading and additional materials can be found in links below:

Happy coding and testing!

Watch Video

Watch video content

Practice Lab

Practice lab

Previous
Integrating with Git