This article explains how to integrate Git with Jenkins for automated builds using a Flask application.
In this lesson, we demonstrate how to integrate Git with Jenkins using a simple Flask application. The goal is to trigger builds automatically whenever changes are pushed to the Git repository.
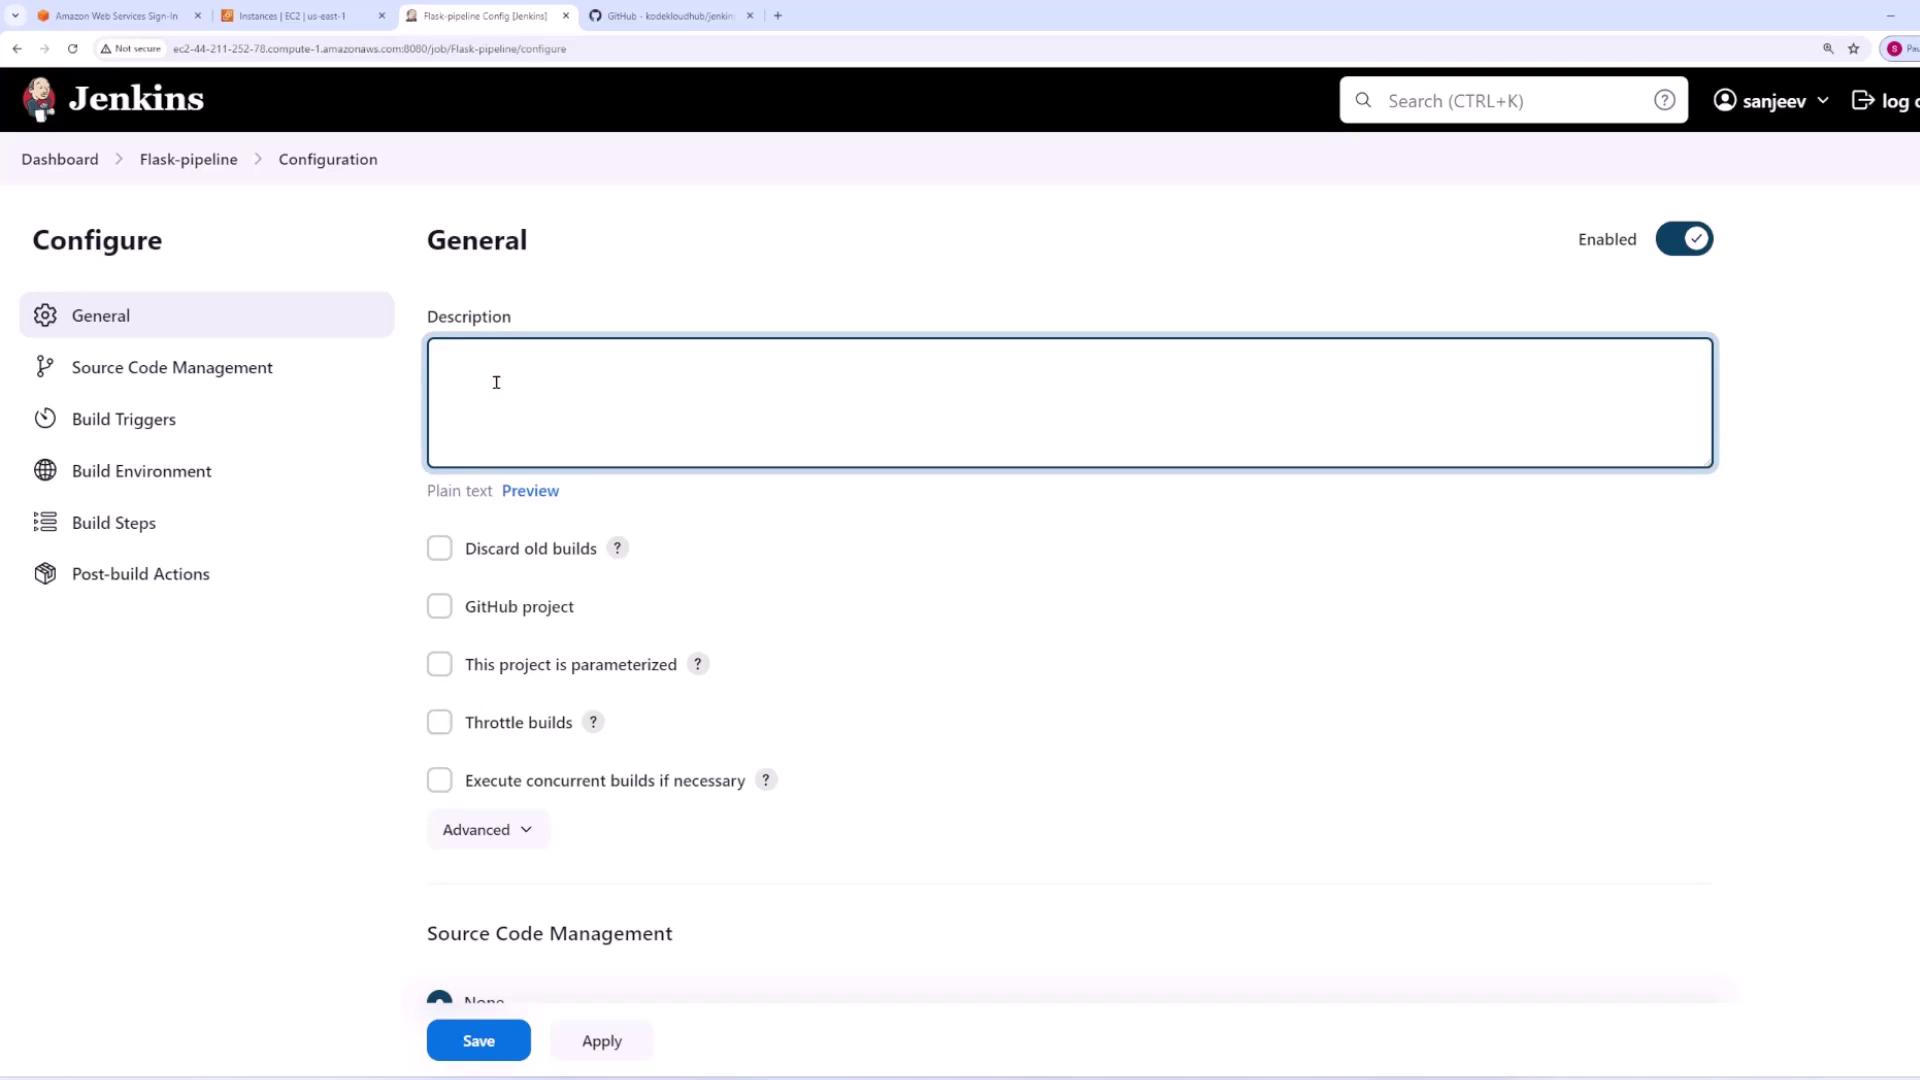
Scroll down to the Build Triggers section and select GitHub hook trigger for Git SCM polling. This enables GitHub to send a webhook notification to the Jenkins server whenever changes are pushed.
Configure GitHub to notify Jenkins when changes occur:
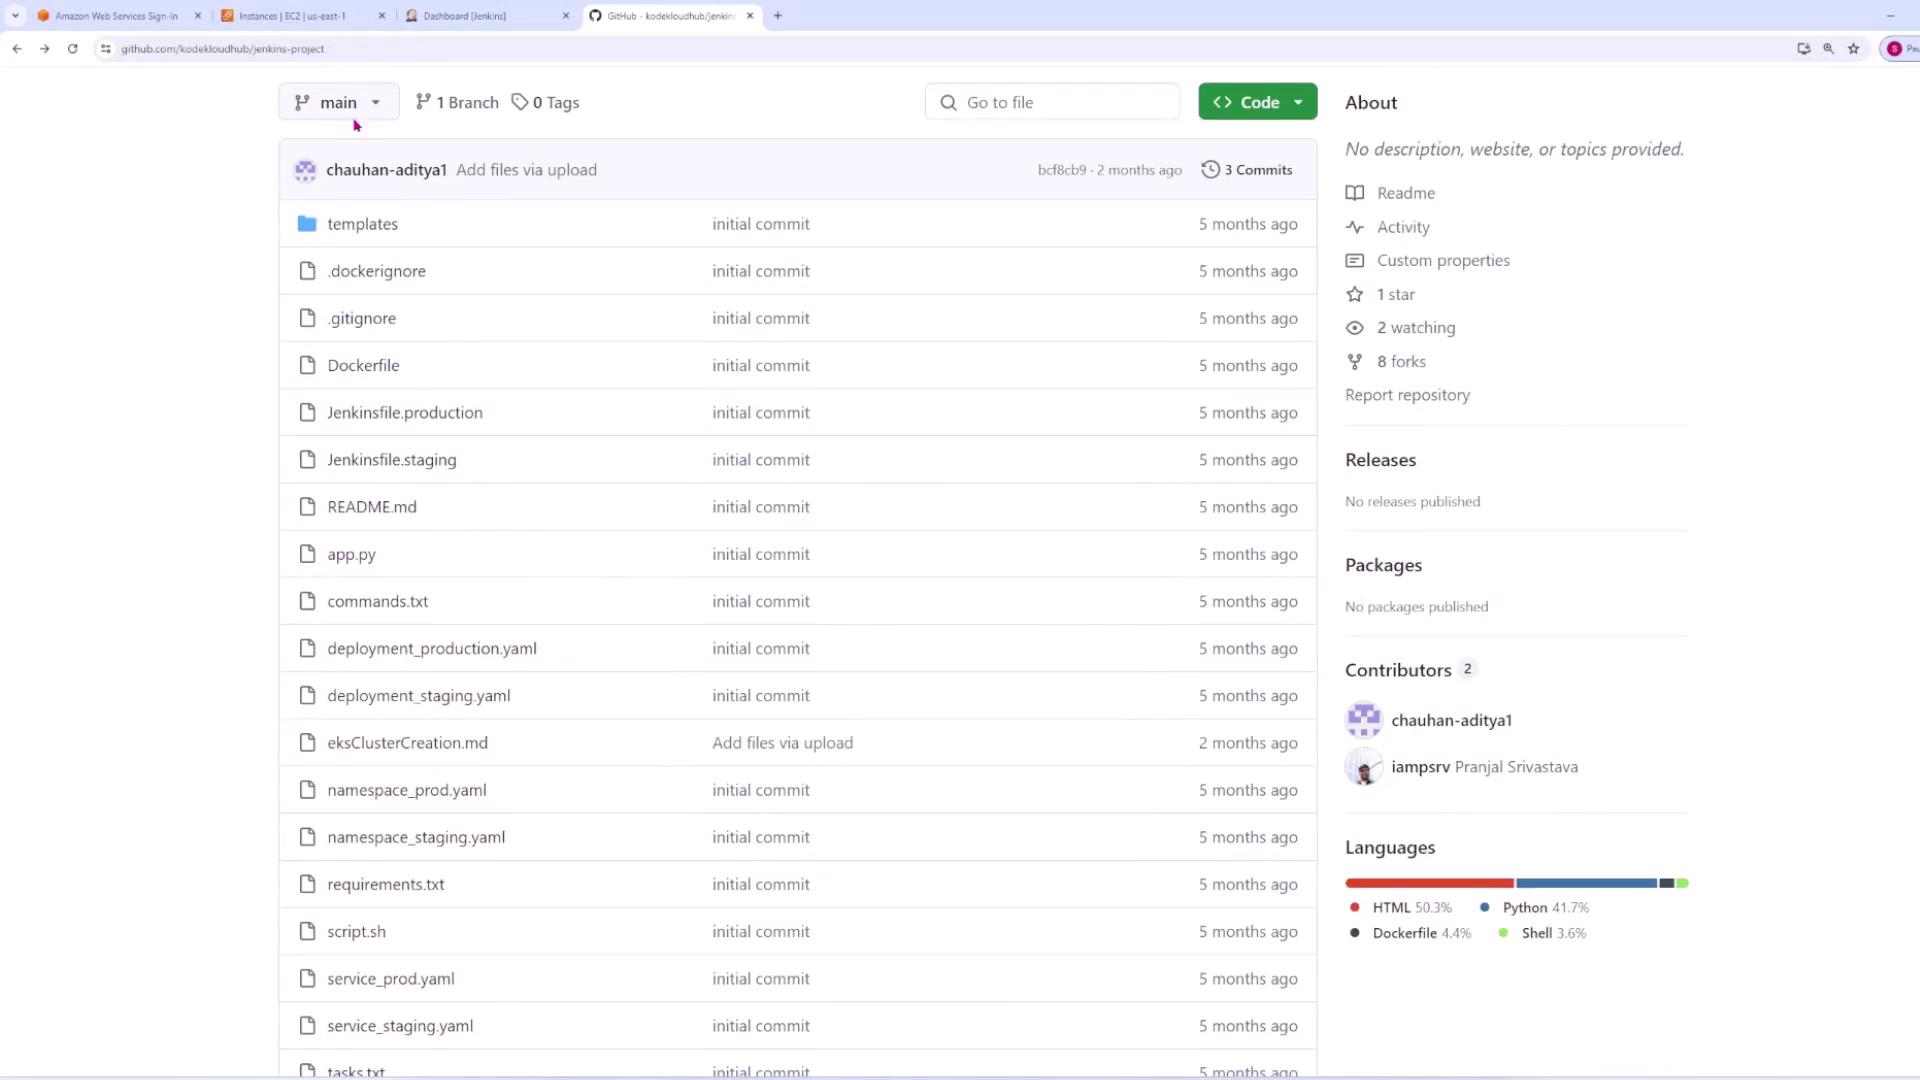
Navigate to your GitHub repository’s Settings, then access the Webhooks section.
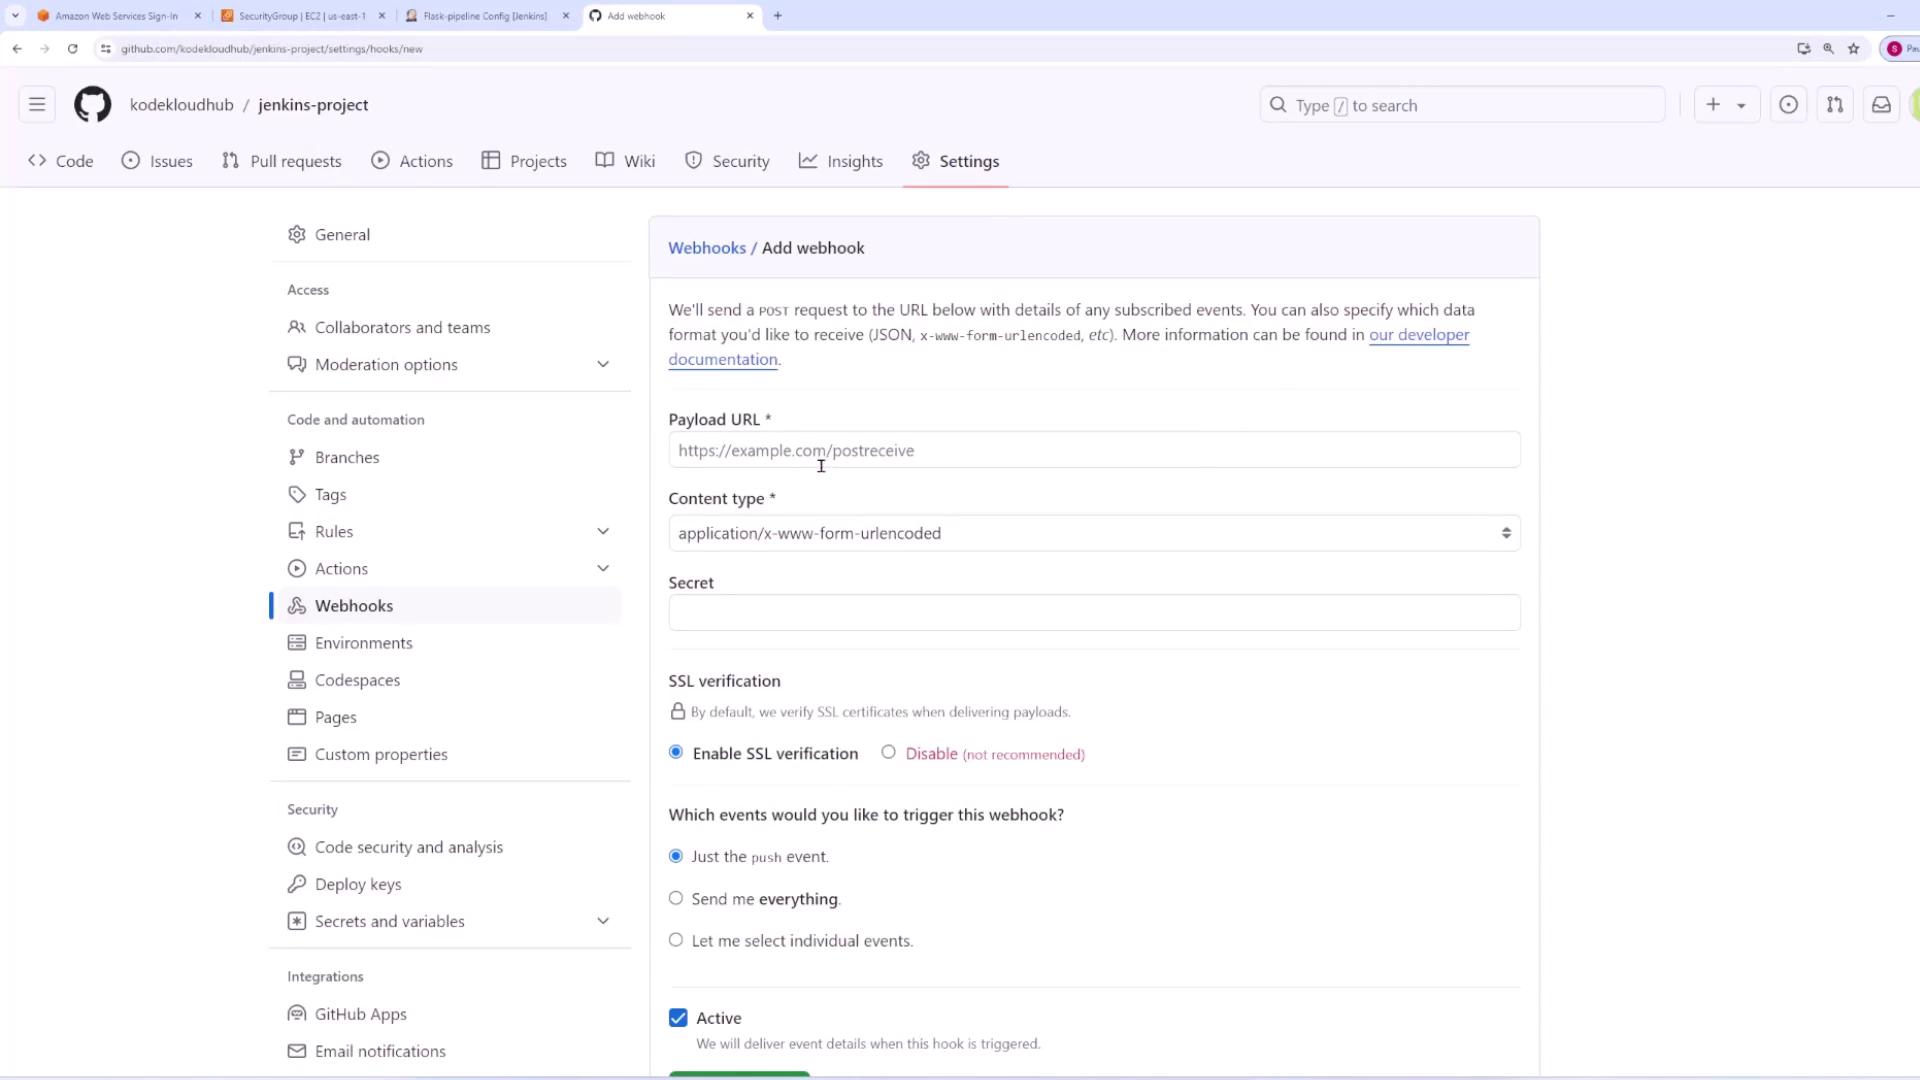
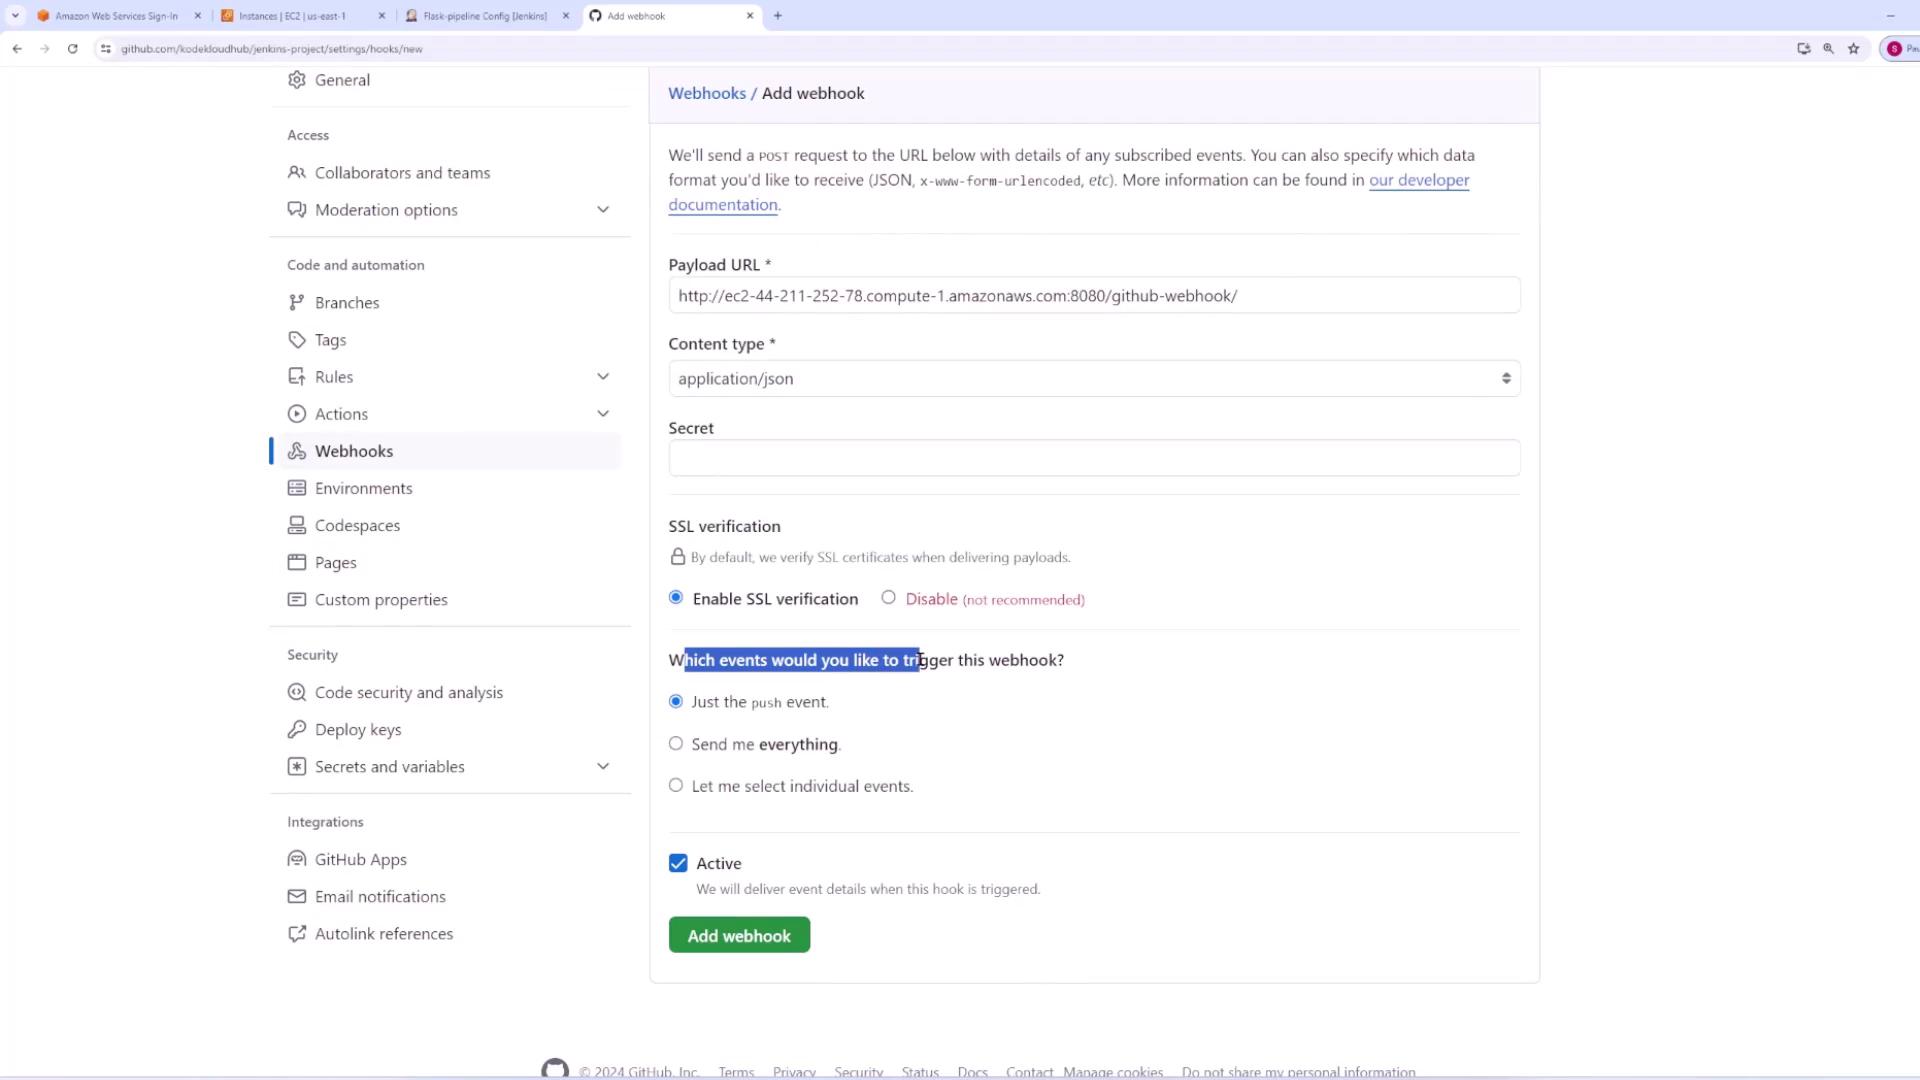
Click Add webhook and complete the following:
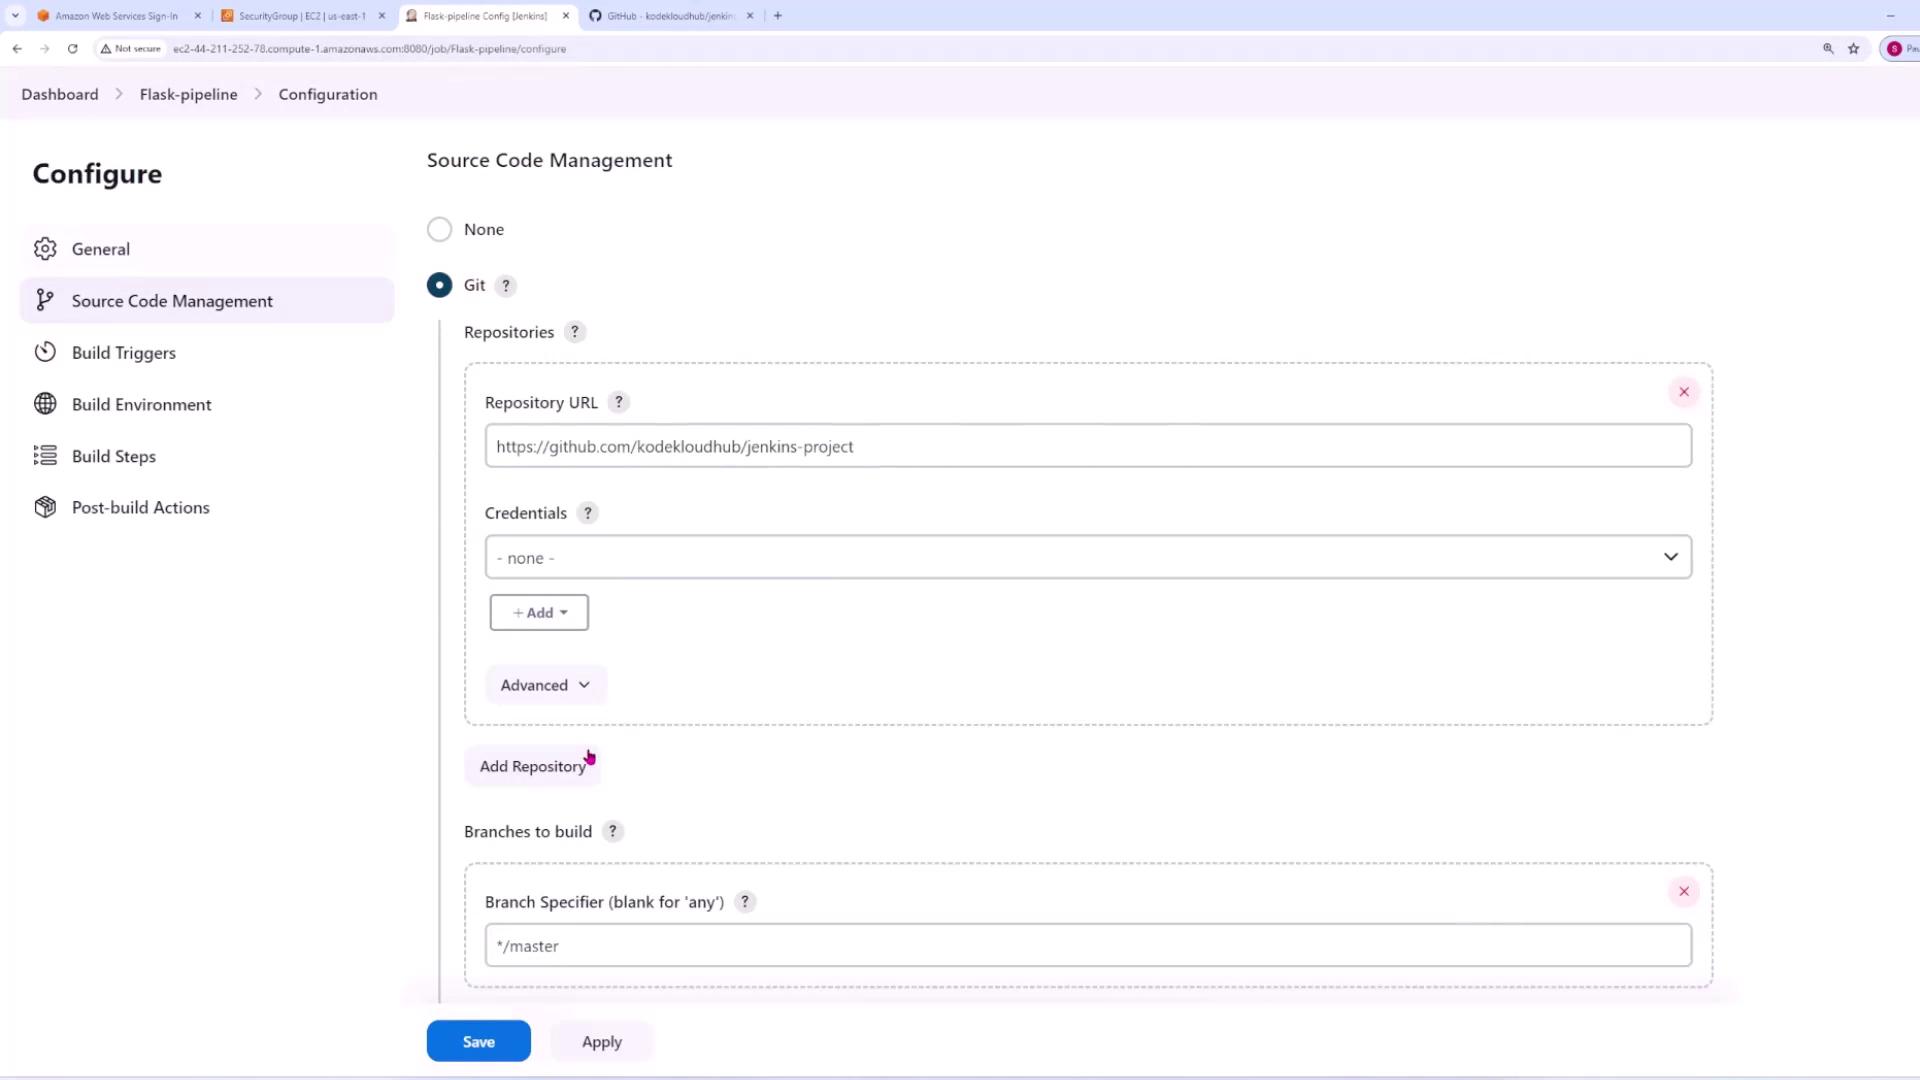
Set the Payload URL to your Jenkins server’s URL (for example, using your EC2 instance’s public DNS or IP address). Append /GitHub-webhooks if required.
Choose application/json as the Content Type.
Select Push events to trigger the webhook on code commits.
After configuring, verify that GitHub shows a green checkmark next to your webhook. This confirms that notifications are delivered successfully.
Return to the Jenkins job configuration, click Apply and then Save.
Perform a manual build in Jenkins to establish the job configuration. During the first build, Jenkins will clone the repository and execute the shell command.
After saving your changes, add, commit, and push them using the following commands:
Copy
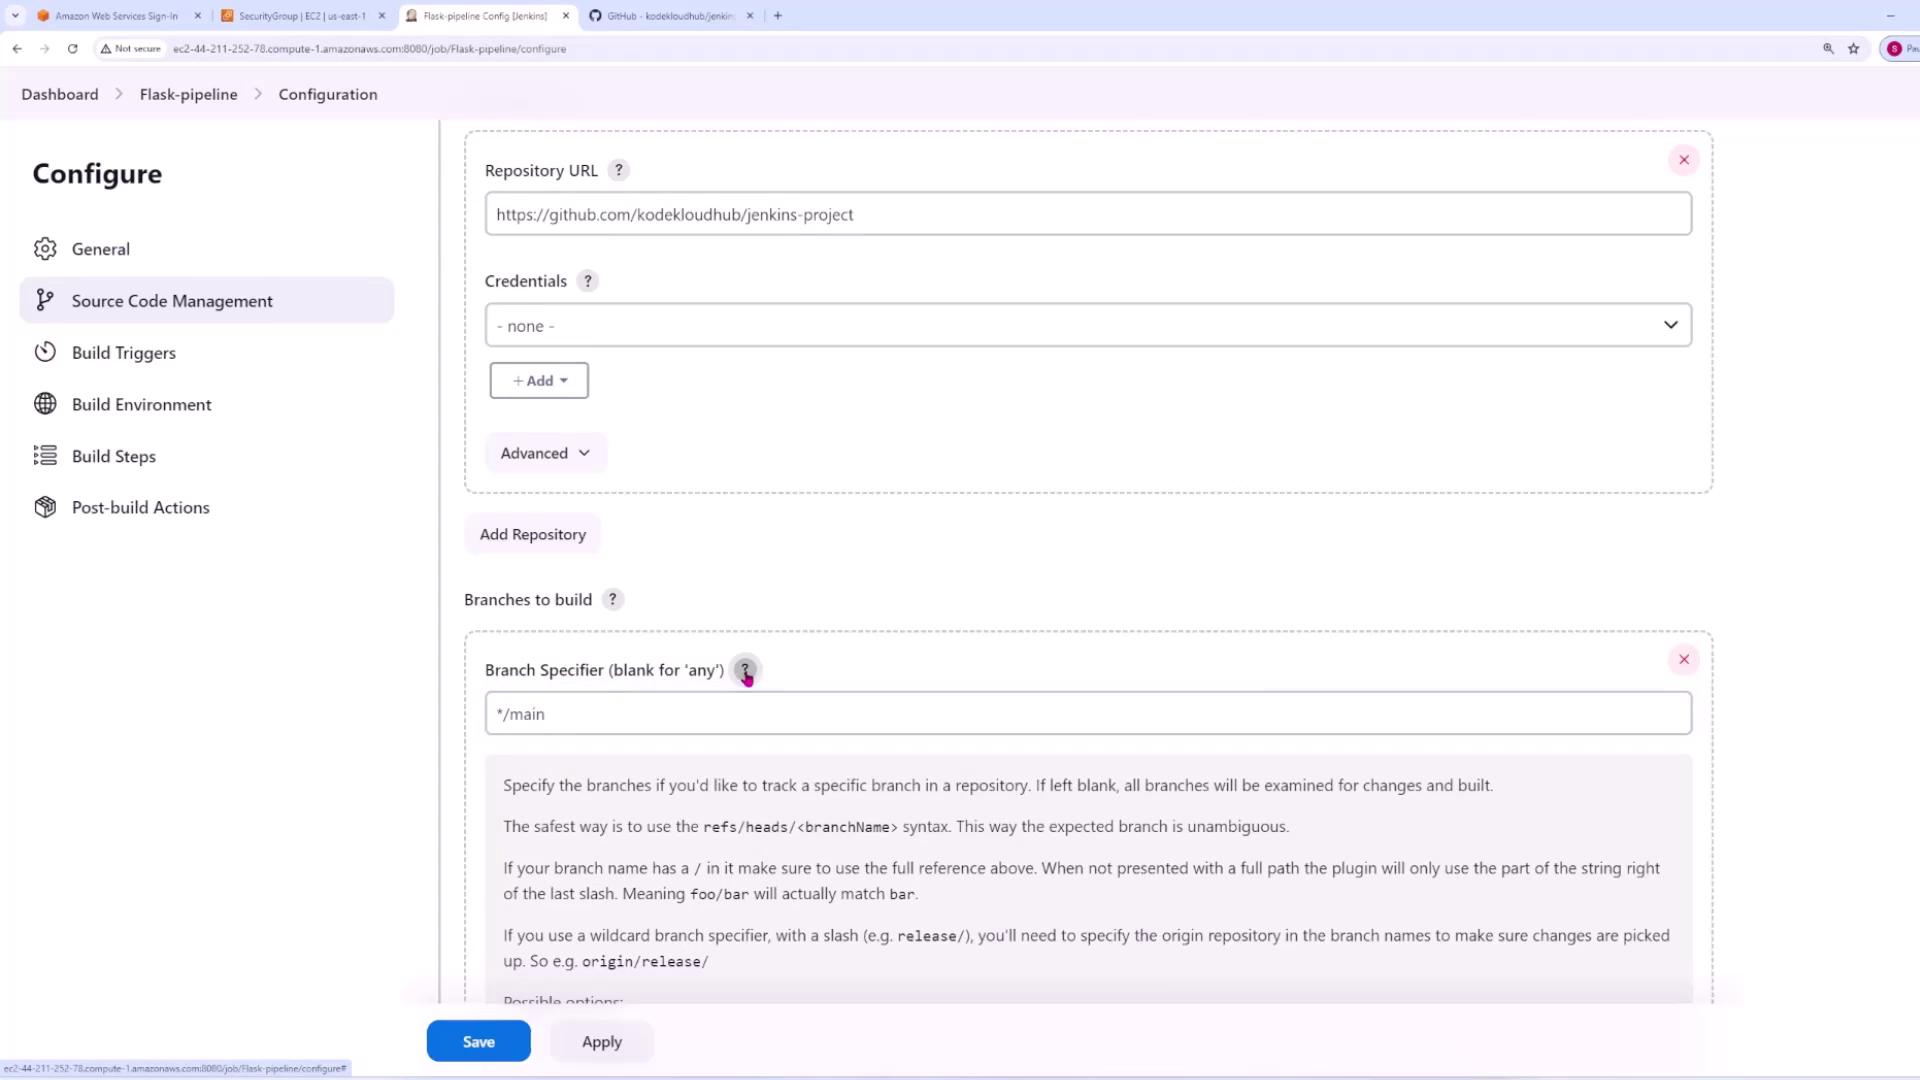
# Add changes to staginggit add# Commit the changes with a descriptive messagegit commit -m "made changes to index.html"# Push changes to the main branchgit push origin main
Once the changes are pushed, Jenkins will automatically trigger a new build for the “Flask pipeline” job.
Sample Console Output for the Auto-Triggered Build
Copy
Started by GitHub push by sanjeevkt720Running as SYSTEMBuilding in workspace /var/lib/jenkins/workspace/Flask-pipelineThe recommended git tool is: NONENo credentials specified> /usr/bin/git rev-parse --resolve-git-dir /var/lib/jenkins/workspace/Flask-pipeline/.git # timeout=10Fetching changes from the remote Git repository> /usr/bin/git config remote.origin.url https://github.com/kodeloudhub/jenkins-project # timeout=10Fetching upstream changes from https://github.com/kodeloudhub/jenkins-project> /usr/bin/git --version # timeout=10> git --version # git version 2.40.1> /usr/bin/git fetch --tags --force --progress https://github.com/kodeloudhub/jenkins-project +refs/heads/*:refs/remotes/origin/* # timeout=10Checking out Revision 335e2031e167245b217bec9a5402a1c94ec5 (refs/remotes/origin/main)> /usr/bin/git config core.sparsecheckout # timeout=10> /usr/bin/git checkout -f 335e2031e167245b217bec9a5402a1c94ec5 # timeout=10Commit message: "made changes to index.html"> /usr/bin/git rev-list --no-walk bfc8489d5b1161bb14f565b0bea9e7d9 # timeout=10[Flask-pipeline] $ /bin/sh -xe /tmp/jenkins34718612456724851020.sh+ echo 'Hello from Jenkins'Hello from JenkinsFinished: SUCCESS
After each build (manual or auto-triggered), review the console output in Jenkins. This ensures that the repository is cloned correctly and the build steps, including the execution of the shell command, are completed successfully.
Now, every time changes are pushed to the main branch of your repository, Jenkins will automatically trigger a build using the GitHub webhook integration. For more information on Git and Jenkins integration, check out the Jenkins Documentation and GitHub Docs.