Jenkins Project: Building CI/CD Pipeline for Scalable Web Applications
Single Server Deployment
Demo Configuring Pipeline
In this guide, you'll learn how to configure a Jenkins pipeline for deploying applications. We will start by setting up the required credentials, then create and configure the pipeline job, review and update the Jenkinsfile, and finally commit and push code changes. The pipeline will execute stages to install dependencies, run tests, package code, and deploy the application using SSH.
Overview
This guide assumes you have basic familiarity with Jenkins and version control (Git). Adjust repository URLs and credentials as needed.
Step 1: Create Credentials
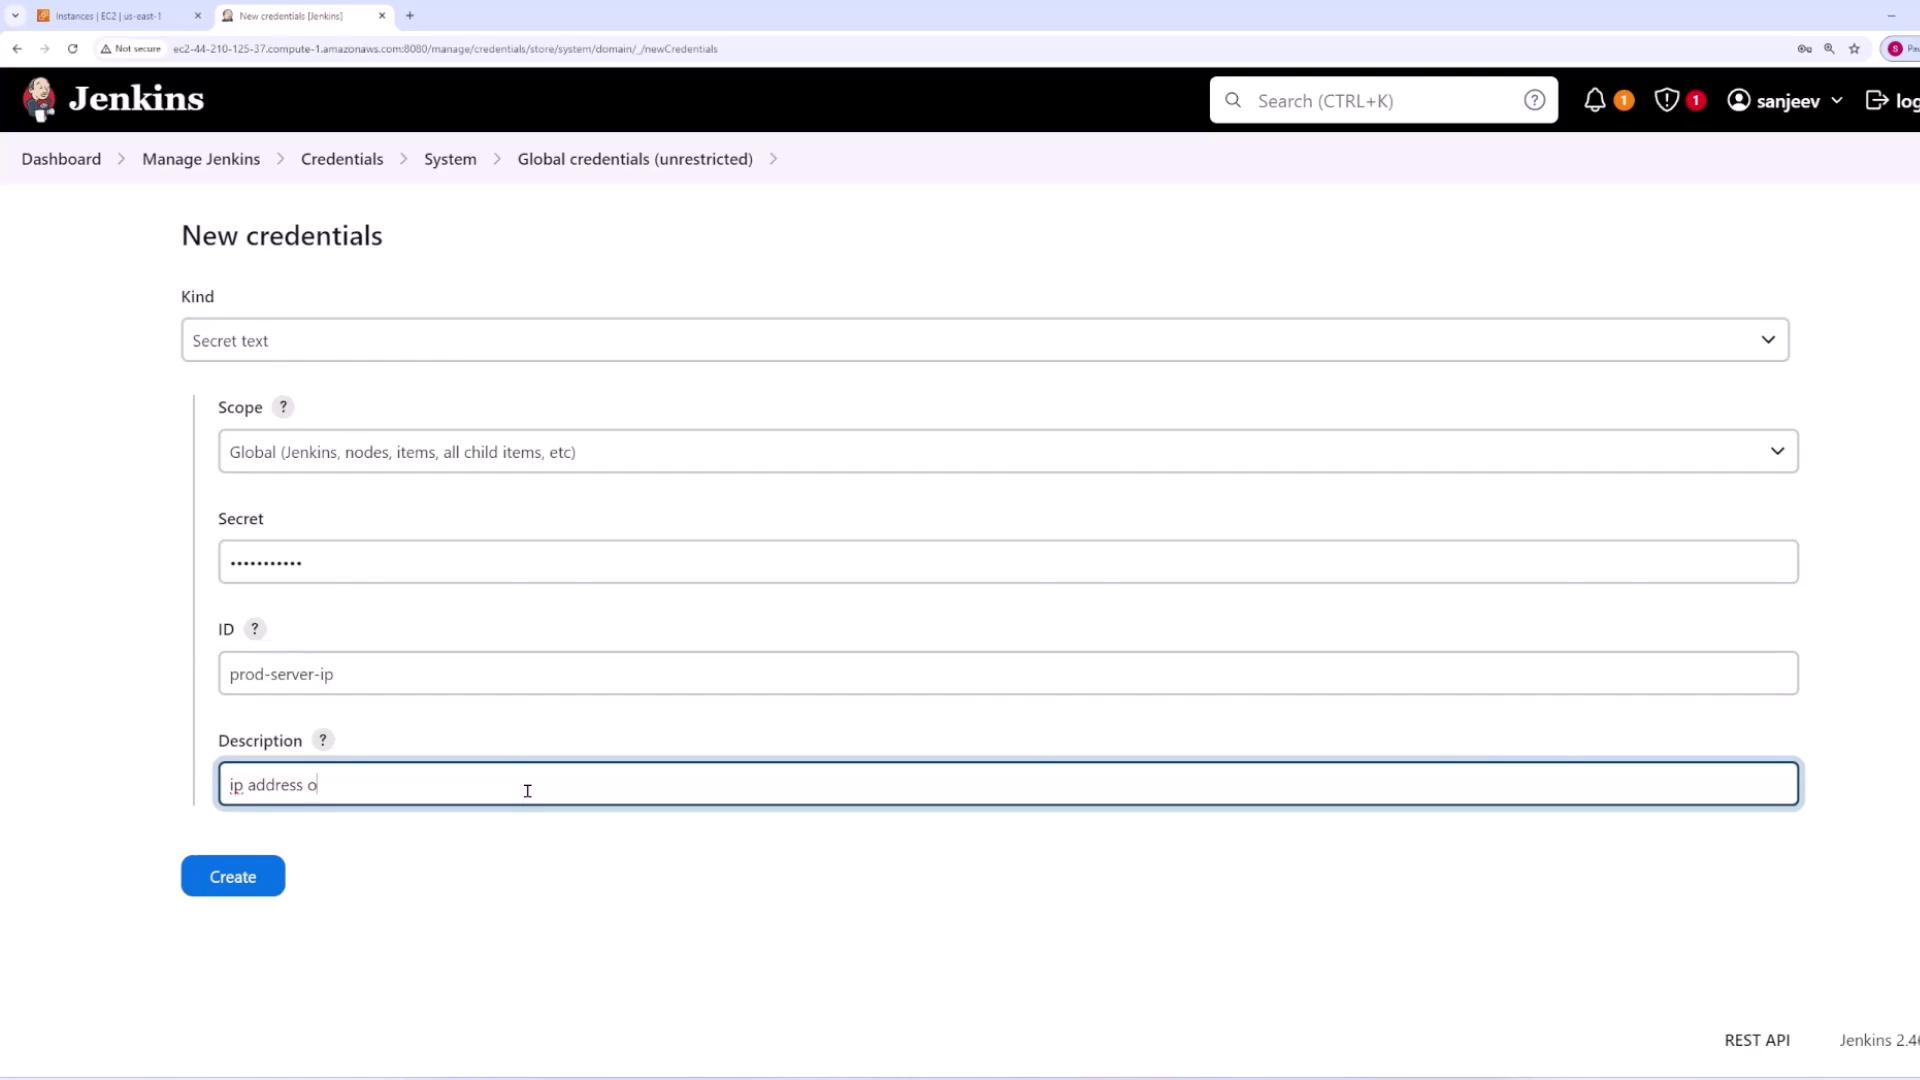
Create Secret Text Credential
- Go to Manage Jenkins and select Credentials.
- Expand the Global domain and click Add Credentials.
- Choose the Secret Text option.
- In the secret field, paste the production server's IP address as plain text.
- Set the ID to
prod-dash-server-dash-IP
and provide a meaningful description (e.g., "IP address of prod server"). - Click Create.
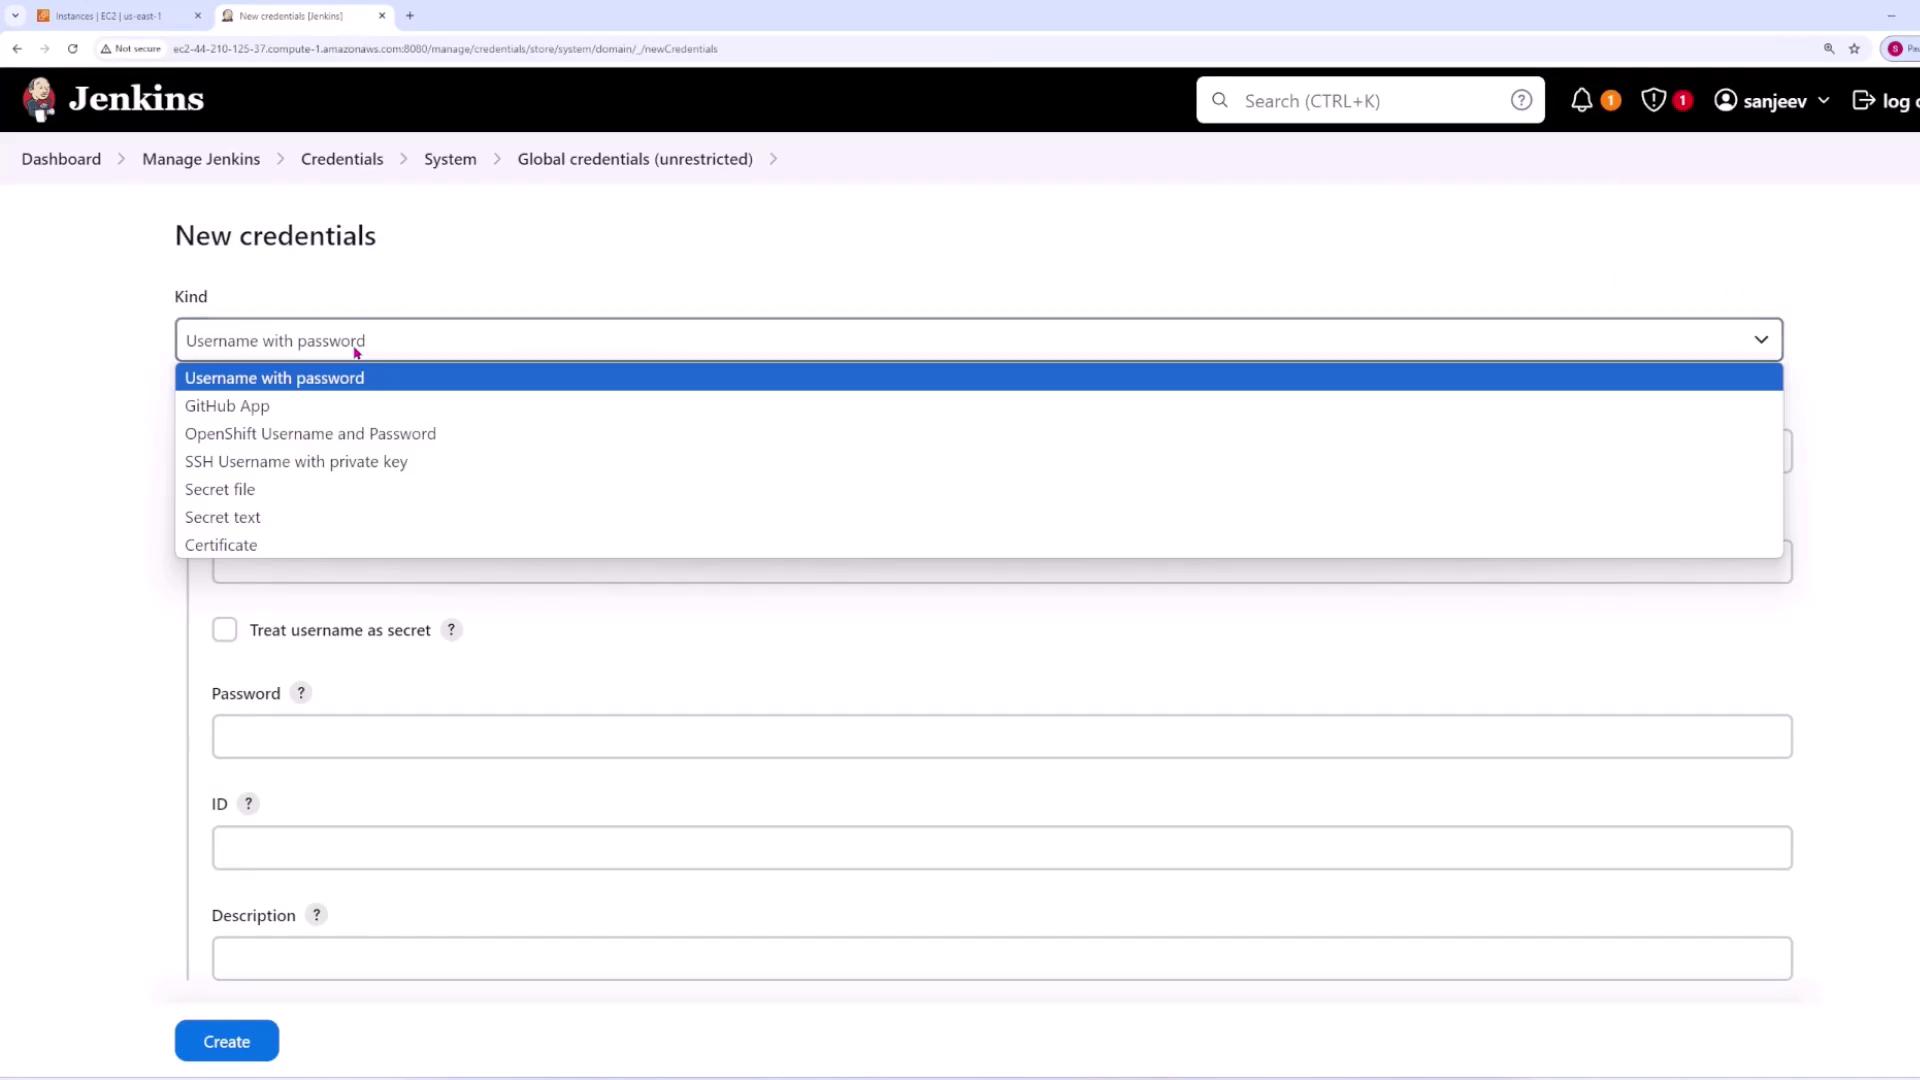
Create SSH Key Credential
- Click Add Credentials again.
- Choose the SSH Username with private key option.
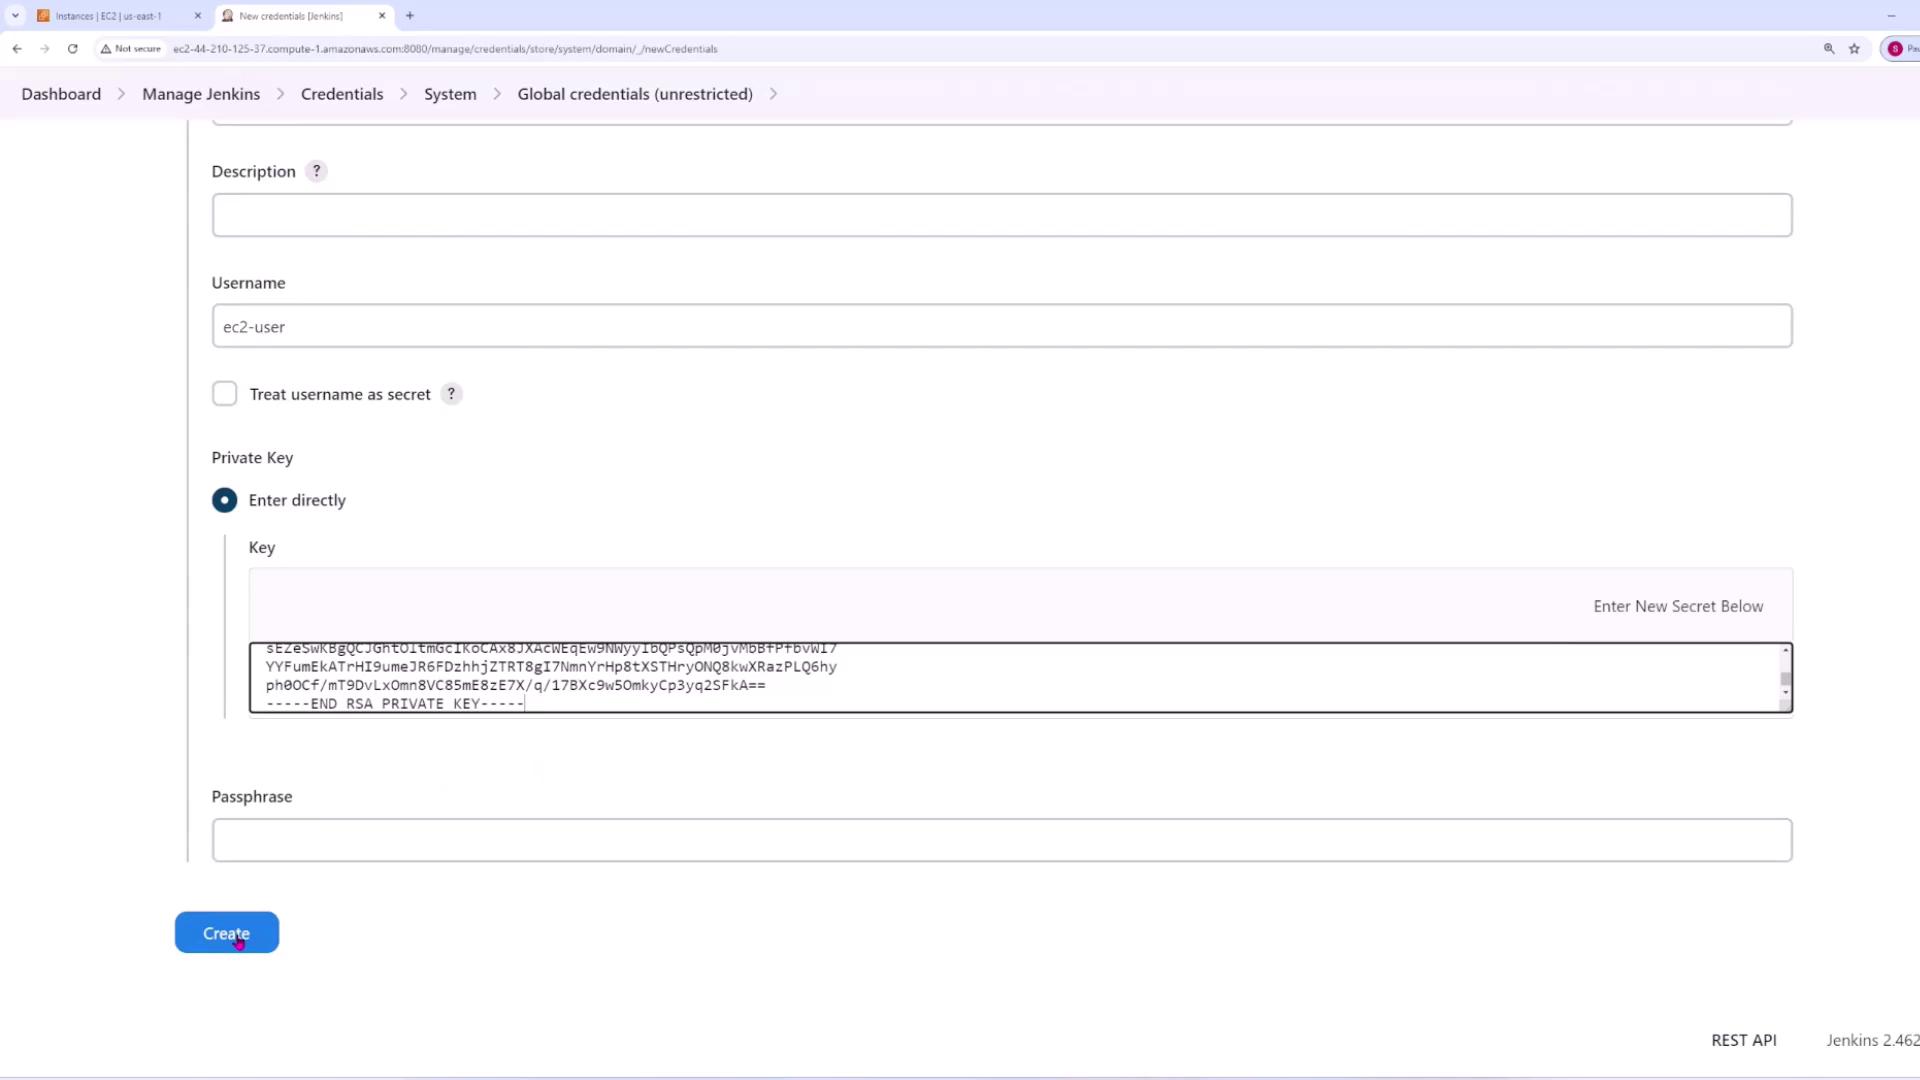
- Enter the username (for example,
ec2-user
) that will be used to connect to the server. Optionally, treat the username as secret. - Paste your private key directly into the provided field. If your private key is stored in a file (e.g.,
main.pem
), open the file, copy its contents, and paste them here. - If your private key has a passphrase, provide it; otherwise, leave the field blank.
- Click Create.
Security Tip
Ensure that all secrets and SSH keys are stored securely and access is limited only to trusted personnel.
Now that the credentials have been created, proceed to configure your pipeline.
Step 2: Create Pipeline
- Create a new pipeline job and assign it a descriptive name (e.g., "single server pipeline").
- In the pipeline configuration, enable the GitHub hook trigger for GITScm polling.
- Set the pipeline definition to Pipeline script from SCM:
- Select Git as the SCM.
- Provide the public repository URL.
- Specify the branch (for example,
main
). - Set the script path to
Jenkinsfile
.
- Save the configuration.
Step 3: Review the Jenkinsfile
The Jenkinsfile defines the stages of your CI/CD pipeline. The sample Jenkinsfile provided below includes four stages: Setup, Test, Package Code, and Deploy to Prod.
Initial Jenkinsfile Configuration
pipeline {
agent any
environment {
SERVER_IP = credentials('prod-dash-server-dash-IP')
}
stages {
stage('Setup') {
steps {
sh "pip install -r requirements.txt"
}
}
stage('Test') {
steps {
sh "pytest"
}
}
stage('Package code') {
steps {
sh "zip -r myapp.zip ./* -x '**.git**'"
sh "ls -lart"
}
}
stage('Deploy to Prod') {
steps {
// Deployment steps here
}
}
}
}
In this configuration, the production server IP is stored in the SERVER_IP
environment variable, making it available for all pipeline stages.
Updated Pipeline with SSH Deployment
The updated Jenkinsfile integrates SSH-based deployment. With this configuration, the pipeline securely copies the packaged application to the production server and performs deployment tasks such as unzipping files, activating the virtual environment, installing dependencies, and restarting the Flask application service.
pipeline {
agent any
environment {
SERVER_IP = credentials('prod-dash-server-dash-IP')
}
stages {
stage('Setup') {
steps {
sh "pip install -r requirements.txt"
}
}
stage('Test') {
steps {
sh "pytest"
}
}
stage('Package code') {
steps {
sh "zip -r myapp.zip ./* -x '**.git**'"
sh "ls -lart"
}
}
stage('Deploy to Prod') {
steps {
withCredentials([sshUserPrivateKey(credentialsId: 'ssh-key', keyFileVariable: 'MY_SSH_KEY', usernameVariable: 'username')]) {
sh '''
scp -i $MY_SSH_KEY -o StrictHostKeyChecking=no myapp.zip ${username}@${SERVER_IP}:/home/ec2-user/
ssh -i $MY_SSH_KEY -o StrictHostKeyChecking=no ${username}@${SERVER_IP} << EOF
unzip -o /home/ec2-user/myapp.zip -d /home/ec2-user/app/
source app/venv/bin/activate
cd /home/ec2-user/app/
pip install -r requirements.txt
sudo systemctl restart flaskapp.service
EOF
'''
}
}
}
}
}
In the Deploy to Prod stage:
- The application code is zipped.
- The zip file is securely copied to the production server using SCP.
- An SSH session is initiated to unzip the code, activate the virtual environment, install required dependencies, and restart the Flask app service.
Step 4: Commit and Push Code Changes
After configuring the Jenkinsfile, commit your changes and push them to your Git repository. Use the following commands:
git add .
git commit -m "single server deployment"
# Example output:
# [main cf412ea] single server deployment
# 1 file changed, 27 insertions(+), 21 deletions(-)
git push origin main
Once pushed, Jenkins will trigger the build. Check the console output for messages that confirm the checkout, dependency installation, successful tests with Pytest, packaging, and SSH-based deployment.
Step 5: Verify Deployment
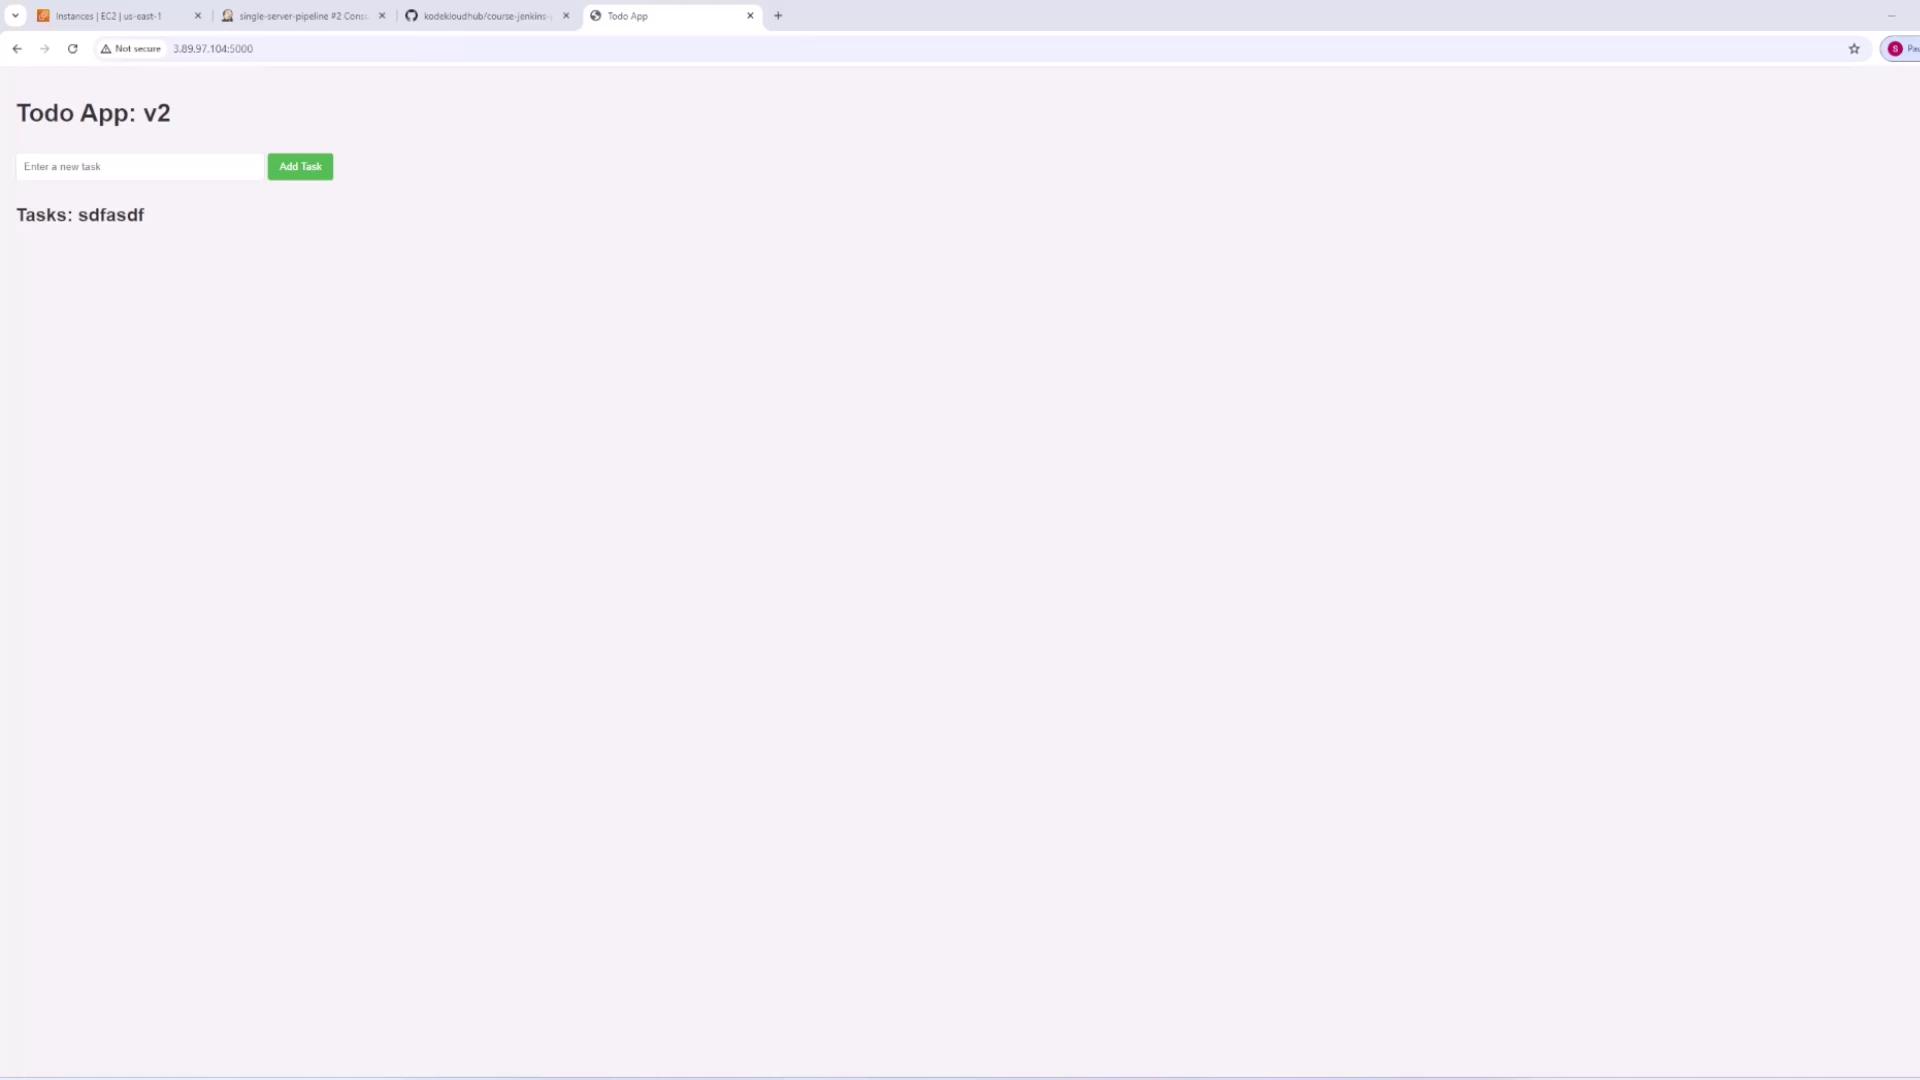
After a successful build, open your production server's IP address in a web browser (typically on port 5000). You should see your deployed application running. This verifies that the Jenkins pipeline successfully deployed your application.
Step 6: Make a Quick Code Update
To demonstrate the update mechanism, make a small change to your application. For example, update the index.html
file to indicate a new version:
<html>
<head>
<style>
.task-text {
margin: 0;
}
</style>
</head>
<body>
<h1>Todo App: v2</h1>
<!-- Add Task Form -->
<form method="post">
Then, commit and push the changes:
git add .
git commit -m "upgrade to version 2"
# Example output:
# [main d1f31ad] upgrade to version 2
# 1 file changed, 1 insertion(+), 1 deletion(-)
git push origin main
Jenkins will trigger a new build, and the updated version of the application will be deployed automatically. Review the console output for confirmation of installation logs, test results, packaging, and deployment messages.
This streamlined process demonstrates how to configure a Jenkins pipeline that automatically runs tests on every Git push, packages your application, and deploys it to a production server—ensuring continuous integration and continuous deployment (CI/CD) for your project.
Watch Video
Watch video content