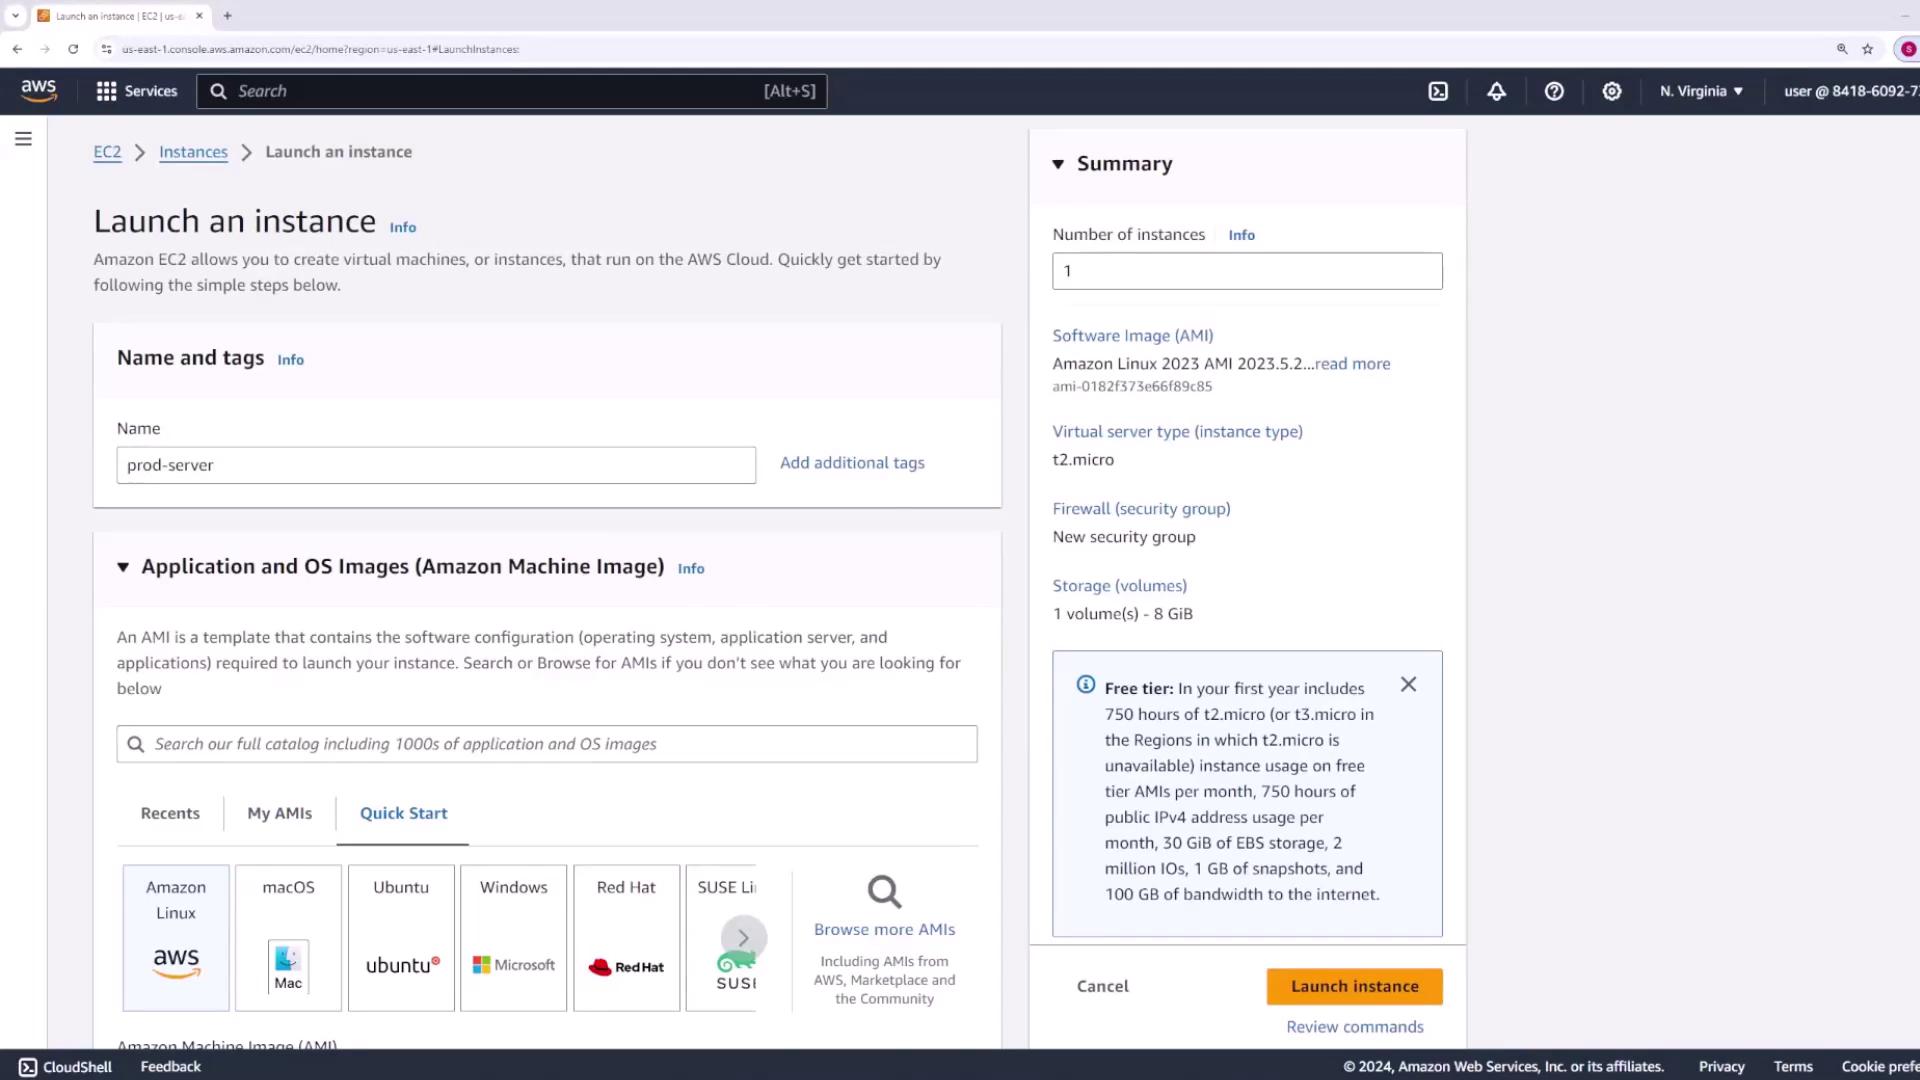
Jenkins Project: Building CI/CD Pipeline for Scalable Web Applications

Single Server Deployment

Demo Deploying App

In this guide, you'll learn how to set up a production server on AWS to deploy your application. Later, this server will serve as the target when configuring your CI/CD pipeline. Follow these steps to launch an Amazon EC2 instance, configure SSH access, and set up a systemd service for your Flask app.

Step 1: Launching an EC2 Instance

When you log into the AWS console, you will see the EC2 management console displaying a list of running instances:

The image shows an AWS EC2 management console with a list of running instances, including details like instance ID, state, type, and status checks.

To create a new instance:

  1. Click on the Launch Instance button.
  2. Choose the desired Amazon Machine Image (AMI) and instance type. For a basic Linux server, the default configuration is sufficient.

The image shows the AWS EC2 console for launching an instance, with options to select the instance name, Amazon Machine Image (AMI), and instance type. The summary panel on the right provides details about the selected configuration.

Important Settings:

  • Instance Type: Use the default instance type (usually a t2.micro with 1 GB memory and one vCPU).
  • Key Pair: Select an existing SSH key (e.g., "main") for secure access. This will be crucial later when Jenkins connects to your server.
  • Network Settings: Ensure you allow both HTTPS and HTTP traffic, as your server will host a web service.

The image shows an AWS EC2 instance launch configuration screen, detailing options for instance type, key pair, and network settings. The selected instance type is "t2.micro," which is free tier eligible.

The image shows an AWS EC2 instance launch configuration screen, detailing network settings and a summary of the instance specifications.

After confirming your configuration, click Launch. Wait for a minute or two for the instance to start up.

The image shows an AWS EC2 instance launch configuration screen, detailing storage options and a summary of the instance settings. The "Launch instance" button is visible at the bottom.

Once the instance is running, return to the instances list to locate your production server and copy its IP address.

The image shows an AWS EC2 console screen indicating a successful instance launch, with options for next steps like connecting to the instance and managing resources.

The image shows an AWS EC2 management console with a list of instances, including details for a selected instance named "prod-server." The instance is running, with its type, IP addresses, and other details displayed.

Step 2: Connecting to Your Server via SSH

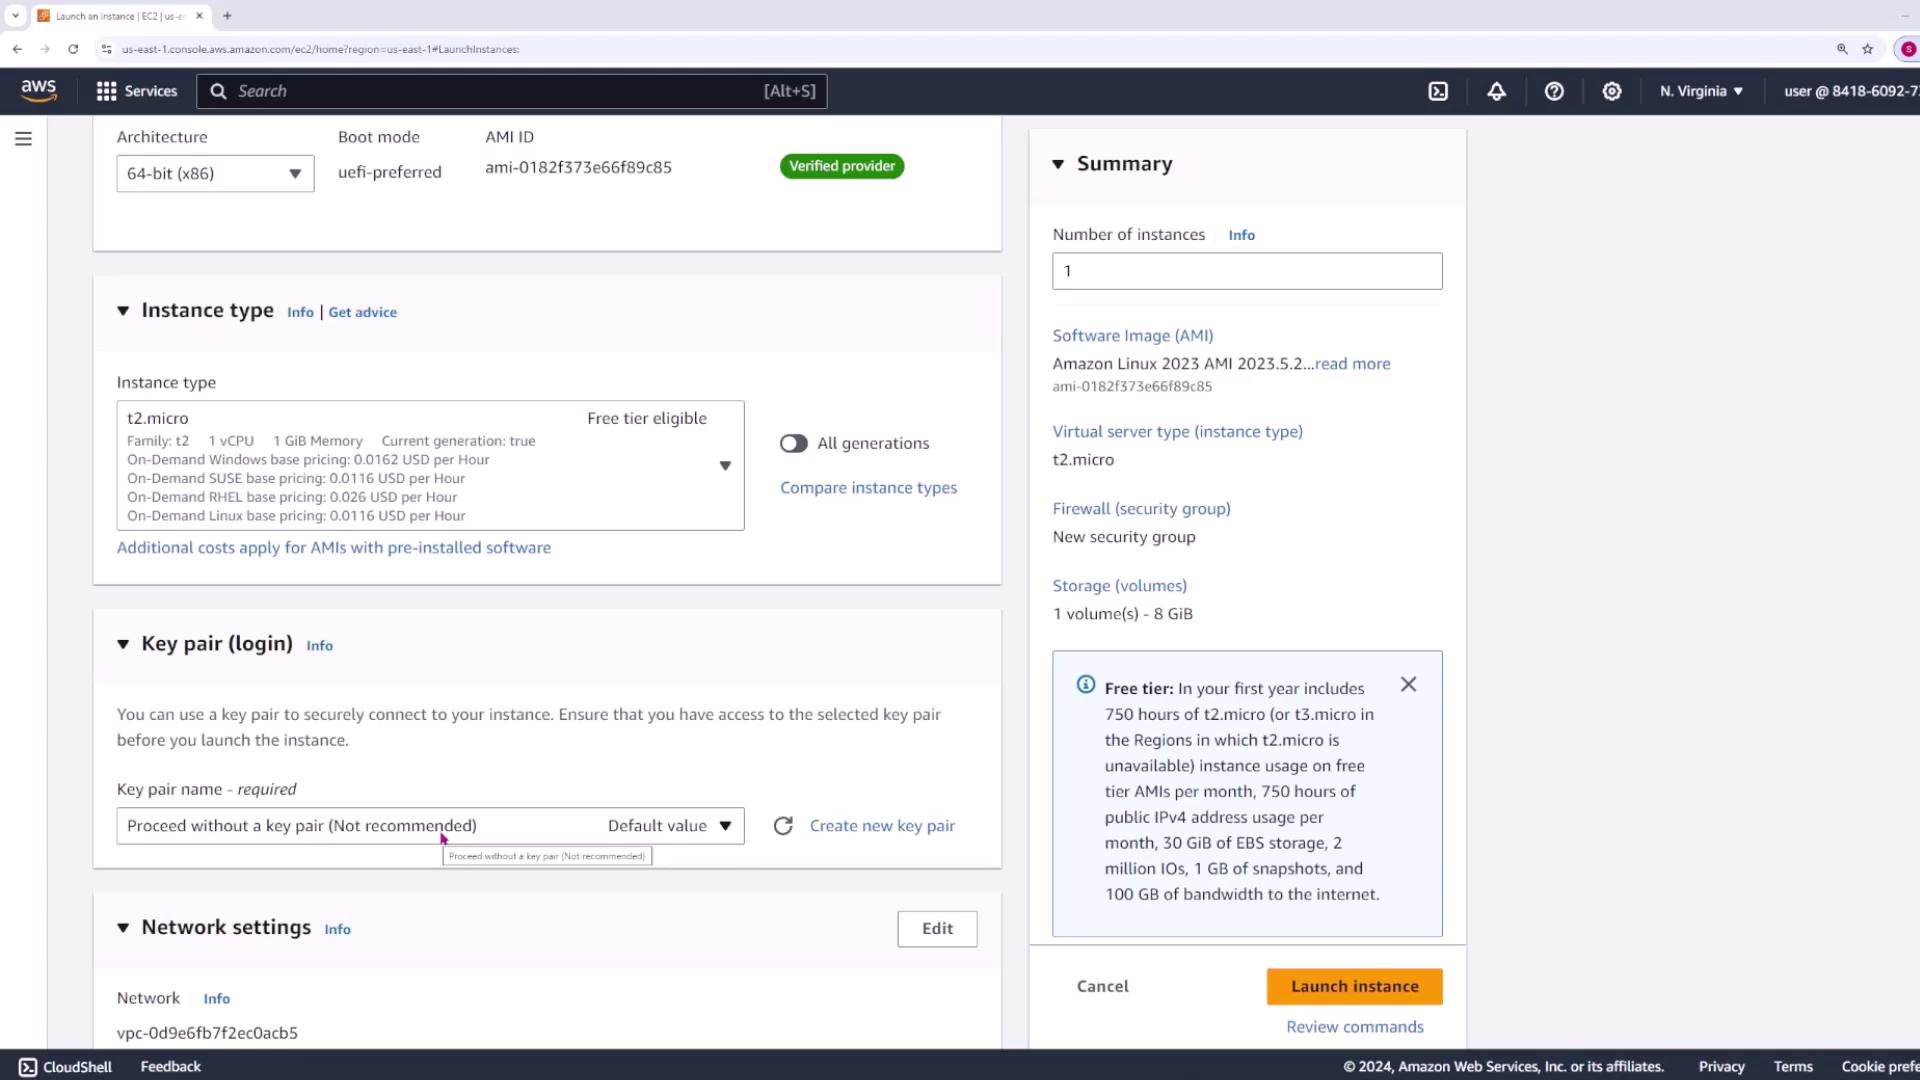
Open your terminal and connect via SSH using your key (e.g., main.pem) and the default username ec2-user:

ssh -i main.pem ec2-user@<Your_EC2_Instance_IP>

Upon connecting, you might see a prompt similar to:

The authenticity of host '3.89.97.104 (3.89.97.104)' can't be established.
ED25519 key fingerprint is SHA256:MD1c0F1cn0pMsnd7TRAe1q3egJomo01RpuGpga4j3ARc.
This key is not known by any other names.
Are you sure you want to continue connecting (yes/no/[fingerprint])? yes.
Warning: Permanently added '3.89.97.104' to the list of known hosts.
Amazon Linux 2023
https://aws.amazon.com/linux/amazon-linux-2023
[ec2-user@ip-172-31-16-211 ~]$

Note

The main.pem file is essential for authentication. Your Jenkins server will also use this key later to automatically copy your code and restart your application.

Step 3: Setting Up the Application Environment

Once connected, set up your application directory, create a Python virtual environment, and verify your working directory:

mkdir app
cd app
pwd  # Expected output: /home/ec2-user/app

Check that Python 3 is installed:

python3 --version

If needed, install or upgrade Python 3 before proceeding. Then, create a virtual environment:

python3 -m venv venv
ls  # You should see the "venv" directory.

Step 4: Configuring a systemd Service for the Flask App

Next, configure a systemd service so that your Flask application is automatically managed by the server. Create the service file in the /etc/systemd/system directory using sudo with your preferred editor (e.g., vi):

sudo vi /etc/systemd/system/flask-app.service

Paste the following configuration into the file:

[Unit]
Description=Flask Application Service
After=network.target

[Service]
User=ec2-user
Group=ec2-user
WorkingDirectory=/home/ec2-user/app/
Environment="PATH=/home/ec2-user/app/venv/bin"
ExecStart=/home/ec2-user/app/venv/bin/python3 /home/ec2-user/app/app.py

[Install]
WantedBy=multi-user.target

Ensure that the paths in WorkingDirectory, Environment, and ExecStart correctly reflect your server's configuration.

After saving the file, reload systemd to register your new service:

sudo systemctl daemon-reload

Enable the service to start automatically on boot:

sudo systemctl enable flask-app.service

You should see an output like:

Created symlink /etc/systemd/system/multi-user.target.wants/flask-app.service → /etc/systemd/system/flask-app.service.

Start the service:

sudo systemctl start flask-app.service

Check its status to ensure it is running:

sudo systemctl status flask-app.service

Warning

At this stage, the service may fail because the app.py file has not yet been copied to /home/ec2-user/app. Once your application code is deployed, restart the service with:

sudo systemctl restart flask-app.service

Next Steps

This guide completes the initial setup of your production server. In the next tutorial, you will learn how to configure your CI/CD pipeline so that every time you push code to Git, the updated code is automatically copied to your server and the service is restarted.

Happy deploying!

Watch Video

Watch video content

Previous
Deploying App