Step 1: Start a New Pipeline
- Click the New Pipeline button.
- Choose where your code is stored. For this example, select GitHub and then choose the appropriate organization.
If you are authenticating for the first time, you’ll need a personal access token from GitHub (or your respective code host). Click the option to generate the token and provide it when prompted.
Step 2: Select Your Repository
For this demonstration, select the GoWebApp sample repository where our pipelines are executed.
Step 3: Create and Configure the Pipeline
- Click Create Pipeline.
- Give the pipeline a name; for example, GoWebApp.
- Click Save. You will see a notification that no Jenkinsfiles were found in the repository, which means you can continue to create one via the UI.
Step 4: Add Pipeline Stages and Steps
- Click the plus button to add a stage and label the stage (for example, “dev”).
- Click Add Step and select Shell Script.
-
Enter the following command, which is identical to the one previously used in the Jenkinsfile for running tests:
- Click the back button. You will then be prompted to commit the Jenkinsfile to the repository.
- Click Save and Run.
The Automatically Generated Jenkinsfile
The Jenkinsfile generated by Blue Ocean looks similar to the following:Step 5: Review the Pipeline Dashboard
Return to the Jenkins interface, where you can see your pipeline with all its defined steps.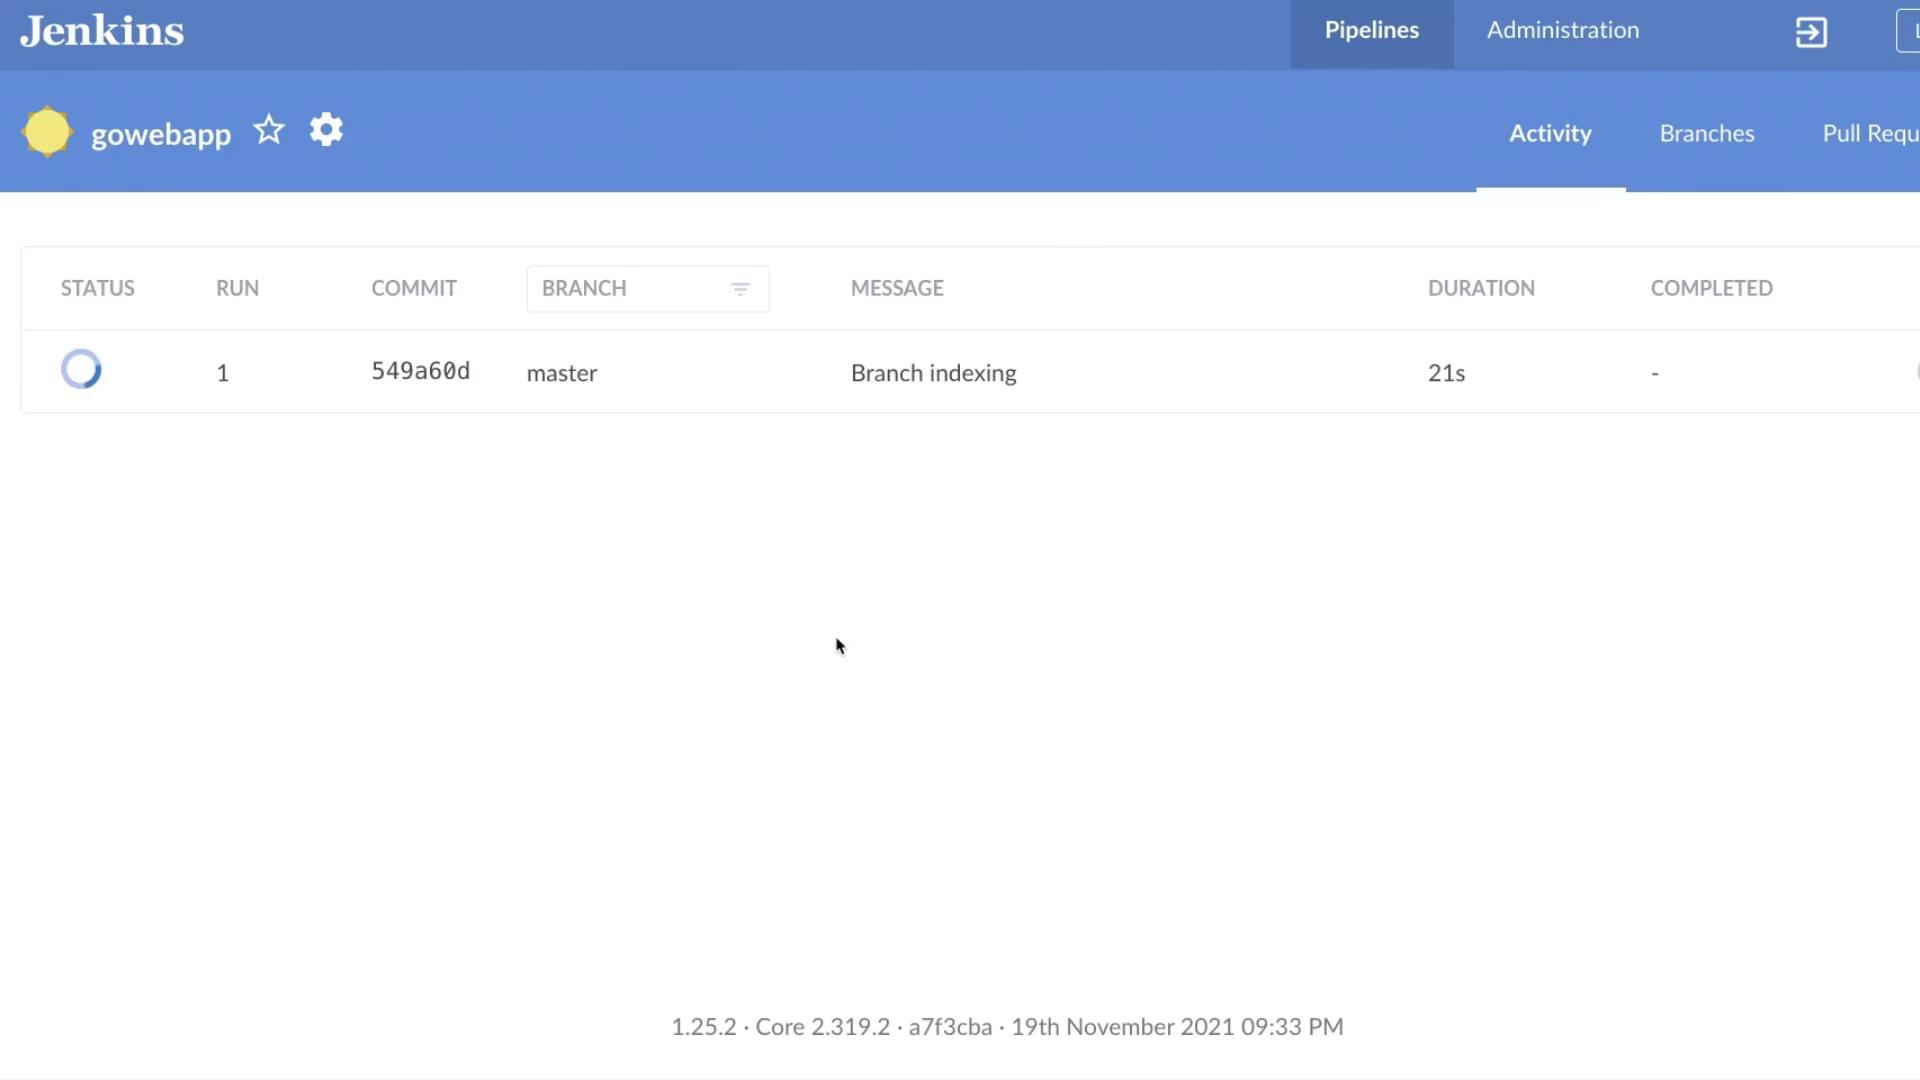
That concludes this guide on creating a pipeline with Blue Ocean. Happy coding, and we’ll see you in the next lesson!