Jenkins
Pipelines
Build a CI Pipeline
In this lesson, we will construct a continuous integration (CI) pipeline using Jenkins. We will cover tool configurations, plugin installations, and the execution of tests. The following steps will guide you through setting up the Jenkins environment, configuring your pipeline script, and validating the build process.
Step 1: Installing the Required Jenkins Plugin
Begin by navigating to Manage Jenkins and then Manage Plugins. Although the Go plugin might already be installed on your instance, if you cannot find it in the Installed tab, switch to the Available tab and search for "Go". Once located, install the plugin and restart Jenkins to apply the changes.
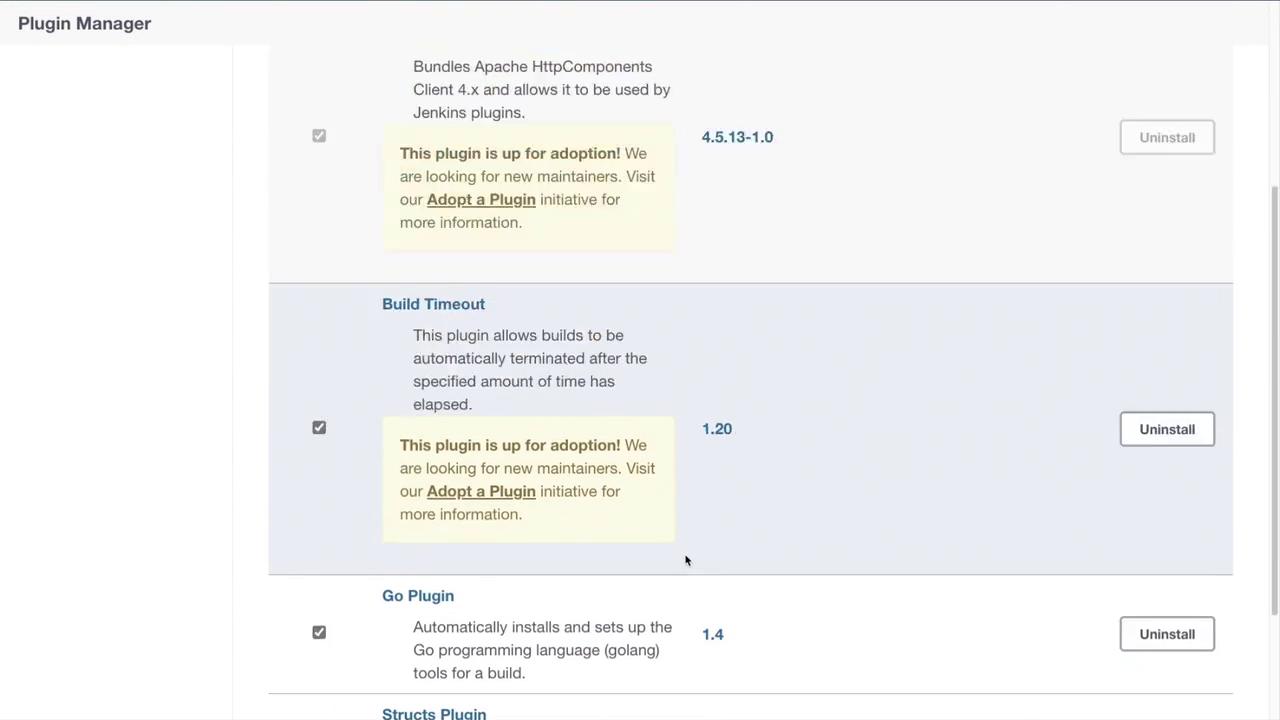
Step 2: Creating and Configuring Your Pipeline
After restarting Jenkins, create a new pipeline job by accessing the New Item menu. Choose Pipeline as the project type and proceed to the configuration page. In the Pipeline section, you will enter your pipeline script.
In this example, we start by using the default agent with agent any
as our build runner. We specify the Go tools section to use Go version 1.17 (or the version available on your machine) and set up an environment variable to enable module support.
Note
Ensure that the Go version specified in the tools section matches the version installed on your machine.
Below is the initial Pipeline configuration snippet:
pipeline {
agent any
tools {
go 'go-1.17'
}
environment {
GO111MODULE = 'on'
}
}
This configuration guarantees that the correct Go version is used and that Go modules are enabled, allowing your pipeline to fetch the latest package versions from repositories such as GitHub.
Step 3: Defining Pipeline Stages
Next, define the stages for your pipeline. The first stage will run unit tests on your code. Create a stage named "Test" and include the following steps:
- Clone the Repository: The pipeline will clone the repository containing your code.
- Execute Unit Tests: Run the tests using the command
go test ./...
, which executes all tests in the current directory and any subdirectories.
Here is the updated Pipeline script that incorporates the test stage:
pipeline {
agent any
tools {
go 'go-1.17'
}
environment {
GO111MODULE = 'on'
}
stages {
stage('Test') {
steps {
// Clone the repository from GitHub
git 'https://github.com/AdminTurnedDevOps/go-webapp-sample.git'
// Run all tests within the repository and subdirectories
sh 'go test ./...'
}
}
}
}
Step 4: Saving and Running the Pipeline
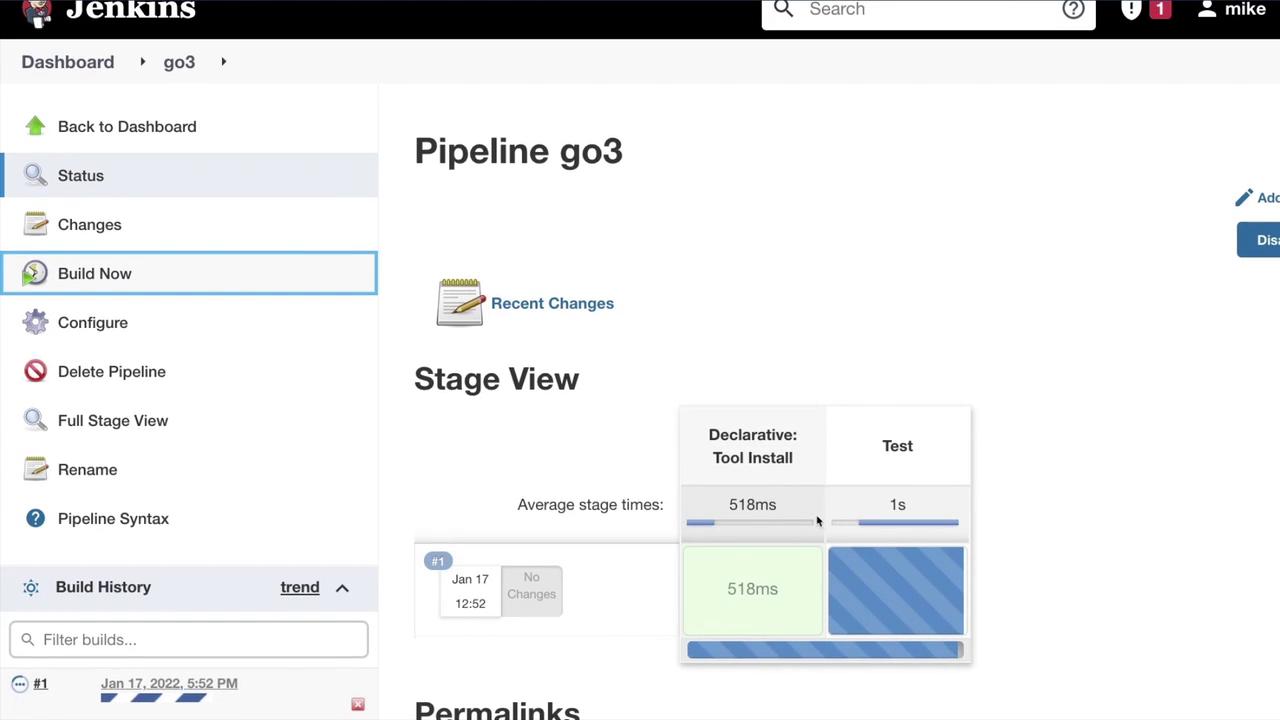
After entering your Pipeline script in the configuration, save the job. Create a new item (for example, name it "Go 3"), select the Pipeline project type, and paste your script into the Pipeline section. Remember, this script uses Go version 1.17 and enables Go modules for efficient dependency management.
Once your configuration is saved, click Build Now to run the Pipeline. The build process should execute successfully. You can then inspect the console logs for detailed output.
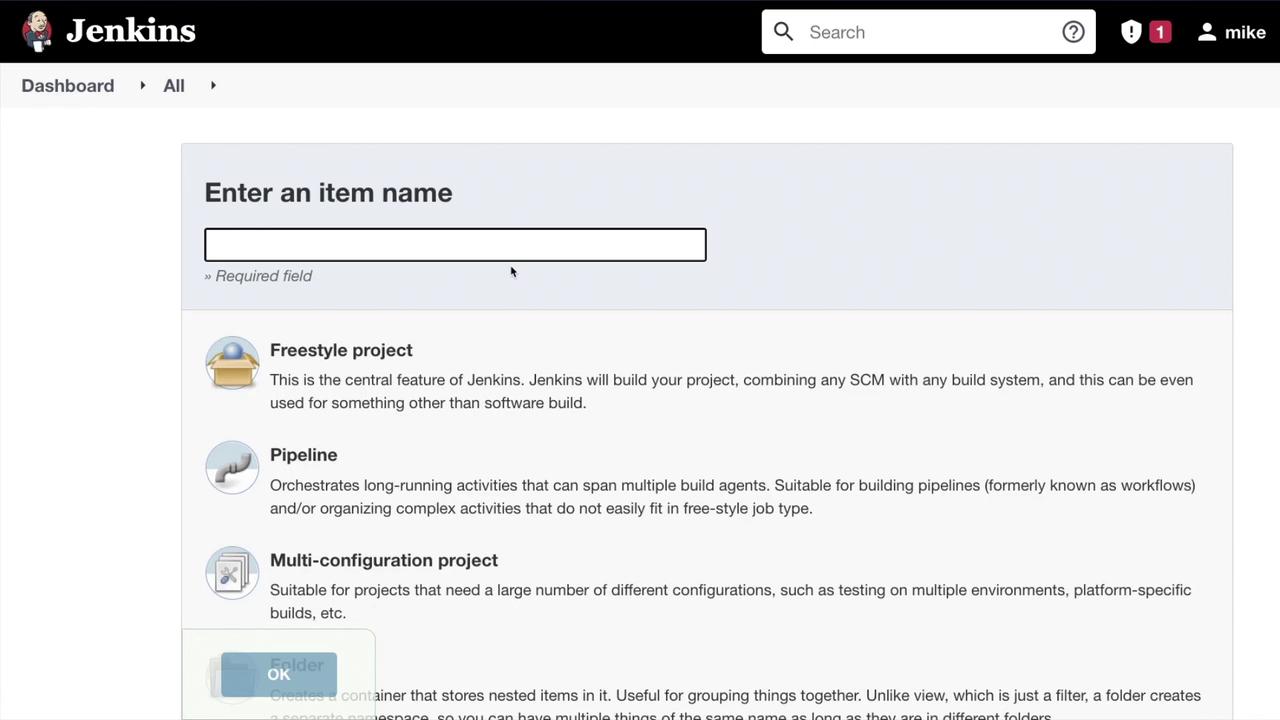
Verifying the Test Results
When reviewing the Jenkins logs, you should see output similar to the following, confirming that tests in the appropriate packages were discovered and executed:
+ go test ./...
? github.com/ybkuroki/go-webapp-sample [no test files]
? github.com/ybkuroki/go-webapp-sample/config [no test files]
? github.com/ybkuroki/go-webapp-sample/container [no test files]
ok github.com/ybkuroki/go-webapp-sample/controller 1.001s
? github.com/ybkuroki/go-webapp-sample/docs [no test files]
? github.com/ybkuroki/go-webapp-sample/logger [no test files]
? github.com/ybkuroki/go-webapp-sample/middleware [no test files]
? github.com/ybkuroki/go-webapp-sample/migration [no test files]
? github.com/ybkuroki/go-webapp-sample/model [no test files]
? github.com/ybkuroki/go-webapp-sample/model/dto [no test files]
? github.com/ybkuroki/go-webapp-sample/repository [no test files]
? github.com/ybkuroki/go-webapp-sample/router [no test files]
? github.com/ybkuroki/go-webapp-sample/service [no test files]
? github.com/ybkuroki/go-webapp-sample/session [no test files]
? github.com/ybkuroki/go-webapp-sample/test [no test files]
? github.com/ybkuroki/go-webapp-sample/util [no test files]
The log confirms that the Controller package contains tests which have run and passed successfully.
Conclusion
This tutorial covered the setup of a CI pipeline for running tests on your Go application using Jenkins. By following these steps, you have configured your Jenkins environment, set up the necessary plugins, defined a pipeline script, and executed unit tests.
Up Next
In the next lesson, we will delve into additional stages for building and deploying your Go application, further enhancing your CI/CD workflow.
Watch Video
Watch video content