This guide explains setting up a CI/CD pipeline using Jenkins and Docker to retrieve code, run tests, and build a Docker image.
This guide explains how to set up a CI/CD pipeline using Jenkins and Docker. We will create a pipeline that retrieves code from a Git repository, optionally runs tests, and builds a Docker image. Follow along to configure your Jenkinsfile and set up your Jenkins instance.
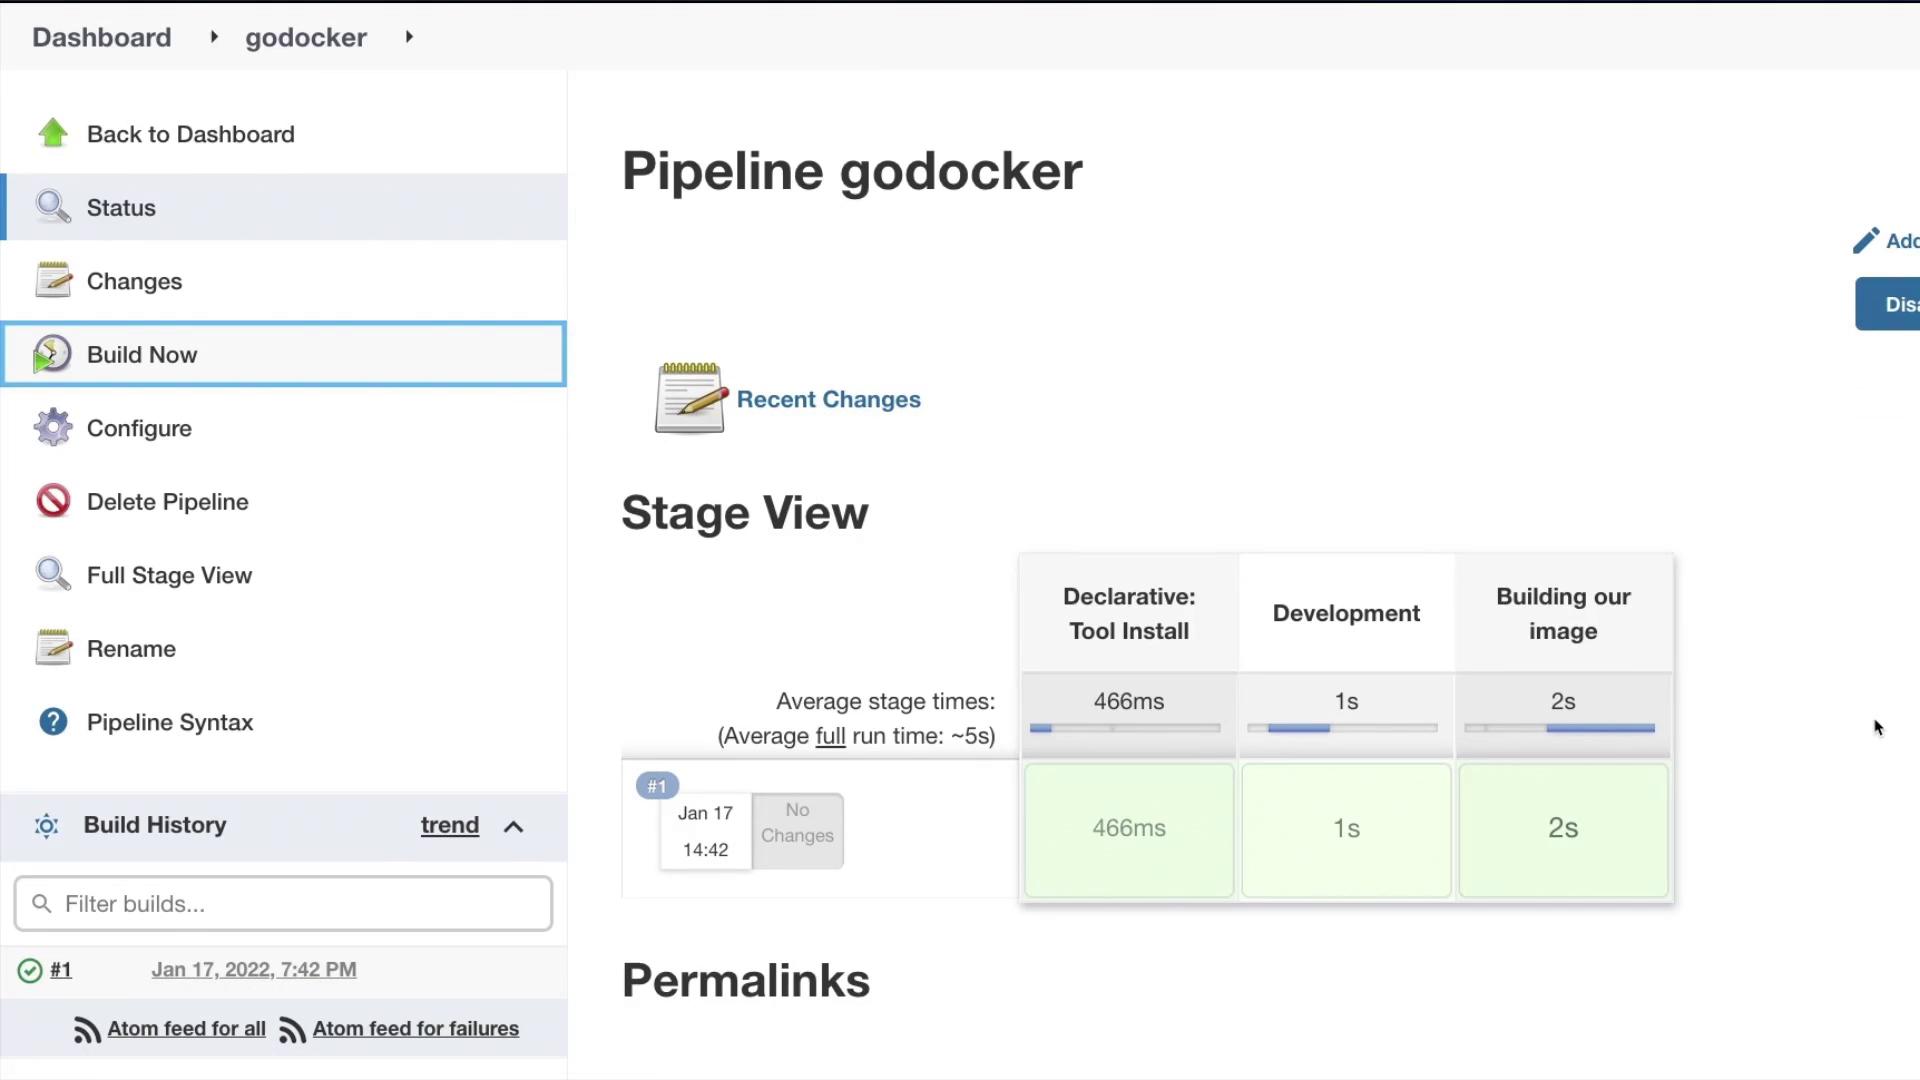
If the Docker image is not already present locally, the pipeline may take a little longer, as Jenkins will pull and build the image. Once the pipeline completes, review the console output to verify the successful checkout, build, and creation of the Docker image. Example console output:
Copy
Step 7 / 9 : RUN cd /build/go-webapp-sample && go build ---> Using cache8b7abe3f09fdcStep 8 / 9 : EXPOSE 8080 ---> Using cache7a58545ce61dStep 9 / 9 : ENTRYPOINT [ "/build/go-webapp-sample" ] ---> Using cache483409ad1030Successfully built 483409ad1030Successfully tagged adminturneddevops/go-webapp-sample:latest[Pipeline] }[Pipeline] // withEnv[Pipeline] // script[Pipeline] }[Pipeline] // withEnv[Pipeline] // stage[Pipeline] }[Pipeline] // withEnv[Pipeline] // node[Pipeline] End of PipelineFinished: SUCCESS
Ensure that your build server has sufficient resources and proper Docker configuration to execute the pipeline successfully.
This guide has walked you through setting up a CI/CD pipeline with Jenkins and Docker. By following the steps above, you now have a working pipeline that checks out code from Git, optionally runs tests, and builds a Docker image. For further learning and best practices, check out the Jenkins Documentation and Docker Documentation.Happy building and see you in the next article!