Using Node Selectors in Pod Definitions
To restrict a pod to run only on a node labeled as large, add anodeSelector field to the pod specification. Below is an example demonstrating how to define a pod with a node selector:
nodeSelector ensures that the pod is scheduled only on nodes having the label key size with the value Large.
Understanding Labels and Node Selectors
The key-value pair (size: Large) in the node selector must match the labels assigned to the nodes. Labels play a critical role in Kubernetes, not only with node selection but also for services, ReplicaSets, and deployments. It is essential to label your nodes accurately before deploying pods that use node selectors.
Labeling Your Nodes
Before creating a pod with a node selector, label the appropriate node. Use the following command to add a label to a node:node-1 as large, run:
size=Large on node-1, ensuring that any pod requiring this label via its nodeSelector will be scheduled on the correct node.
Deploying the Pod
Once your node is labeled and your pod definition includes the node selector, deploy your pod with:myapp-pod, which will be scheduled on node-1 thanks to the matching label.
Ensure that your node labels are kept up-to-date as your cluster evolves. This helps maintain consistent and predictable pod scheduling.
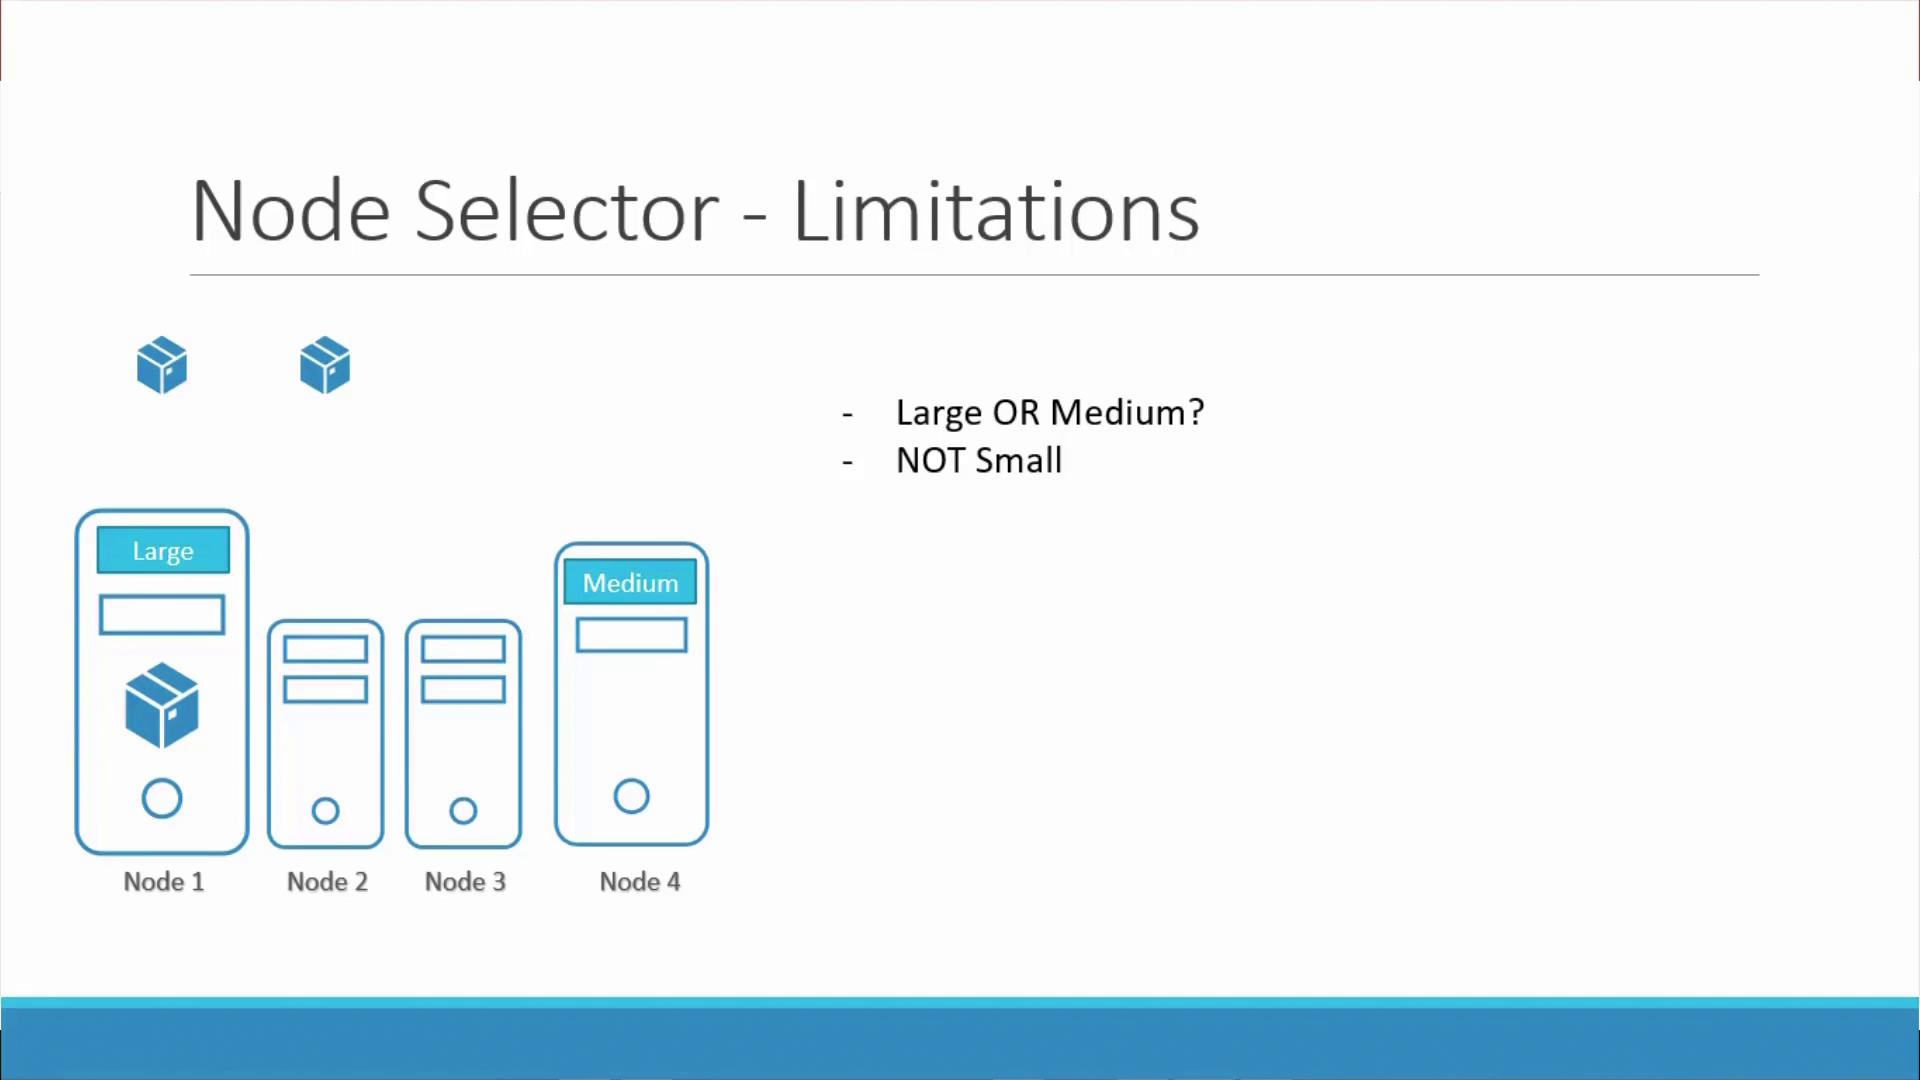
Limitations of Node Selectors
While node selectors are a simple and effective method for basic pod scheduling, they come with limitations. If your scheduling requirements extend beyond a single label match—for instance, if you need to schedule pods on either a large or medium node or exclude nodes labeled as small—node selectors alone won’t suffice. For more complex scheduling scenarios, consider using node affinity or anti-affinity. However, for straightforward cases, node selectors provide an easy-to-use solution.