Understanding the Analogy
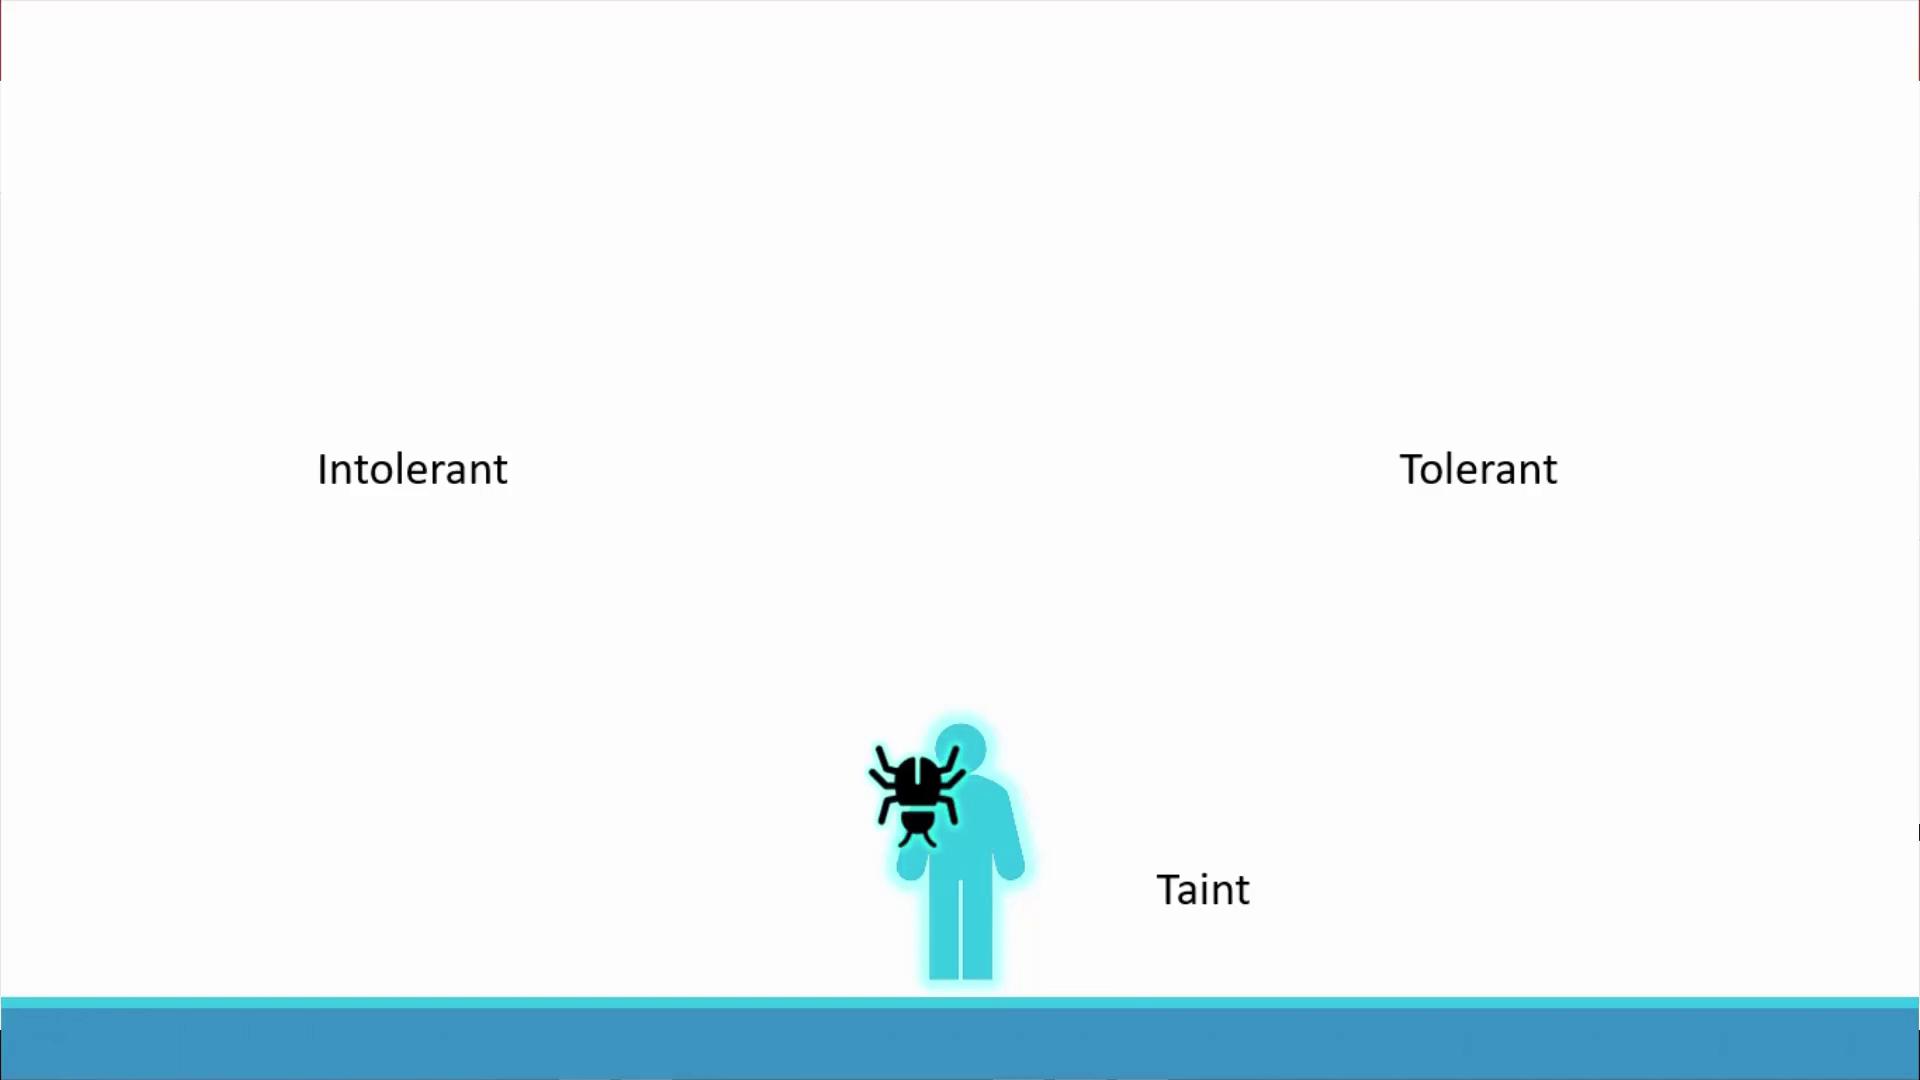
Imagine a bug approaching a person. To prevent the bug from landing, you spray the person with a repellent. In this analogy:- The repellent represents a taint applied to a node.
- The bug corresponds to a pod deciding whether to land.
- A bug’s sensitivity or resistance to the repellent represents a toleration.
Translating the Analogy to Kubernetes
In Kubernetes:- Nodes act as the “person” that is tainted.
- Pods act as the “bugs” that may be scheduled based on their tolerations.
- Taints on nodes repel pods that do not have matching tolerations.
- Tolerations in pods allow them to overcome the taint and be scheduled on that node.
Example Scenario
Consider a cluster with three worker nodes (named one, two, and three) and four pods (labeled A, B, C, and D). Initially, the scheduler distributes the pods uniformly across the nodes. To dedicate node one for a particular application, a taint (for example, “blue”) is applied to node one. With the taint in place, pods without any toleration will not be scheduled on node one.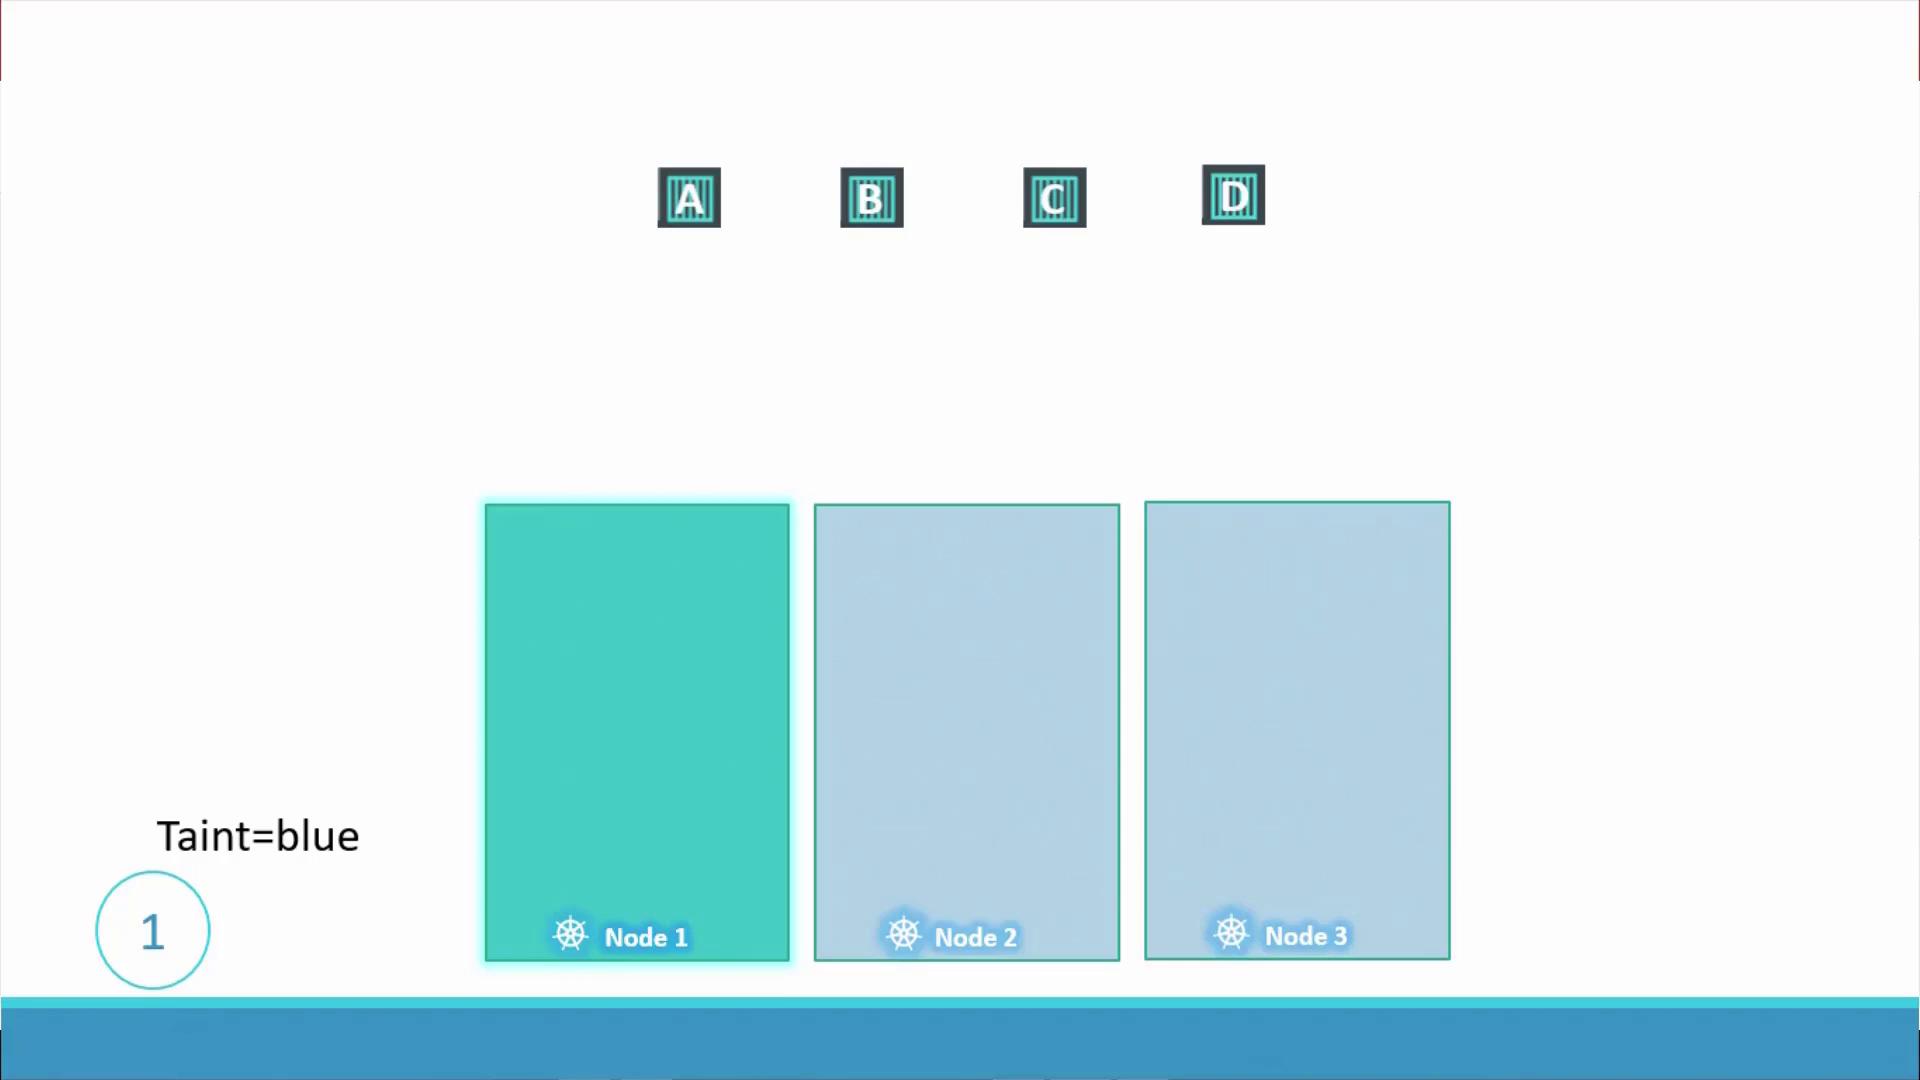
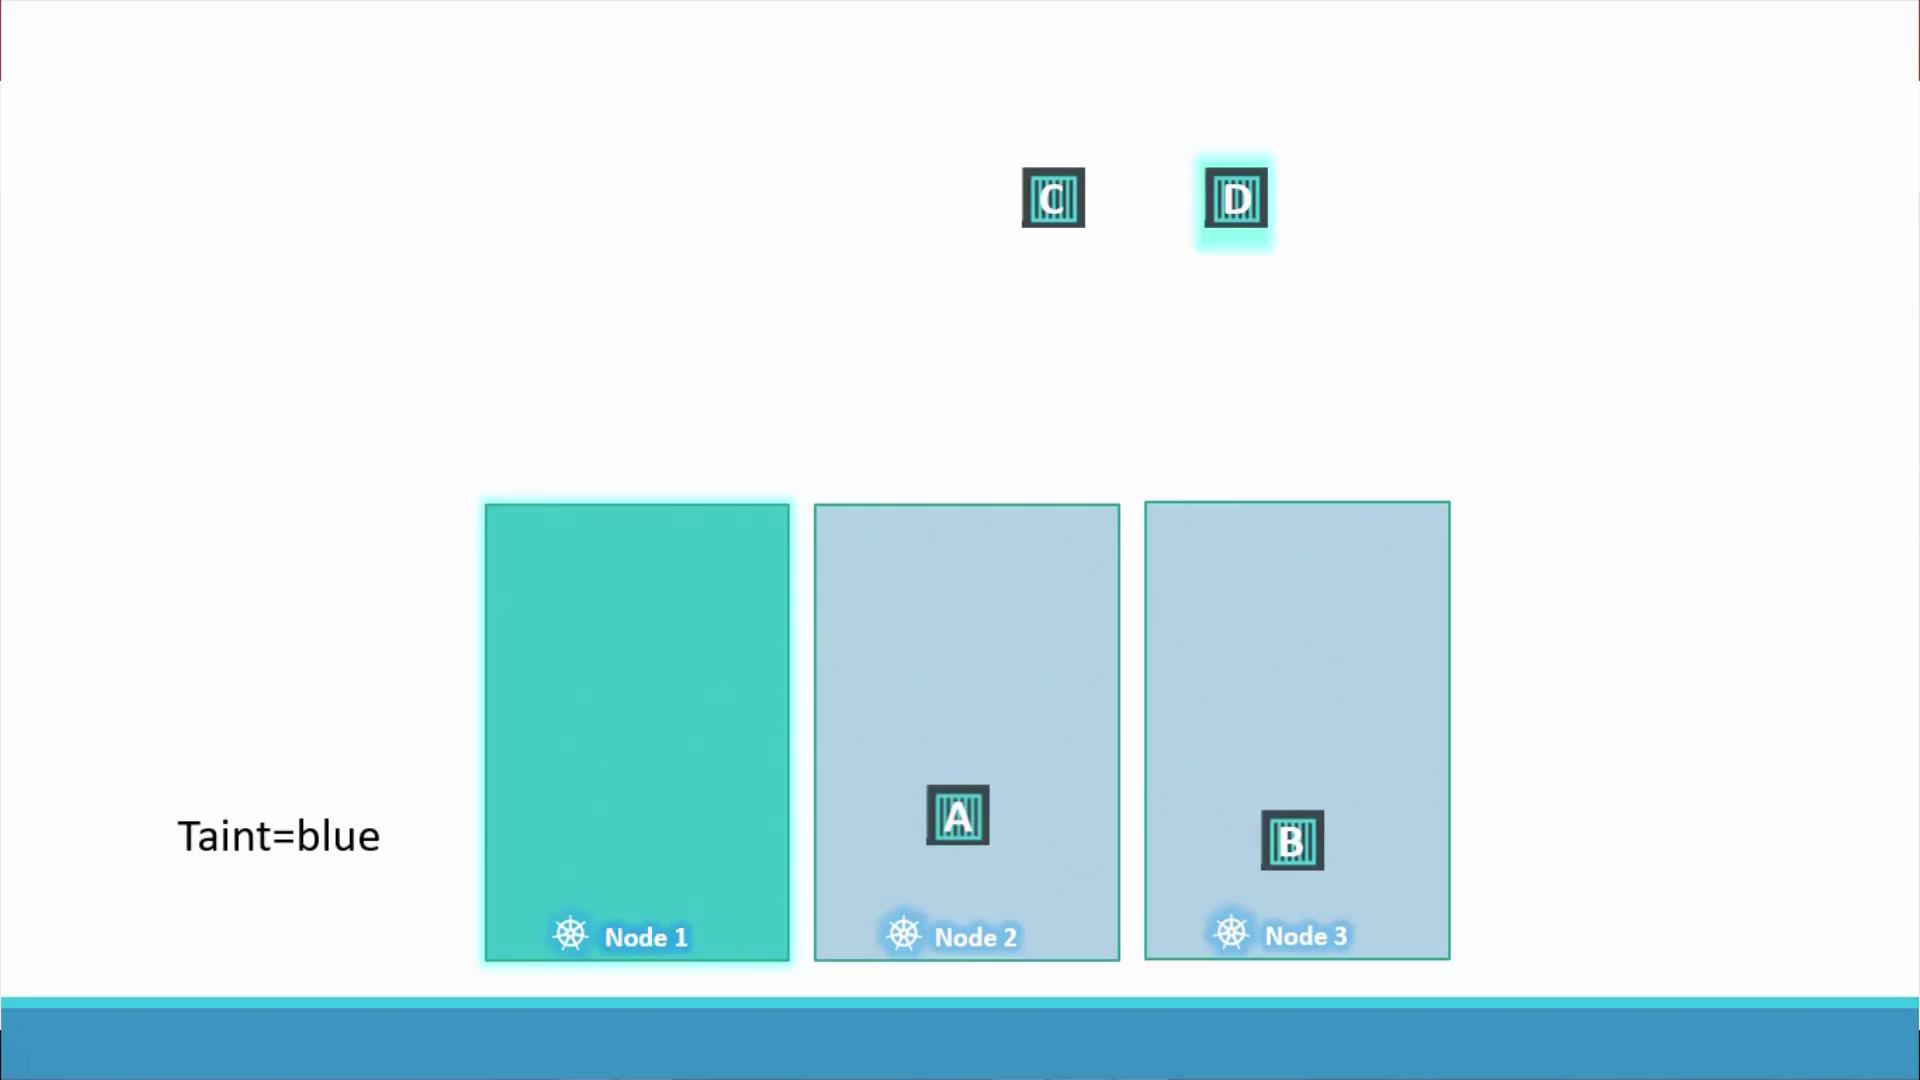
- Pods A, B, and C are repelled from node one because they do not tolerate the taint and are scheduled on nodes two and three.
- Pod D, with the matching toleration, is scheduled on node one.
Applying Taints on Nodes
You can taint a node using the following command:app=blue and prevent pods from being scheduled on it by default (using the NoSchedule effect), run:
There are three taint effects available:
- NoSchedule: Pods without the toleration are not scheduled on the node.
- PreferNoSchedule: The scheduler avoids placing pods on the node, but placement is not strictly prevented.
- NoExecute: New pods are not scheduled, and existing pods without tolerations are evicted.
Configuring Tolerations in Pods
To allow a pod to run on a tainted node, you must include a toleration in the pod’s YAML definition. Below is an example configuration for a pod that tolerates theapp=blue taint with the NoSchedule effect:
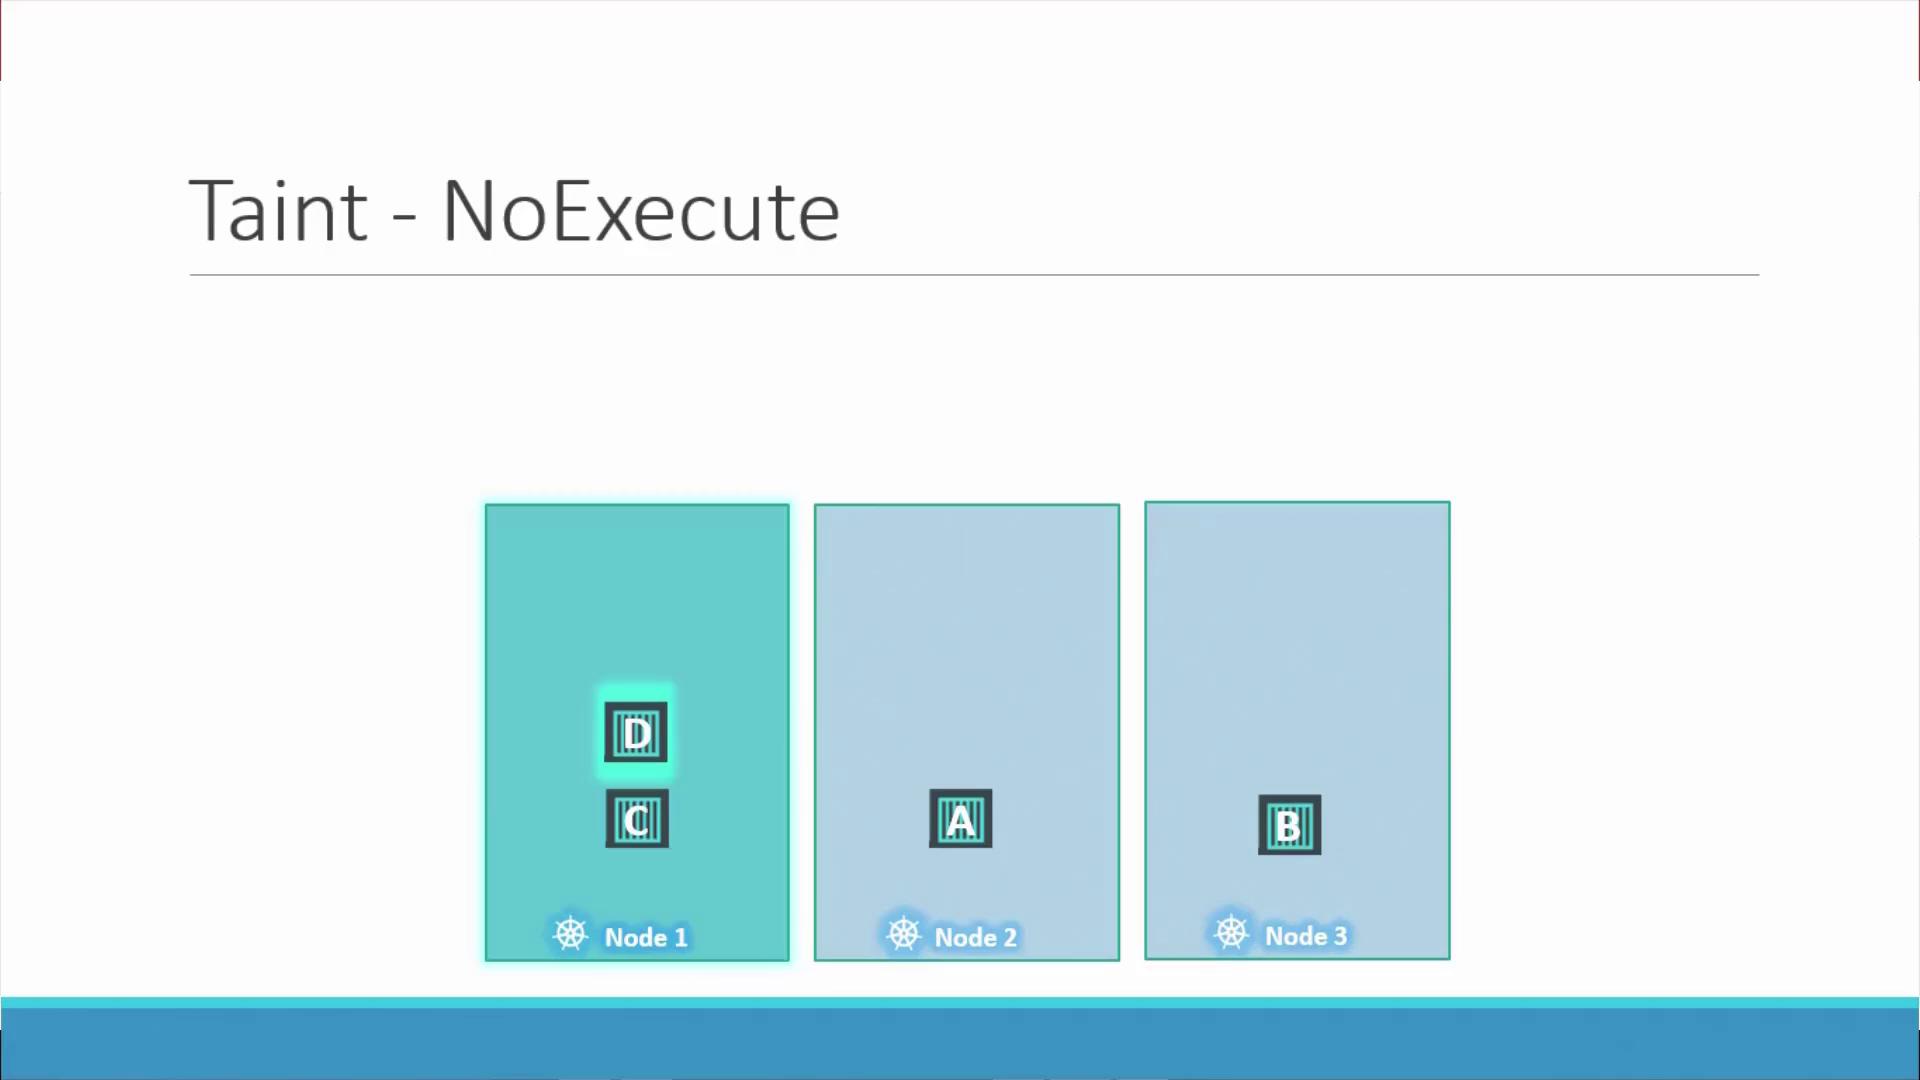
Special Case: NoExecute Effect
Let’s consider the NoExecute taint effect in a dedicated node scenario:- Imagine three nodes with evenly distributed workloads.
- Node one is tainted with NoExecute, and only pod D has a toleration for this taint.
- As a result, any pod on node one without the required toleration, such as pod C, will be evicted, leaving only pod D running on node one.
Important Considerations
Remember that taints and tolerations only control which nodes can accept pods. They do not force a pod to run on a specific node. If node one is not selected by the scheduler, even a pod with the correct toleration might be placed elsewhere. For targeted node selection, consider using node affinity.
Conclusion
In this guide, we have:- Explained how taints and tolerations work in Kubernetes using a relatable analogy.
- Demonstrated how to taint nodes and configure tolerations in pod specifications.
- Highlighted the differences between the NoSchedule, PreferNoSchedule, and NoExecute taint effects.
- Discussed best practices for controlling pod placement while noting the additional considerations for using node affinity.