In Kubernetes, the kubelet acts as the “captain” on each worker node. It:
Registers the node with the control plane.
Starts and stops containers per Pod specs.
Monitors Pod and container health, reporting back to the API Server.
Just like a ship’s captain must secure communications with the harbor master, you must lock down the kubelet so it only accepts instructions from your cluster’s API Server. In this guide, you’ll learn how to:
Install and configure the kubelet securely
Inspect its running configuration
Harden authentication, authorization, and network access
1. Role & Installation of the Kubelet Key Responsibilities
Node Registration Pod Lifecycle Management Health Reporting
Manual Installation Download the kubelet binary and set up a systemd unit:
wget https://storage.googleapis.com/kubernetes-release/release/v1.20.0/bin/linux/amd64/kubelet \
  -O /usr/local/bin/kubelet && chmod +x /usr/local/bin/kubelet
# /etc/systemd/system/kubelet.service [Unit] Description =Kubelet Service After =network.target [Service] ExecStart =/usr/local/bin/kubelet \ -- container-runtime =remote \ -- image-pull-progress-deadline =2m \ -- kubeconfig =/var/lib/kubelet/kubeconfig \ -- network-plugin =cni \ -- register-node =true \ -- cluster-domain =cluster.local \ -- cluster-dns =10.96.0.10 \ -- v =2 Restart =always RestartSec =5 [Install] WantedBy =multi-user.target
With kubeadm (v1.10+), most flags migrate into /var/lib/kubelet/config.yaml and are maintained automatically during kubeadm join.
Dedicated Config File # /var/lib/kubelet/config.yaml apiVersion : kubelet.config.k8s.io/v1beta1 kind : KubeletConfiguration clusterDomain : cluster.local clusterDNS : - 10.96.0.10 fileCheckFrequency : 0s httpCheckFrequency : 0s syncFrequency : 0s healthzPort : 10248
Add --config=/var/lib/kubelet/config.yaml to your service’s ExecStart. Command-line flags will always override the YAML settings.
2. Inspecting the Active Configuration On any worker node, verify the kubelet invocation and configuration:
ps aux | grep kubelet
# e.g. /usr/bin/kubelet --kubeconfig=/etc/kubernetes/kubelet.conf \
#       --bootstrap-kubeconfig=/etc/kubernetes/bootstrap-kubelet.conf \
#       --config=/var/lib/kubelet/config.yaml \
#       --cgroup-driver=systemd \
#       --network-plugin=cni
cat /var/lib/kubelet/config.yaml
# apiVersion: kubelet.config.k8s.io/v1beta1
# kind: KubeletConfiguration
# authentication:
#   anonymous:
#     enabled: false
#   x509:
#     clientCAFile: /path/to/ca.crt
# authorization:
#   mode: Webhook
# readOnlyPort: 0
# rotateCertificates: true
# staticPodPath: /etc/kubernetes/manifests
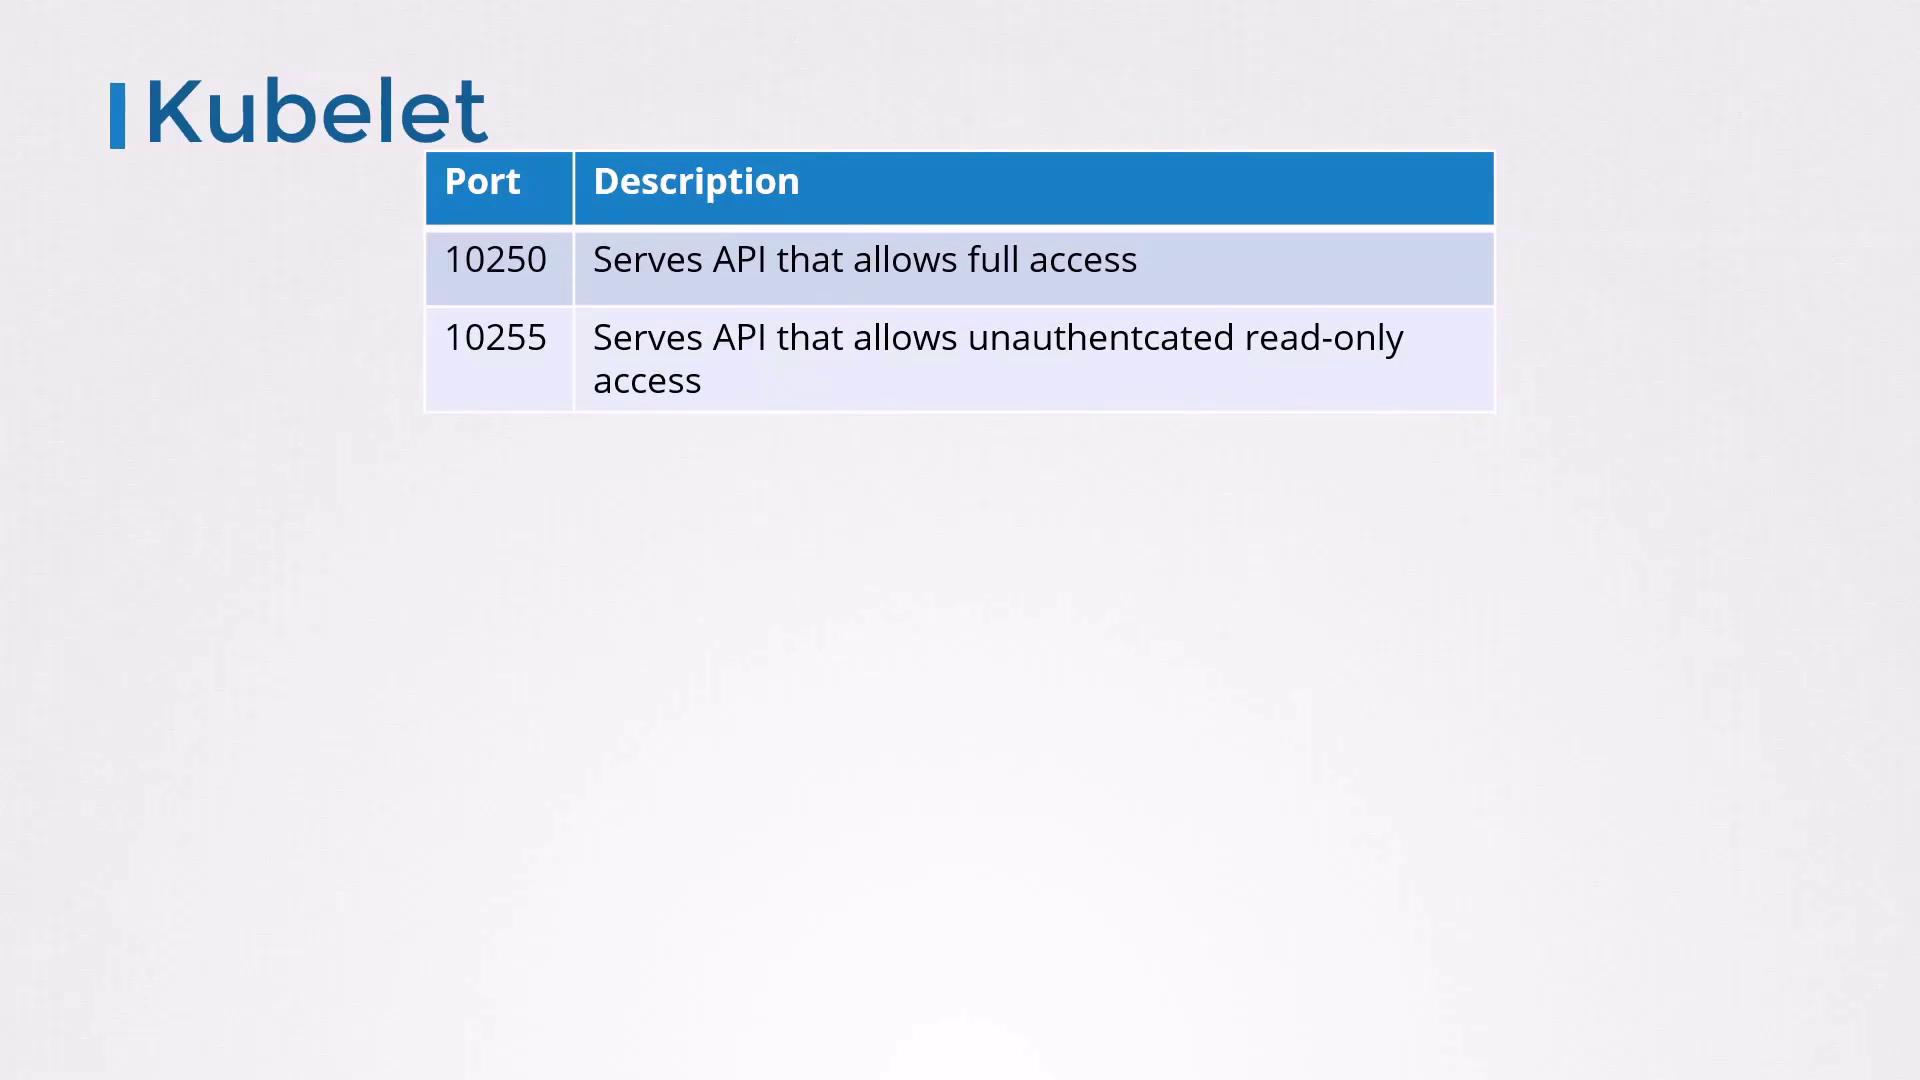
3. Kubelet API Endpoints Port Endpoint Type Access Recommendation 10250 Secure API TLS + AuthN/AuthZ required Keep enabled and locked down 10255 Read-only metrics Unauthenticated, HTTP only Disable in production
Anyone with network access to port 10255 can scrape metrics:
curl -s http://localhost:10255/metrics | head -n 5
# HELP process_cpu_seconds_total Total user and system CPU time spent in seconds.
# TYPE process_cpu_seconds_total counter
# process_cpu_seconds_total 0.01
Port 10255 is unauthenticated and exposes sensitive metrics. It should always be disabled in production.
4. Authentication Configuration By default, the kubelet permits anonymous requests (system:anonymous). Disable this to force clients to present credentials.
Disable Anonymous Access Via flags in your systemd unit:-- anonymous-auth =false \ -- client-ca-file =/path/to/ca.crt
Or in /var/lib/kubelet/config.yaml:authentication : anonymous : enabled : false x509 : clientCAFile : /path/to/ca.crt
Certificate-Based Client Auth
Generate a CA and sign a kubelet-serving certificate.
Distribute the CA bundle with --client-ca-file=/path/to/ca.crt.
Test with:
curl -s --key kubelet-key.pem --cert kubelet-cert.pem \
  https://localhost:10250/pods
Ensure the API Server has credentials to call the kubelet:
# /etc/systemd/system/kube-apiserver.service -- kubelet-client-certificate =/path/to/kubelet-client.crt \ -- kubelet-client-key =/path/to/kubelet-client.key
5. Authorization Modes Out of the box, the kubelet uses AlwaysAllow (no authorization). Switch to Webhook to delegate decisions to the API Server.
# Flags -- authorization-mode =Webhook
# config.yaml authorization : mode : Webhook
Each kubelet request is then validated via the API Server’s SubjectAccessReview endpoint.
6. Disabling the Read-Only Port To completely turn off port 10255:
# Flags -- read-only-port =0
# config.yaml readOnlyPort : 0
Always set readOnlyPort: 0 in production to prevent unauthenticated access to metrics.
7. Summary of Hardening Steps Security Aspect Recommended Setting Anonymous Auth --anonymous-auth=falseTLS Client AuthN clientCAFile: /path/to/ca.crtAuthorization --authorization-mode=WebhookRead-Only Port readOnlyPort: 0Certificate Rotation rotateCertificates: true
Example Final kubelet.service Snippet ExecStart =/usr/local/bin/kubelet \ -- config =/var/lib/kubelet/config.yaml \ -- anonymous-auth =false \ -- client-ca-file =/path/to/ca.crt \ -- authorization-mode =Webhook \ -- read-only-port =0
Example Final config.yaml apiVersion : kubelet.config.k8s.io/v1beta1 kind : KubeletConfiguration authentication : anonymous : enabled : false x509 : clientCAFile : /path/to/ca.crt authorization : mode : Webhook readOnlyPort : 0 rotateCertificates : true
You’re now ready to apply these settings and secure the kubelet in your cluster!
Links and References