Why Authorization Matters
Cluster administrators have full control by default:Kubernetes Authorization Mechanisms
Kubernetes supports several authorization modes, evaluated in order: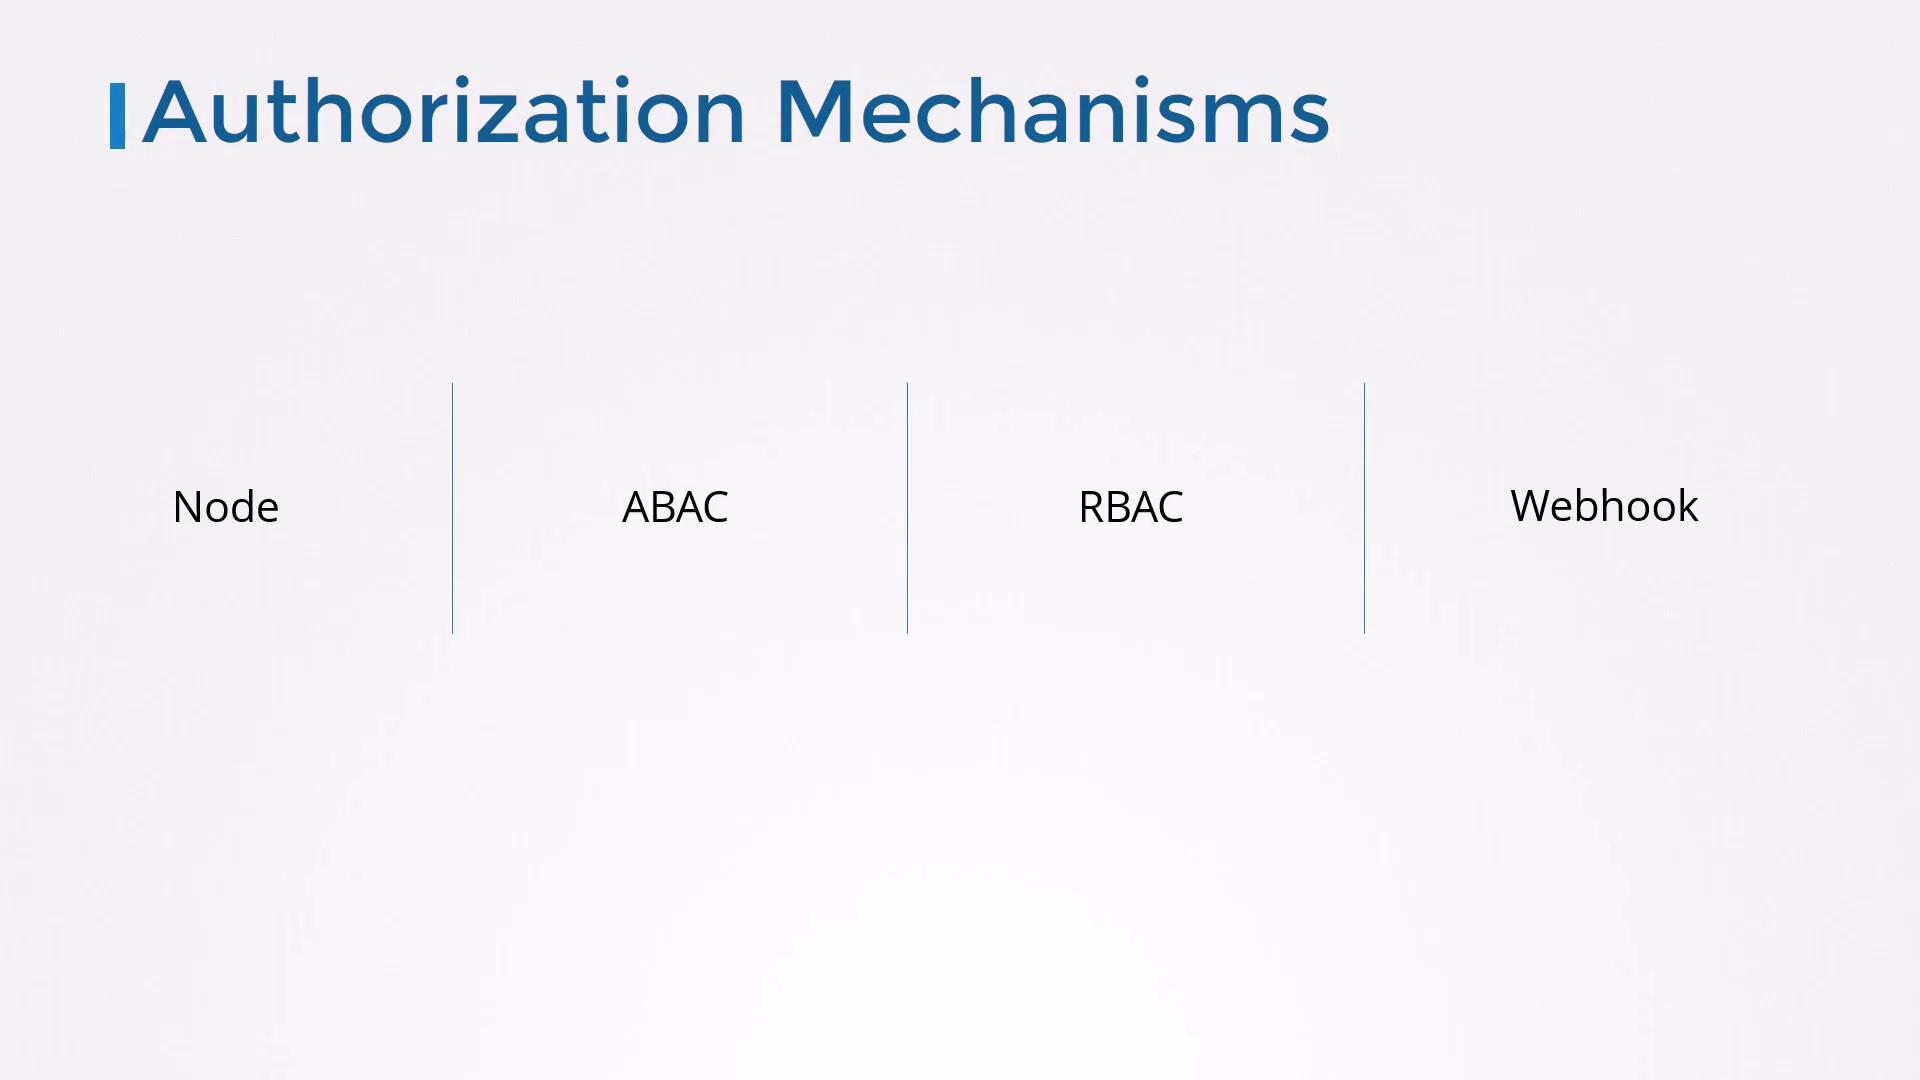
| Mode | Description |
|---|---|
| Node | Grants kubelets exactly the permissions they need, based on their system:node:<nodeName> certificate. |
| ABAC | Uses attribute-based JSON policies passed at API server startup. |
| RBAC | Defines Roles (collections of permissions) and RoleBindings to assign them to users/groups. |
| Webhook | Delegates each request to an external HTTP service (e.g., OPA) for custom policy decisions. |
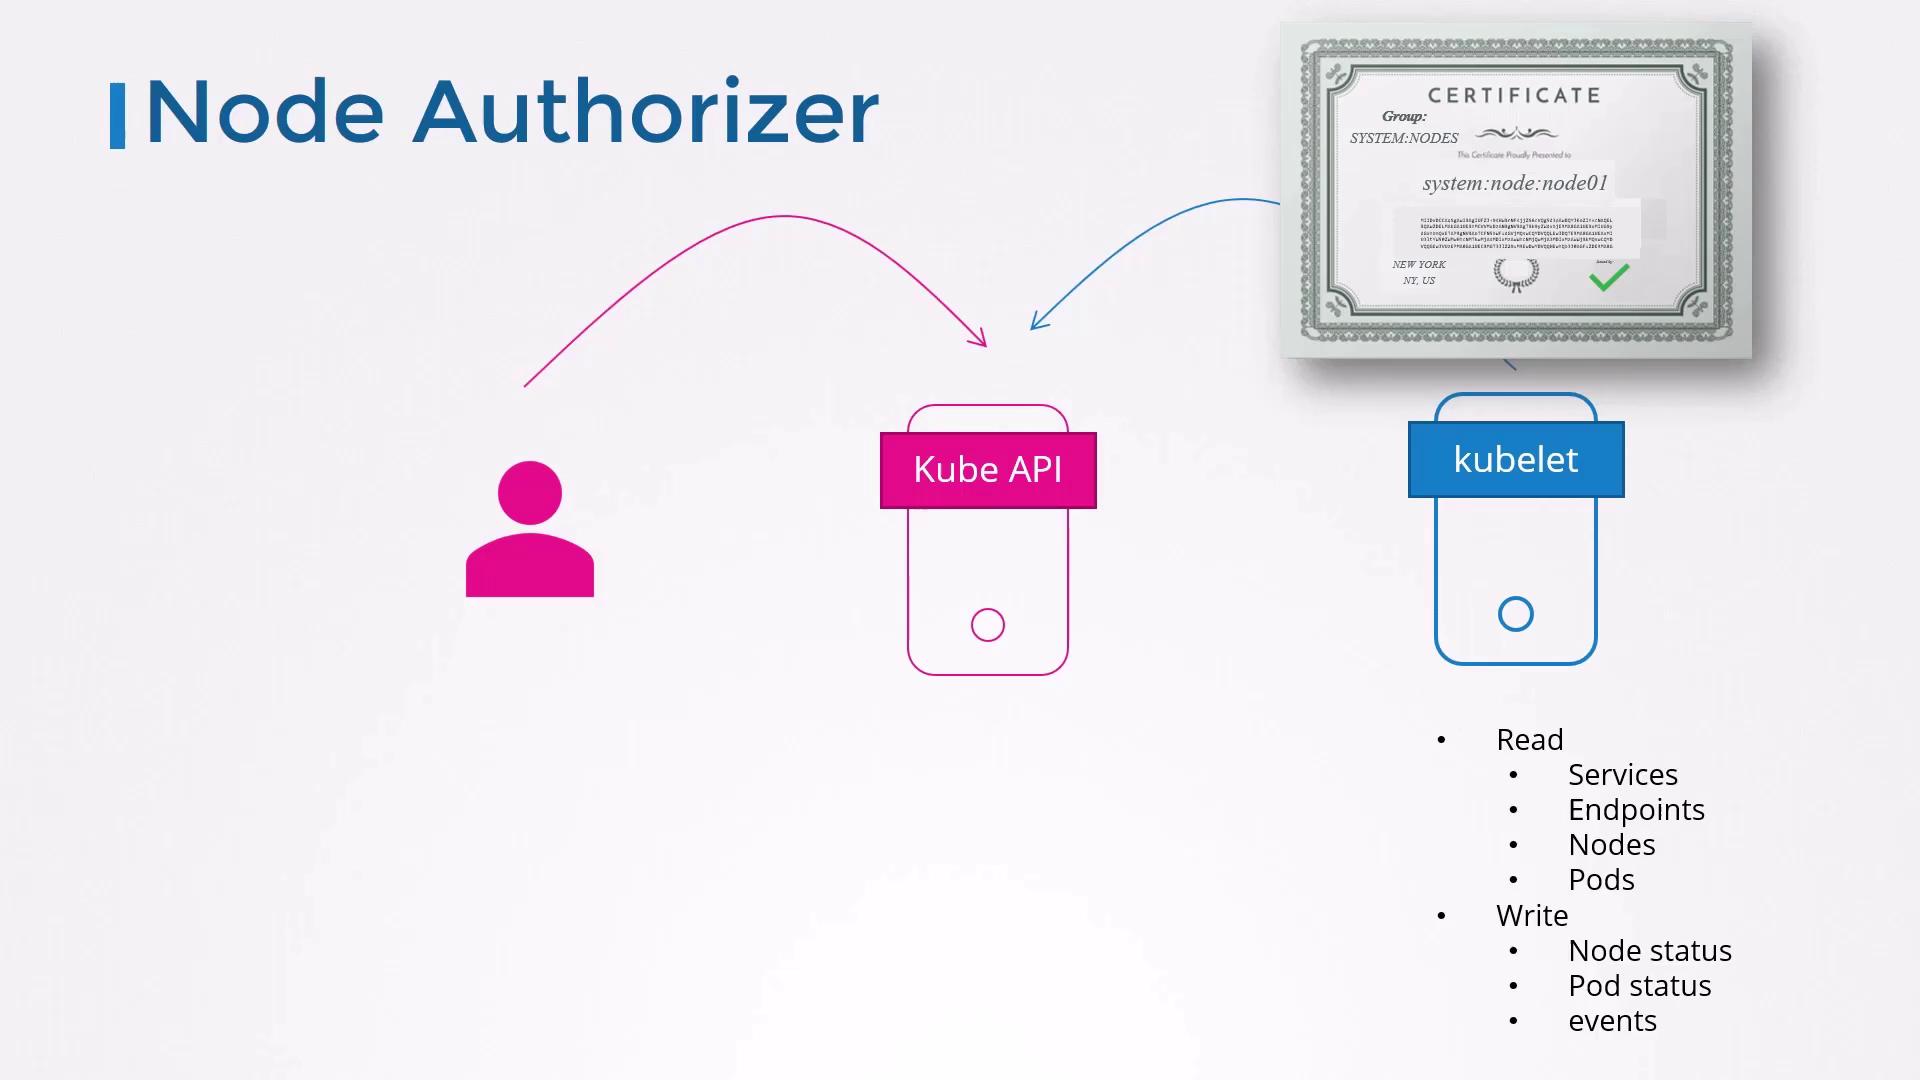
1. Node Authorizer
Kubelets use TLS client certificates (usersystem:node:<nodeName>, group system:nodes) to communicate with the API server. The Node Authorizer automatically grants permissions to read Pods/Services and report node status—nothing more.
2. Attribute-Based Access Control (ABAC)
ABAC policies are static JSON files supplied at API server startup. Each entry matchesuser, group, namespace, resource, and apiGroup.
ABAC can become unwieldy in large environments since every permission change needs a file update and server restart.
3. Role-Based Access Control (RBAC)
RBAC organizes permissions into Roles (namespace-scoped) or ClusterRoles (cluster-scoped), then binds them to users, groups, or service accounts. Changes to a Role take effect immediately for all subjects.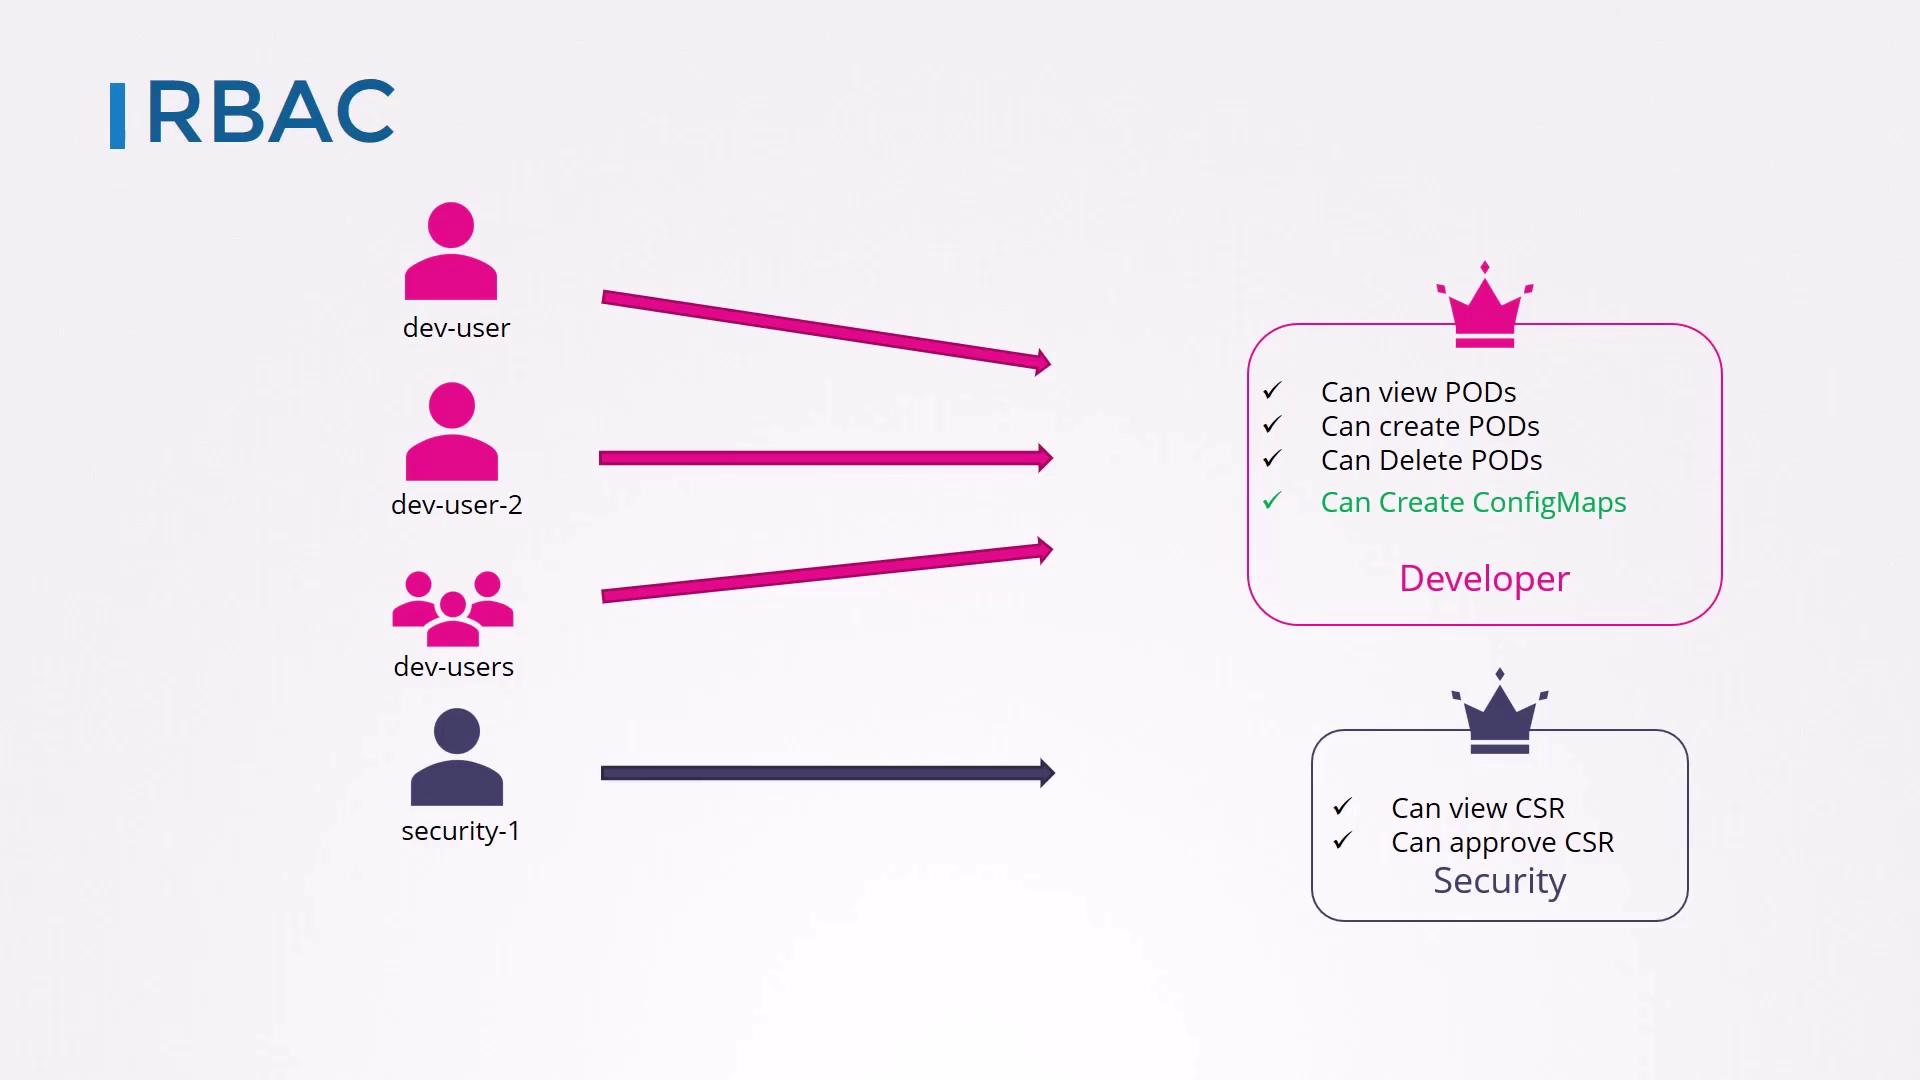
RBAC is the recommended authorization mechanism for most production clusters.
4. Webhook (External Authorization)
With a webhook authorizer, the API server forwards each request to an external HTTP endpoint (for example, Open Policy Agent). The external service evaluates policies and returns an allow or deny response.Fallback Modes: AlwaysAllow and AlwaysDeny
If no authorization mode is specified, Kubernetes defaults to AlwaysAllow, permitting all requests. You can also use AlwaysDeny to block every request.| Mode | Behavior |
|---|---|
| AlwaysAllow | All requests are granted (default). |
| AlwaysDeny | All requests are rejected. |
Configuring Authorization Modes
Set the modes via the--authorization-mode flag on the kube-apiserver. The order matters—the API server stops at the first allow or deny decision.
If
--authorization-mode is omitted, Kubernetes uses AlwaysAllow by default.- Node handles kubelet requests.
- RBAC authorizes based on Roles and Bindings.
- Webhook consults an external service if previous modules neither allowed nor denied.
Role-Based Access Control in Kubernetes will be covered in more depth later in this course.