Linux Foundation Certified System Administrator (LFCS)
Essential Commands
Git Basic Operations
In today's fast-paced software development environment, large teams often consist of 10 or more developers collaborating simultaneously. With numerous people adding, deleting, and modifying code concurrently, it can be challenging to keep track of every change made in just 24 hours. For instance, while the testing team may report a bug, one developer could be fixing it across multiple files, another adding new features by creating new files and modifying existing ones, and yet another removing outdated features. Manual tracking through messages or chats is quickly overwhelming.
When you log into your computer as part of this dynamic team, you need an efficient way to quickly see:
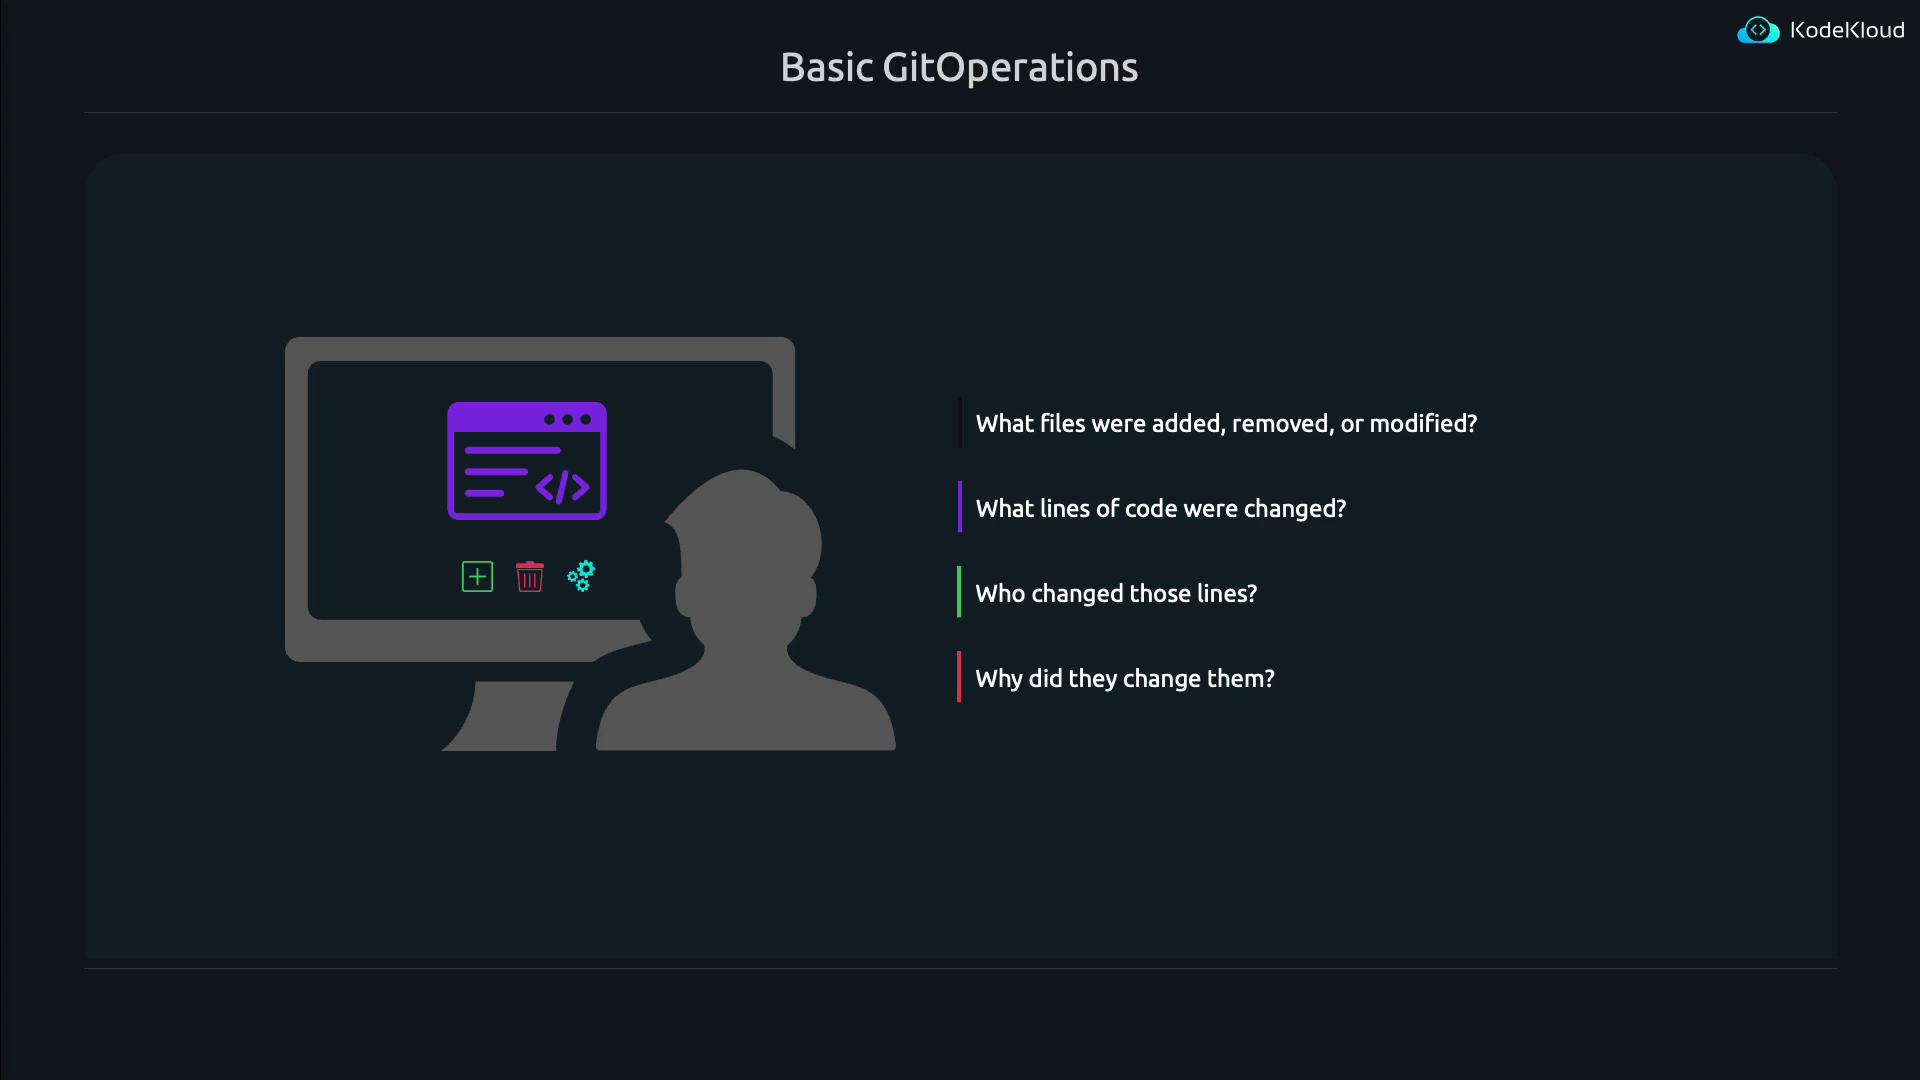
- What files have been added, modified, or removed
- Which lines of code have been changed
- Who made those changes
- Why the changes were made
This comprehensive overview not only helps you understand your teammates’ contributions but also effectively communicates your own modifications.
One robust solution is using a distributed version control system like Git. Git allows many developers to work on the same project concurrently while automatically keeping track of every change. Instead of relying on manual updates or informal messaging, Git provides a structured method to both update and review changes across your team.
With Git, every change is recorded along with metadata—such as the author’s name, email, and a descriptive message—providing a clear history of modifications from your last visit.
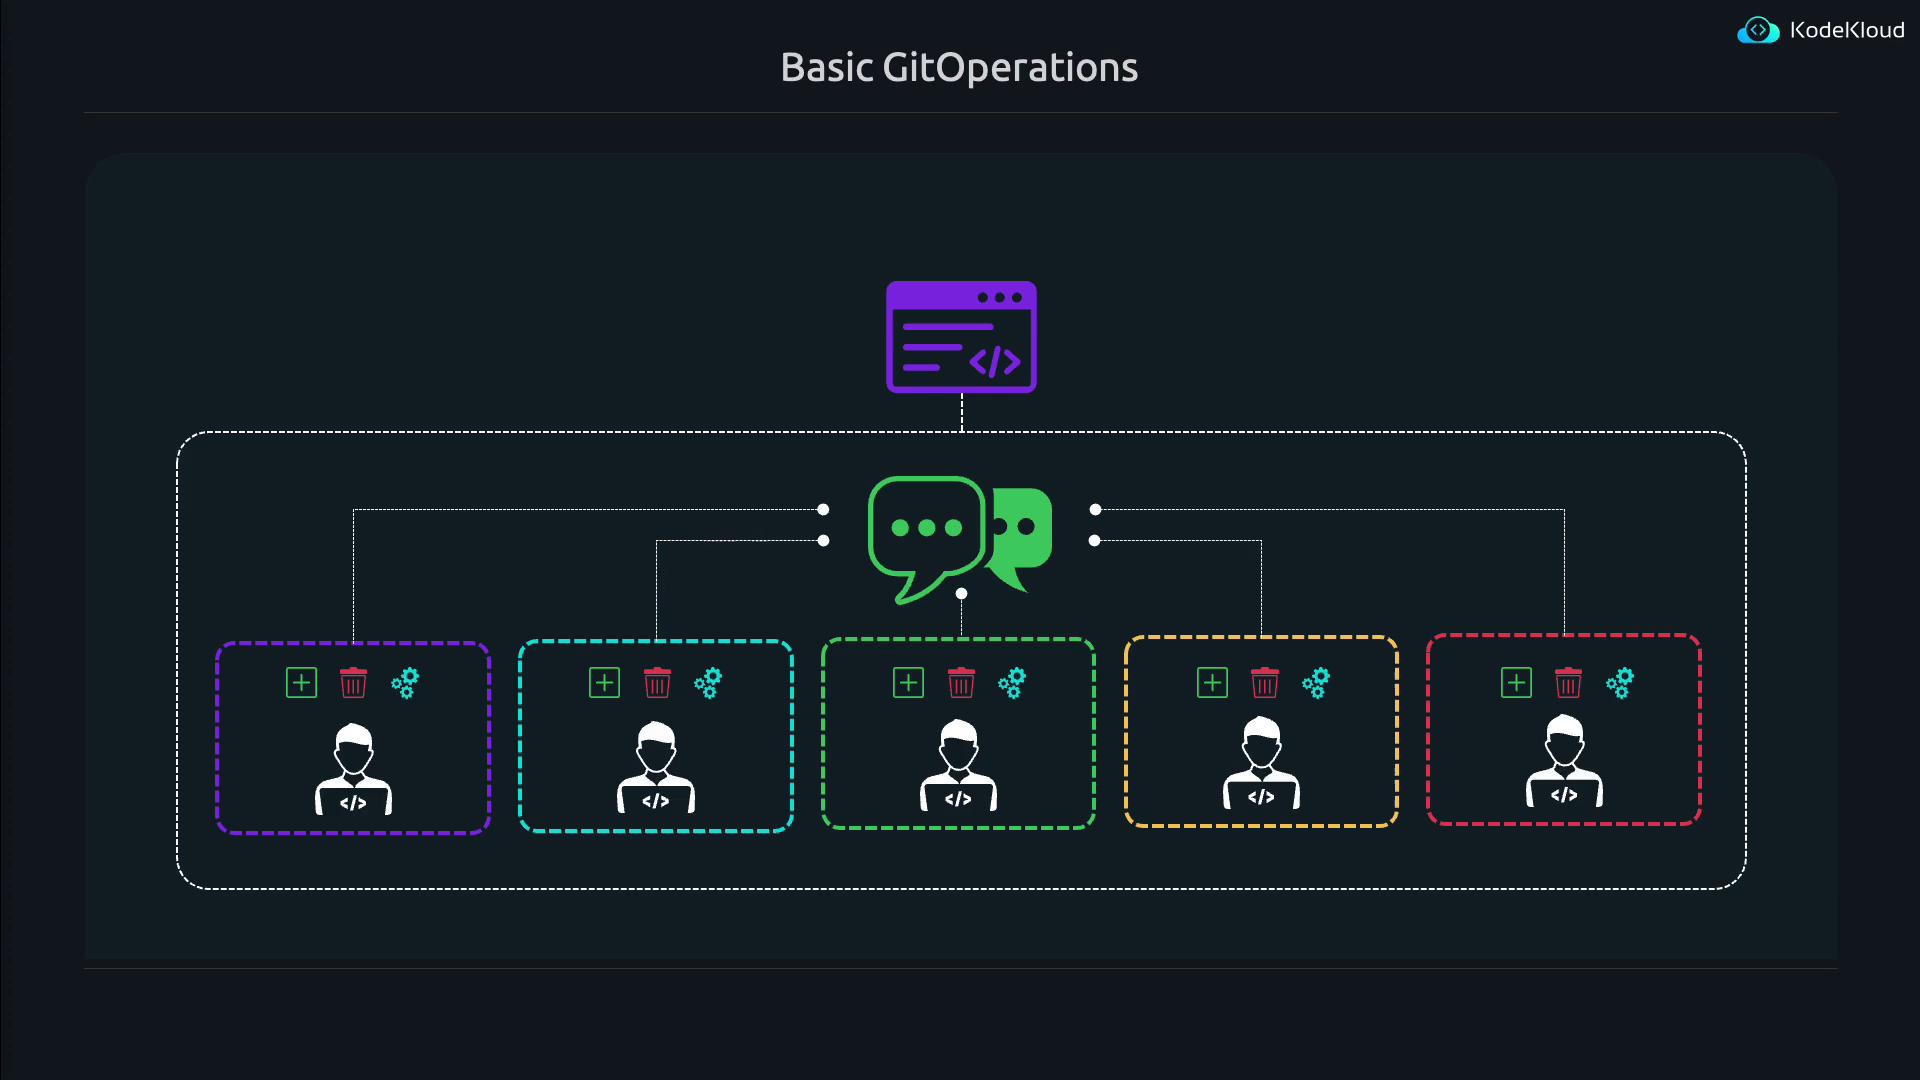
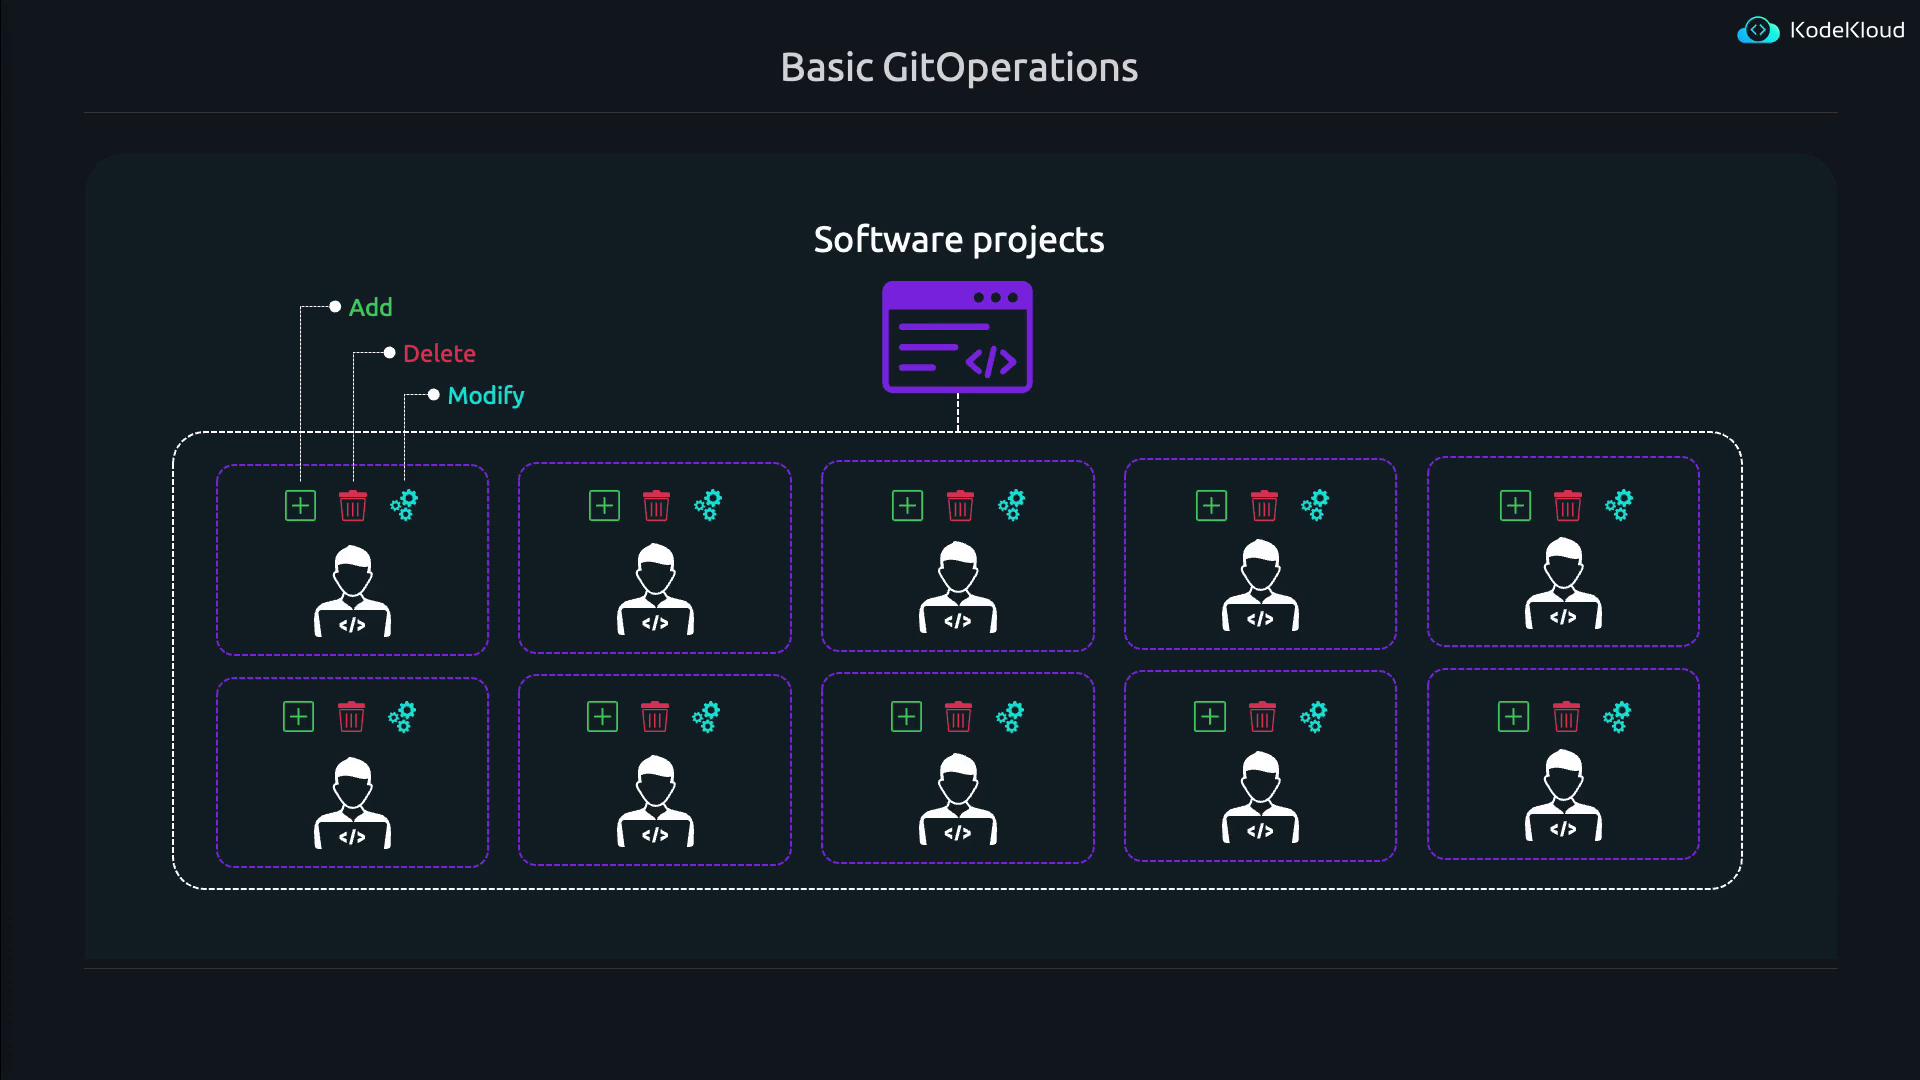
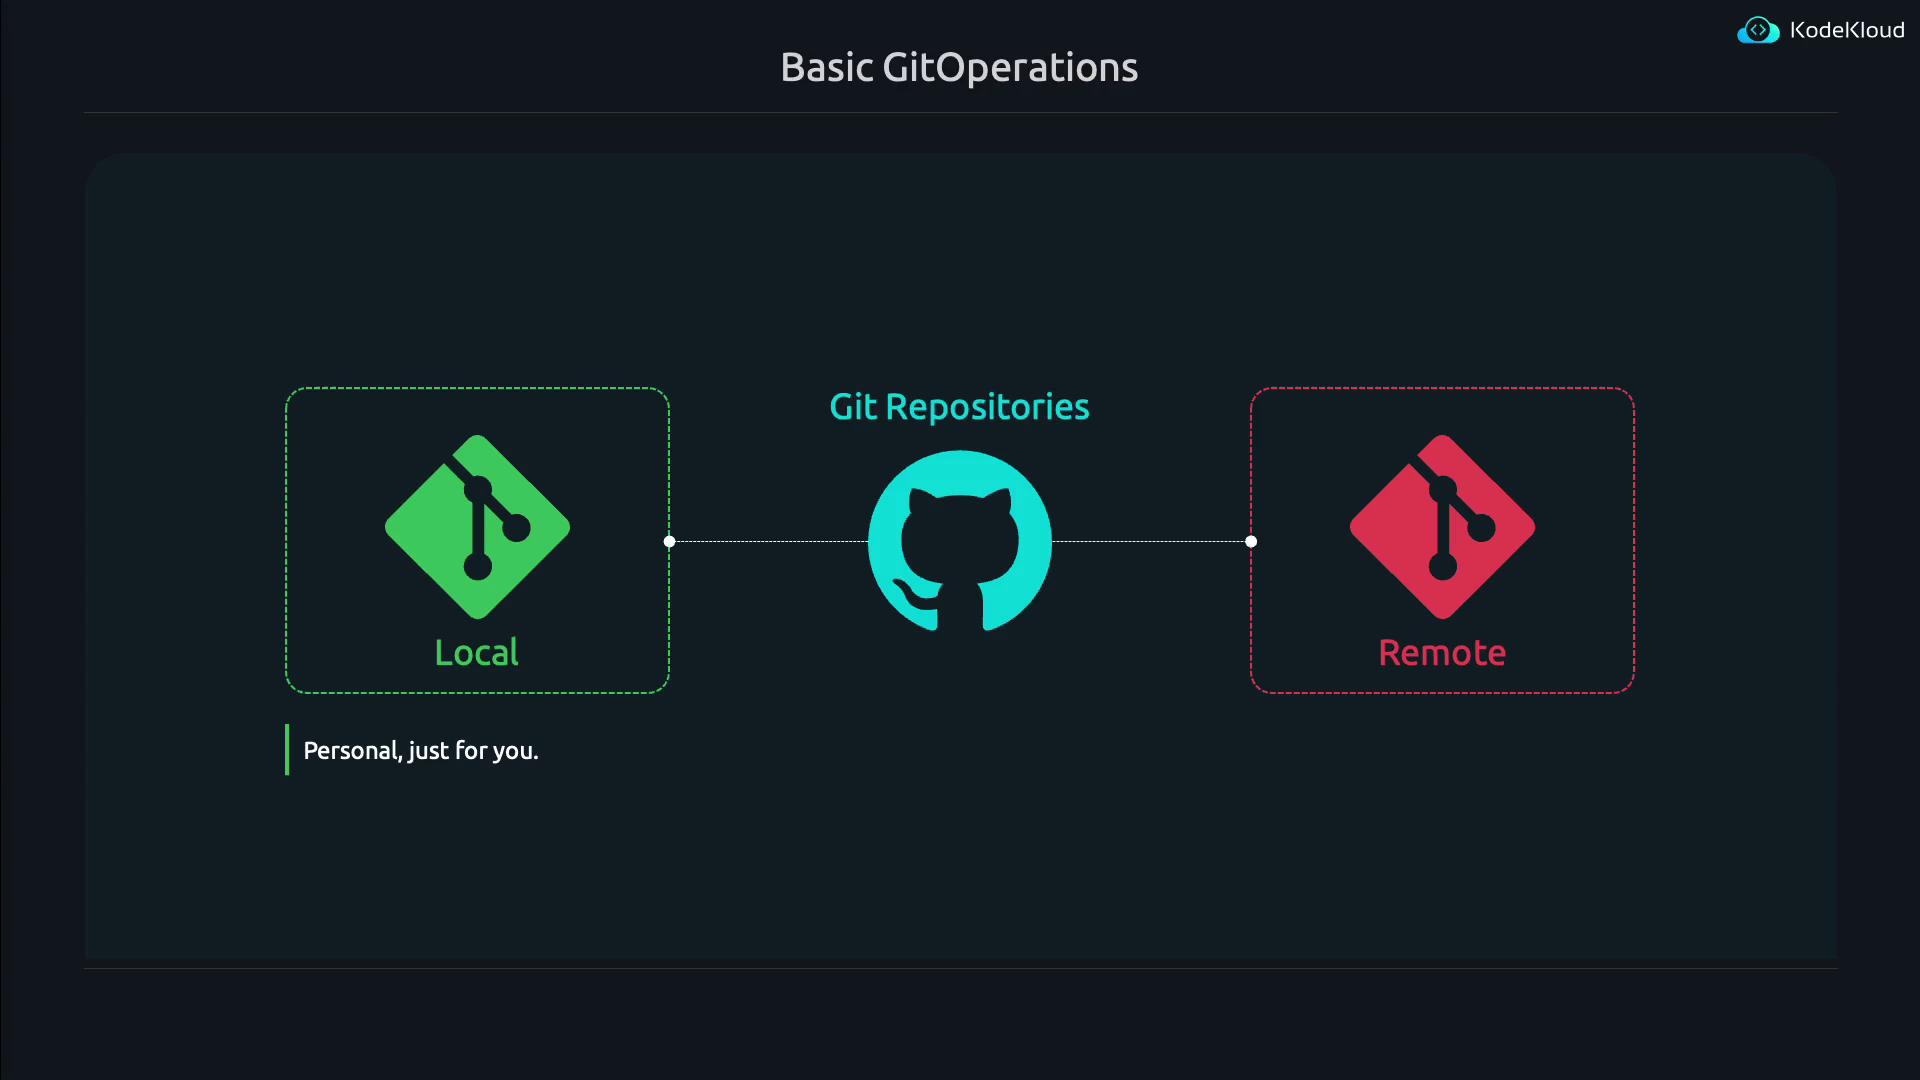
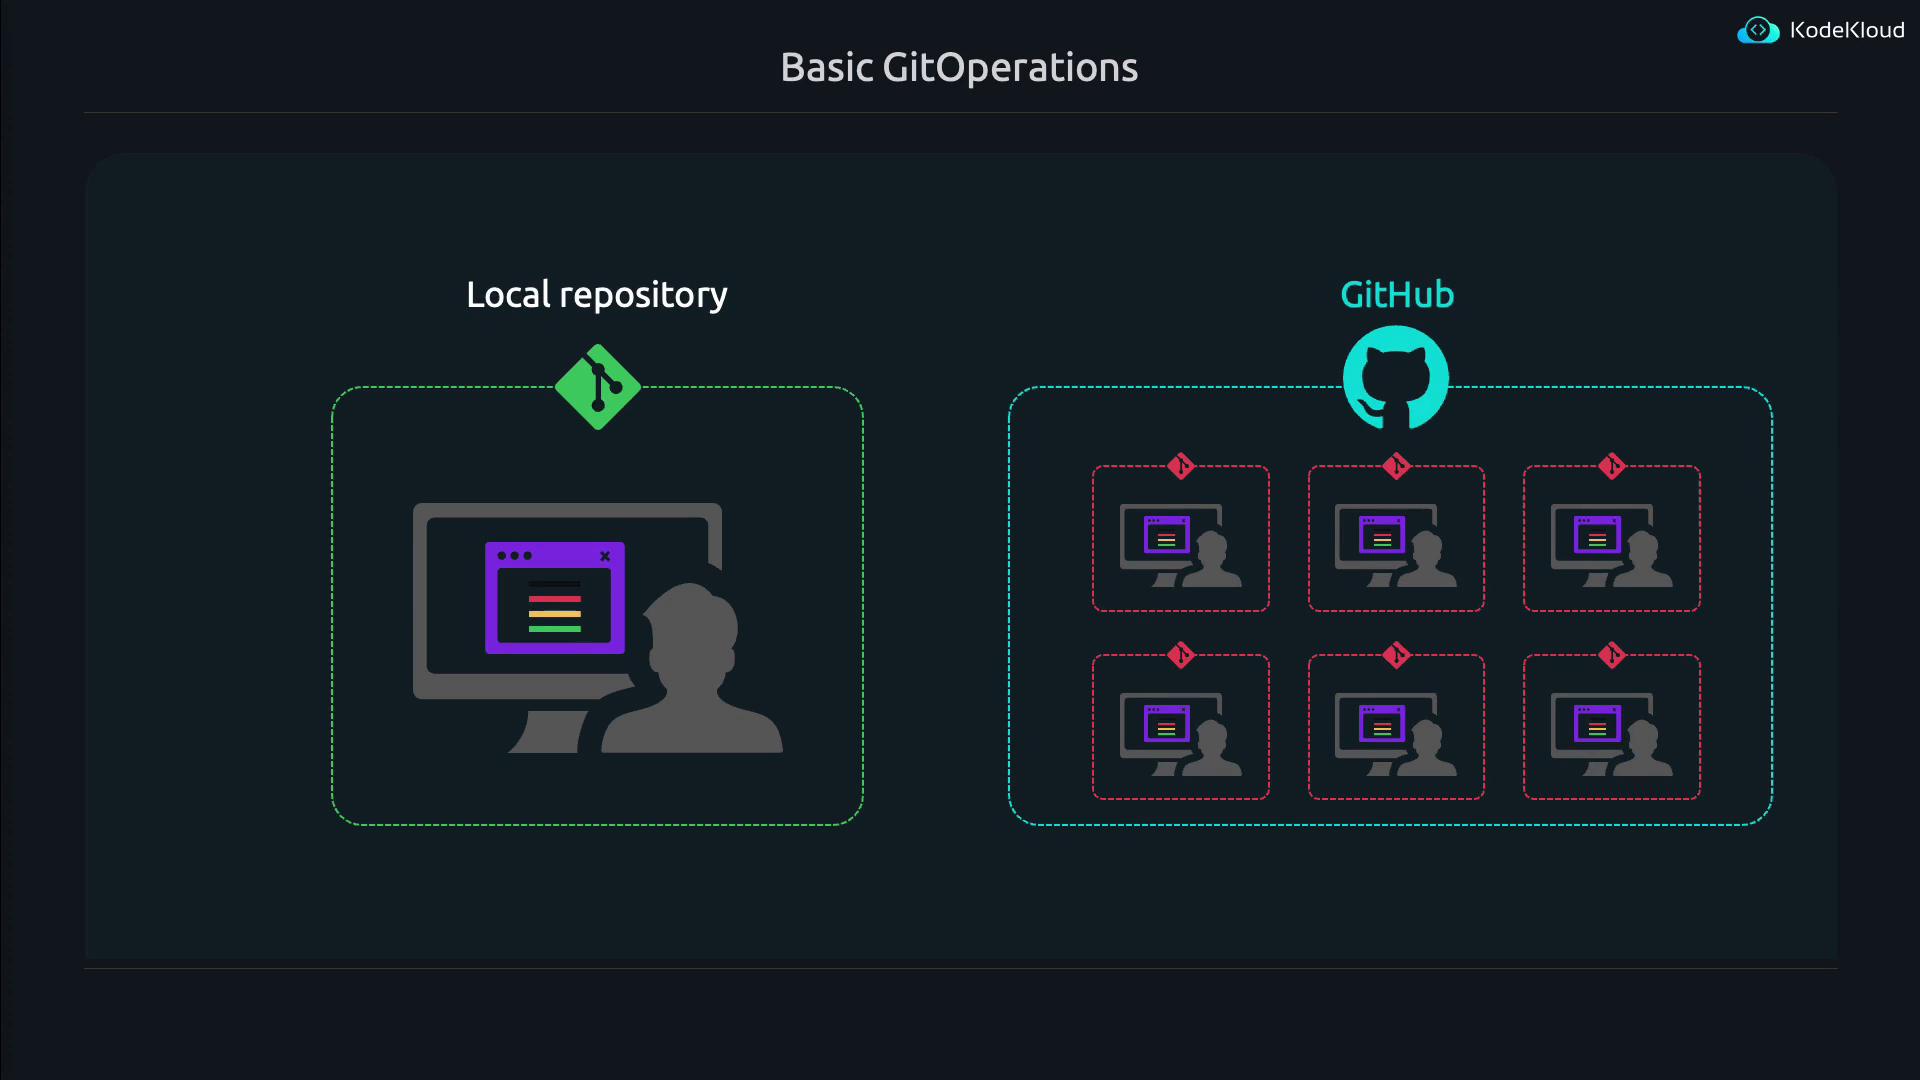
Git Repositories: Local and Remote
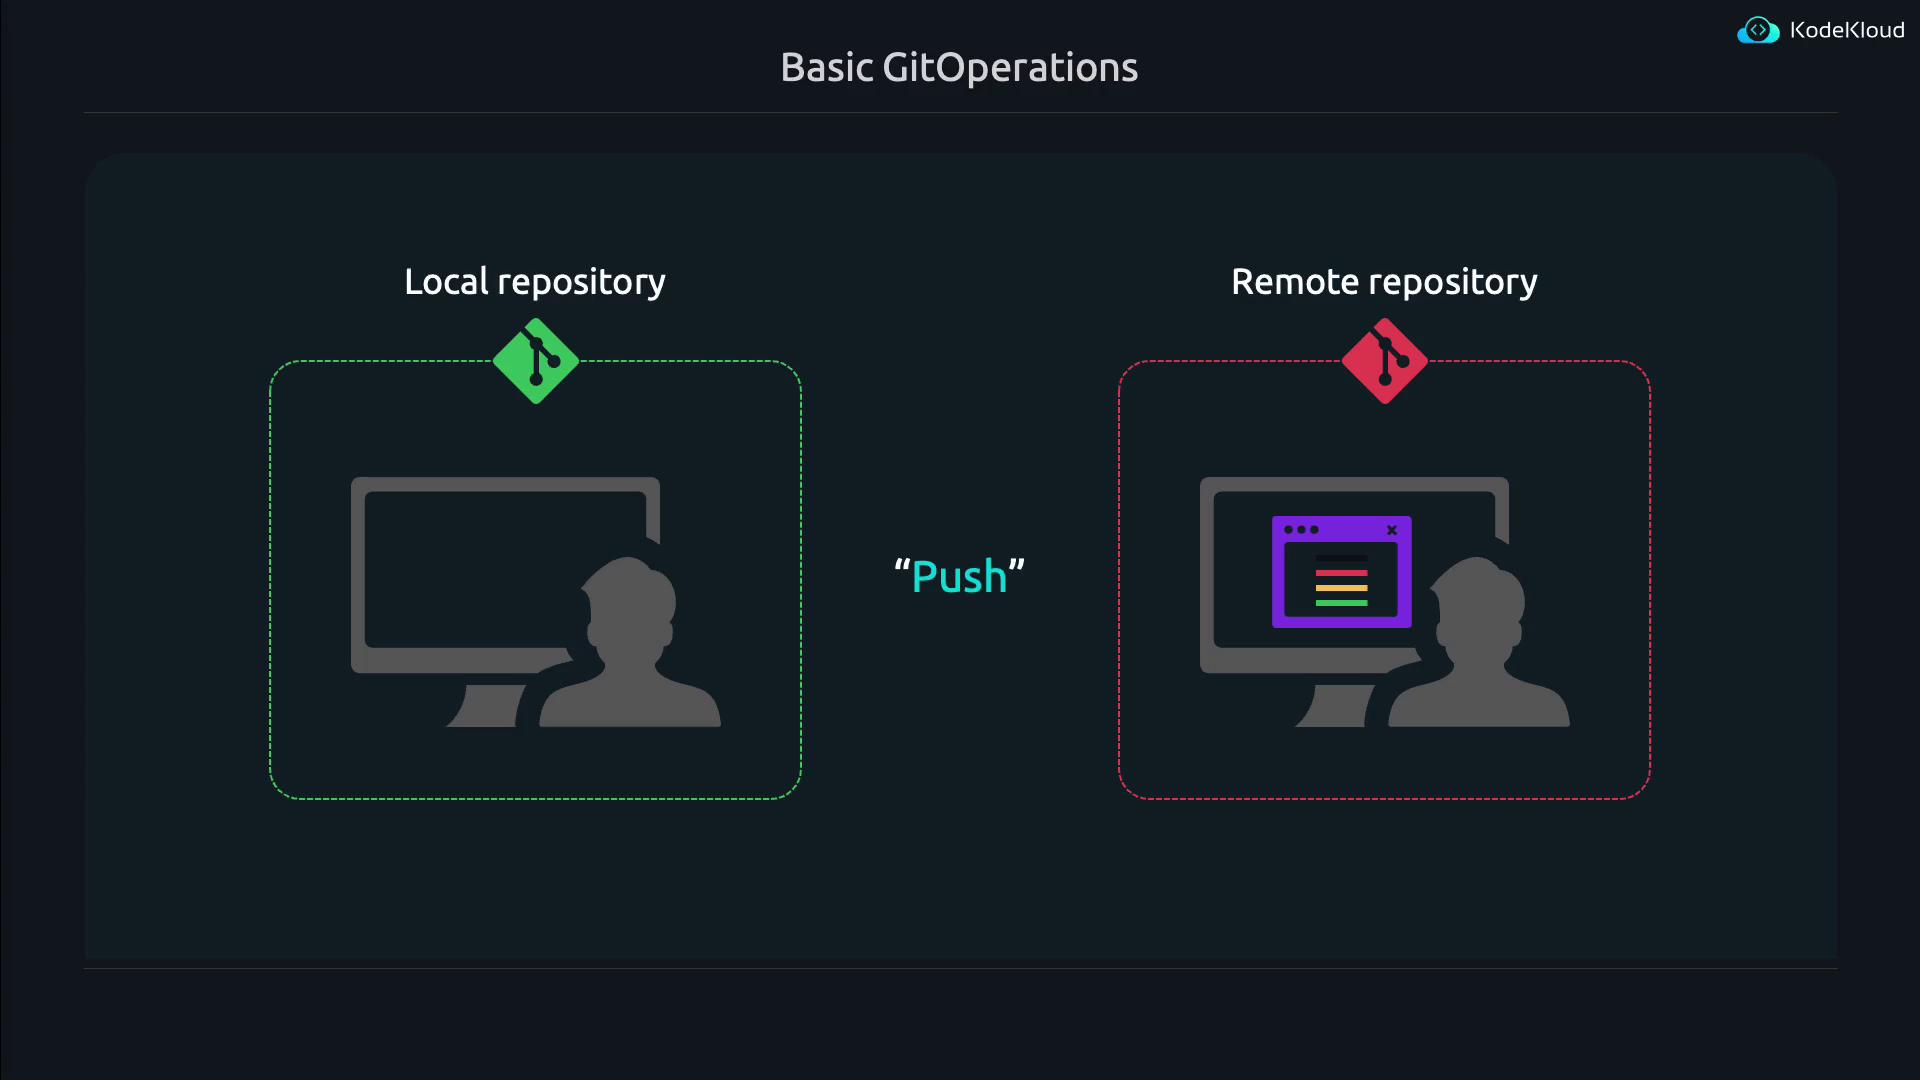
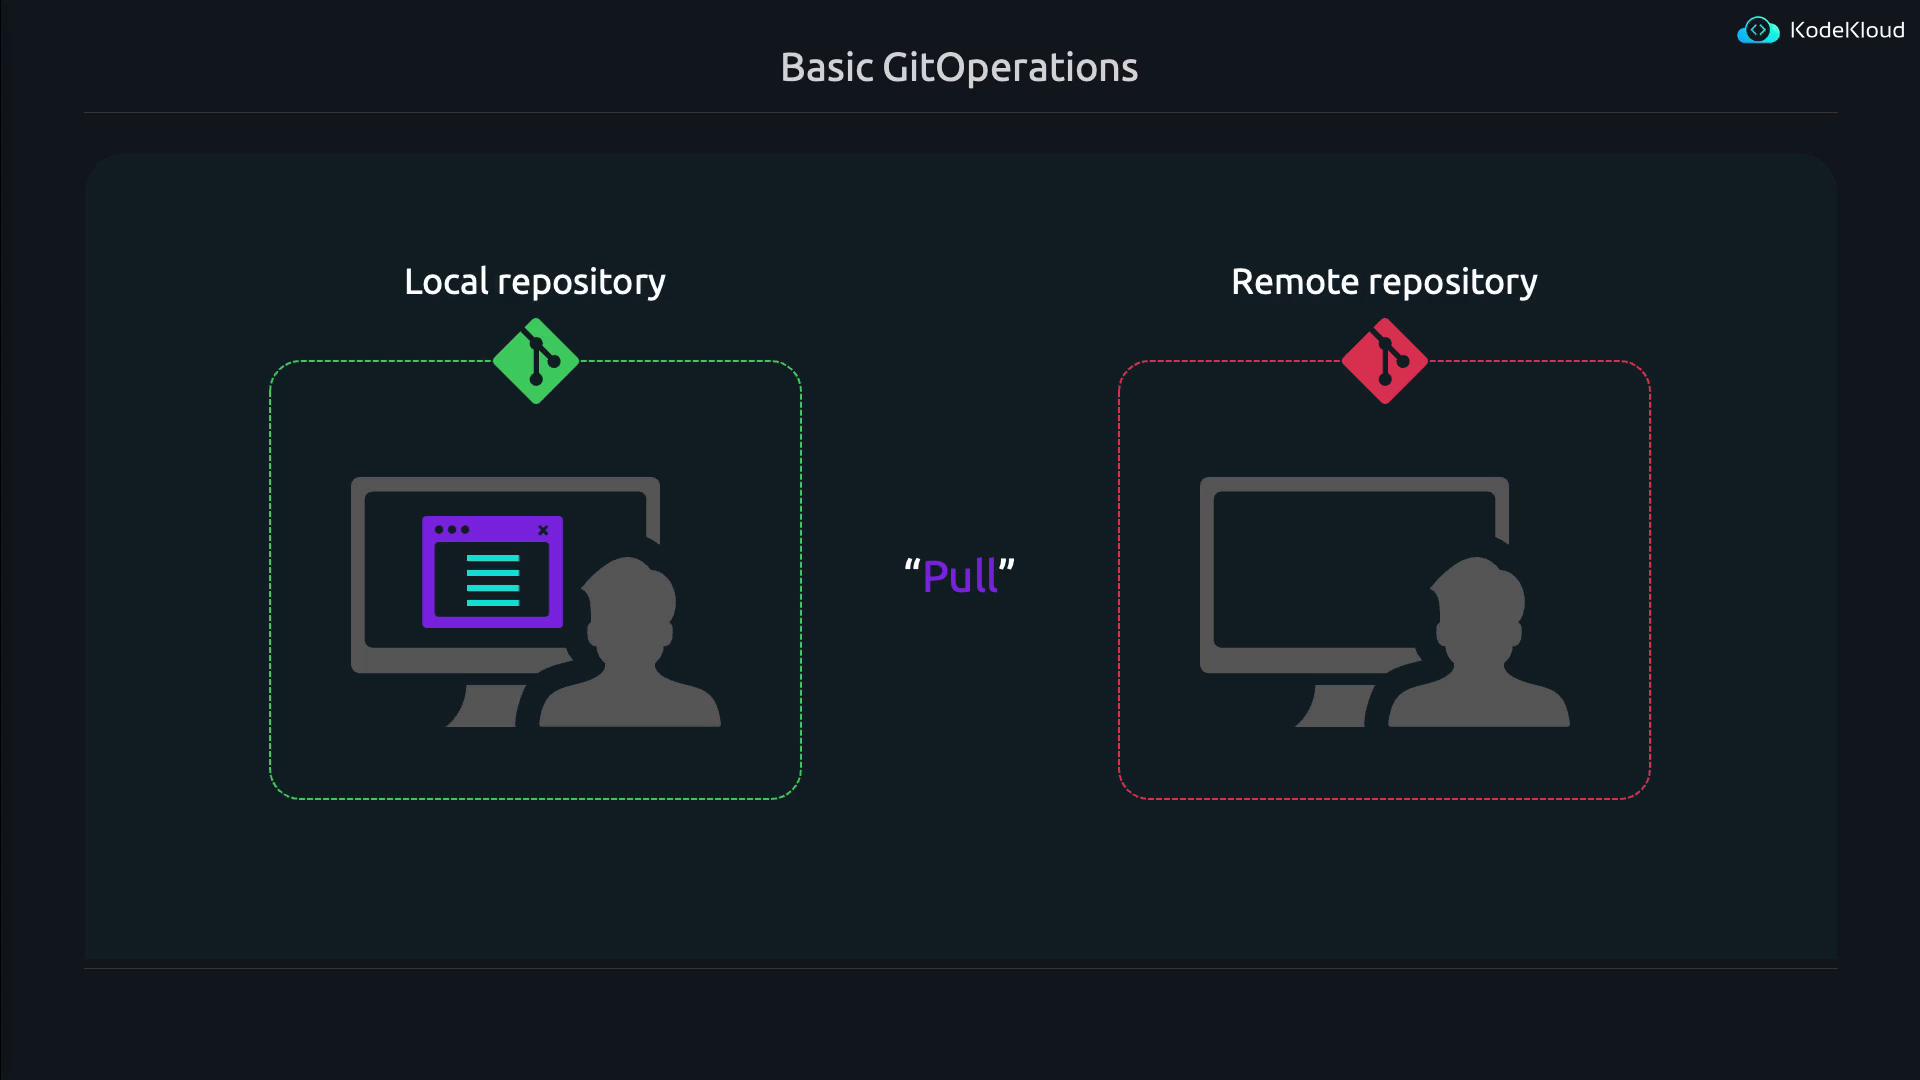
At the core of Git is the repository. Each developer typically works with two repositories:
- A local repository on their own machine.
- A remote repository hosted on platforms like GitHub that the entire team accesses.
When you work on your local repository, you later upload (or "push") your changes to the remote repository. Similarly, at the start of your work session, you download (or "pull") the latest changes made by your colleagues.
Every project on platforms like GitHub is essentially a remote Git repository. By pushing your changes, you integrate your work with the team, and by pulling updates, you ensure you always have the most recent project version.
When you're ready to share your latest code, you perform a push operation:
To update your local repository with changes made by others, you execute a pull:
The best way to grasp Git's functionality is to experience it firsthand. In this lesson, we will walk through practical Git exercises via the command line.
Setting Up Git
Most modern Linux distributions come with Git pre-installed. However, if you need to install Git, use the following command:
sudo apt install git
You might see output similar to this:
Reading package lists... Done
Building dependency tree... Done
Reading state information... Done
git is already the newest version (1:2.43.0-1ubuntu7).
0 upgraded, 0 newly installed, 0 to remove and 4 not upgraded.
After installing Git, the first crucial step is to set your username and email address. These details are embedded in each commit to identify the contributor.
Configuring Git User Details
To set your identity globally, run the following commands:
git config --global user.name "jeremy"
git config --global user.email "[email protected]"
If you want to specify a unique identity for a particular repository, simply omit the --global
flag and run the commands inside that repository.
Now, let's create a directory for our project and initialize a Git repository:
mkdir project
cd project/
git init
After executing git init
, you should see a message indicating that an empty Git repository has been created. For example:
hint: Using 'master' as the name for the initial branch. This default branch name
hint: is subject to change. To configure the initial branch name to use in all
hint: of your new repositories, which will suppress this warning, call:
hint:
hint: git config --global init.defaultBranch <name>
Initialized empty Git repository in /home/jeremy/project/.git/
Listing the contents of the hidden .git
directory will reveal various files and folders where Git stores repository data:
ls .git
A sample output might look like this:
branches config description HEAD hooks info objects refs
To review your repository configuration (including your user details), check the config file:
cat .git/config
This should output something similar to:
[core]
repositoryformatversion = 0
filemode = true
bare = false
logallrefupdates = true
[user]
name = jeremy
email = [email protected]
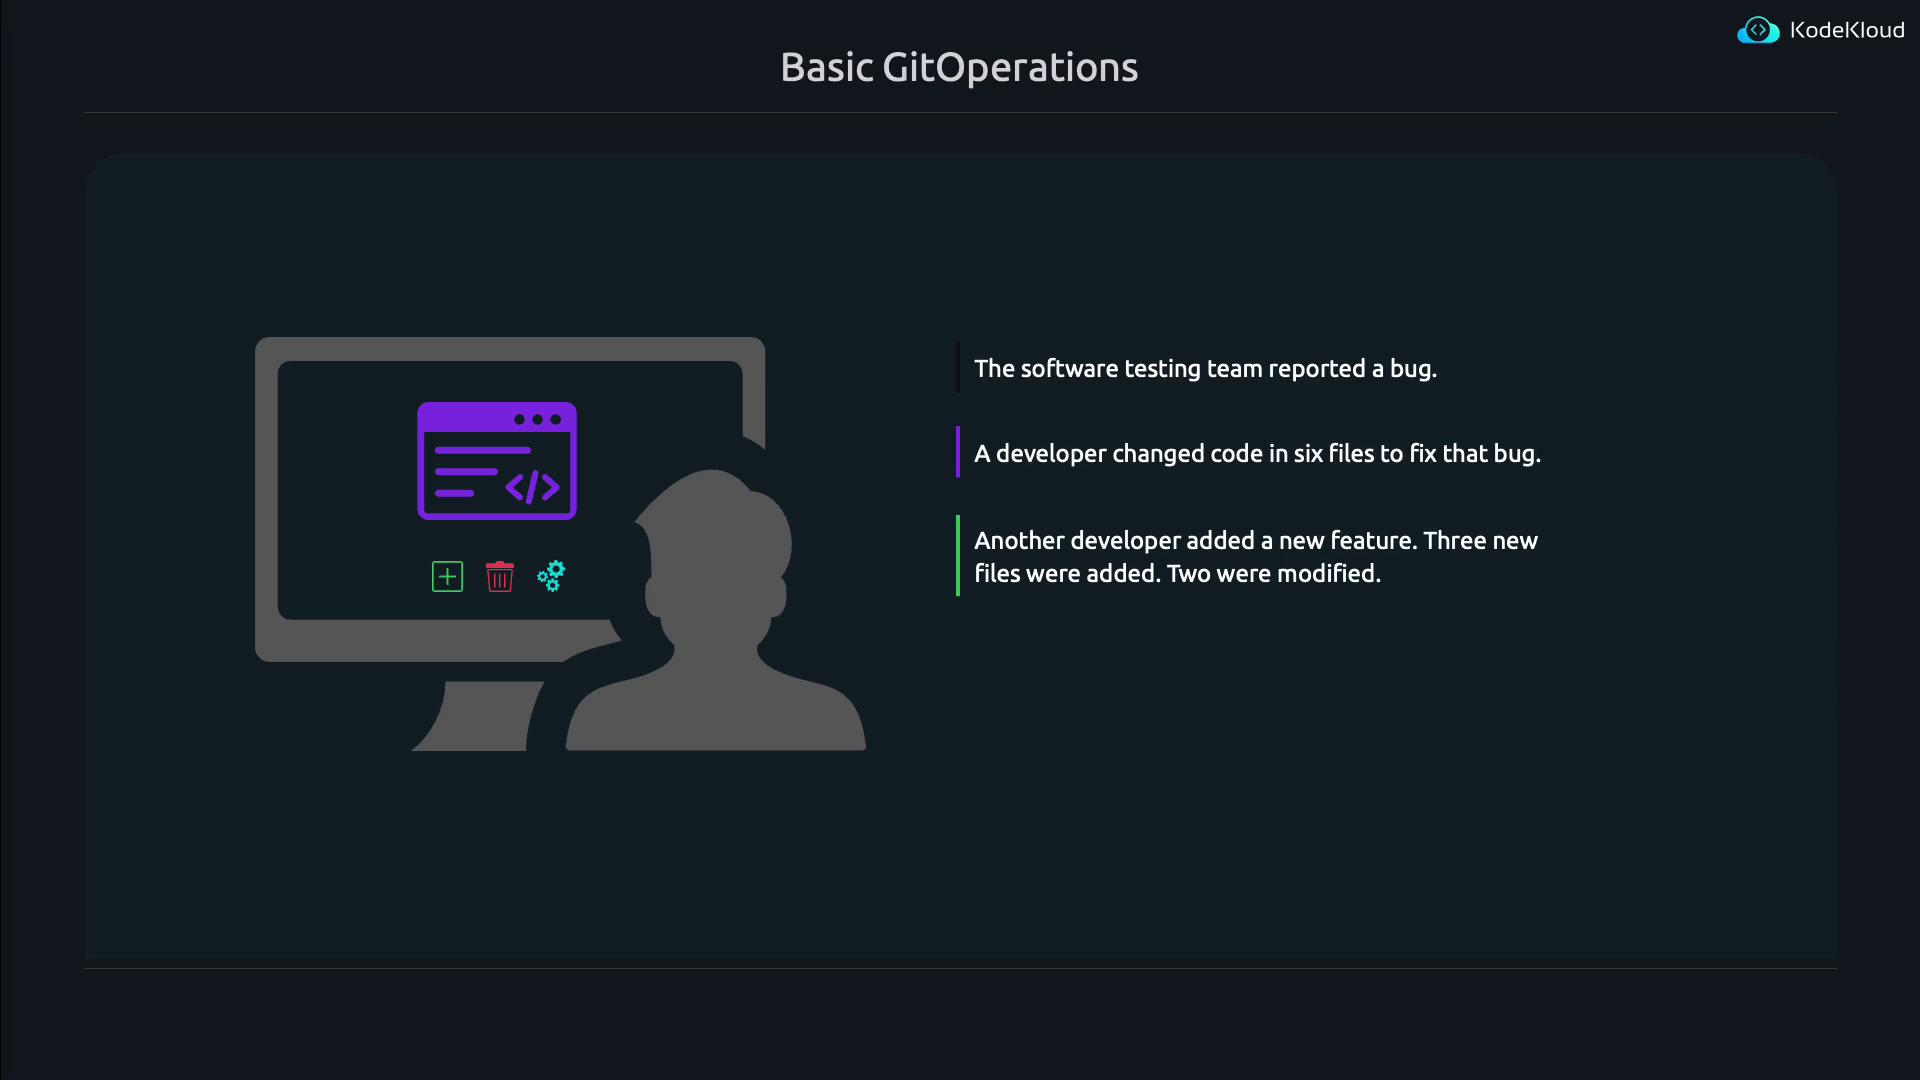
Tracking File Changes
Imagine you're just beginning your journey in the project
directory. Let's create two files—file1
and file2
—and add an initial line of code to each:
echo "This is the ORIGINAL line of code in file1" > file1
echo "This is the ORIGINAL line of code in file2" > file2
It's important to note that Git does not automatically track every file change continuously. Instead, you must explicitly instruct Git when changes occur using commands like git add
and git commit
. This process creates a snapshot of your project at that moment in time.
This initial setup demonstrates how Git monitors code modifications and manages repository settings within the .git
directory. In our next lesson, we will explore how to stage changes and commit them, integrating your work seamlessly with that of your teammates.
Up Next
Stay tuned for the next lesson where we dive into staging and committing your changes with Git!
Watch Video
Watch video content