Log in to Local Remote Graphical and Text Mode Consoles
This article explores four methods to log into a Linux system, including local and remote text and graphical mode consoles.
In this lesson, we explore four methods to log into a Linux system—similar to signing in to websites or apps with a username and password. The four methods covered include:
Local Text Mode Console
Local Graphical Mode Console
Remote Text Mode Login
Remote Graphical Mode Login
You may encounter terms such as console, virtual terminal, and terminal emulator. Despite their historical origins, today’s explanation is straightforward:
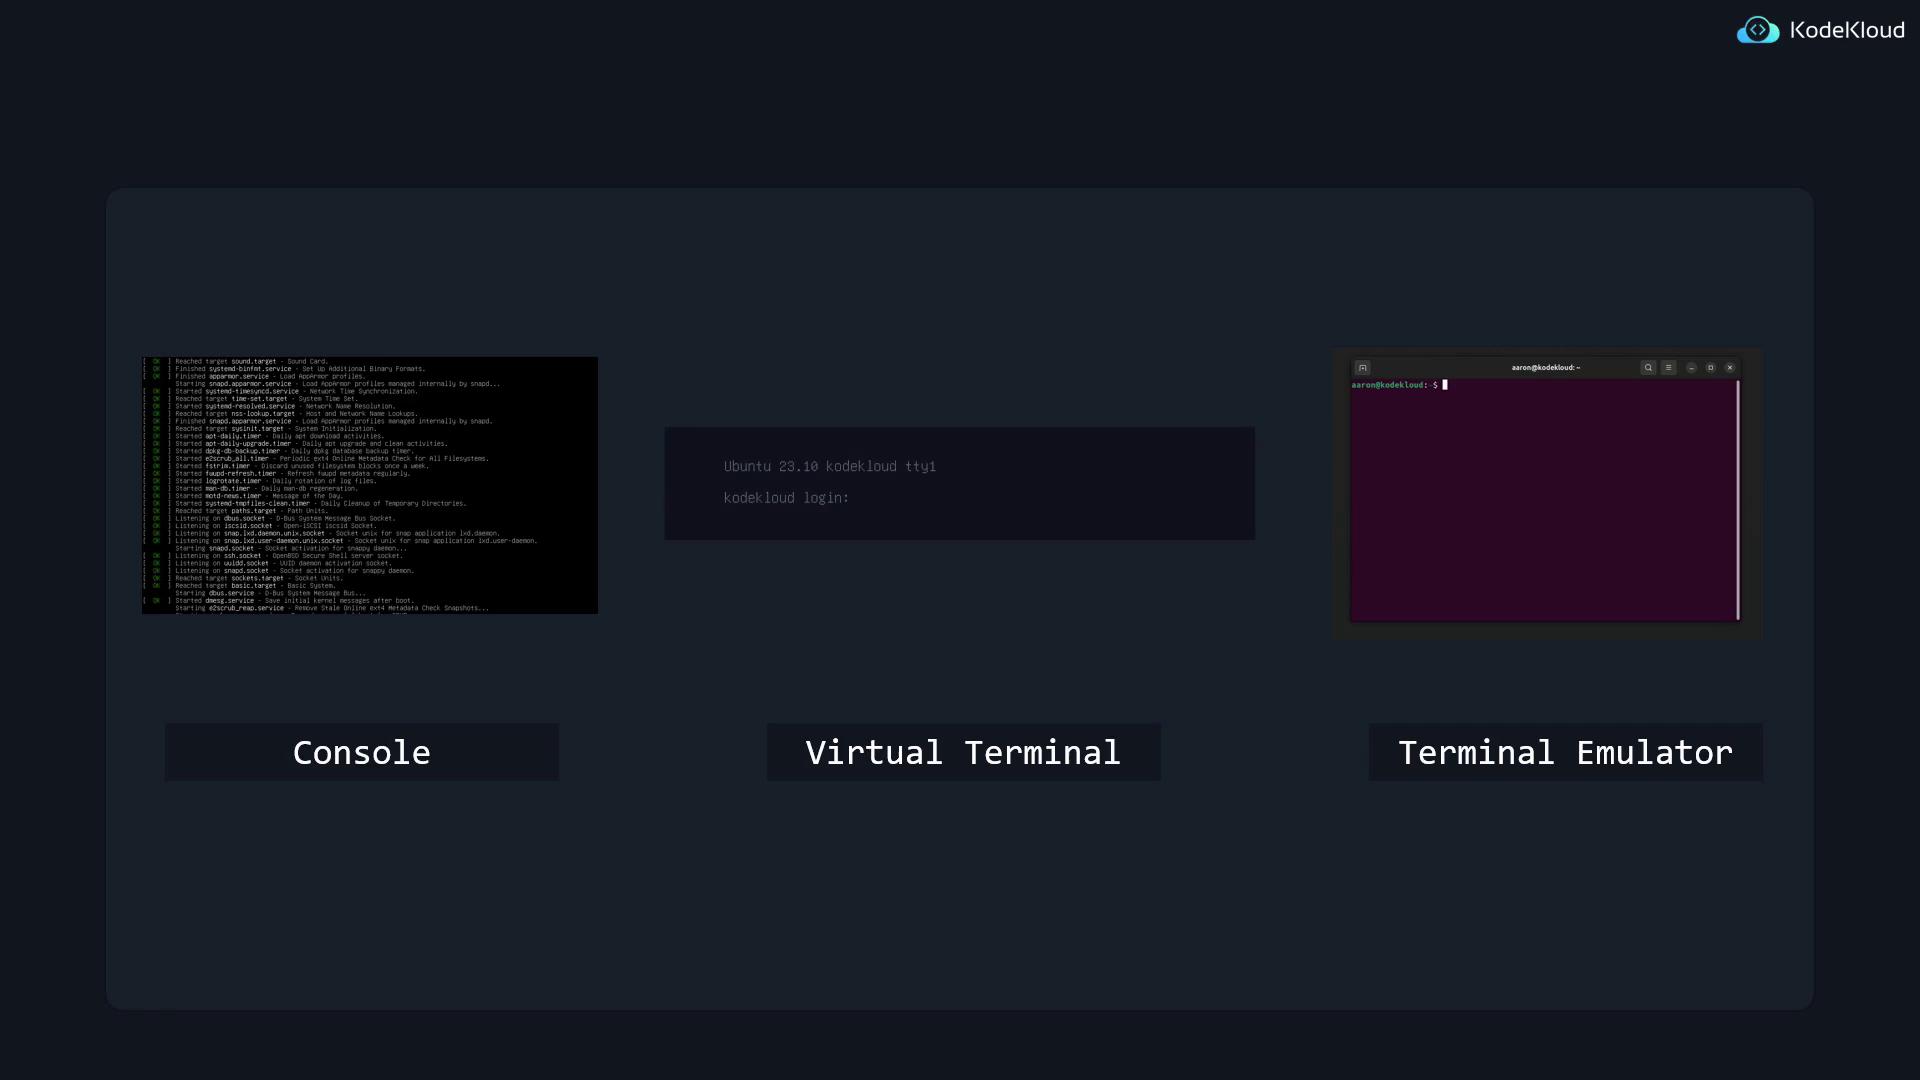
A console is the display screen where Linux outputs text and accepts commands.
A terminal emulator is a graphical application that replicates console functionality within a window.
Historically, when computing resources were scarce and expensive, a powerful central computer was connected to multiple remote terminals, allowing simultaneous use by multiple users. Today, both consoles and terminal emulators are implemented in software. For instance, during the Linux boot process, you will see vital system events displayed as text:
[ OK ] Reached target sound.target - Sound Card.[ OK ] Finished systemd-binfmt.service - Set Up Additional Binary Formats.[ OK ] Finished apparmor.service - Load AppArmor profiles. Starting snapd.apparmor.service - Load AppArmor profiles managed internally by snapd...[ OK ] Started systemd-timesyncd.service - Network Time Synchronization.[ OK ] Reached target time-set.target - System Time Set.[ OK ] Started systemd-resolved.service - Network Name Resolution.[ OK ] Reached target nss-lookup.target - Host and Network Name Lookups.[ OK ] Finished snapd.apparmor.service - Load AppArmor profiles managed internally by snapd.[ OK ] Reached target sysinit.target - System Initialization.[ OK ] Started apt-daily.timer - Daily apt download activities.[ OK ] Started apt-daily-upgrade.timer - Daily apt upgrade and clean activities.[ OK ] Started dpkg-db-backup.timer - Daily dpkg database backup timer.[ OK ] Started e2scrub_all.timer - Periodic ext4 Online Metadata Check for All Filesystems.[ OK ] Started fstrim.timer - Discard unused filesystem blocks once a week.[ OK ] Started fwupd-refresh.timer - Refresh fwupd metadata regularly.[ OK ] Started logrotate.timer - Daily rotation of log files.[ OK ] Started man-db.timer - Daily man-db regeneration.[ OK ] Started motd-news.timer - Message of the Day.[ OK ] Started systemd-tmpfiles-clean.timer - Daily Cleanup of Temporary Directories.[ OK ] Reached target paths.target - Path Units.[ OK ] Listening on dbus.socket - D-Bus System Message Bus Socket.[ OK ] Listening on iscsiuio.socket - Open-iSCSI iscsid Socket.[ OK ] Listening on snap.lxd.daemon.unix.socket - Socket unix for snap application lxd.daemon.[ OK ] Listening on snap.lxd.user-daemon.unix.socket - Socket unix for snap application lxd.user-daemon.[ OK ] Listening on ssh.socket - OpenBSD Secure Shell server Socket.[ OK ] Listening on uuidd.socket - UUID daemon activation socket.[ OK ] Listening on snapd.socket - Socket activation for snappy daemon.[ OK ] Reached target sockets.target - Socket Units.[ OK ] Reached target basic.target - Basic System.[ OK ] Starting dbus.service - D-Bus System Message Bus...[ OK ] Started dmesg.service - Save initial kernel messages after boot. Starting e2scrub_reap.service - Remove Stale Online ext4 Metadata Check Snapshots...
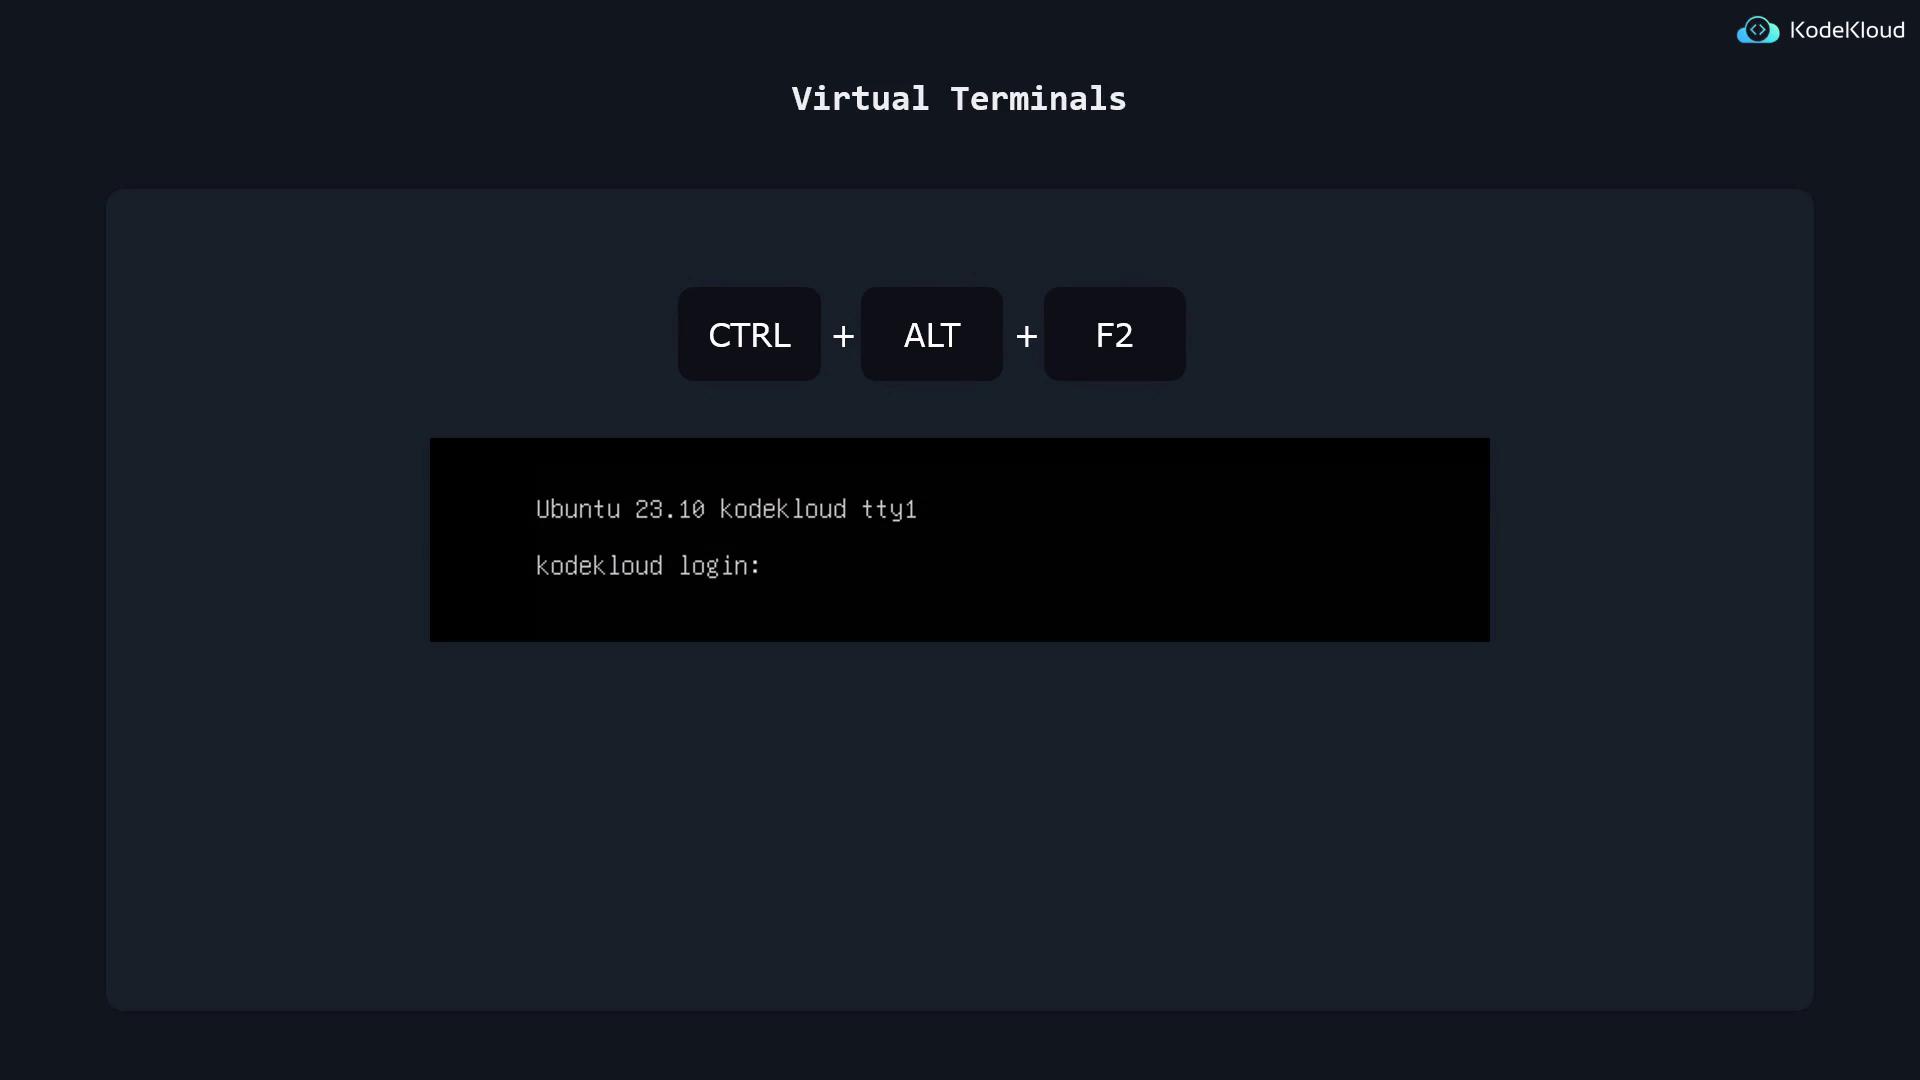
After booting, you can access a virtual terminal by pressing Control + Alt + F2 on your keyboard. This action brings up a text-based interface for login.
If you are using a Linux desktop with a graphical user interface (GUI), you will typically use a terminal emulator to issue commands. The login interface changes based on whether a GUI is available:
For a GUI system, you will see a graphical login screen displaying a list of users.
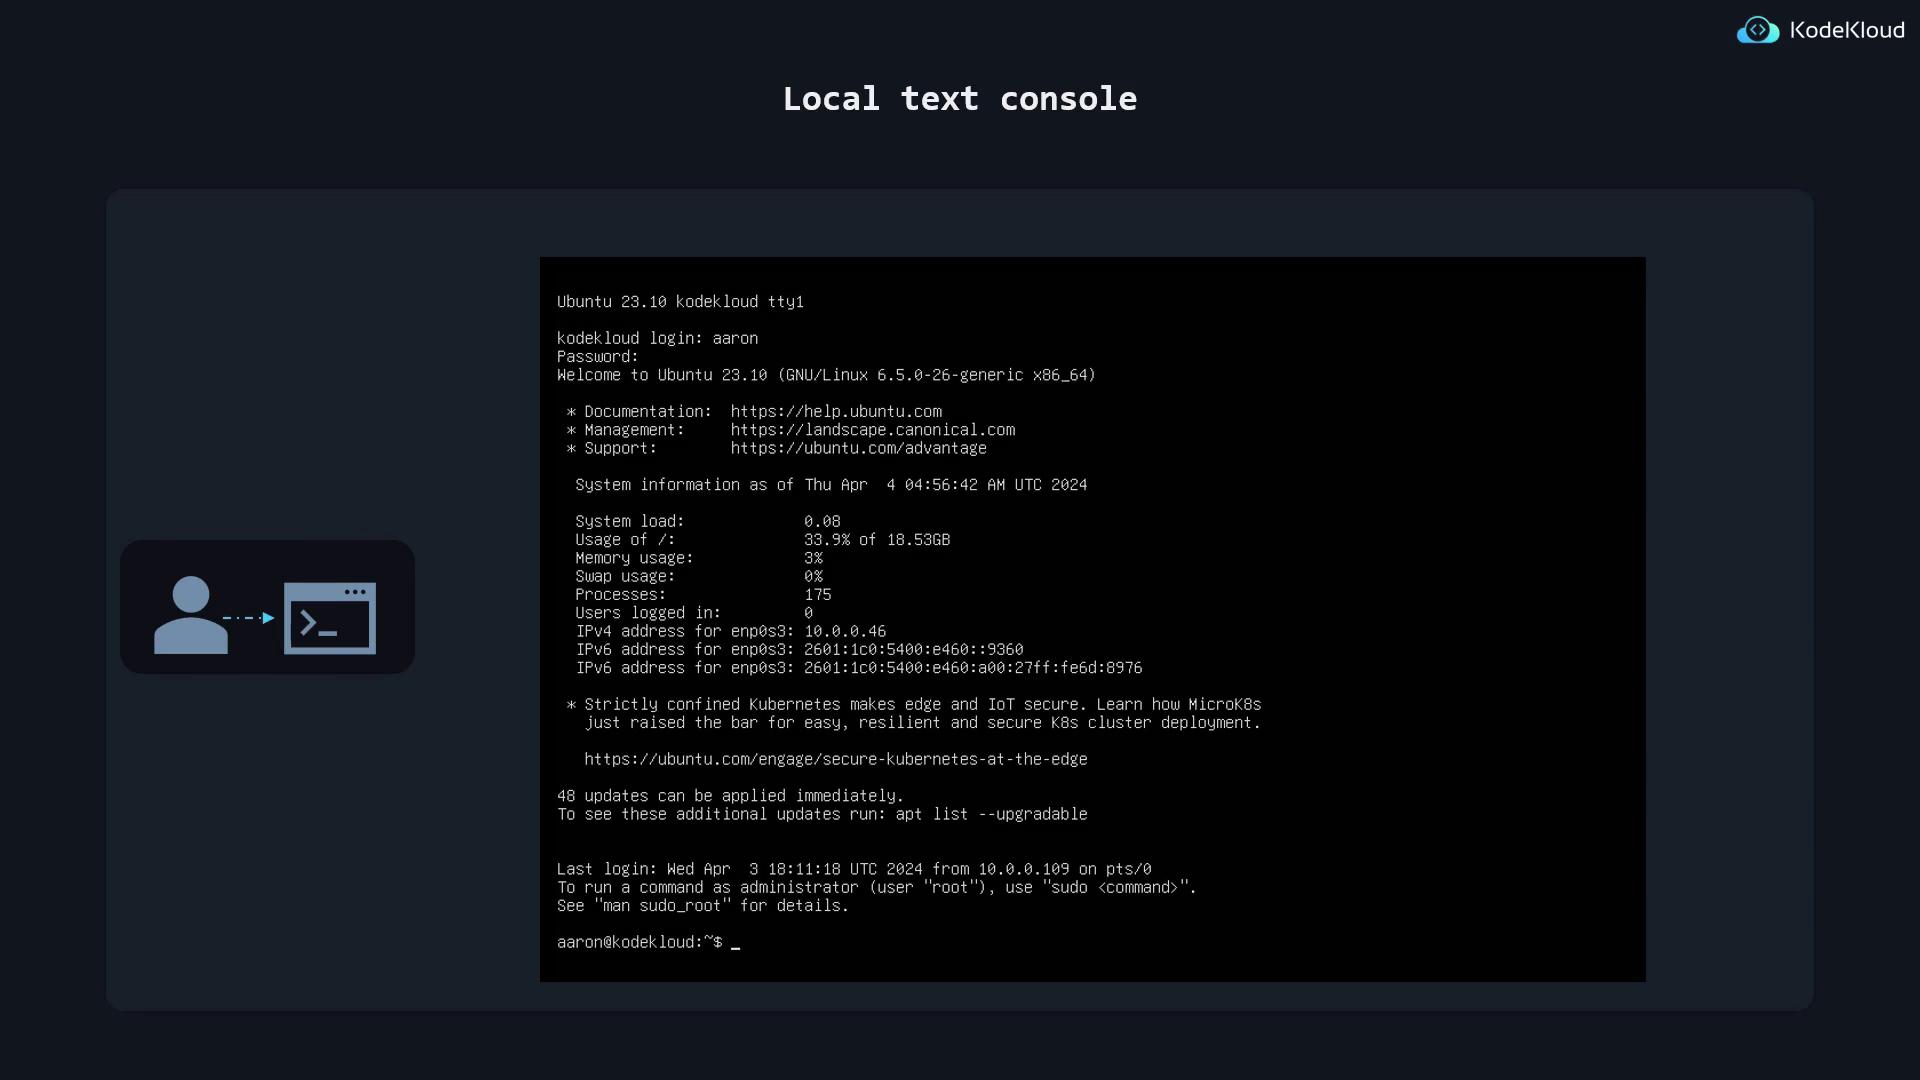
For systems without a GUI (like many servers), a text console login prompt will request your username and password (the password is hidden as you type). To log out of these sessions, simply type exit.
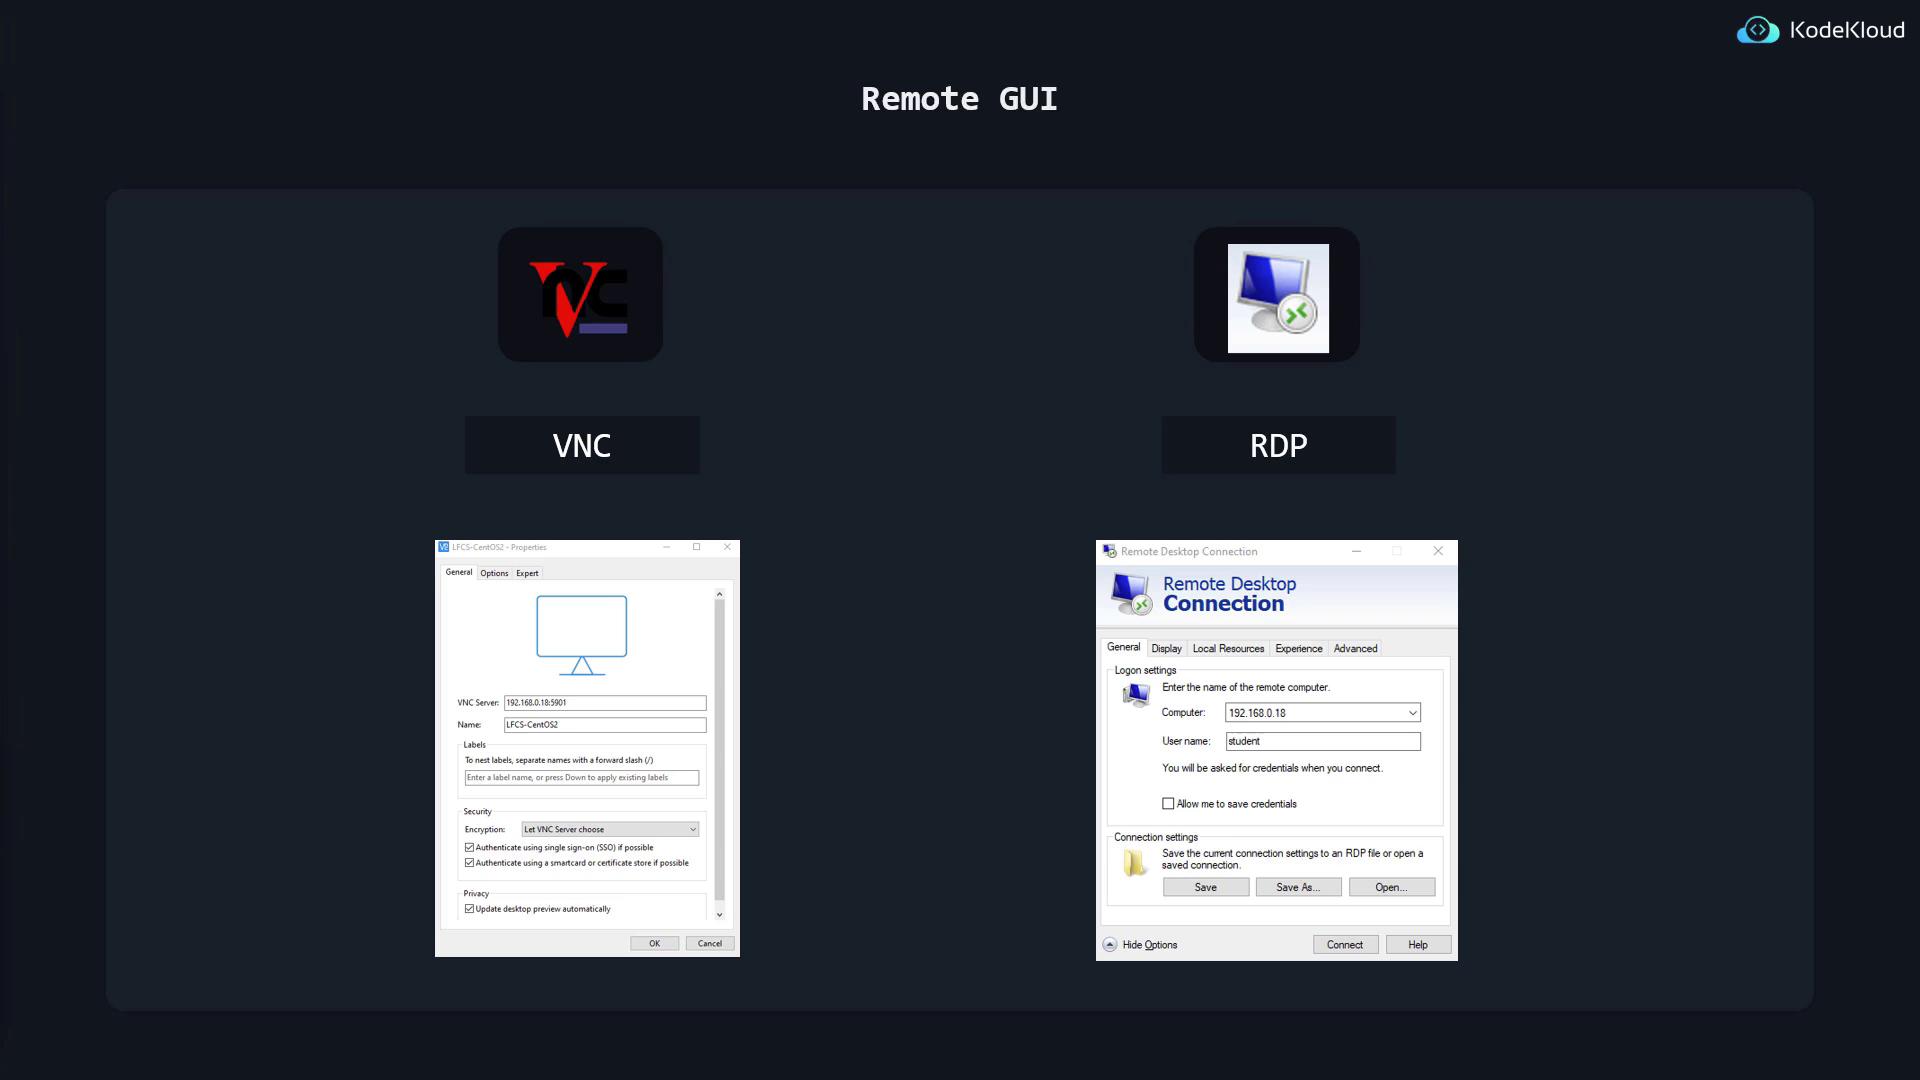
Remote graphical connections are available, though set up differently. Administrators may configure VNC (Virtual Network Computing) or RDP (Remote Desktop Protocol) for remote GUI access. For VNC, use a compatible client like VNC Viewer or RealVNC. For RDP, open the Remote Desktop Connection application on Windows and log in with your credentials.
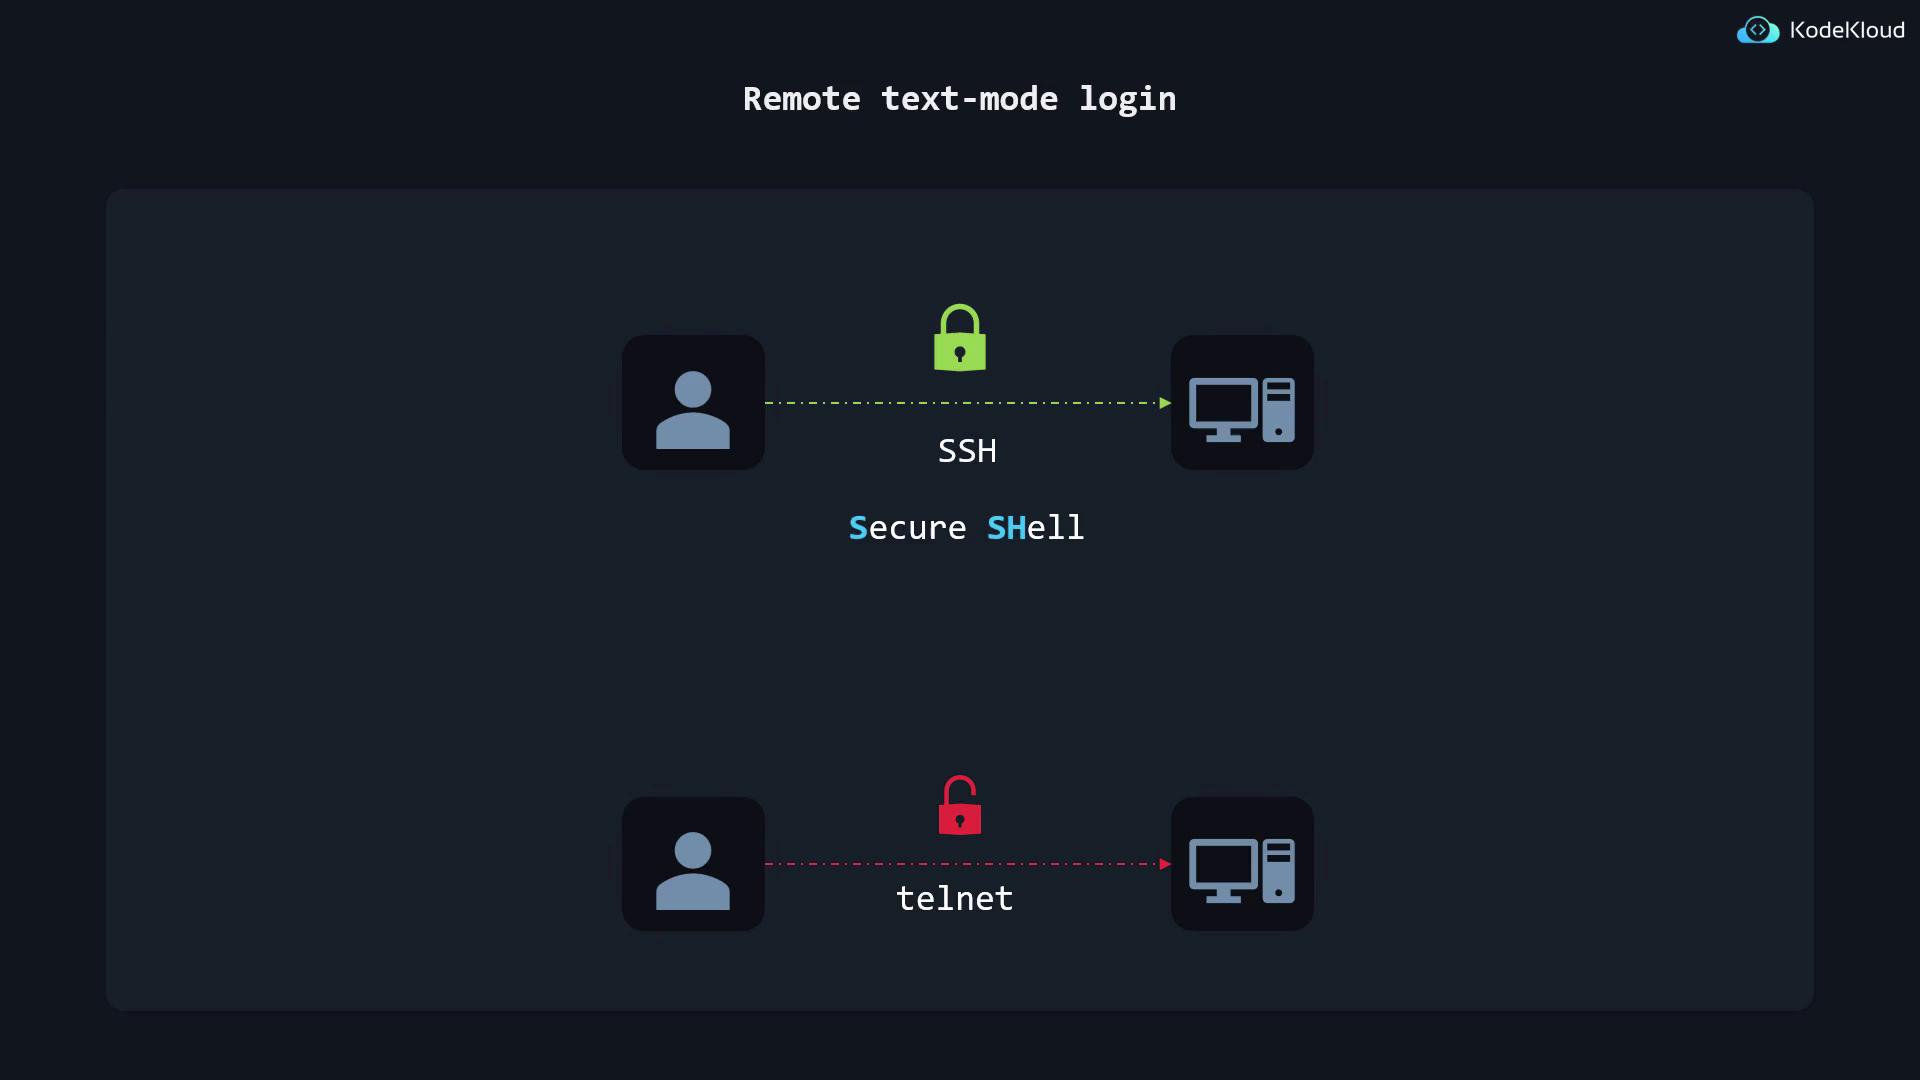
Remote text-based sessions use OpenSSH, which runs the SSH daemon (sshd) to provide secure, encrypted remote login—making it a preferred alternative to older, unsecured methods like Telnet.
Remember: SSH encrypts all login data, ensuring that your session and credentials remain safe.
If you’re following along using a virtual machine, first log in locally. Once logged in, open your terminal emulator and run the following command to view your current IP configuration:
$ ip a1: lo: <LOOPBACK,UP,LOWER_UP> mtu 65536 qdisc noqueue state UNKNOWN group default qlen 1000 link/loopback 00:00:00:00:00:00 brd 00:00:00:00:00:00 inet 127.0.0.1/8 scope host lo valid_lft forever preferred_lft forever inet6 ::1/128 scope host valid_lft forever preferred_lft forever2: enp0s3: <BROADCAST,MULTICAST,UP,LOWER_UP> mtu 1500 qdisc fq_codel state UP group default qlen 1000 link/ether 08:00:27:6b:d7:87 brd ff:ff:ff:ff:ff:ff inet 192.168.0.17/24 brd 192.168.0.255 scope global dynamic noprefixroute enp0s3 valid_lft 1966sec preferred_lft 1966sec inet6 fe80::a00:27ff:fe6b:d787/64 scope link noprefixroute
In this output, locate your IP address (e.g., 192.168.0.17). This address is used to simulate connecting to a remote server that is running the SSH daemon.Most Linux distributions (and macOS) include an SSH client by default. For Windows 10 or 11 users, an SSH client is pre-installed. To connect to the remote system via SSH, run the command below—replace “aaron” with your username:
$ ssh aaron@192.168.0.17aaron@192.168.0.17's password:Last login: Tue Oct 19 20:27:15 2021 from 192.168.0.3[aaron@kodekloud ~]$
Once connected, your SSH session remains active, allowing you to execute commands and manage the remote system.
Join the upcoming demonstration lesson to see these login methods in action!
For more detailed information on secure shell protocols and remote system management, consider reviewing the Kubernetes Documentation or Docker Hub.Happy learning!