This article covers the configuration and management of SSH servers and clients for secure remote access to Linux systems.
Managing remote Linux servers securely requires both an SSH client on your local machine and an SSH daemon (server) running on the remote system. The SSH daemon listens for and accepts connection requests from the SSH client. Most Linux distributions come with the OpenSSH daemon pre-installed, so let’s review its configuration and best practices.
The primary configuration file for the SSH daemon is located at /etc/ssh/sshd_config (note the “d” indicating the daemon). To modify its settings, use your preferred text editor. For example:
Copy
sudo vim /etc/ssh/sshd_config
In contrast, the SSH client configuration file is found at /etc/ssh/ssh_config (without the “d”). Be sure not to confuse these two files when adjusting settings:
Copy
sudo vim /etc/ssh/ssh_config
Since Linux installations typically include both the SSH client and daemon, understanding the distinct configuration files is essential.
When you open /etc/ssh/sshd_config, you might see content similar to the following:
Copy
# This is the sshd server system-wide configuration file. See# The strategy used for options in the default sshd_config shipped with# OpenSSH is to specify options with their default value where# possible, but leave them commented. Uncommented options override theInclude /etc/ssh/sshd_config.d/*.conf#Port 123AddressFamily any#ListenAddress 0.0.0.0#ListenAddress ::#HostKey /etc/ssh/ssh_host_rsa_key#HostKey /etc/ssh/ssh_host_ecdsa_key#HostKey /etc/ssh/ssh_host_ed25519_key# Ciphers and keying#RekeyLimit default none# Logging#SyslogFacility AUTH
The first critical parameter is the port number. By default, the port is commented out (with a default value of 22). To change this value, simply uncomment the line and specify your desired port. The AddressFamily any option allows both IPv4 and IPv6 connections. If you wish to restrict connections, you can set AddressFamily inet (IPv4) or AddressFamily inet6 (IPv6).For example, if your server has two IP addresses—203.0.113.1 (public) and 10.11.12.9 (internal)—and you want SSH access only through the internal network, configure it like below:
Copy
# This is the sshd server system-wide configuration file. See# The strategy used for options in the default sshd_config shipped with# OpenSSH is to specify options with their default value where# possible, but leave them commented. Uncommented options override the# default value.Include /etc/ssh/sshd_config.d/*.conf#Port 22AddressFamily inetListenAddress 10.11.12.9#ListenAddress ::#HostKey /etc/ssh/ssh_host_rsa_key#HostKey /etc/ssh/ssh_host_ecdsa_key#HostKey /etc/ssh/ssh_host_ed25519_key# Ciphers and keying#RekeyLimit default none# Logging#SyslogFacility AUTH
Another commonly modified setting is PermitRootLogin. By default, this is often set to prohibit-password, meaning root login is allowed only via key-based authentication. To entirely disable root login, change the value to no. See this example configuration block that disables root login and defines authentication protocols:
Copy
# Ciphers and keying#RekeyLimit default none# Logging#SyslogFacility AUTH#LogLevel INFO# Authentication:#LoginGraceTime 2mPermitRootLogin no#StrictModes yes#MaxAuthTries 6#MaxSessions 10#PubkeyAuthentication yes# Expect .ssh/authorized_keys2 to be disregarded by default in future.#AuthorizedKeysFile .ssh/authorized_keys .ssh/authorized_keys2#AuthorizedPrincipalsFile none#AuthorizedKeysCommand none#AuthorizedKeysCommandUser nobody# For this to work you will also need host keys in /etc/ssh/ssh_known_hosts#HostbasedAuthentication no
SSH supports various authentication methods. The two most common methods are password authentication and SSH key-based authentication. Disabling both PasswordAuthentication and KbdInteractiveAuthentication ensures that only key-based authentication is allowed for heightened security. Consider this snippet:
Copy
#HostbasedAuthentication no# Change to yes if you don't trust ~/.ssh/known_hosts for# HostbasedAuthentication#IgnoreUserKnownHosts no# Don't read the user's ~/.rhosts and ~/.shosts files#IgnoreRhosts yes# To disable tunneled clear text passwords, change to no here!PasswordAuthentication no#PermitEmptyPasswords no# Change to yes to enable challenge-response passwords (beware issues with# some PAM modules and threads)KbdInteractiveAuthentication no# Kerberos options#KerberosAuthentication no#KerberosOrLocalPasswd yes#KerberosTicketCleanup yes#KerberosGetAFSToken no
Disabling these authentication methods forces users to adopt the more secure SSH key-based authentication. Additional options include X11 forwarding and other global settings:
Global settings apply to all users, but you can create exceptions for specific users. For instance, if password authentication is globally disabled and you want to allow it for a specific user such as “anoncvs” (or even a user like “aaron”), add a per-user configuration block at the end of the file:
Copy
# Example of overriding settings on a per-user basisMatch User anoncvs PasswordAuthentication yes # # X11Forwarding no # AllowTcpForwarding no # PermitTTY no # ForceCommand cvs server
After modifying the configuration file, reload the SSH daemon for changes to take effect:sudo systemctl reload ssh.service
Also, be aware that additional configuration files in the /etc/ssh/sshd_config.d/ directory can override settings from the main file. For example, a file like /etc/ssh/sshd_config.d/50-cloud-init.conf may contain PasswordAuthentication yes, which re-enables password authentication even if disabled in the main configuration file. List and inspect these files with:
Copy
ls /etc/ssh/sshd_config.dsudo cat /etc/ssh/sshd_config.d/50-cloud-init.conf
The SSH client is used to connect to remote servers and is available on Windows 10, macOS, and Linux. When you execute the ssh command, it opens a text-based application to establish a connection.User-specific SSH client files are stored in the .ssh directory in each user’s home folder. For example, for user “jeremy” on a Unix-like system:
Copy
ls -la ~/.ssh
On Windows, the equivalent directory is:C:\Users\Jeremy.sshAlthough no default local SSH client configuration file exists, you can create one manually. The global client configuration file is /etc/ssh/ssh_config, where default values are commented out. Here’s an example snippet from that file:
Copy
Host * ForwardAgent no ForwardX11 no ForwardX11Trusted yes PasswordAuthentication yes HostbasedAuthentication no GSSAPIAuthentication no GSSAPIDelegateCredentials no GSSAPIKeyExchange no GSSAPITestDNS no BatchMode no CheckHostIP no AddressFamily any ConnectTimeout 0 StrictHostKeyChecking ask IdentityFile ~/.ssh/id_rsa IdentityFile ~/.ssh/id_dsa IdentityFile ~/.ssh/id_ecdsa IdentityFile ~/.ssh/id_ed25519 Port 22 Ciphers aes128-ctr,aes192-ctr,aes256-ctr,aes128-cbc,3des-cbc MACs hmac-md5,hmac-sha1,umac-64@openssh.com EscapeChar ~ Tunnel no TunnelDevice any:any PermitLocalCommand no VisualHostKey no
If your internal network uses a non-standard port (such as 229), update the configuration accordingly. Since global file modifications might be overwritten during updates, a better practice is to add a custom file in /etc/ssh/ssh_config.d/. For example, to set the default port globally, create or edit the file with:
Copy
Host * Port 229 Ciphers aes128-ctr,aes192-ctr,aes256-ctr,aes128-cbc,3des-cbc MACs hmac-md5,hmac-sha1,umac-64@openssh.com EscapeChar ~ Tunnel no TunnelDevice any:any PermitLocalCommand no VisualHostKey no
Users can also configure host-specific settings by creating a file named config in the ~/.ssh directory. This file allows you to define host aliases and custom connection parameters. For example:
Create and edit the user-specific configuration file:
Copy
vim ~/.ssh/config
Add an entry similar to the one below (replace the IP address and username as needed):
Copy
Host ubuntu-vm HostName 10.0.0.186 User jeremy
Secure the file by setting its permissions:
Copy
chmod 600 ~/.ssh/config
You can now use the alias to connect to your server:
Copy
ssh ubuntu-vm
On your first connection, you will be prompted to verify the server’s fingerprint.
SSH keys provide stronger security compared to password-based authentication. To generate an SSH key pair on your local machine, run:
Copy
ssh-keygen
Accept all defaults by pressing Enter at each prompt. (For enhanced security, you may set a passphrase; however, in this example, no passphrase is provided.)This process creates a private key (e.g., id_ed25519) and a public key (id_ed25519.pub). To use SSH key-based authentication, copy the public key to your server using the ssh-copy-id command:
Copy
ssh-copy-id jeremy@10.0.0.173
The output will be similar to the following:
Copy
jeremy@kodekloud:~$ ssh-copy-id jeremy@10.0.0.173/usr/bin/ssh-copy-id: INFO: Source of key(s) to be installed: "/home/jeremy/.ssh/id_ed25519.pub"The authenticity of host '10.0.0.173 (10.0.0.173)' can't be established.ED25519 key fingerprint is SHA256:4jhBsfInTkw9PyPlBIfnWg+n+L19sWQM4TS6IX5YmA.This key is not known by any other names.Are you sure you want to continue connecting (yes/no/[fingerprint])? yes/usr/bin/ssh-copy-id: INFO: attempting to log in with the new key(s), to filter out any that are already installed/usr/bin/ssh-copy-id: INFO: 1 key(s) remain to be installed -- if you are prompted now it is to install the new keysjeremy@10.0.0.173's password:Number of key(s) added: 1Now try logging into the machine, with: "ssh 'jeremy@10.0.0.173'"and check to make sure that only the key(s) you wanted were added.
After copying the key, test the connection:
Copy
ssh jeremy@10.0.0.173
If ssh-copy-id is unavailable, you can manually append the contents of id_ed25519.pub to the server’s ~/.ssh/authorized_keys file and secure it:
The first time you connect to a new server, SSH prompts you to confirm the server’s fingerprint and stores this information in ~/.ssh/known_hosts. On subsequent connections, SSH verifies the fingerprint to ensure that you are connecting to the trusted server. If the server’s fingerprint changes—perhaps because of a server reinstall—you may encounter a warning message.To remove a specific fingerprint (e.g., for IP 10.0.0.251), use:
Copy
ssh-keygen -R 10.0.0.251
If necessary, you can also delete the entire known_hosts file to clear all stored fingerprints.
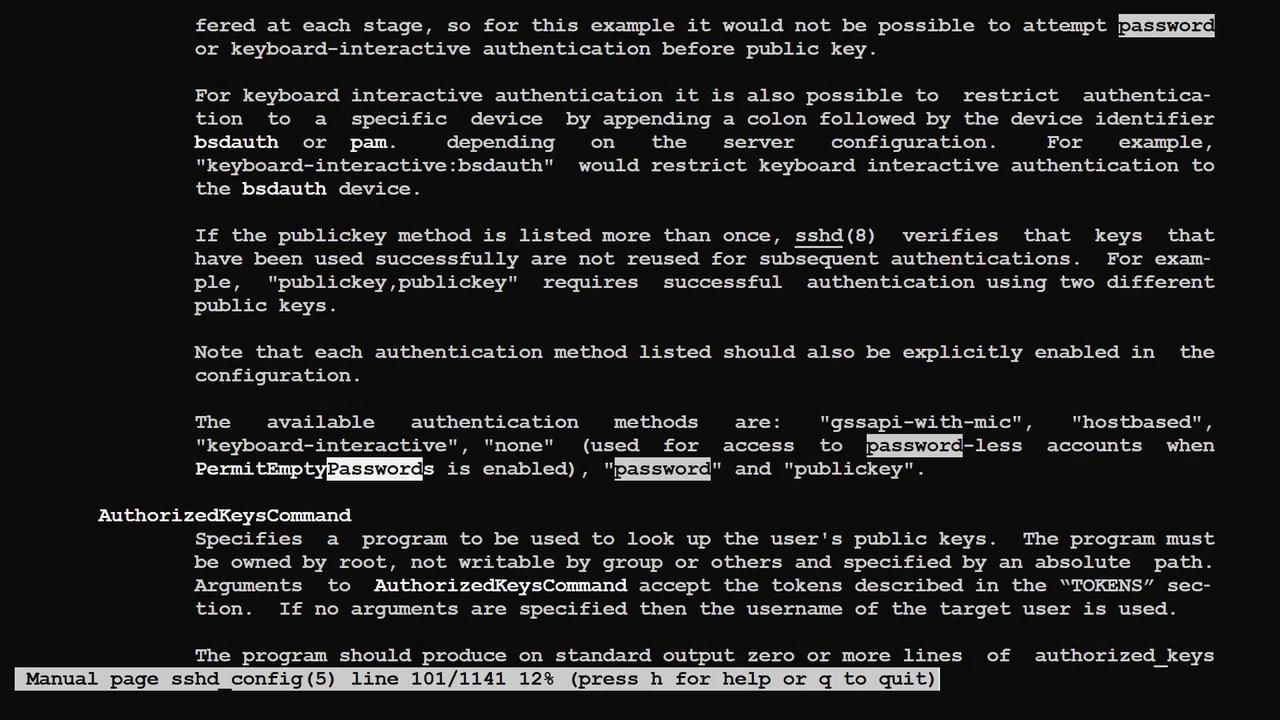
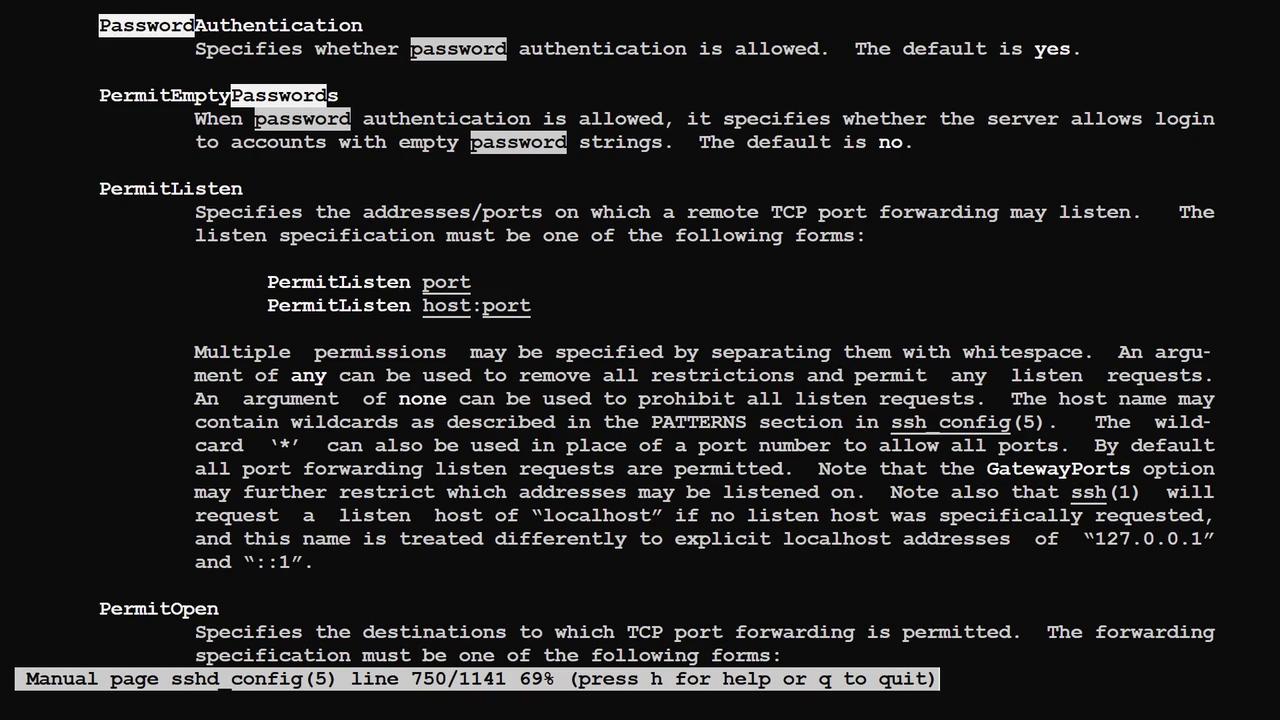
The following diagrams provide a visual representation of SSH configuration and authentication settings:
This concludes the article on configuring SSH servers and clients. By understanding and applying these settings, you can securely manage and maintain remote systems using either password or, preferably, SSH key-based authentication.For more comprehensive guides on SSH and Linux server management, consider visiting Kubernetes Documentation or browsing Docker Hub.