This article explains how to install software by compiling its source code, covering steps from cloning a repository to running the compiled application.
In this lesson, we will explore how to install software by compiling its source code. Unlike installations from Ubuntu’s repositories or third-party packages, compiling from source allows you to run the absolute latest version of an application available directly from its development repository.When you compile software, you transform human-readable source code into an optimized binary executable that your computer can run efficiently.
Before getting started, ensure that Git is installed on your system. Most modern versions of Ubuntu and Linux come with Git pre-installed. In this example, we will clone the Git repository for an application called htop.Run the command below to clone the repository:
Copy
git clone <GitHub-URL-of-htop-repository>
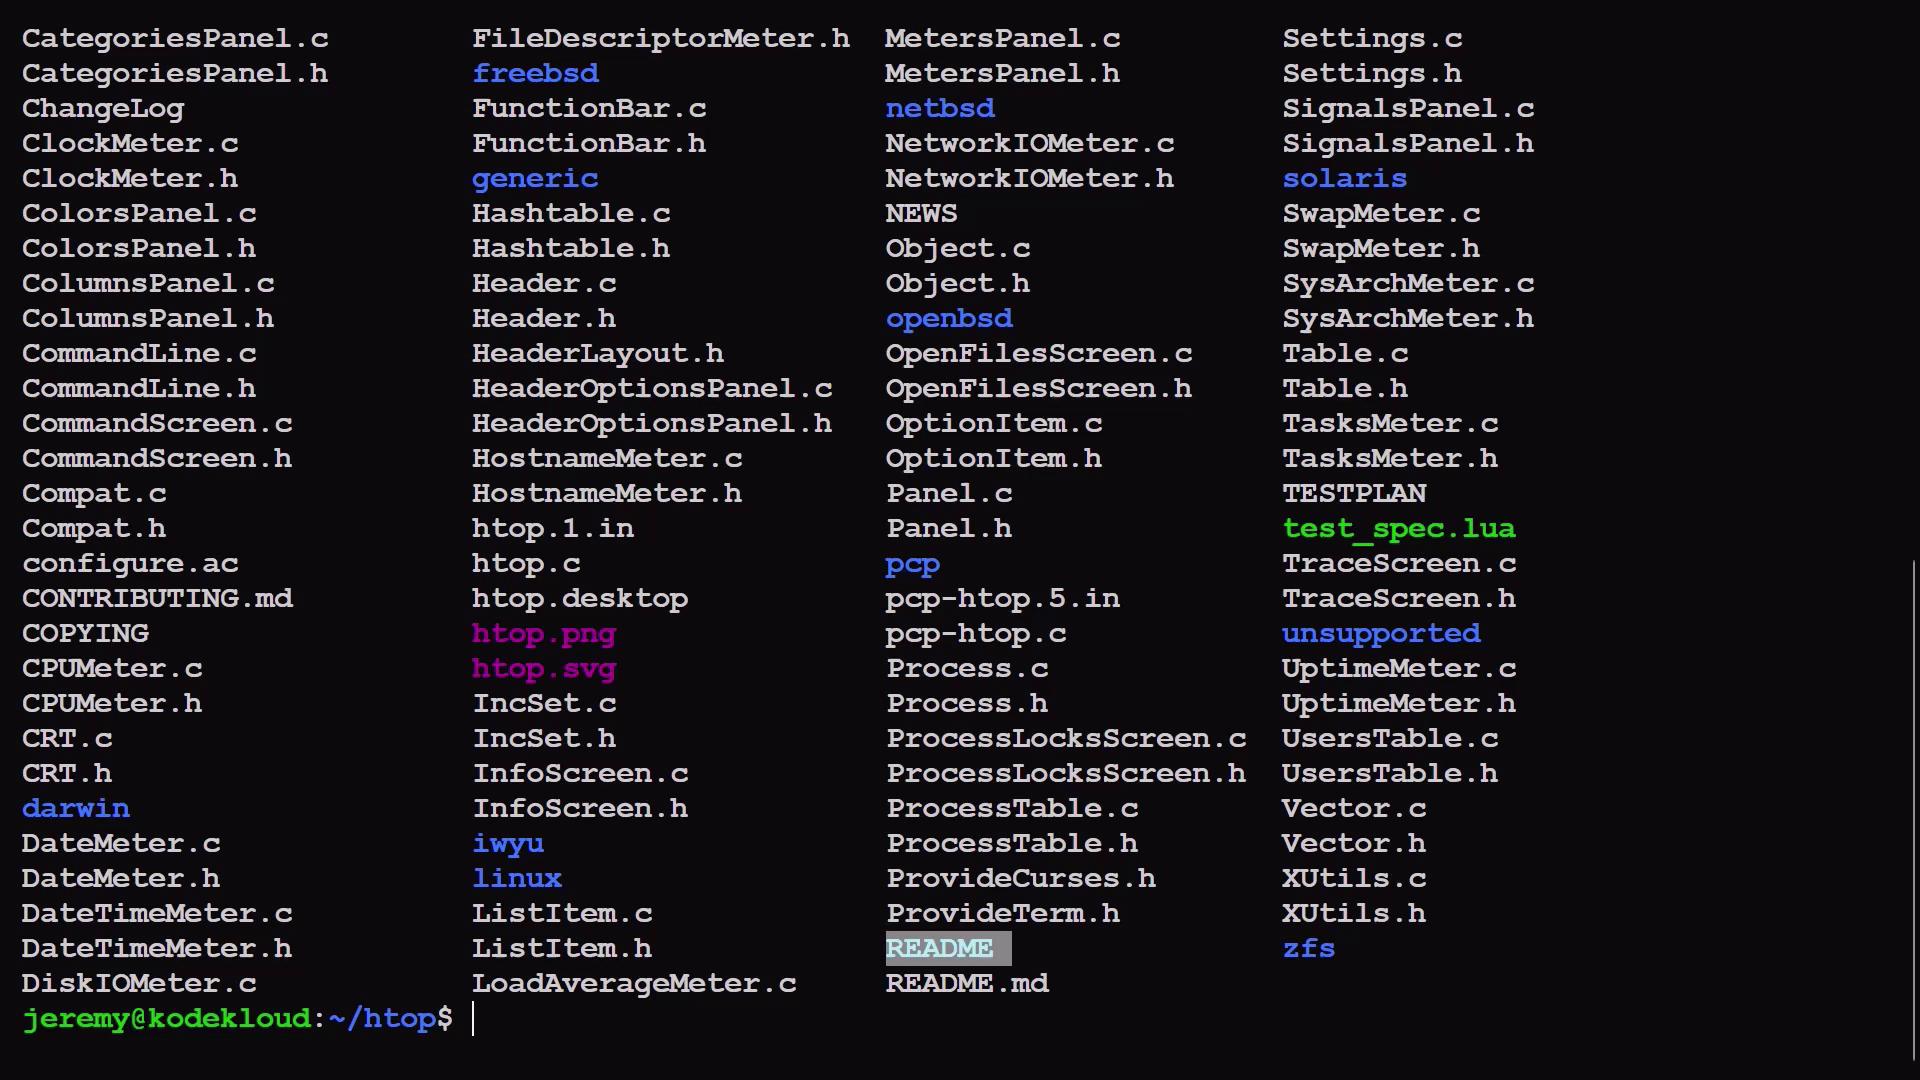
After cloning, switch to the project’s directory and review its contents. You’ll notice a README file that includes built-in instructions for building the project, along with other key files.
According to the README file, several libraries and compilation tools are required. One essential package is libncursesw5-dev, which is a development library, indicated by the -dev suffix. Additionally, the build-essential package installs the necessary compilation tools.Install the required packages by running:
After installing the dependencies, locate the executable script named autogen.sh (often highlighted in green). This script generates the configure file, which prepares the build configuration options for your project.To run the autogen script, execute:
Copy
bash ./autogen.sh
The execution output should look similar to:
Copy
autoreconf: export WARNINGS=allautoreconf: Entering directory '.'autoreconf: configure.ac: not using Gettextautoreconf: running: aclocal --forceautoreconf: configure.ac: tracingautoreconf: configure.ac: creating directory build-auxautoreconf: configure.ac: not using Libtoolautoreconf: configure.ac: not using Intltoolautoreconf: configure.ac: not using Gtkdocautoreconf: running: /usr/bin/autoconf --forceautoreconf: running: /usr/bin/autoheader --forceautoreconf: running: automake --add-missing --copy --force-missingconfigure.ac:69: installing 'build-aux/compile'configure.ac:23: installing 'build-aux/config.guess'configure.ac:23: installing 'build-aux/config.sub'configure.ac:24: installing 'build-aux/install-sh'configure.ac:24: installing 'build-aux/missing'Makefile.am: installing './INSTALL'Makefile.am: installing 'build-aux/depcomp'autoreconf: Leaving directory '.'
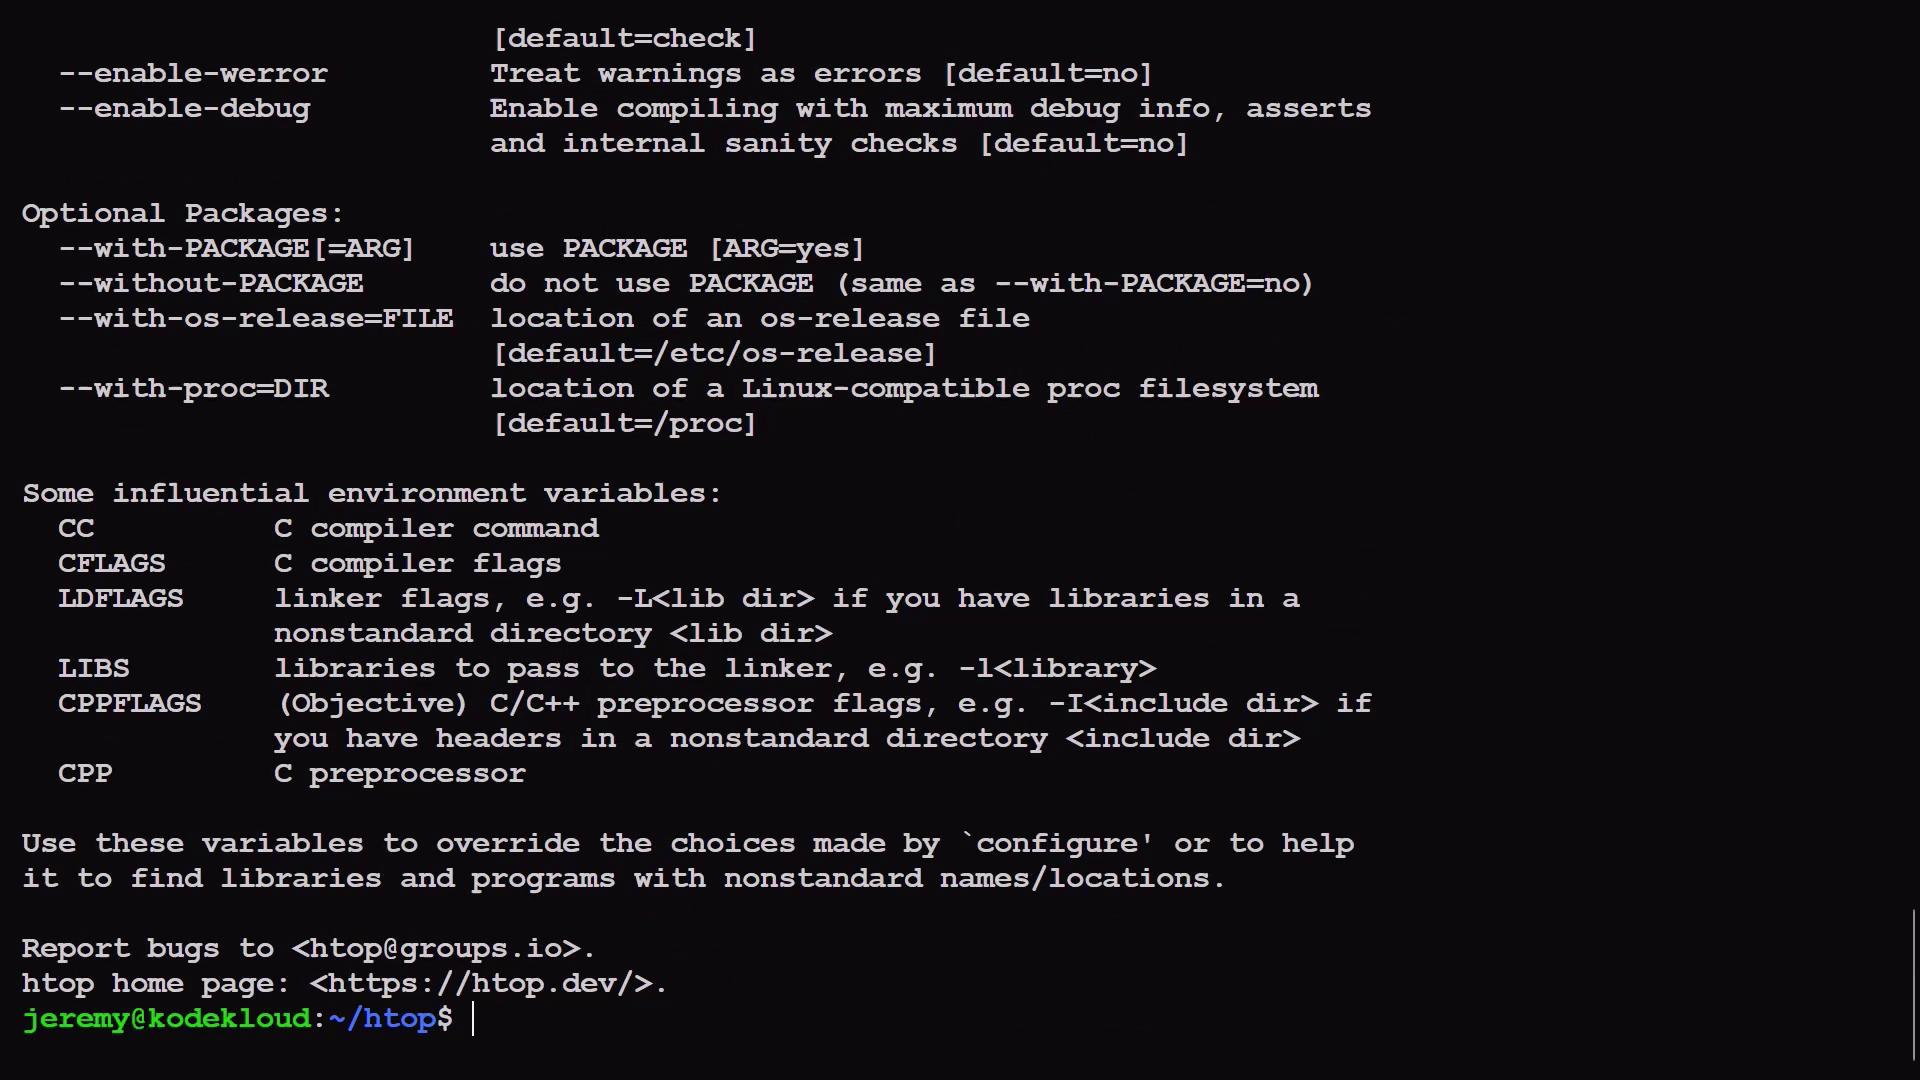
This generated configure script allows you to set various build options. To view all available configuration options, run:
Copy
bash./configure --help
Running ./configure without arguments will configure the project using default settings.
Before building the project, the configuration script checks for the presence of necessary libraries and compiler support. Below is an example snippet of these checks:
Copy
checking for stdlib.h... (cached) yeschecking for string.h... (cached) yeschecking for strings.h... (cached) yeschecking for sys/param.h... yeschecking for sys/time.h... yeschecking for sys/utsname.h... yeschecking for unistd.h... (cached) yeschecking for sys/mkdev.h... nochecking for sys/sysmacros.h... yeschecking for execinfo.h... yeschecking for mbstate_t... yeschecking for mode_t... yeschecking for off_t... yeschecking for pid_t... yeschecking for size_t... yeschecking for ssize_t... yeschecking how to run the C preprocessor... gcc -Echecking for grep that handles long lines and -e... /usr/bin/grepchecking for egrep... /usr/bin/grep -Echecking for uid_t in sys/types.h... yeschecking for uint8_t... yeschecking for uint16_t... yeschecking for uint32_t... yeschecking for uint64_t... yeschecking for alloc_size... yeschecking for access... yeschecking for nonnull... yeschecking for NaN support... yeschecking for library containing ceil... |
Once all checks pass, you are ready to compile the application using make.
The make command compiles the source code into an executable binary. To start the compilation process, run:
Copy
make
If you wish to see a list of all available make targets (such as clean, install, and uninstall), type make followed by a space and press the Tab key twice. These common targets help in managing build artifacts and installation processes.For example, if the build process fails or you need to start from a clean state, you can run:
Copy
make clean
After successfully running make, the htop binary is compiled in the current directory.
After compilation, you can run the newly created htop executable directly from the current directory:
Copy
./htop
Upon running htop, you should see an interface similar to the following:
Copy
Main I/OPID USER PR NI VIRT RES SHR S CPU% MEM% TIME+ Command13535 jeremy 20 0 15120 6956 4992 S 2.0 0.1 0:06.53 sshd: jeremy@pts/019840 jeremy 20 0 8000 4224 3456 R 1.3 0.1 0:00.04 /htop24200 root 20 0 58560 4200 23304 S 0.7 0.3 0:13.96 /usr/lib/systemd/systemd-journald...
Typing the full path to run the executable each time can be cumbersome. To streamline the process, you can install the application system-wide. This action moves the htop binary into a directory included in your system’s PATH (typically /usr/local/bin), allowing you to run it from any location.Install htop system-wide by executing:
Copy
sudo make install
Now, you can simply type:
Copy
htop
For example, navigate to your home directory and run:
Copy
cd ~htop
Because /usr/local/bin is in the default PATH for Ubuntu, you no longer need to specify the full path to launch the application.
Compiling software from source can provide enhanced performance and access to the latest features. Always refer to the project’s README for specific build instructions and troubleshooting tips.