PIM Onboarding Considerations
When onboarding PIM, consider the following three key factors:1. License Requirements
PIM requires one of the following licenses:- Azure AD Premium P2
- Enterprise Mobility + Security E5
- M365 E5
To verify your license, navigate to the Azure billing or subscription section and confirm that you are using one of the supported plans.
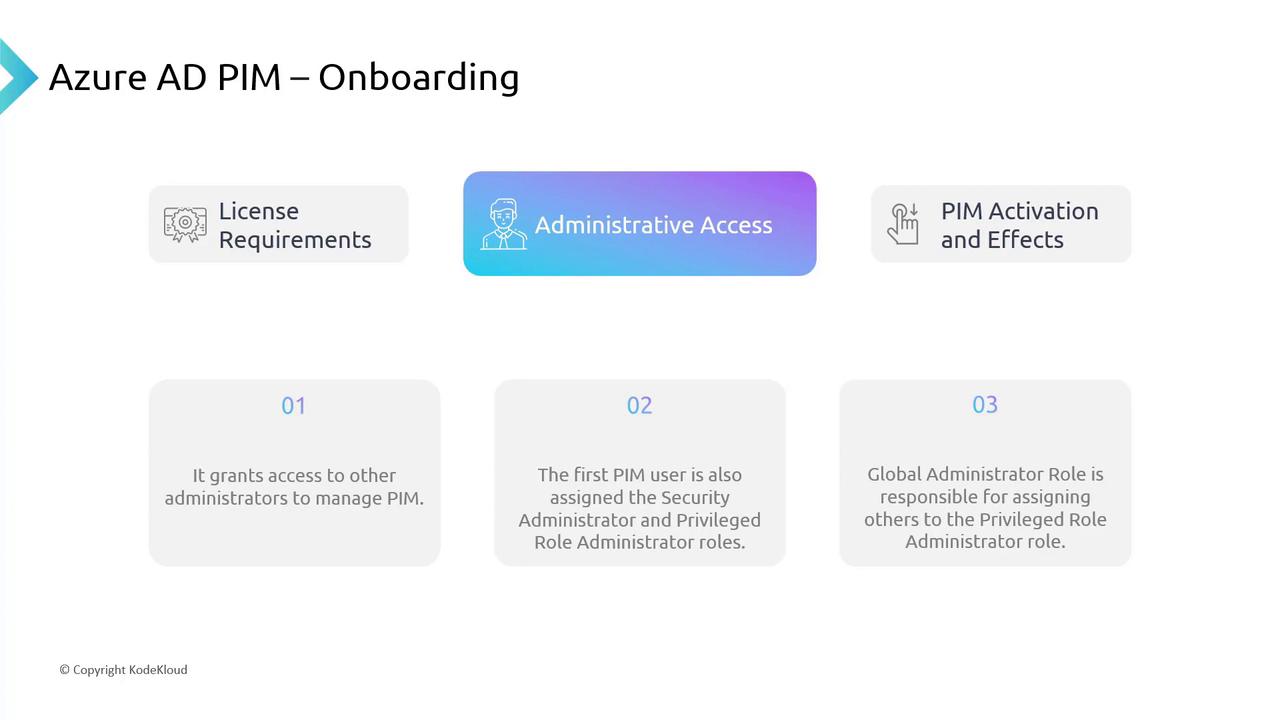
2. Administrative Access
Managing PIM requires specific administrative access levels:-
Initial Setup:
The first user accessing PIM is automatically assigned both the Security Administrator and PIM Privileged Role Administrator roles. This assignment is essential for subsequent configurations. -
Role of Global Administrator:
The Global Administrator is tasked with assigning additional privileged role administrators and consolidating administrative control over PIM.
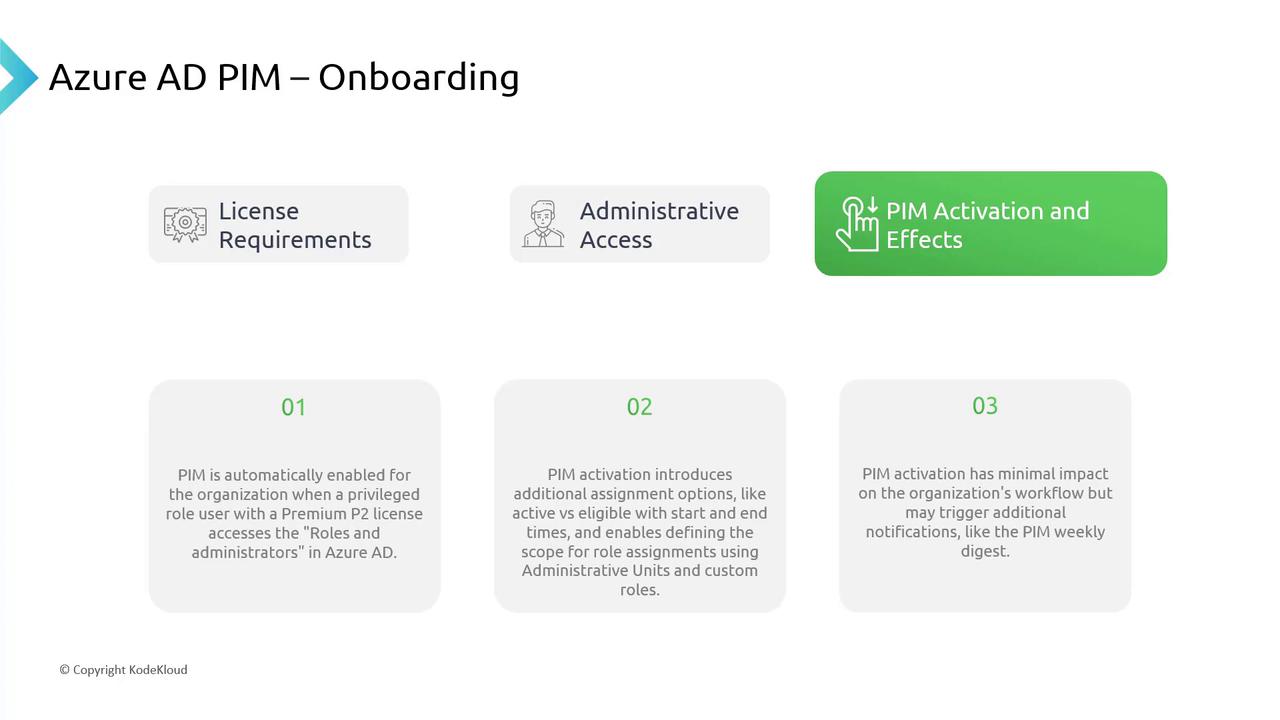
3. PIM Activation and Effects
PIM activates automatically when a privileged role user with a valid P2 license navigates to the “Roles and Administrators” section in Azure AD. For example, if you are a Global Administrator with a P2 license, merely accessing the roles and administrative blade triggers PIM without additional configuration. Once activated, you can configure role assignments as follows:-
Active or Eligible:
Set roles to be either “active” or “eligible” and specify their start and end times. -
Scope Definition:
Define the scope using administrative units and custom roles.
Using the Azure Portal for PIM
After onboarding PIM, you can manage it via the Azure Portal:- Search for “Privileged” in the Azure Portal and select Azure AD Privileged Identity Management.
- Explore the various management options for Azure AD roles, groups, and resources.
- Manage tasks such as:
- Approving access requests
- Reviewing user access histories
- Tracking the status of your own access requests
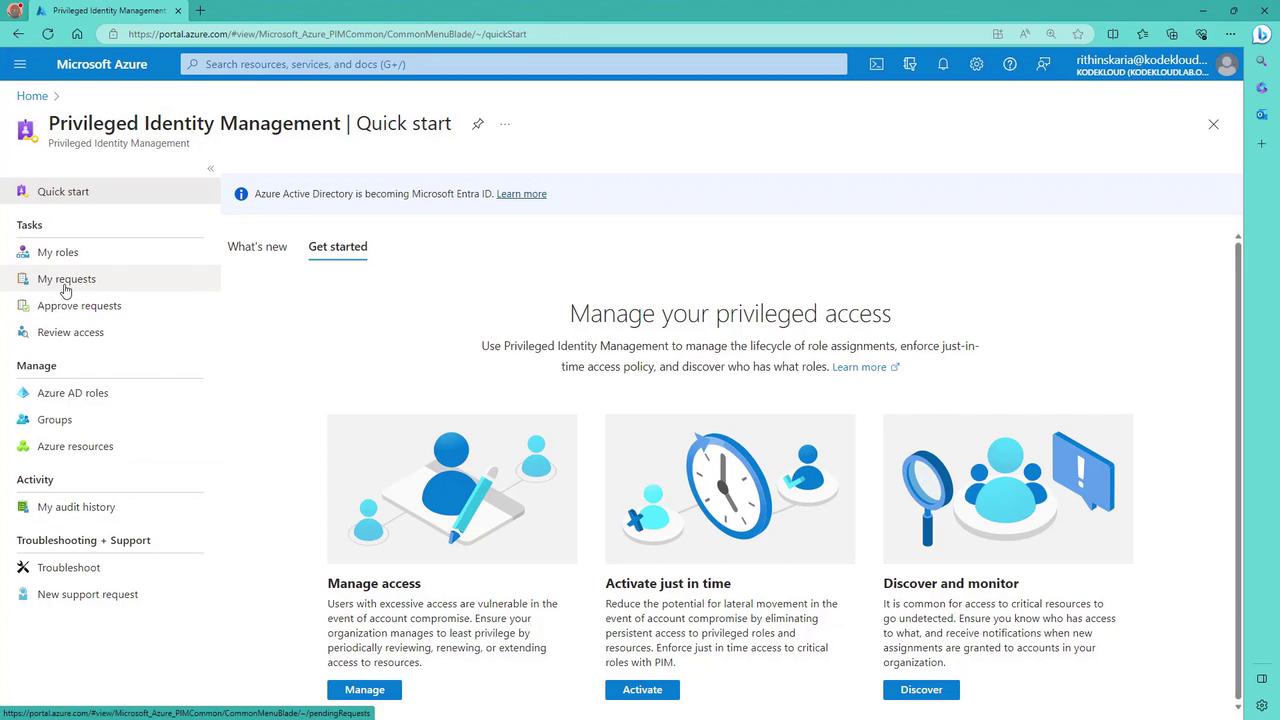
Familiarize yourself with the dashboard’s layout to quickly navigate between role assignments, access reviews, and other management tasks.
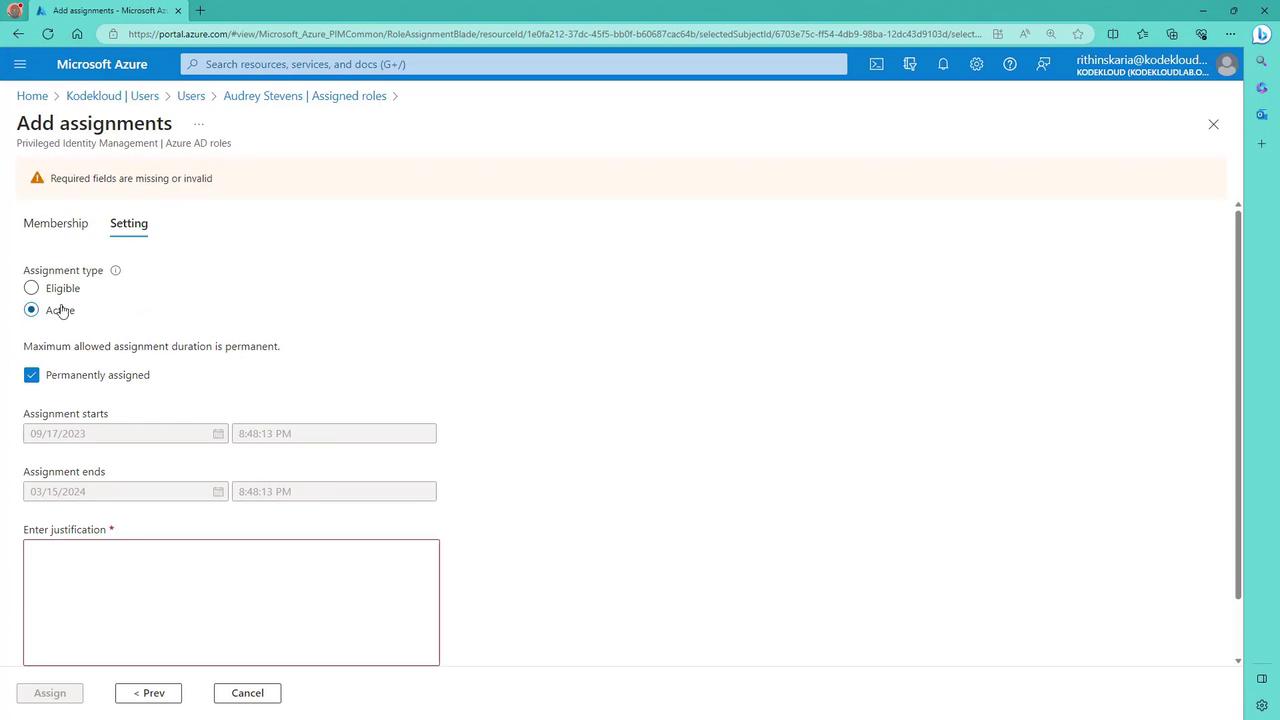
Understanding Role Assignments
The PIM interface distinguishes between different types of role assignments in Azure Active Directory:Eligible Role Assignments
- Users may be eligible for a role without it being activated.
- Eligibility allows users to apply for activation when needed.
- Both eligibility and active assignments display corresponding start and end times.
Active Role Assignments
- Once an eligible role is activated, it becomes active.
- Active assignments confirm that the role is currently in use.
Permanent Assignments
- Some accounts, such as break-glass accounts, must have permanent assignments that bypass PIM activation.
- These accounts are configured for continuous, full-time access without an expiration date, ensuring an emergency fallback mechanism.
- Making the assignment eligible (with a defined time period or permanently eligible).
- Activating the role immediately to result in a permanent assignment.