What is Conditional Access?
Azure AD Conditional Access evaluates signals about a sign-in attempt and enforces policies that determine the result. It’s a central part of identity-based security and complements MFA and Azure AD Identity Protection. Overview: signals → policies → apps/data- Signals (user, device, location, application, sign-in risk, etc.) are evaluated at every sign-in.
- When signals meet policy conditions, Conditional Access evaluates and enforces an outcome.
- Outcomes include allowing access, requiring multi-factor authentication (MFA) or other controls, or blocking access entirely.
- Allow access (no additional challenge).
- Require MFA (or another configured control) before granting access.
- Block access (deny access to the requested app/resource).
How Conditional Access works
Signals include user and group membership, device state, application being accessed, IP/location, client application type, and risk levels determined by Identity Protection (user risk and sign-in risk). Policies are evaluated in real time and enforce one of the outcomes above. Example use case: allow access only from a trusted corporate network. Even if a user has valid credentials, Conditional Access can prevent access unless the sign-in originates from the approved network.Key features
| Feature | Purpose | Examples |
|---|---|---|
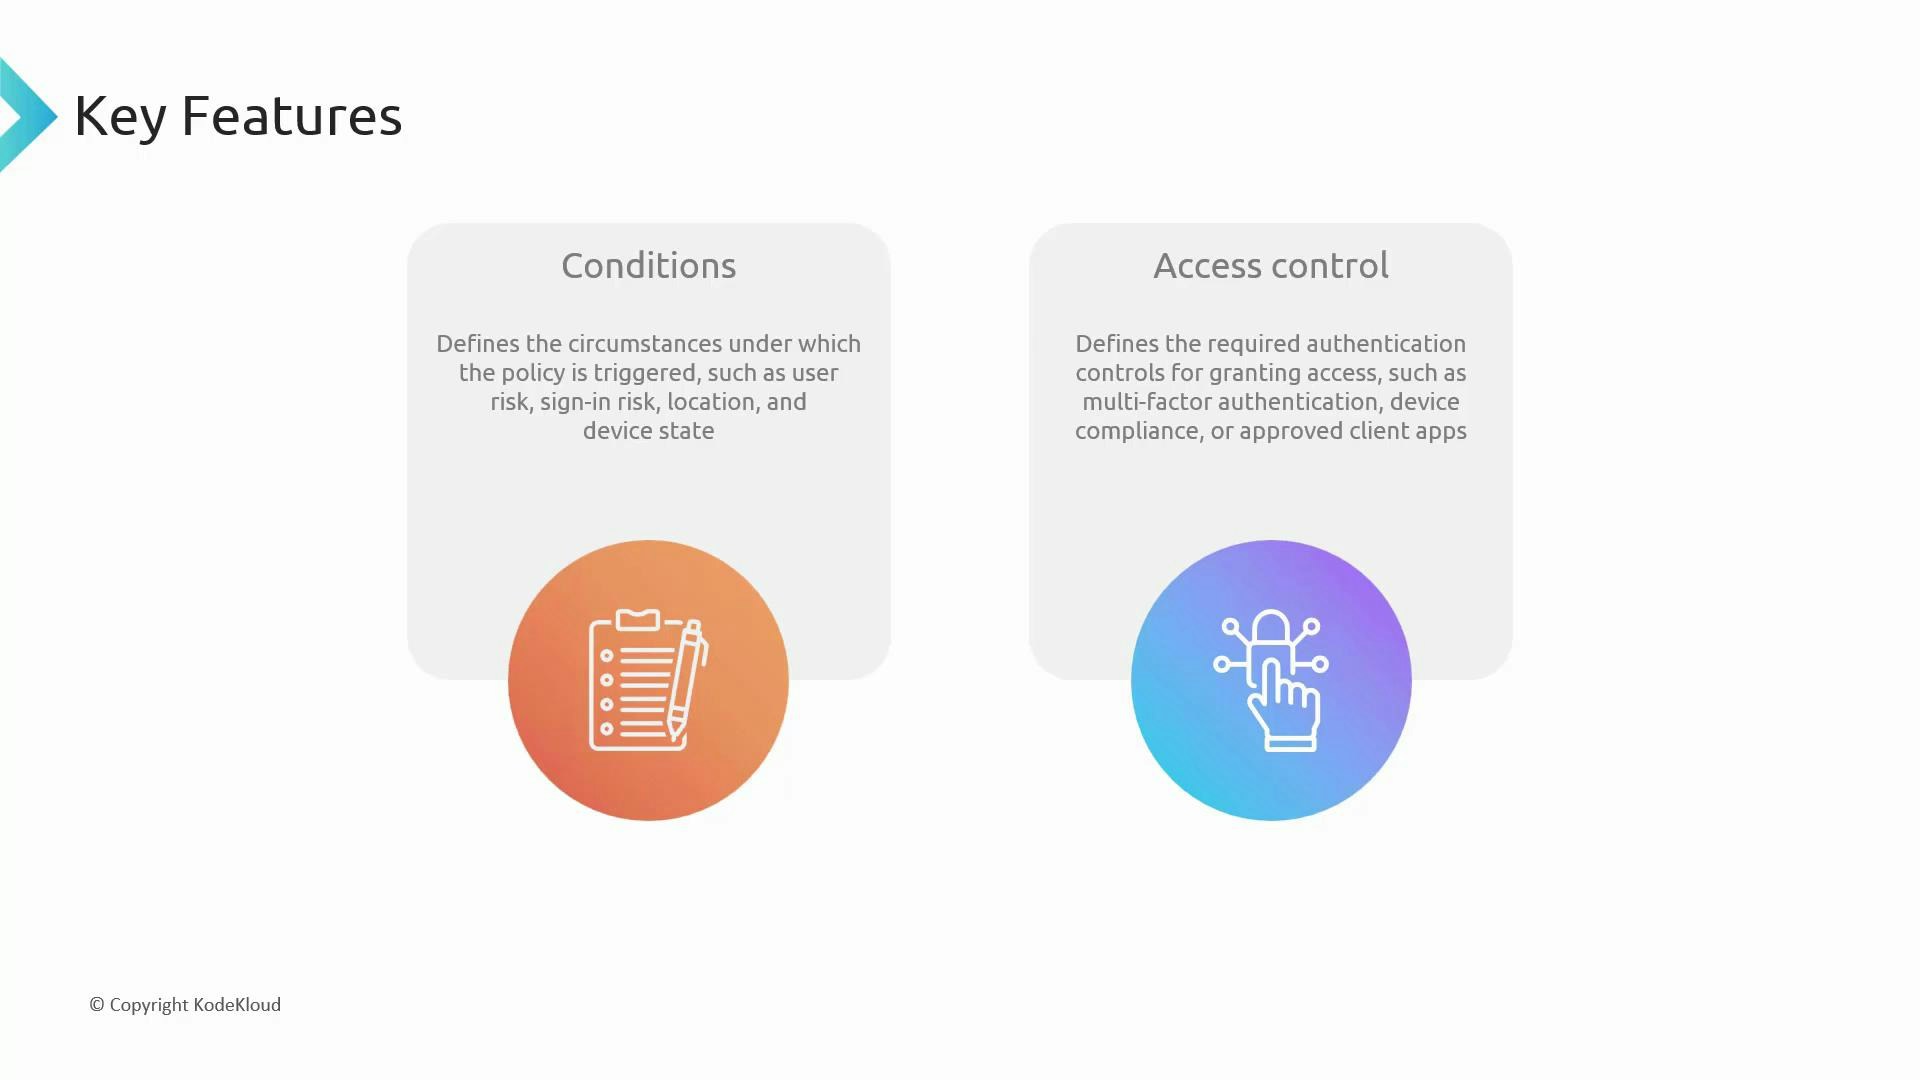
| Conditions | Define when a policy applies | Users/groups, device state (compliant), location/IP ranges, client app type, platform, sign-in or user risk |
| Access controls | Define what happens when conditions are met | Allow, Block, Require MFA, Require device compliance, Require approved client app, Require hybrid Azure AD join, Require authentication strength |
Password reset or forcing a password change is generally handled by Azure AD Identity Protection risk remediation policies rather than as a Conditional Access grant control.
Benefits
- Customized access: Tailor policies by role (e.g., global admins vs. standard users), location, device posture, and risk.
- Improved security: Require additional verification when sign-ins look risky (new location, unfamiliar device).
- Single policy platform: Apply consistent controls across all Azure AD–protected apps.
Conditional Access flow recap
- User requests access to an app.
- Azure AD evaluates signals (user, group, app, device state, location/IP, client app, sign-in risk).
- Conditional Access policies that match the signals are evaluated and an outcome is enforced: Allow, Require MFA, or Block.
Portal walkthrough: create a Conditional Access policy
Below is a step-by-step example to create a policy that blocks a single user (Abigail) from accessing the Azure portal.-
Sign in to the Azure portal (portal.azure.com) as the account you will use to test (e.g., Abigail).
- If MFA is required for that account, complete it during sign-in.
- For demo/test tenants, use an incognito/private window to simulate specific users.
-
Security Defaults
- New Azure AD tenants enable Security Defaults by default. Security Defaults is a Microsoft-managed set of baseline security controls (including MFA for admins). You cannot create custom Conditional Access policies until you disable Security Defaults.
- If you plan to manage your own policies, you must disable Security Defaults first.
Disabling Security Defaults enables custom Conditional Access policies but increases the risk of misconfiguration. Ensure you have protection for privileged/break-glass accounts (for example, keep an emergency admin secured with MFA) before turning it off.
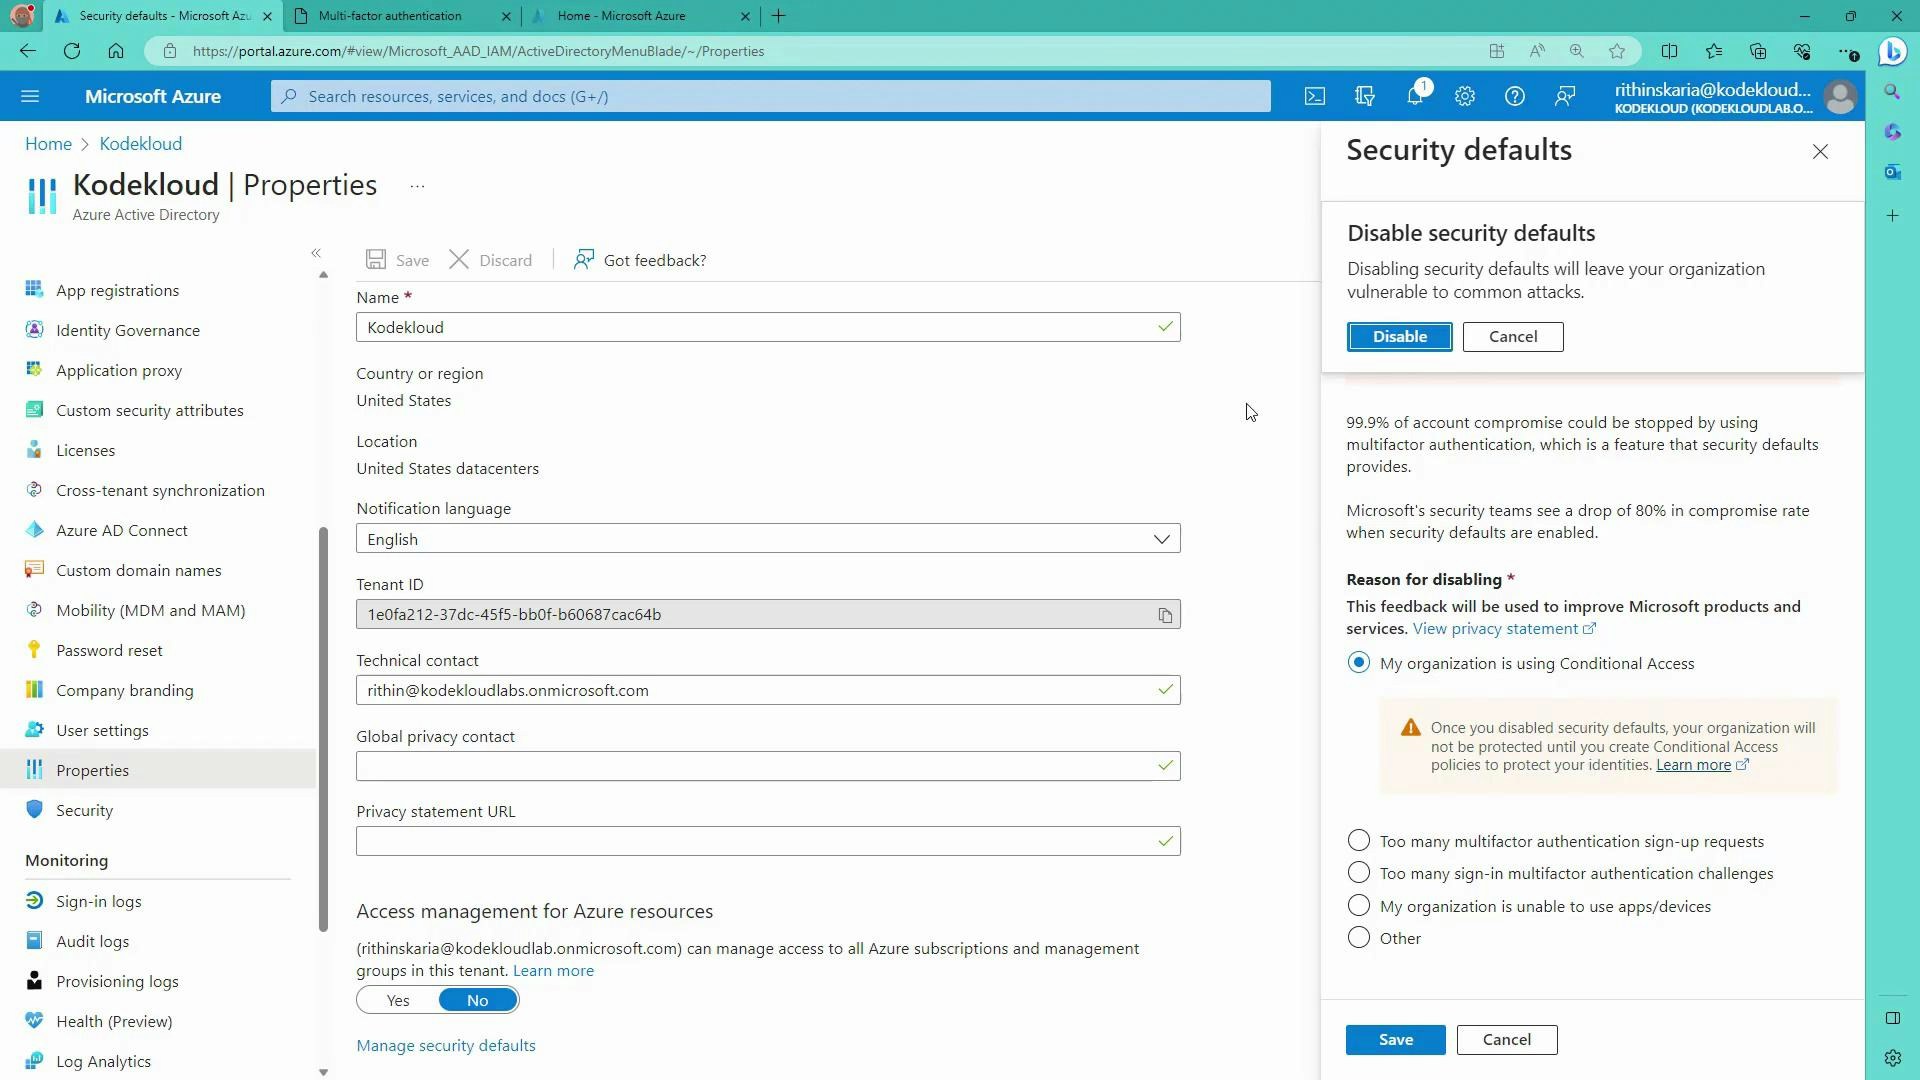
- To disable Security Defaults:
- Go to Azure Active Directory → Properties → Manage Security Defaults (at the bottom) and switch it off. Follow the prompts and save.
- Create the policy
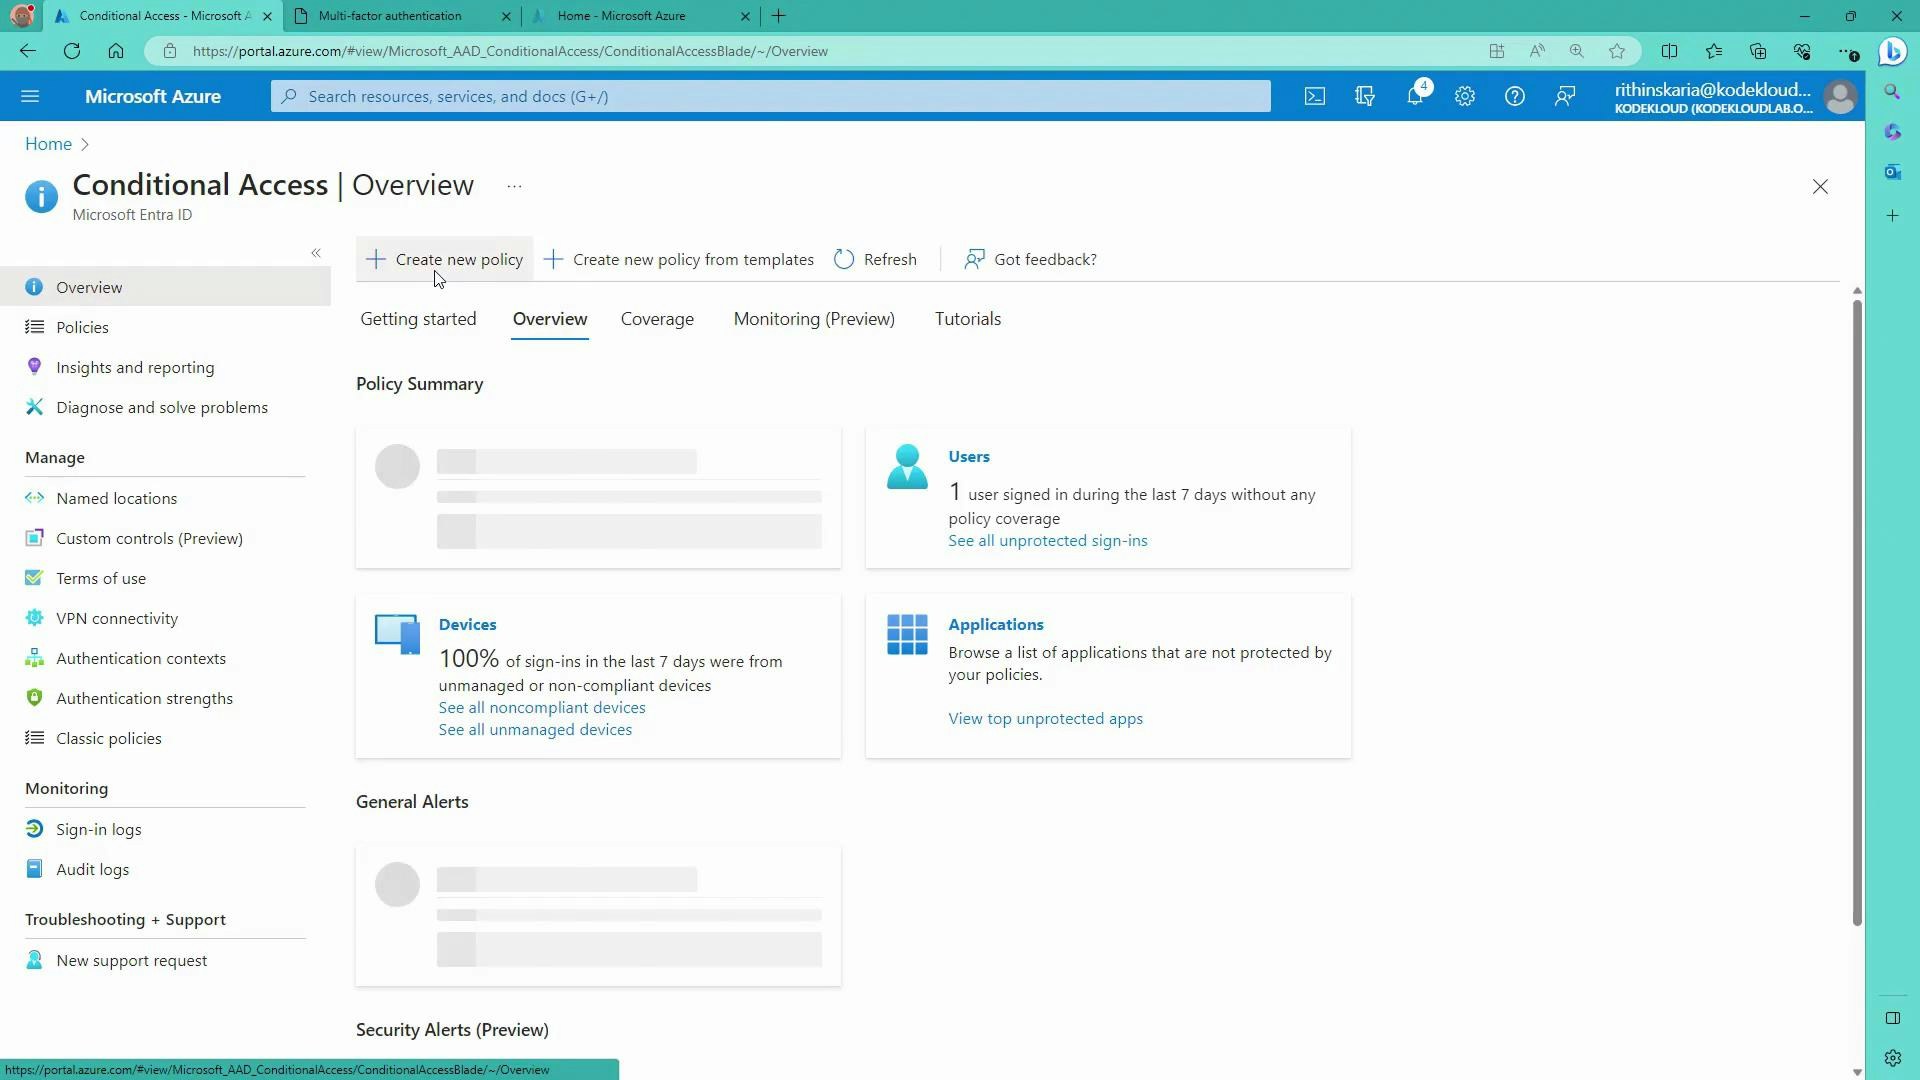
- Navigate to Azure Active Directory → Security → Conditional Access → Policies → New policy.
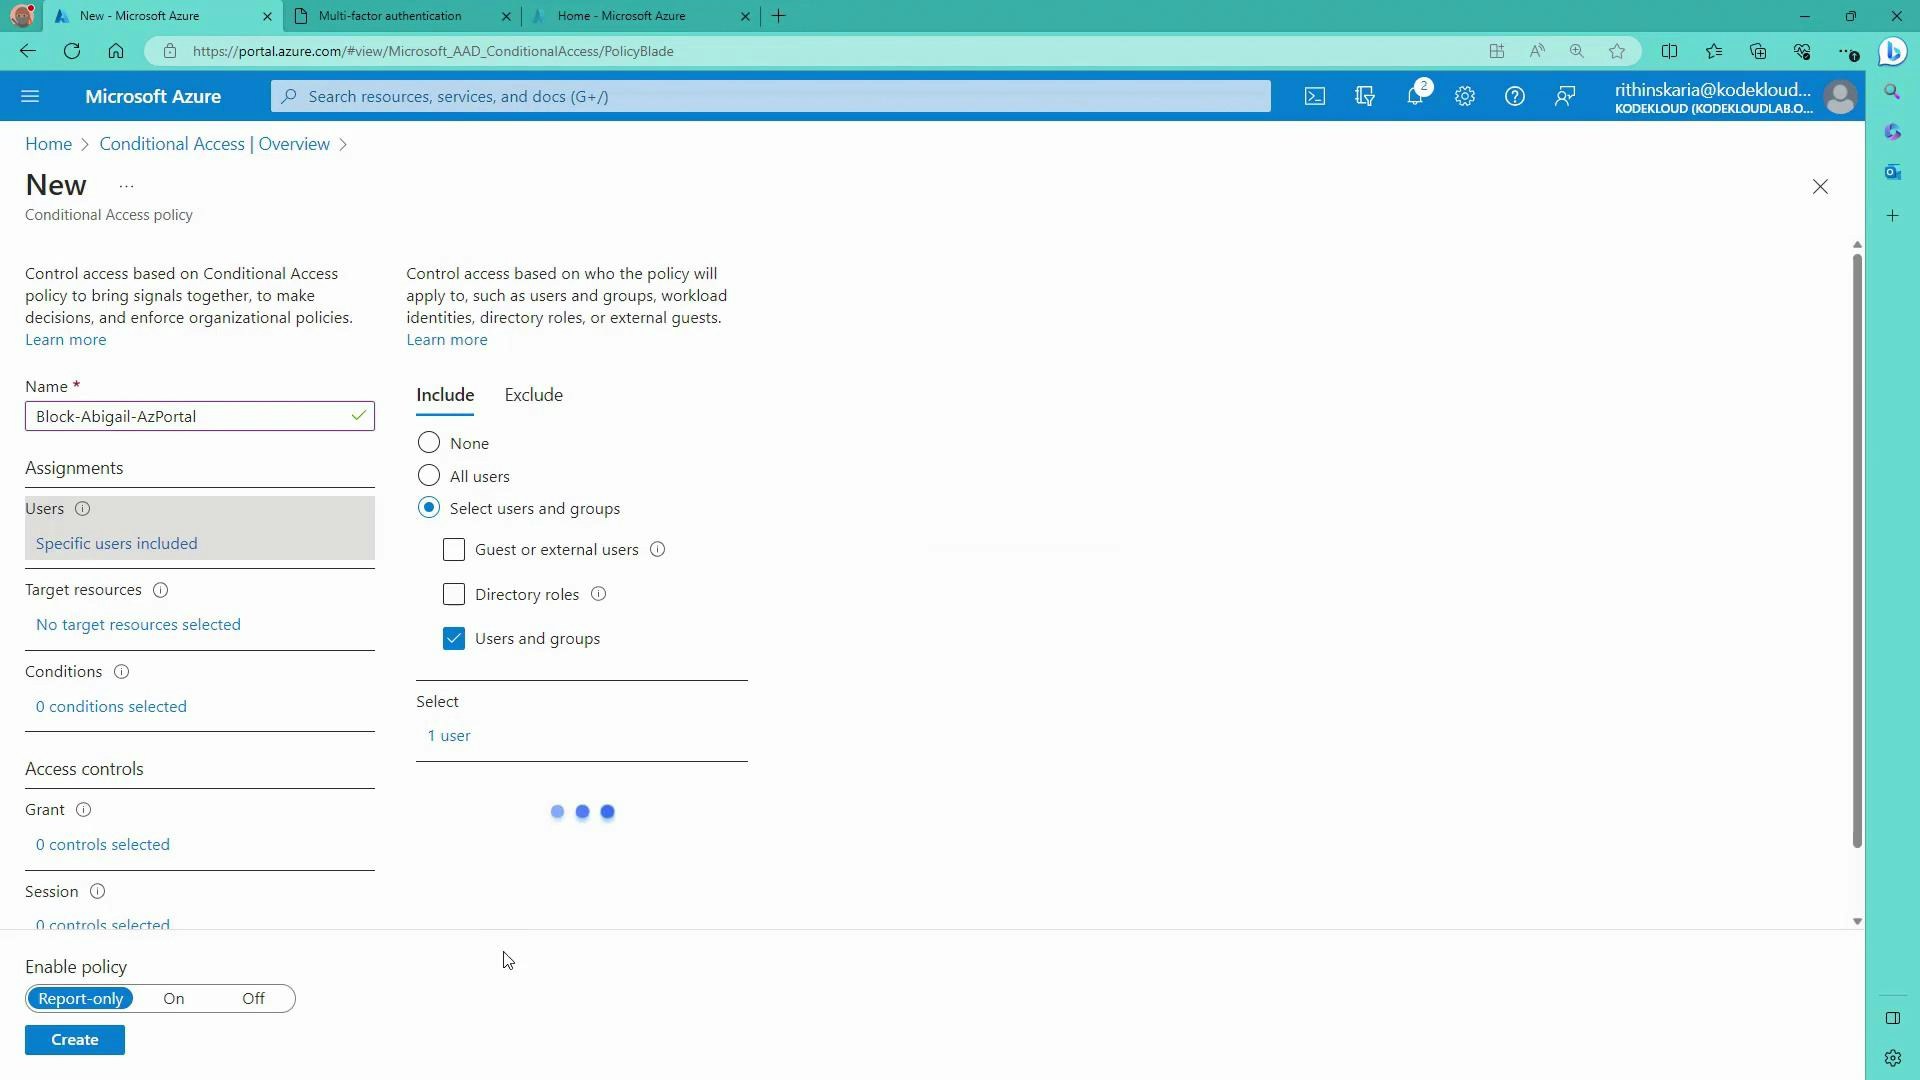
- Policy name: Block-Abigail-AzPortal
- Assignments → Users and groups: select the target user(s) — e.g., Abigail.
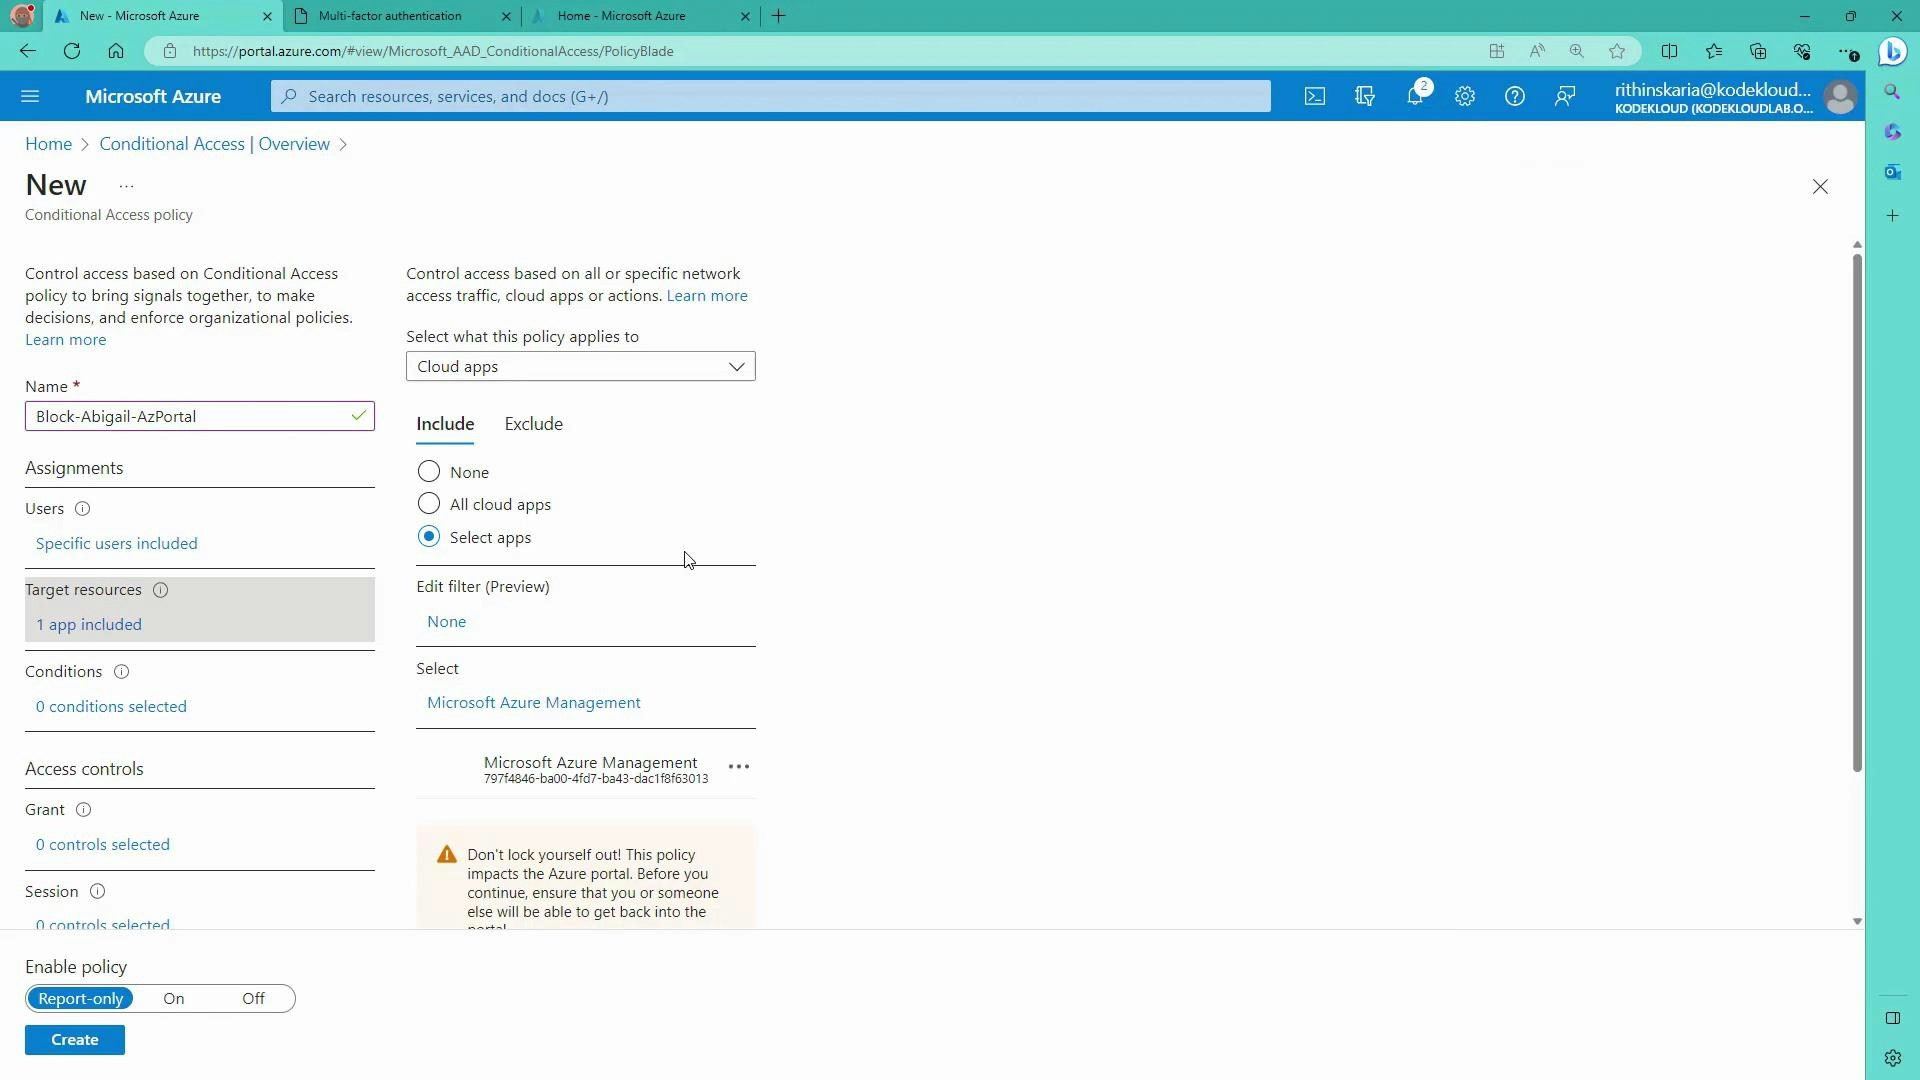
- Assignments → Cloud apps or actions: select the target app(s). For blocking access to the Azure portal, choose “Azure Management” (Azure Portal / Azure Resource Manager). You can target all cloud apps and exclude specific ones if necessary.
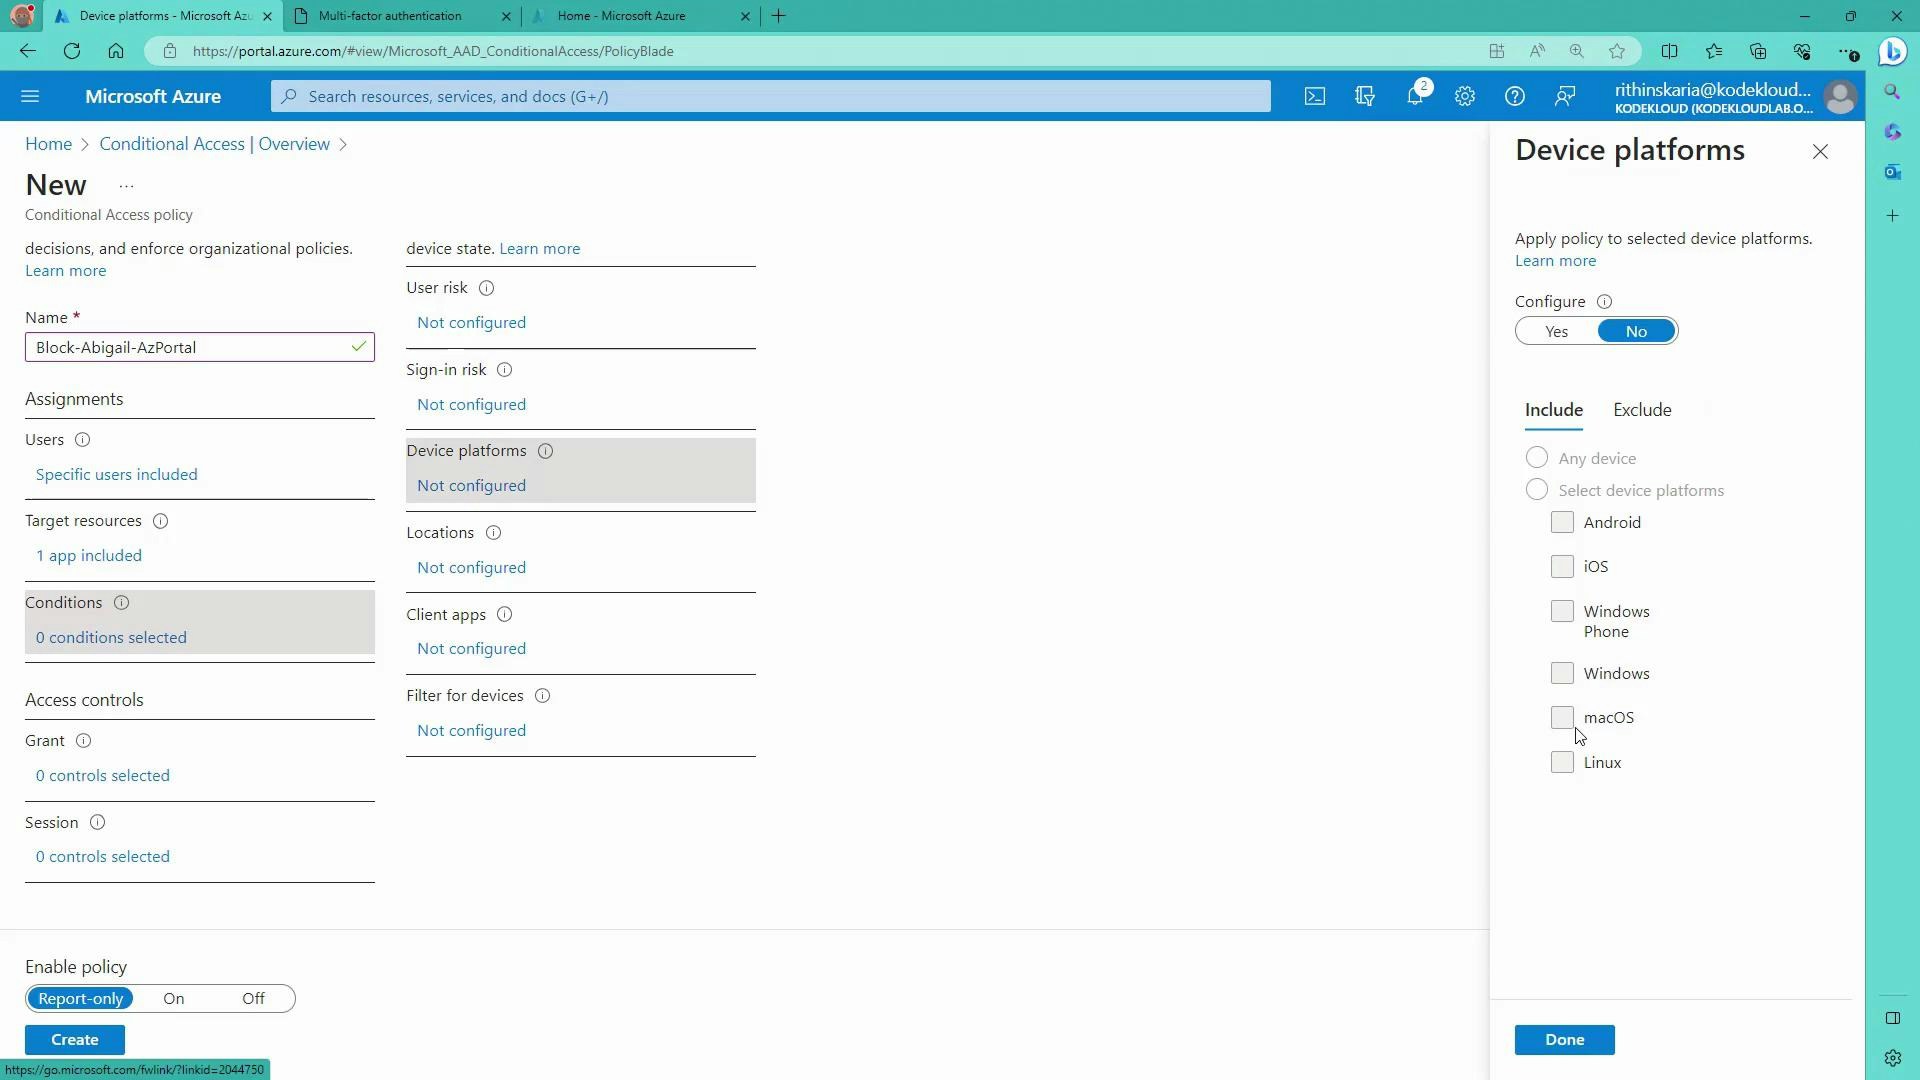
- Assignments → Conditions: optionally set device platform, locations, client apps, sign-in risk, or user risk. In this demo we block Abigail regardless of platform or location, so no extra conditions are added.
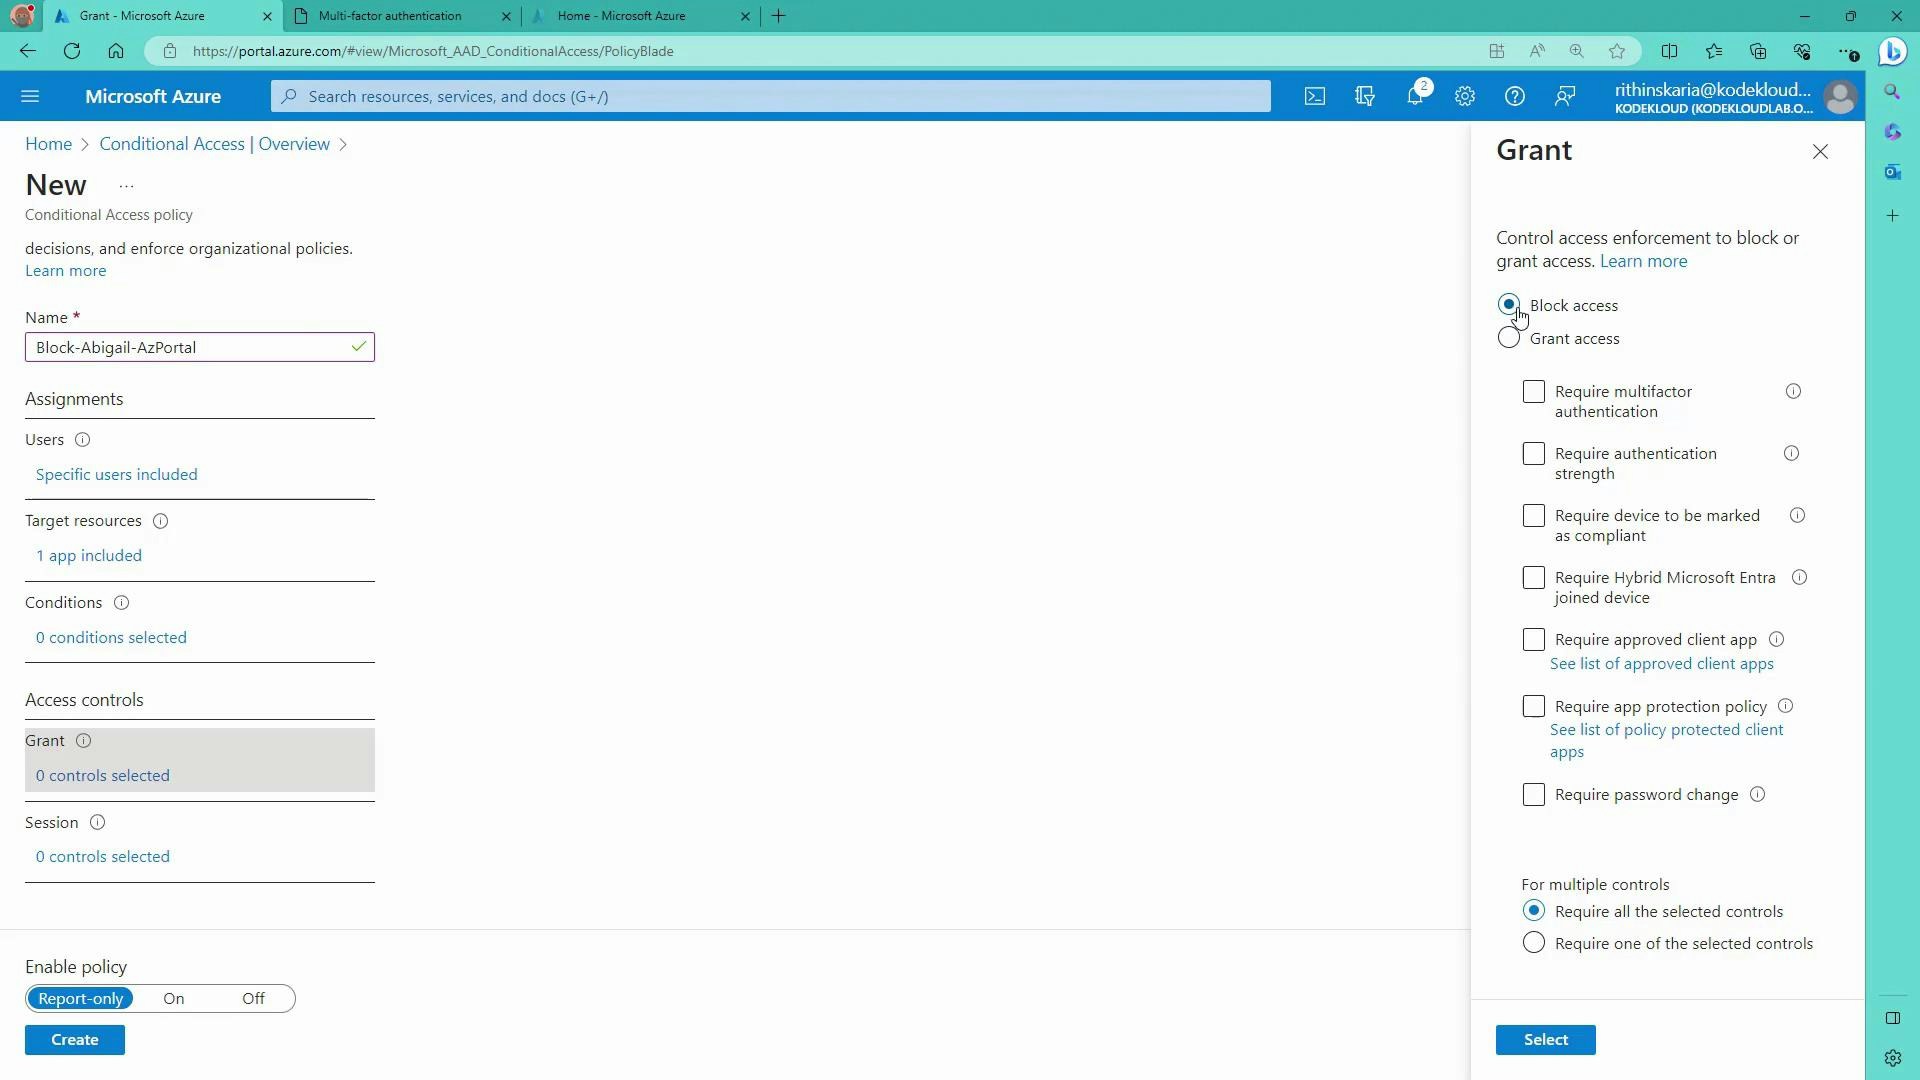
- Access controls → Grant: choose the enforcement action. To block access, select “Block access.”
- Enable policy: policies can be created in Report-only mode to monitor impact. When ready, set the policy to On to enforce it and click Create.
Named locations and IP ranges
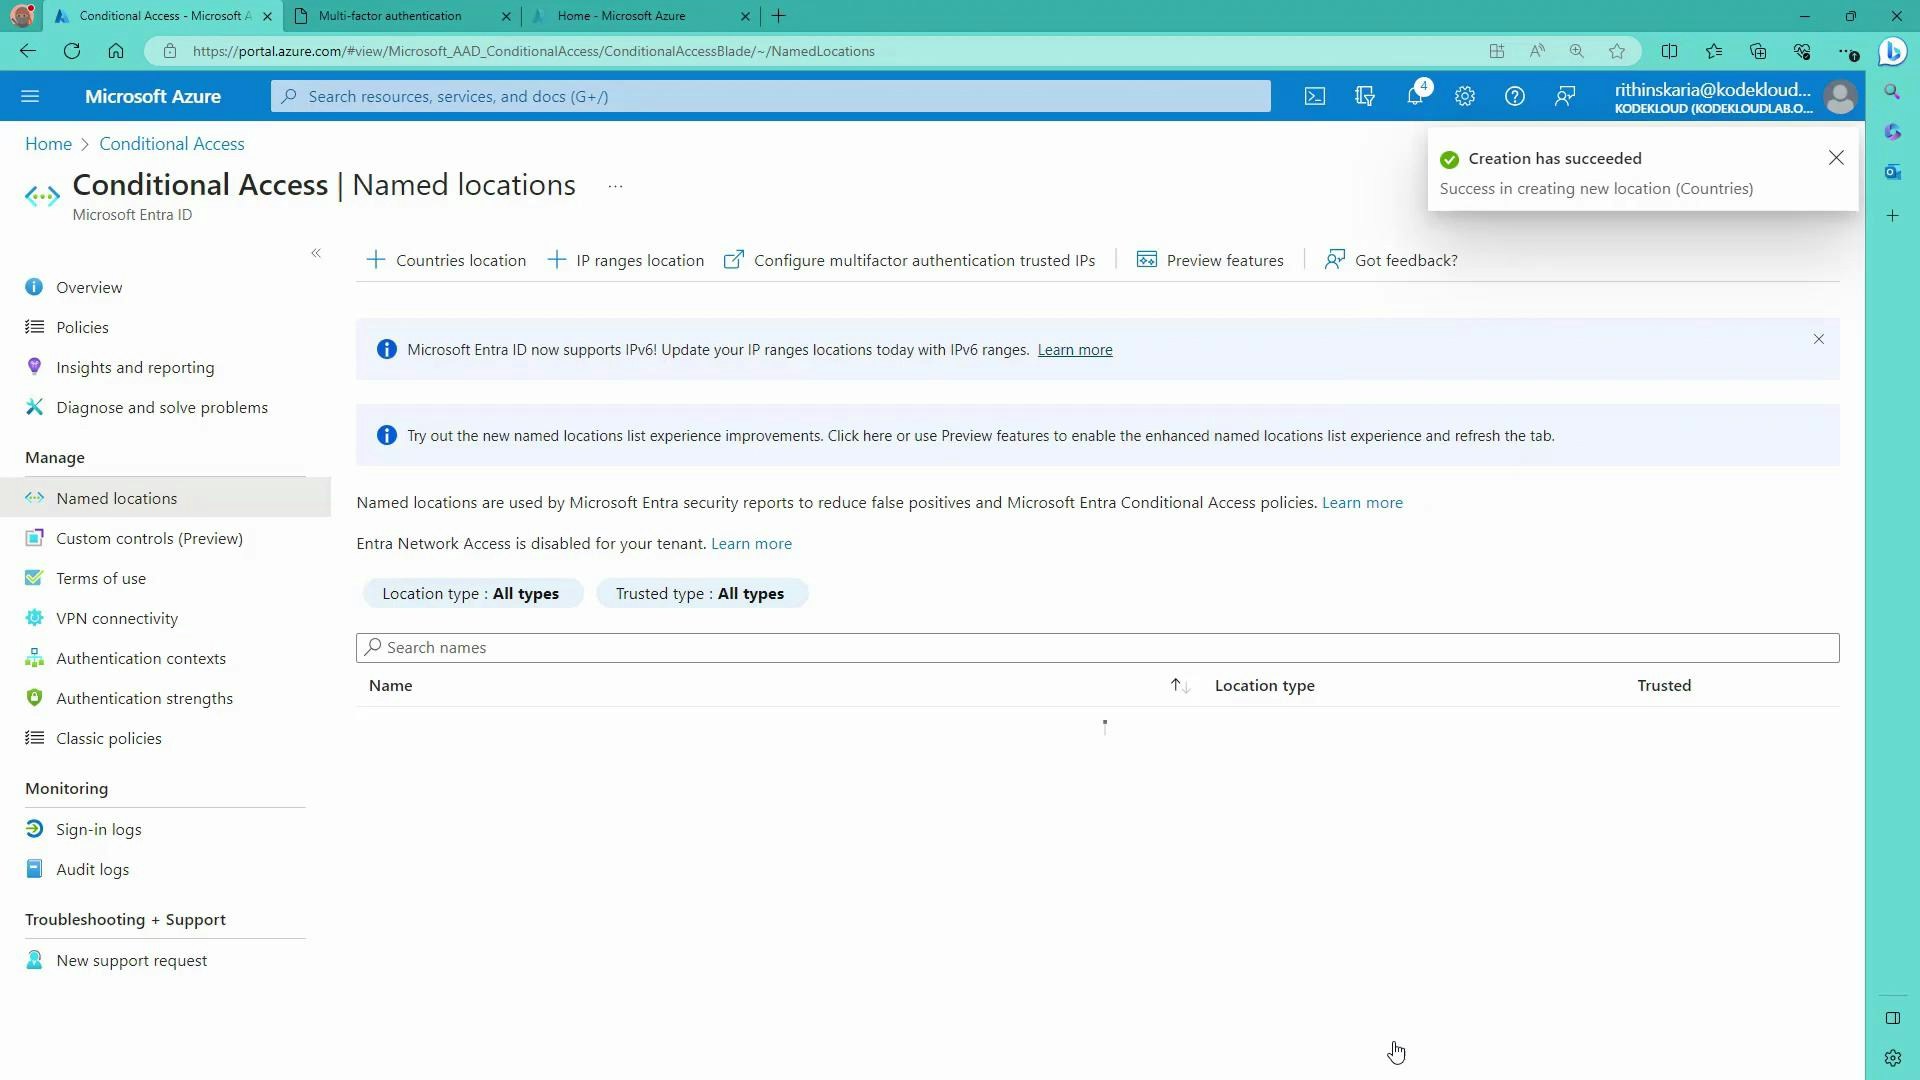
- Define Named locations (countries or IP ranges) under Conditional Access → Named locations to reference trusted networks in policies (for example, office IP ranges).
- Use Named locations with the Locations condition to whitelist or require extra controls when sign-ins originate from specific IP ranges or countries.
Testing and troubleshooting
- End-user experience: when the policy is enforced, Abigail signing in to portal.azure.com will receive a message such as “You don’t have permission to access this resource” if blocked. The sign-in details show the Conditional Access policy that prevented token issuance—share this with support for faster troubleshooting.
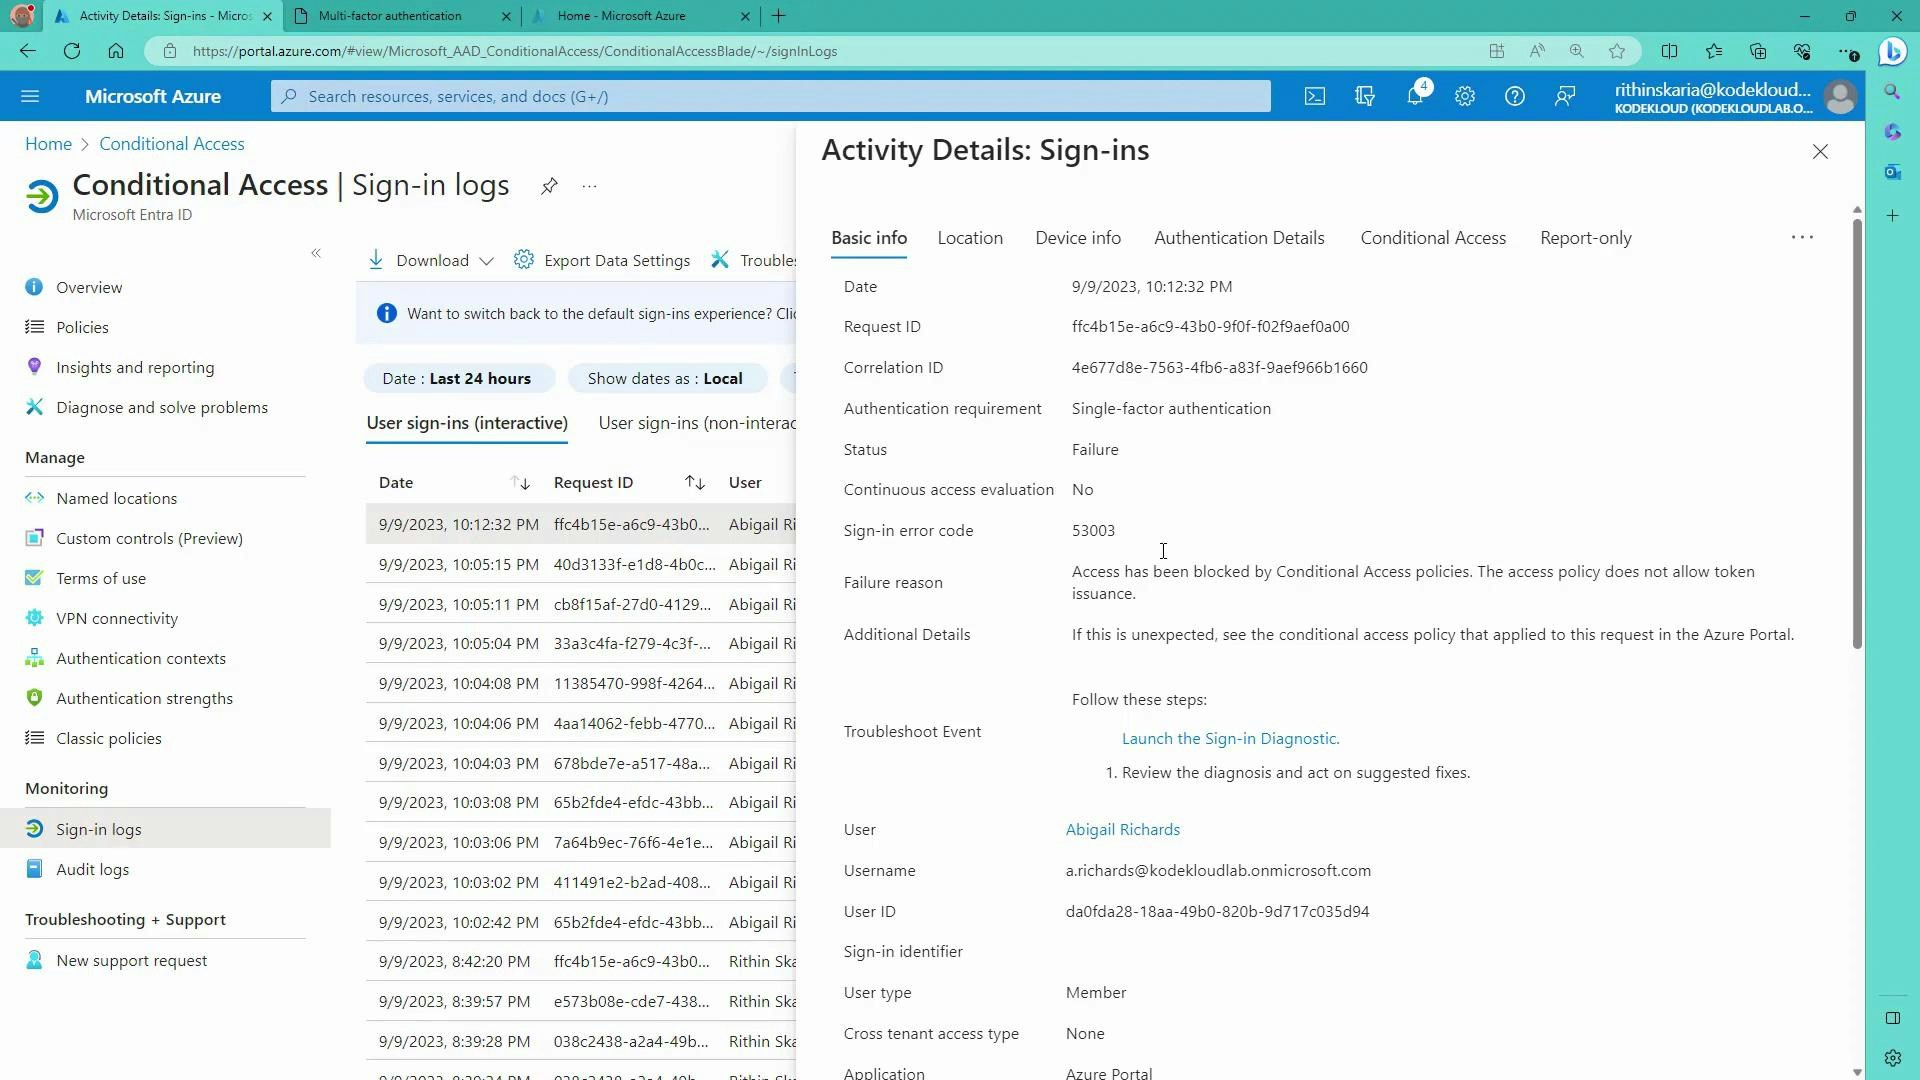
- Sign-in logs: view Azure AD Sign-in logs to see which Conditional Access policies applied and why a sign-in was allowed or blocked.
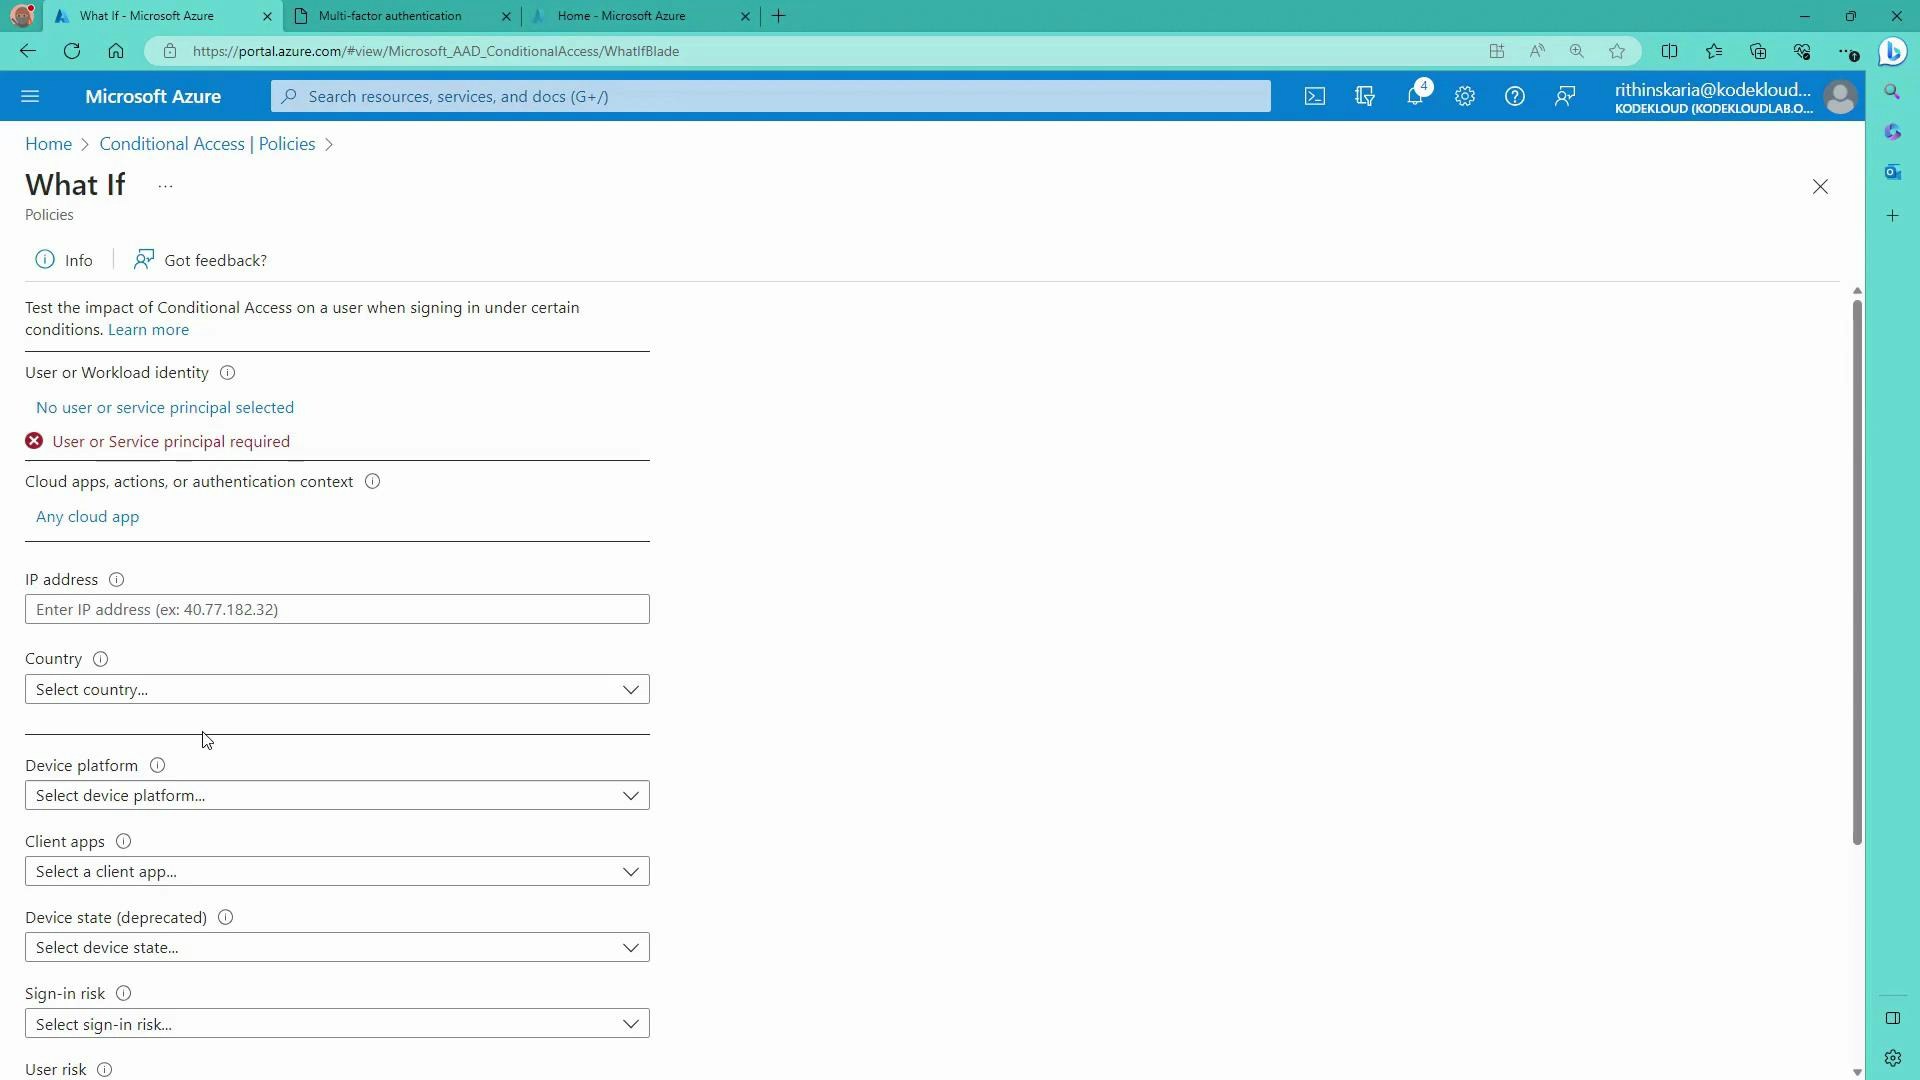
- What If tool: Conditional Access → What If simulates a sign-in for a specific user, app, IP, location, device platform, client app, and risk level. It shows which policies would apply and whether access would be allowed—useful to validate policy impact before enforcement.
Best practices
- Start in Report-only mode to monitor policy impact before enforcement.
- Use the What If tool to validate conditions and avoid unintended lockouts.
- Protect privileged accounts with stronger controls (MFA, dedicated break-glass accounts) before disabling Security Defaults.
- Scope policies narrowly (target specific users or applications) rather than applying broad, tenant-wide blocks unless intentional.
Summary
- Azure AD Conditional Access evaluates signals for each sign-in and enforces policies that Allow, Require MFA, or Block access.
- Policies combine Conditions (when a policy applies) and Access controls (how access is enforced).
- Use Named locations, device state, and Identity Protection risk signals to refine policies. Test with Report-only mode and the What If tool prior to enforcement to prevent accidental lockouts.
Links and references
- Azure Conditional Access documentation: https://learn.microsoft.com/azure/active-directory/conditional-access/
- What If tool: https://learn.microsoft.com/azure/active-directory/conditional-access/what-if
- Named locations: https://learn.microsoft.com/azure/active-directory/conditional-access/location-condition