Why Use Multi-Factor Authentication?
Multi-factor authentication bolsters account security by requiring extra verification—such as a phone call, text message, or fingerprint—alongside the usual password. Relying solely on a password leaves accounts vulnerable to credential exploits.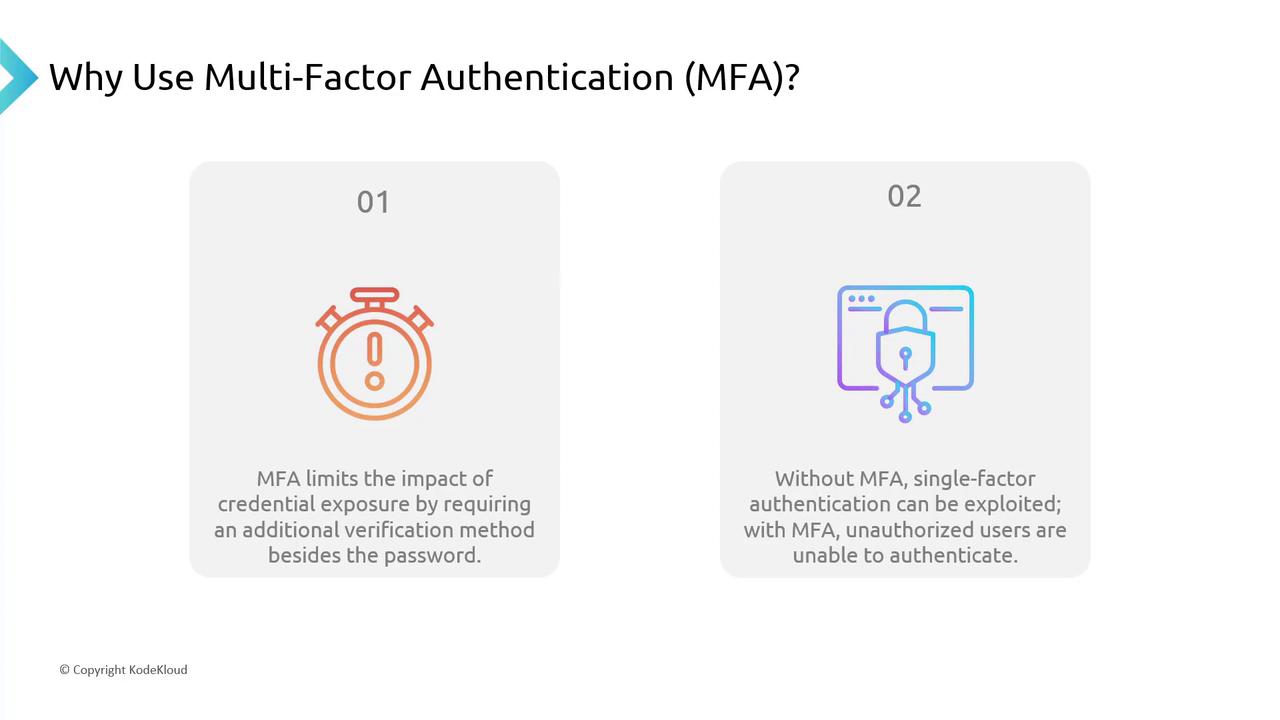
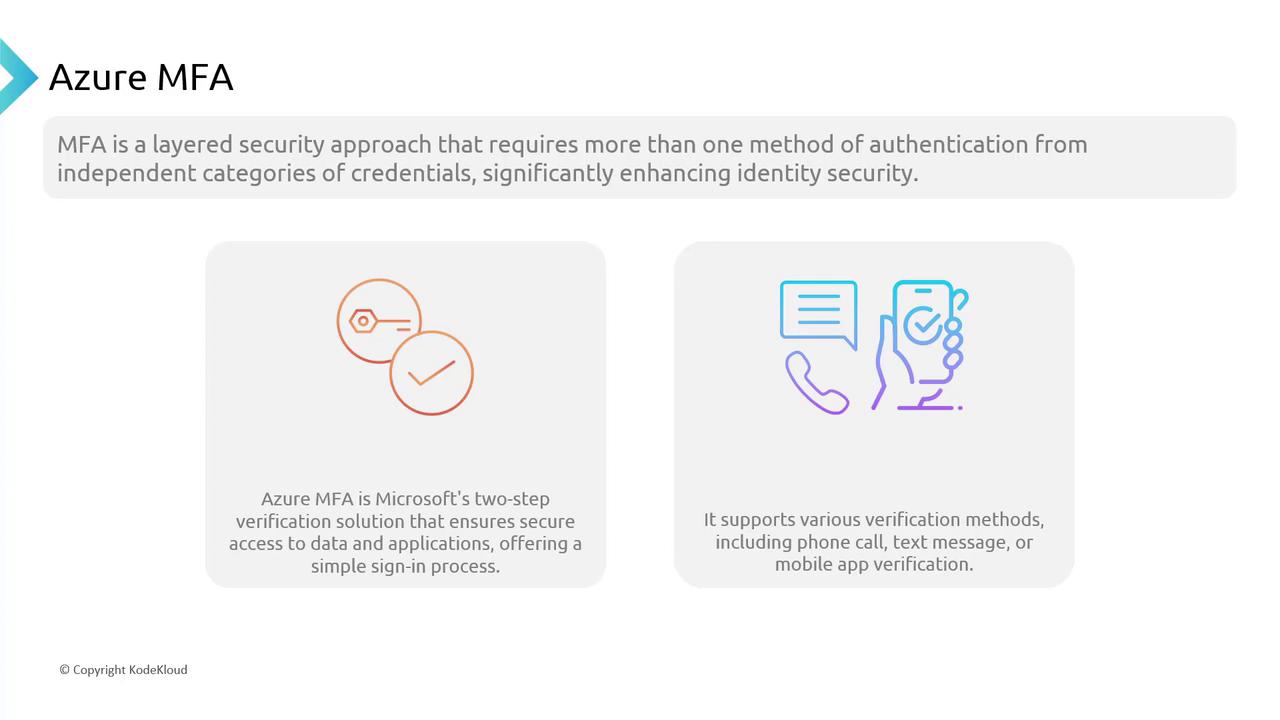
Azure Multi-Factor Authentication
Azure MFA builds upon layered security by integrating seamlessly with the Azure AD identity platform. It allows administrators to enforce MFA based on user role, location, device compliance, and other factors, thereby delivering enterprise-level protection. Azure MFA supports several verification methods, including:- Phone calls
- Text messages
- Authenticator app verifications
Benefits of Using MFA
Azure MFA acts as a robust second layer of defense. After a password is entered, the user must verify possession of a registered device by receiving a text message with a verification code or using another approved method. This approach confirms that the individual signing in is in actual possession of the device linked to the account. Another key benefit is Azure MFA’s environmental intelligence. It evaluates factors such as login location, time, and device compliance. For example, if you sign in from an unusual location (like a café while on vacation), Azure MFA may prompt for extra verification steps such as fingerprint recognition or security questions. These capabilities are further refined using conditional access policies. MFA should be implemented as widely as possible across your organization, including on email platforms, cloud storage, and internal databases, to minimize the risk of breaches.Enhancing security with MFA not only protects individual accounts but also supports regulatory compliance and reduces the overall risk of data breaches.
Implementing MFA in Azure AD
Azure AD offers two primary methods to implement MFA for user sign-ins:-
Conditional Access Policy
MFA is triggered under pre-defined conditions such as user role, location, or application access. -
Individual User MFA Activation
MFA is enforced for every sign-in regardless of conditions (although configuration may allow trusted IP addresses or devices to bypass MFA).
User States in Azure AD MFA
When MFA is enabled, user states in Azure AD transition through several stages:- Disabled: MFA is not active.
- Enabled: After the user enrolls in MFA, their state changes to enabled.
- Enforced: Once the registration and device enrollment process is complete, MFA is enforced.

Setting Up MFA via the Azure Portal
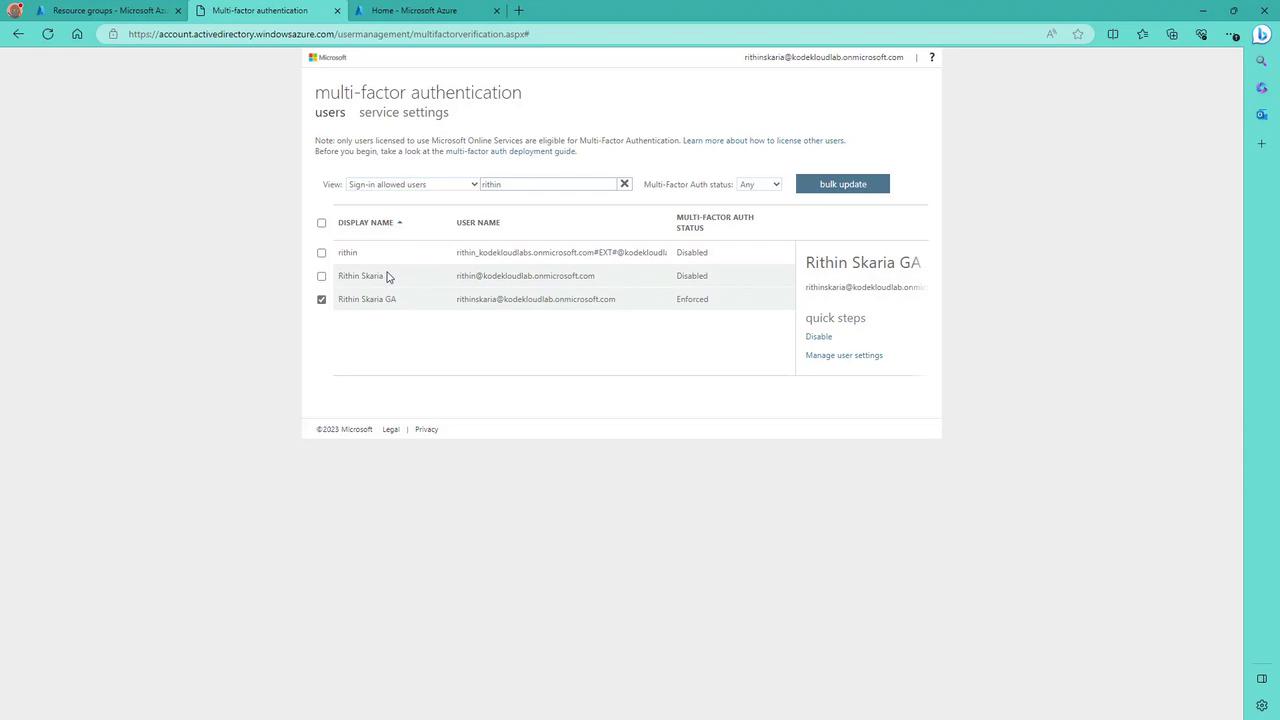
Follow these steps to configure MFA for a user via the Azure portal:- Log in to the Azure portal and navigate to Azure Active Directory > Users.
- Select Per-user MFA from the options at the top.
- Sign in with a global administrator account when prompted. (Global administrators who have not activated MFA will be required to set it up.)
- Search for the specific user, whose current MFA state is displayed as disabled.
- Click Enable to activate multi-factor authentication.

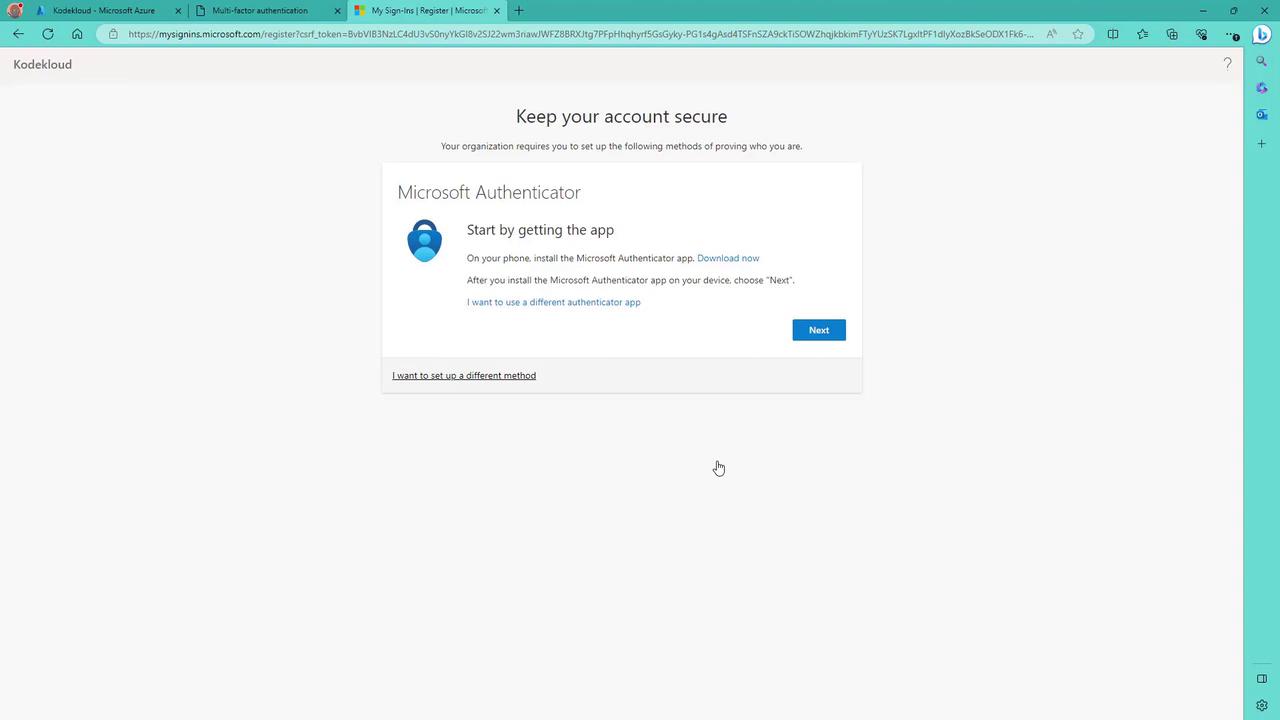
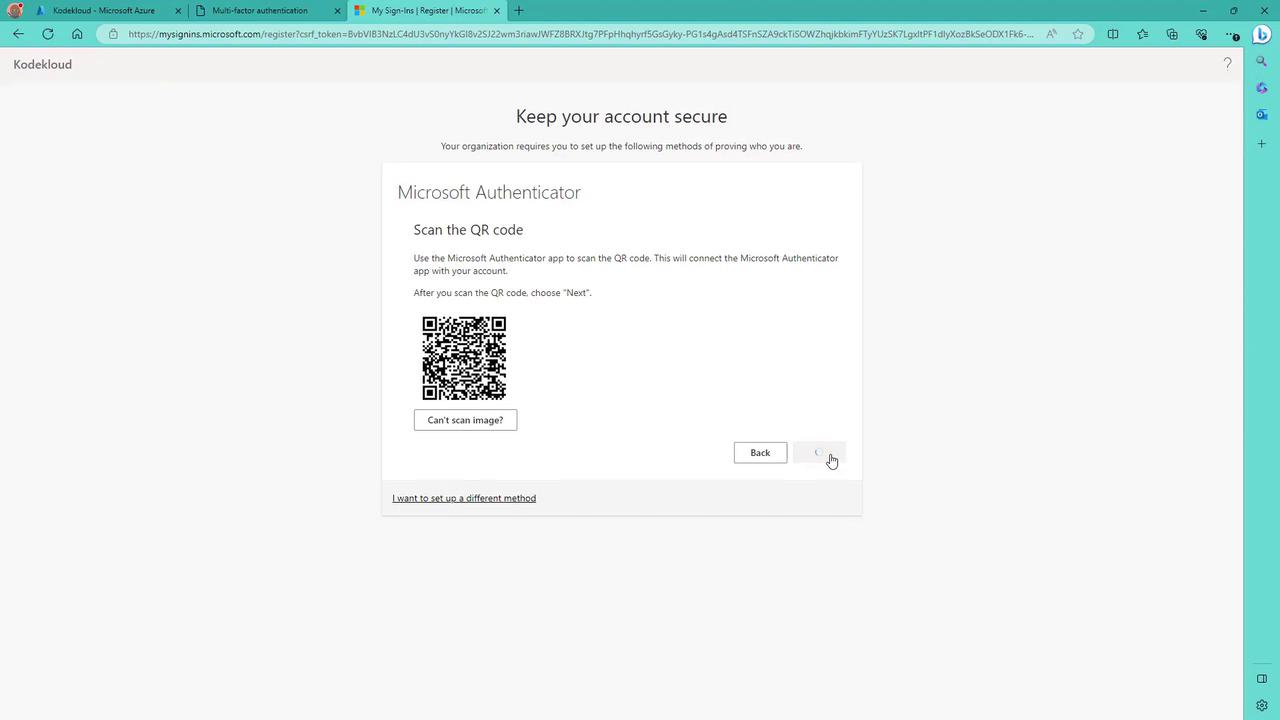
- Download Microsoft Authenticator from the Play Store or App Store.
- Click Next after installation.
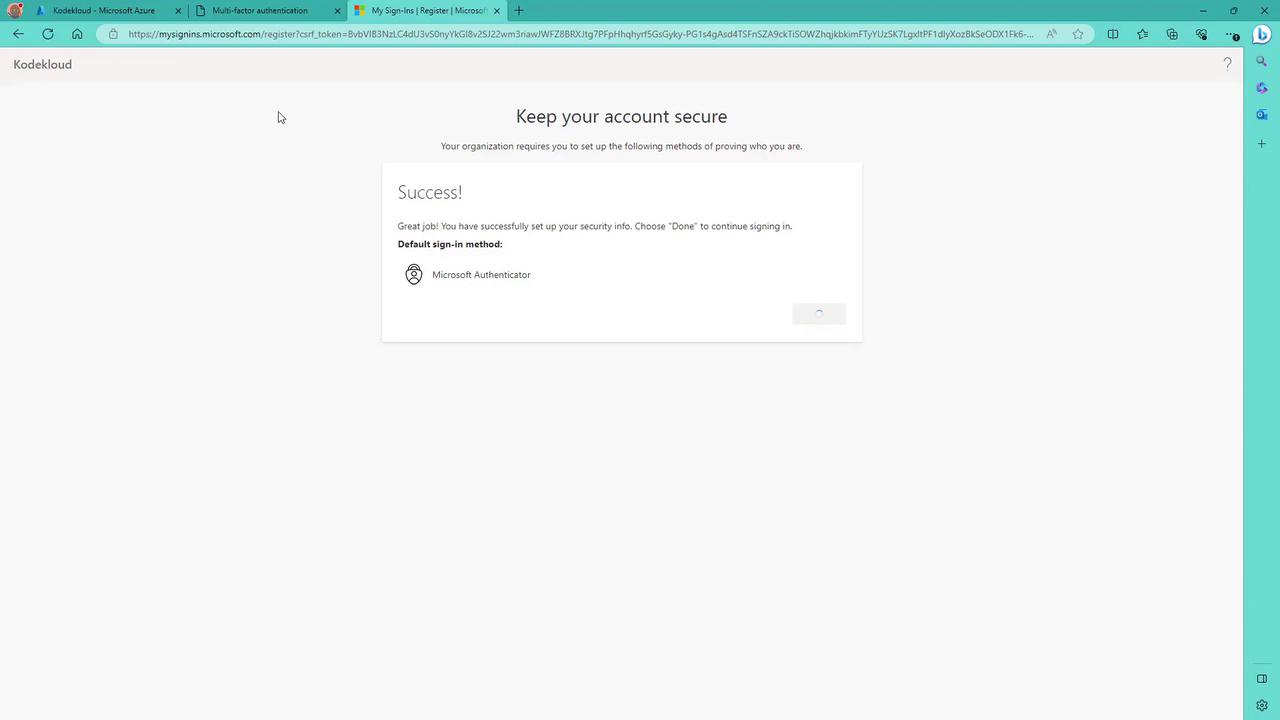
- On your phone, add a new account (work or school) and scan the QR code displayed on the screen.


Additional MFA Settings in Azure AD
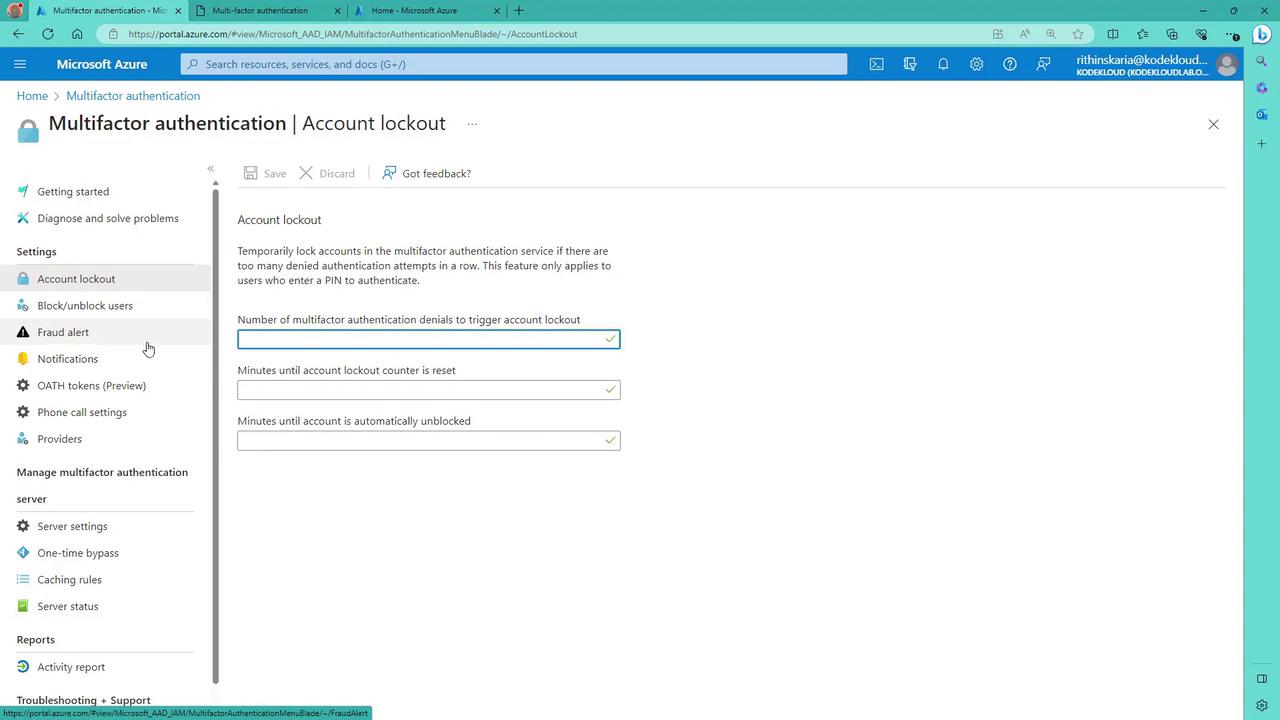
Azure MFA offers various settings to further customize and secure the authentication process:Account Lockout
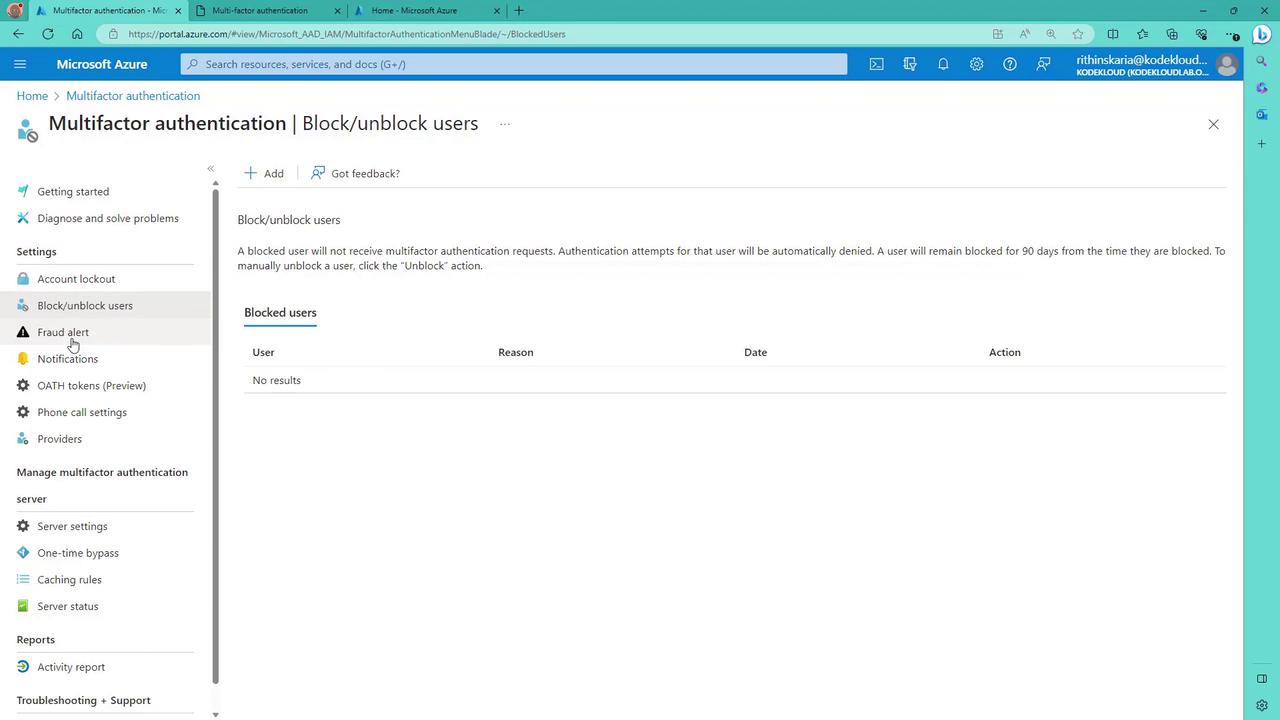
Prevent brute-force attempts by temporarily locking an account after consecutive failed MFA attempts. This feature is especially useful for users authenticating with a PIN.Block/Unblock Users
Administrators can proactively block or unblock selected users from receiving MFA prompts. A blocked status remains for 90 days or until manually reversed.Fraud Alert
This user-centric feature allows individuals to report fraudulent verification requests, immediately alerting an administrator if an unexpected authentication prompt is received.Notifications
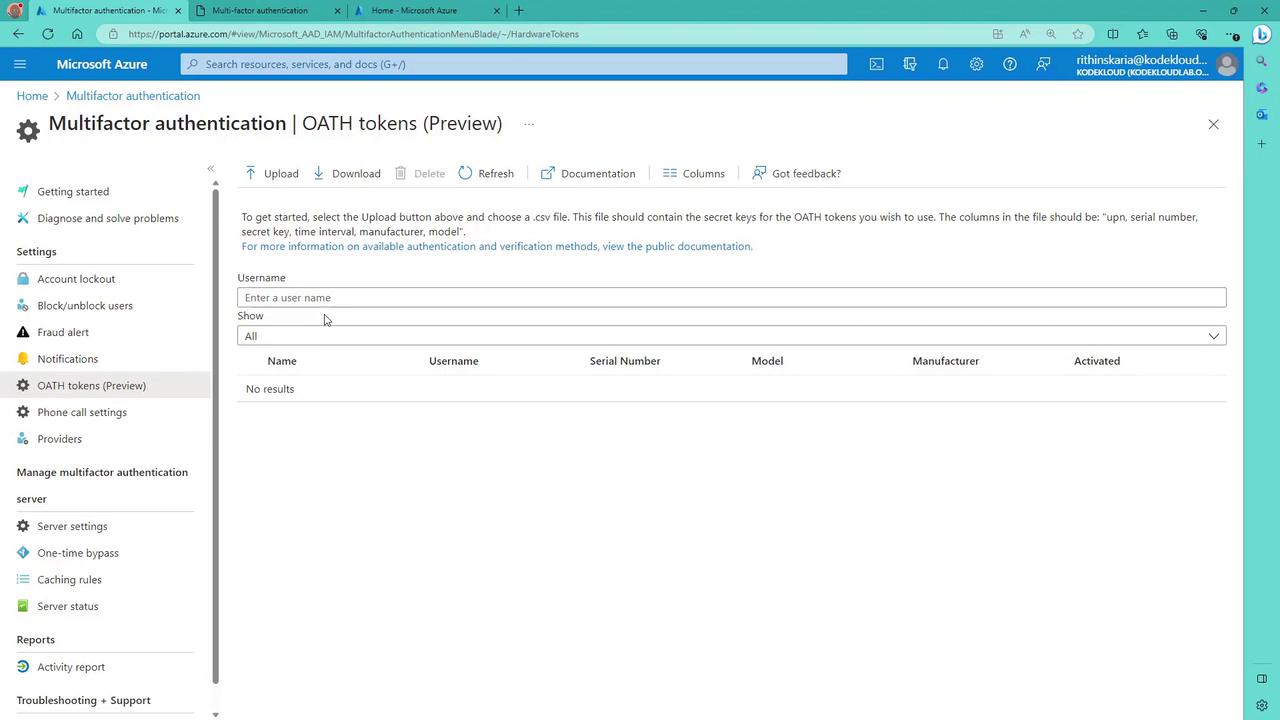
Configure email notifications for MFA-related events to maintain awareness and respond quickly to security incidents.OATH Tokens
Azure MFA supports the use of OATH tokens for hardware-based authentication, adding another layer of protection.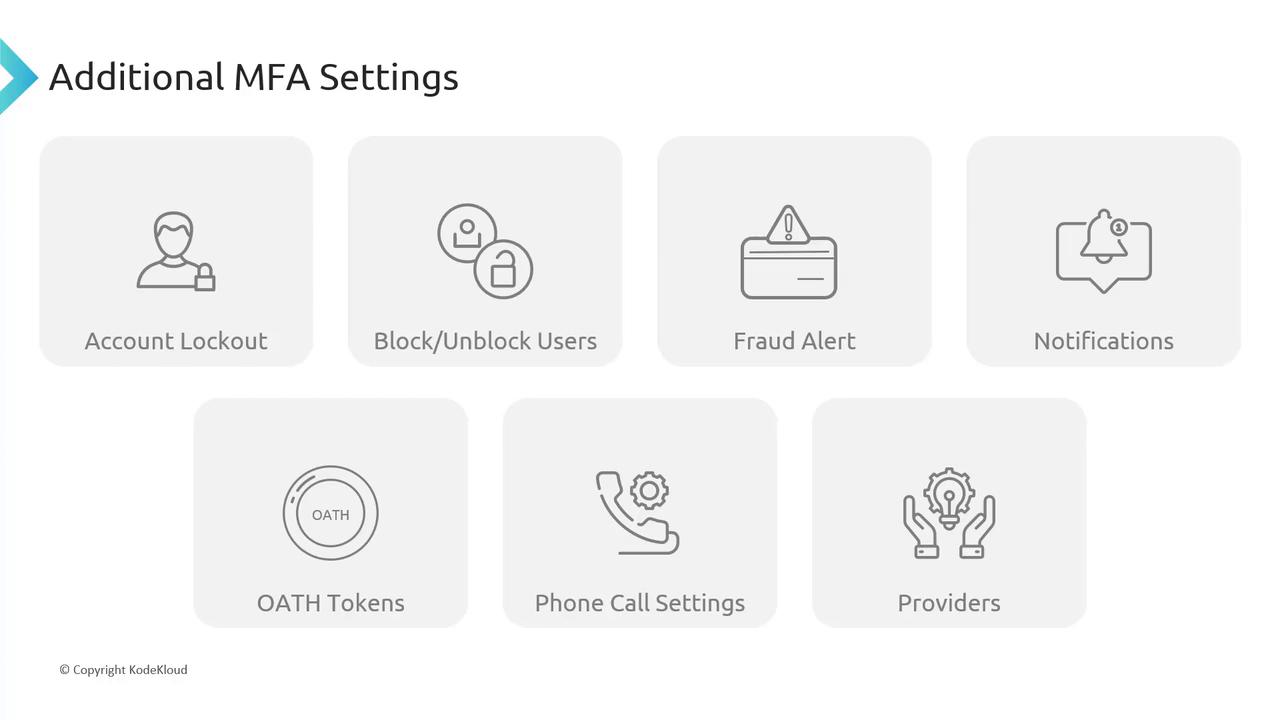
Phone Call Settings
Customize phone call greetings and behavior for both cloud-based and on-premises environments.Providers
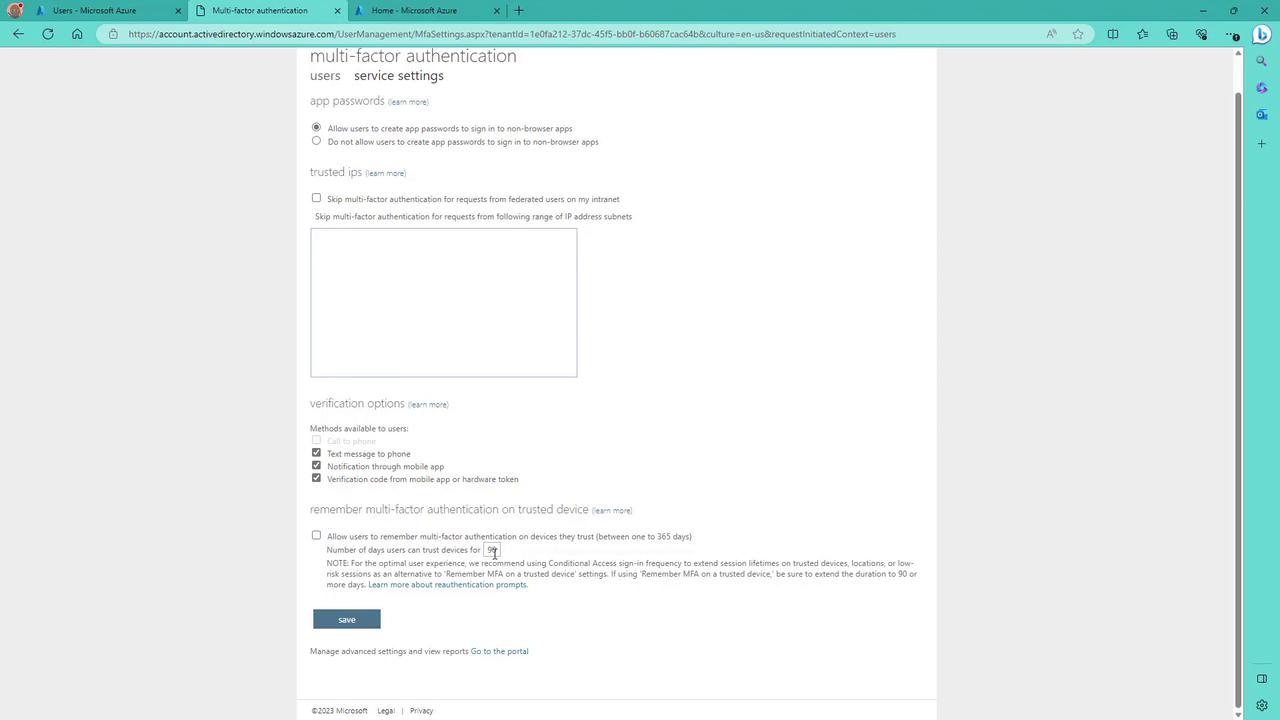
The Providers tab shows the associated authentication providers. Note that as of September 1, 2018, creating new providers is no longer permitted.Configuring MFA Service Settings via the Azure Portal
Within the Azure portal, you can also manage additional MFA service settings:- Account Lockout Settings:
Configure the number of failed MFA attempts that trigger an account lockout, the duration of the lockout, and reset periods.
- Block/Unblock Users:
Manage the block list by adding or removing users to control who receives MFA requests.
- OATH Tokens:
Upload and manage hardware OATH tokens for additional authentication options.
- Phone Call Settings and Providers:
Customize phone call settings and review existing authentication providers.
- Verification methods (e.g., text-to-phone notifications)
- Trusted IP addresses to bypass MFA under secure conditions
- Options for users to remember MFA on their devices for a specified period (e.g., 90 days)