This article explains how to securely access data stored in Azure Key Vault using Azure AD for authentication and RBAC or Access Policies for authorization.
In this lesson, we explain how to access data stored in Azure Key Vault. In previous lessons, you learned how Key Vault stores secrets, certificates, and keys. Now, we focus on securely retrieving this data.Authentication is performed using Azure Active Directory (Azure AD), while authorization is managed using either Role-Based Access Control (RBAC) or Key Vault Access Policies. These two methods apply to different aspects of Key Vault operations:
RBAC is primarily used for management plane operations (e.g., creating, updating, or deleting the Key Vault, retrieving vault properties, and managing access policies).
For the data plane—which involves keys, secrets, and certificates—permissions must be granted through the Key Vault Access Policy. However, you can also use RBAC for the data plane if preferred.
The Azure Portal provides an option to switch between these access models. You can choose to manage both the management and data planes exclusively with Azure RBAC, or use RBAC for managing the Key Vault and rely on Access Policies for data operations.The general workflow is as follows:
Users authenticate using Azure AD.
Authorization is executed using either RBAC or Key Vault Access Policies.
RBAC controls management plane activities, while the Access Policy secures data plane elements.
If needed, RBAC can fully replace Access Policies.
Let’s dive into the Azure Portal and perform the following tasks:
Deploy a new Key Vault
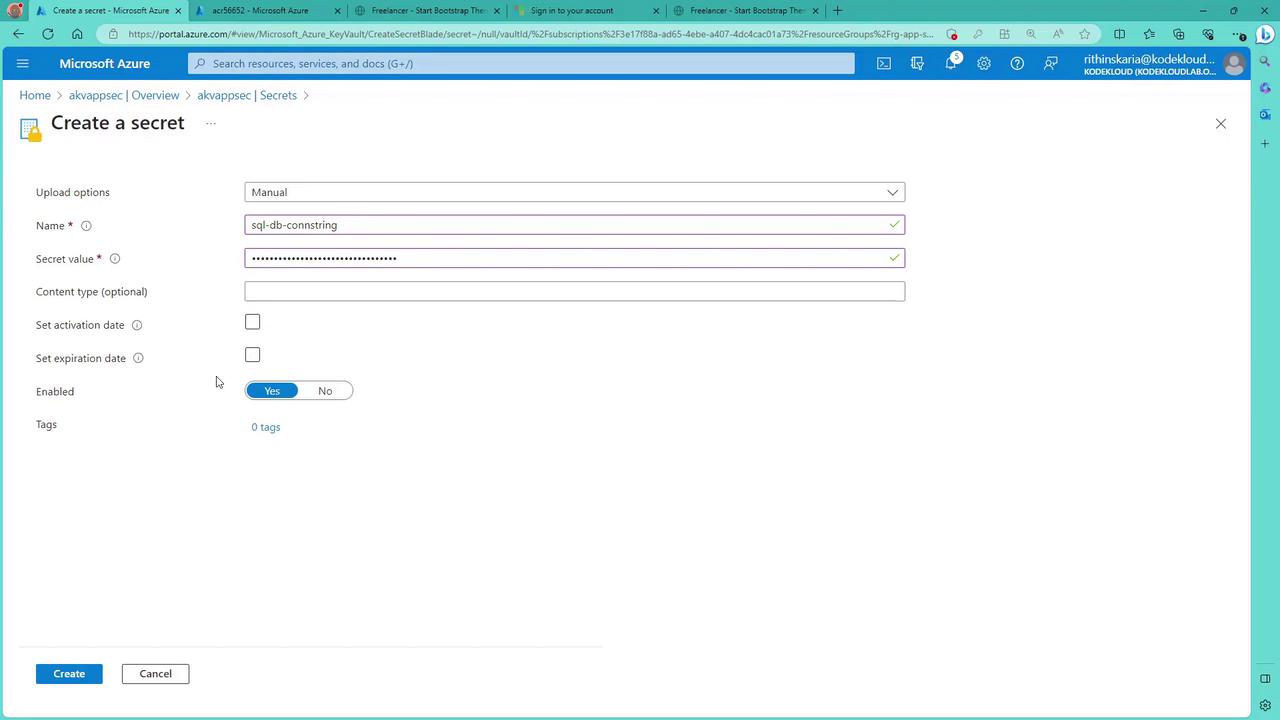
Add a secret, key, and certificate
Configure access using both Access Policies and RBAC
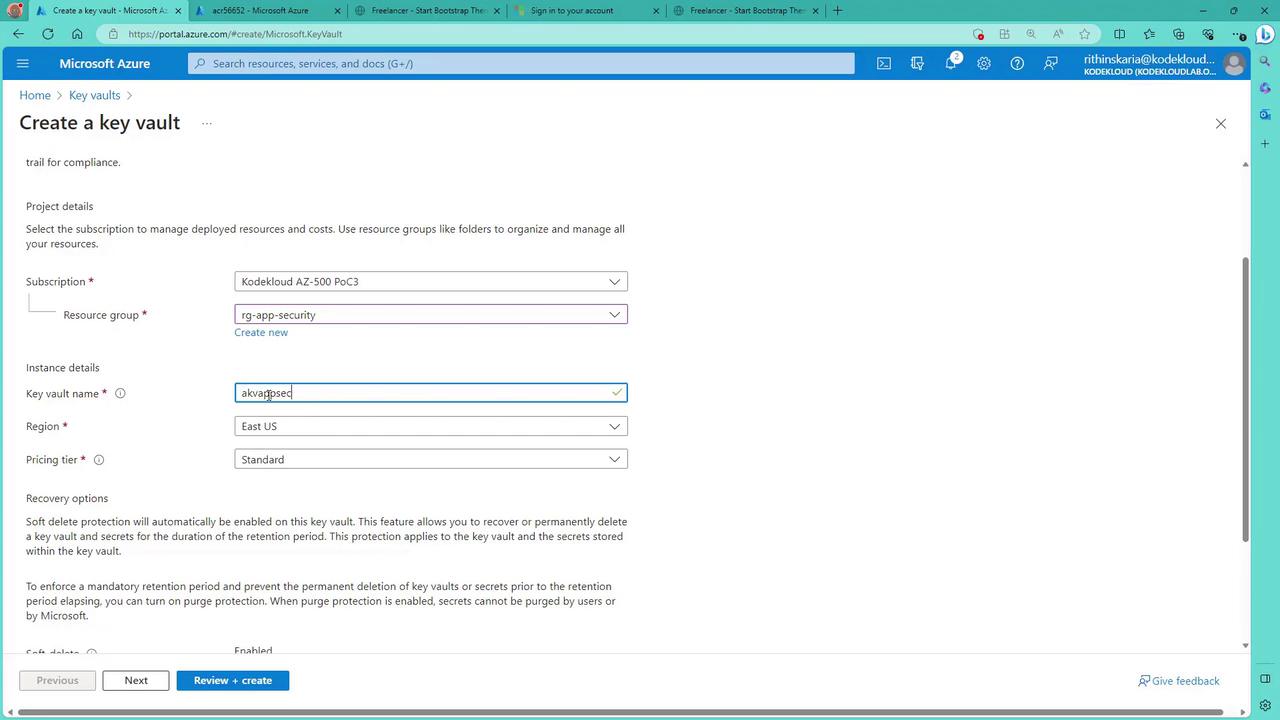
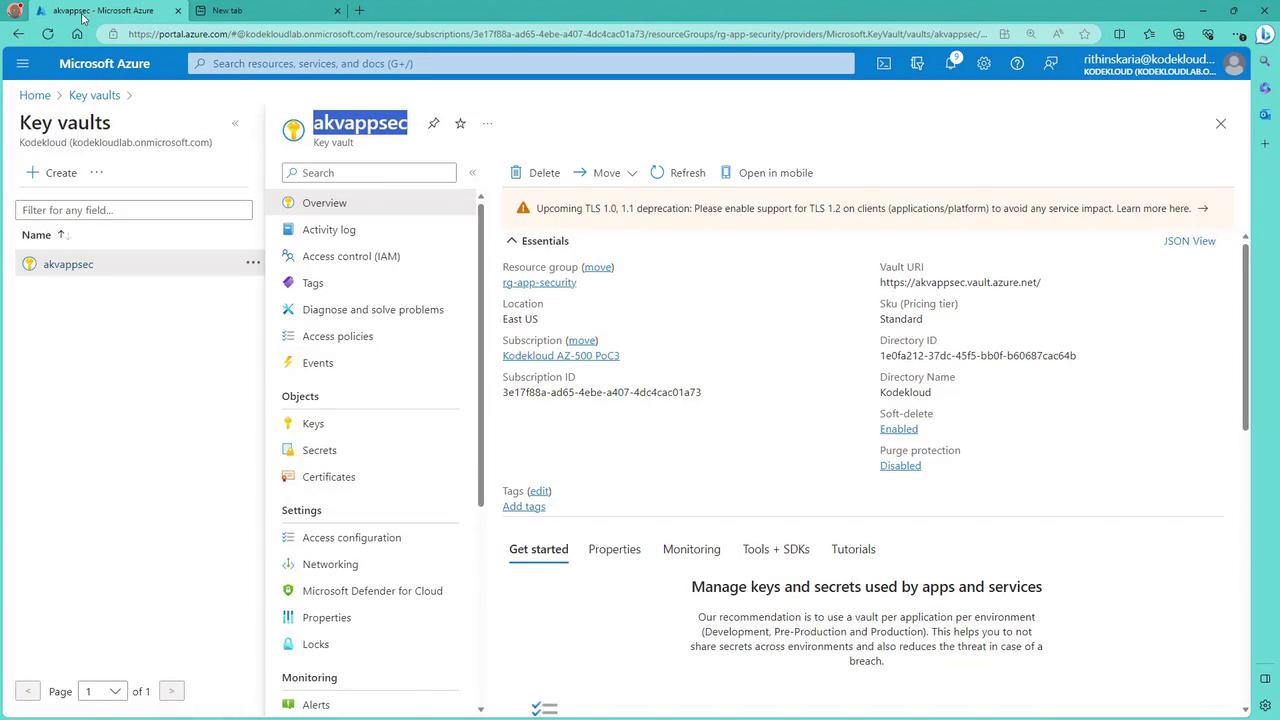
Within the Azure Portal, search for “Key Vault”. Even if you have an existing vault (for example, one created for Azure Disk Encryption), this demonstration involves creating a new one. Select your desired resource group (such as “RG App Security”) and provide a unique name like “AKV AppSec”. The Key Vault’s data plane URL is in the format:
yourKeyVaultName.vault.azure.net
This URL format ensures uniqueness across Azure.
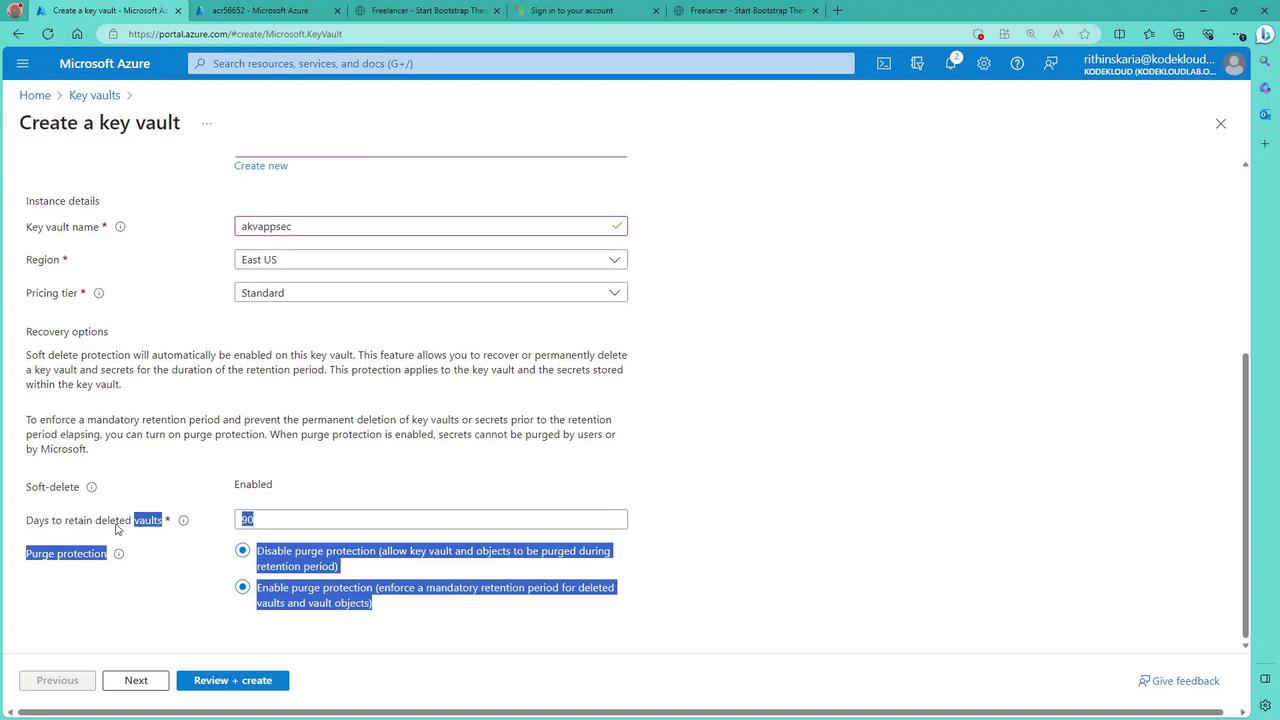
If you require Hardware Security Module (HSM) usage, switch to the premium tier, although the standard tier is sufficient for this demonstration. Additional options, such as configuring soft delete and purge protection, aid in vault recovery and will be discussed later.
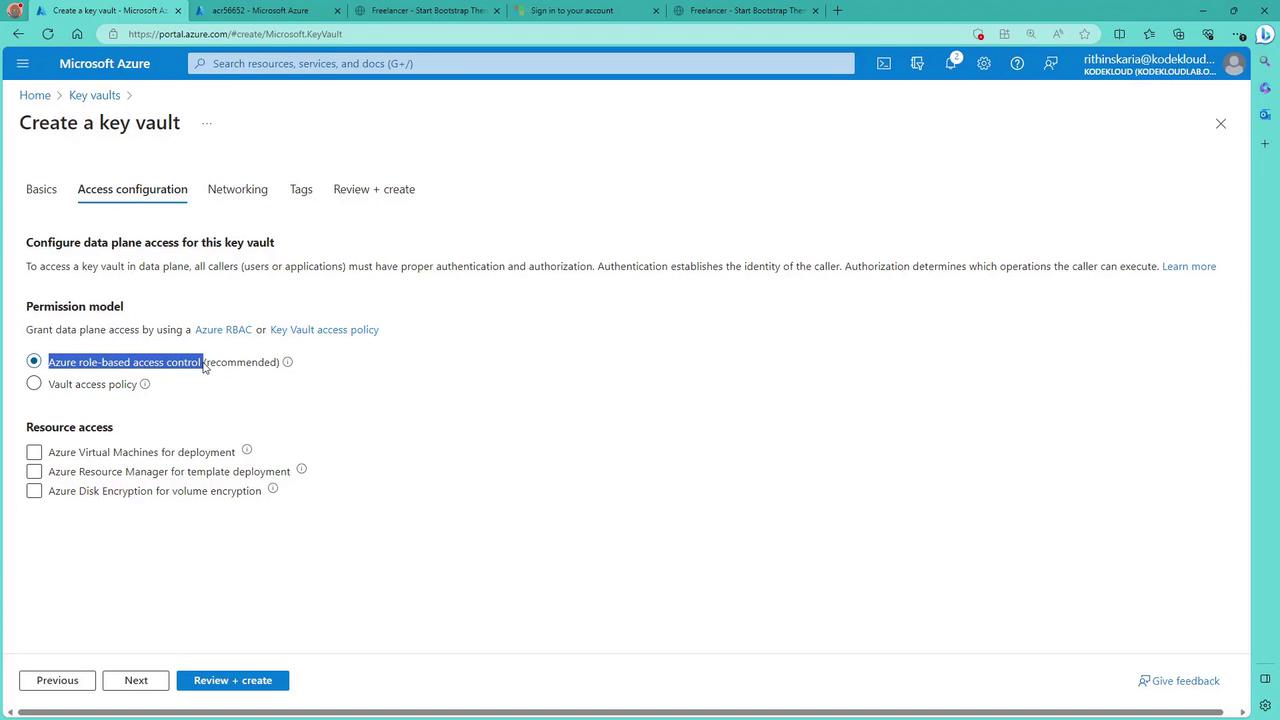
Next, in the “Permission model” blade, choose how to control access to the data plane (keys, secrets, and certificates). The recommended option is Azure RBAC, although the Vault Access Policy is still available.
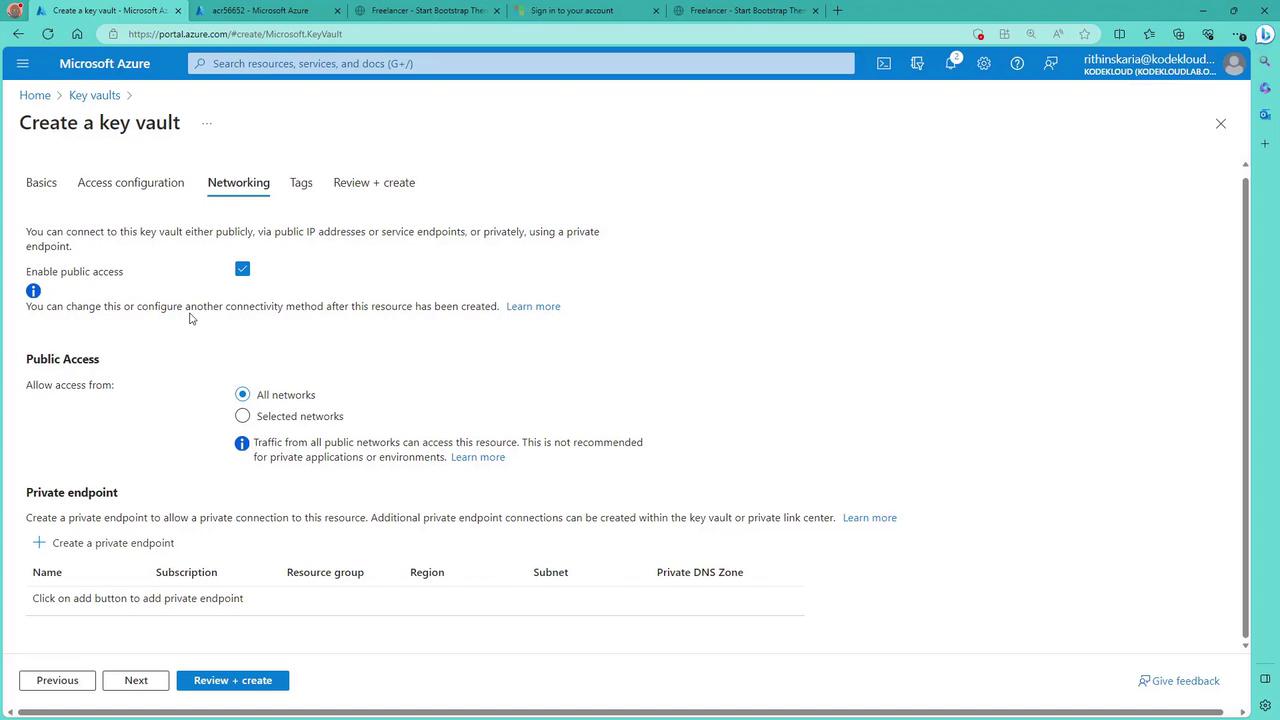
After selecting a permission model, add access policies as needed. For example, virtual machines might require access to Key Vault certificates during ARM template deployments, and disk encryption scenarios require corresponding permissions. Click “Next” to proceed.On the networking blade, control access by enabling/disabling public access, restricting access to selected networks, or configuring a private endpoint. For demonstration purposes, the public access option is used.
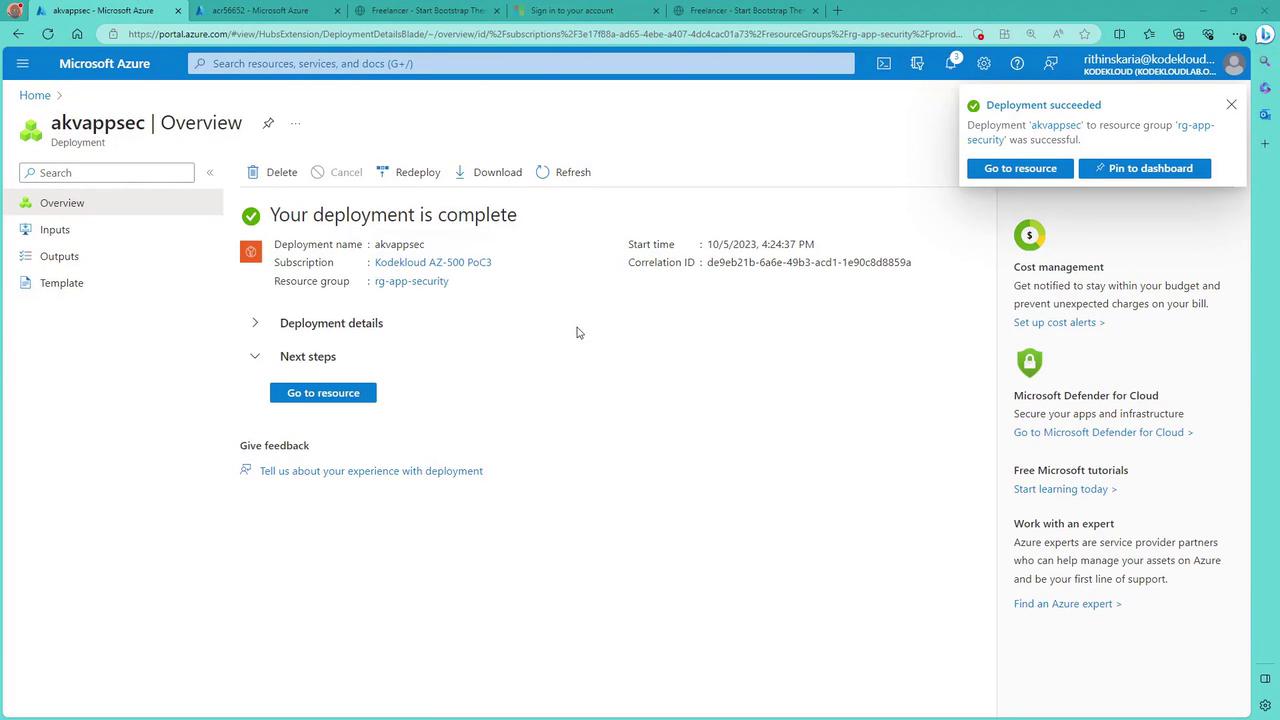
Once the settings are reviewed, click “Review and Create”. After validation, create the Key Vault. Once deployment is complete, click “Go to Resource” to view your new vault and note its vault URI.
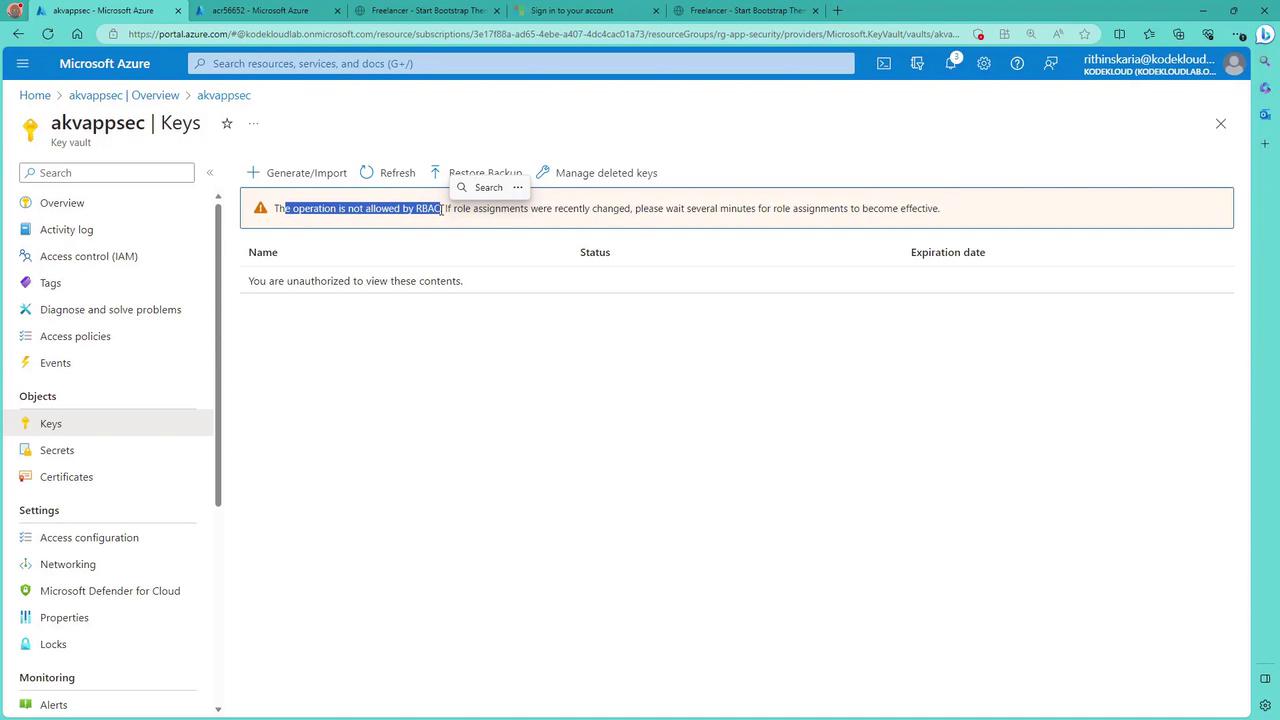
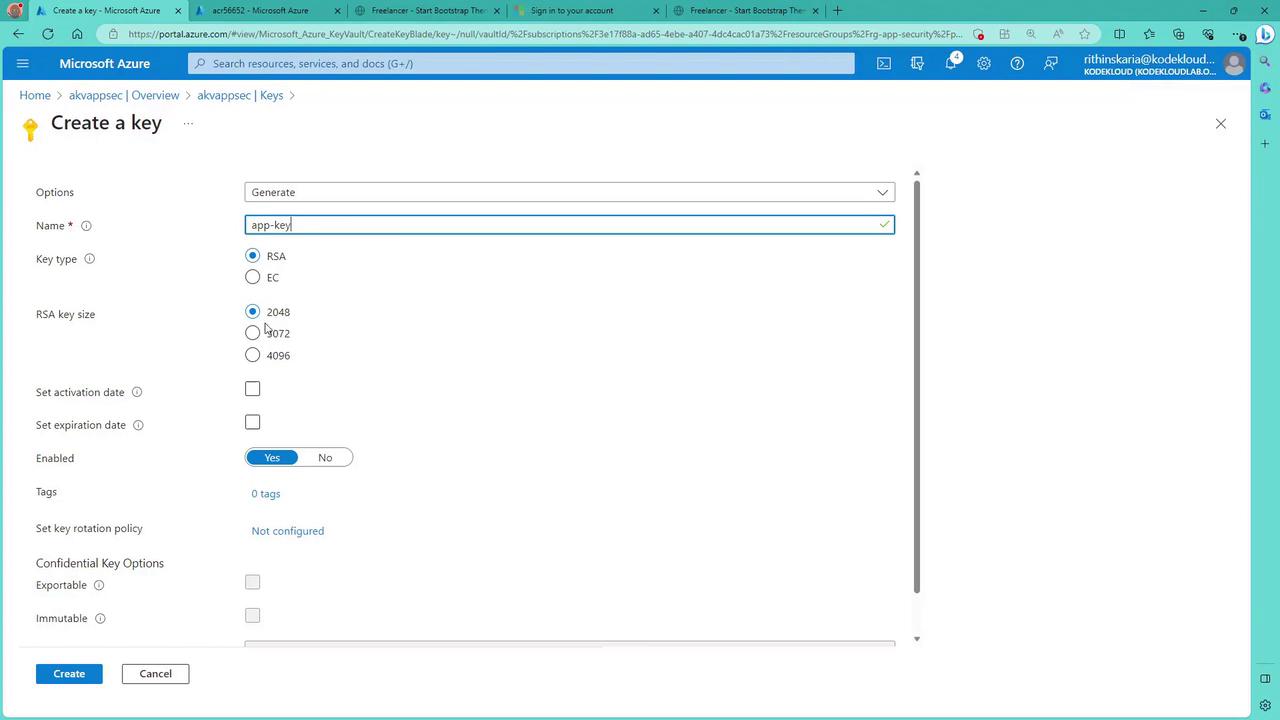
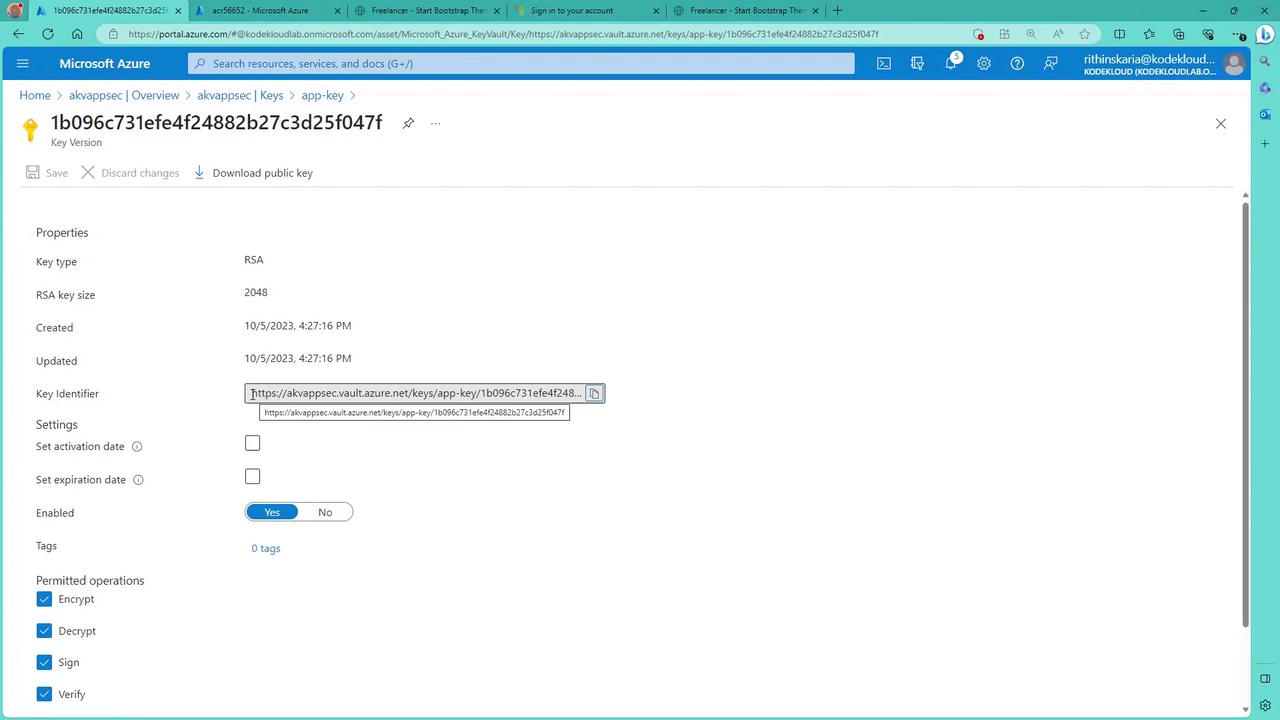
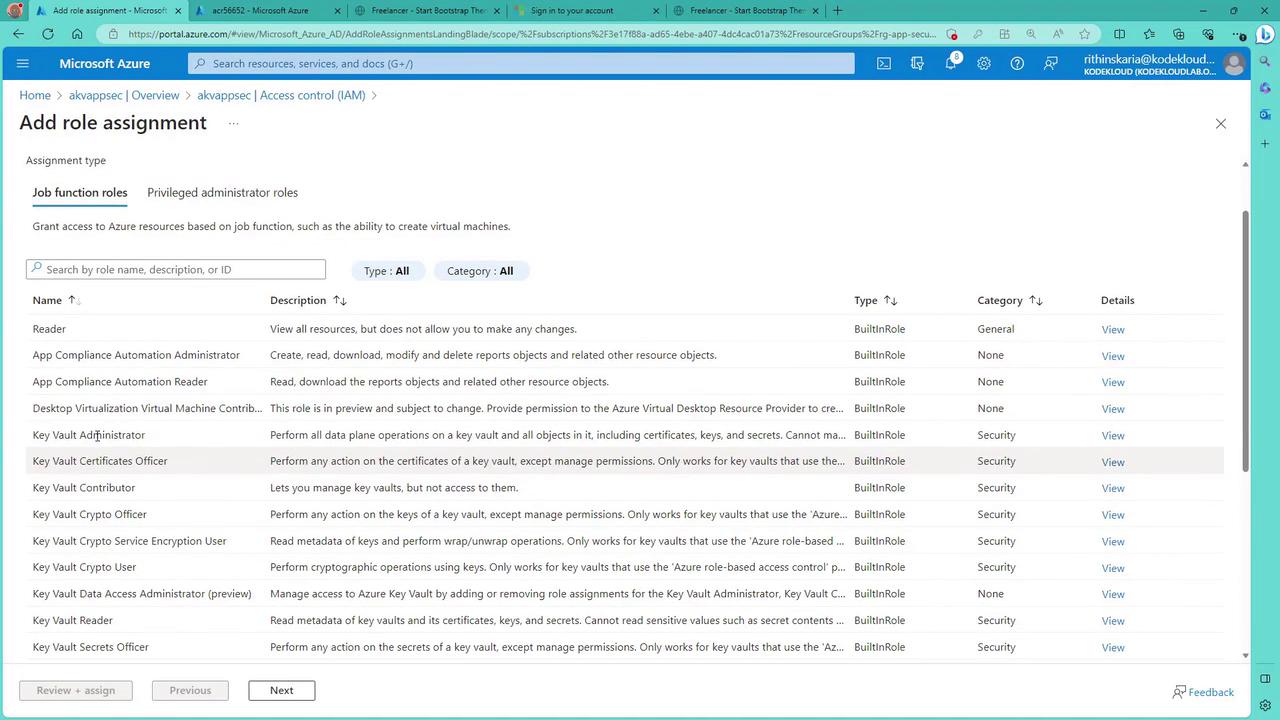
When retrieving objects like keys from the Key Vault, you might encounter notifications stating that the operation is not permitted through RBAC—even for subscription owners. This is because the data plane operations require explicit RBAC roles. To modify keys, secrets, or certificates, assign roles like “Key Vault Administrator” to allow full management access. Other available roles include “Certificate Officer”, “Key Vault Contributor”, “Key Vault Crypto Officer”, and “Key Vault Reader”.
Even users with global administrative privileges must have explicit RBAC permissions for the data plane. In this demonstration, assigning the “Key Vault Administrator” role removes the access banner when retrieving keys.
When accessing keys, secrets, or certificates in Key Vault, specific RBAC roles must be assigned regardless of subscription-level privileges. For instance, to retrieve secrets, an application needs the “Secret User” role; to access keys, the “Crypto User” role may be required. Here are some common roles:
This section demonstrates how an application can retrieve a Key Vault secret using an HTTP-triggered Function App running PowerShell code. The deployment process involves:
Creating a Function App configured with HTTP trigger.
Utilizing an Azure AD–created service principal whose client ID, client secret, tenant ID, and service principal name are provided as environment variables.
Passing the Key Vault name and secret name as URL parameters.
The Function App retrieves an access token from Azure AD for “https://vault.azure.net”, then calls the Key Vault API to get the secret.Below is the deployment log of the Function App:
Copy
Writing C:\Users\RithinSkaria\Documents\kodekloud-az500\110-Key Vault\function\.vscode\extensions.jsonUse the up/down arrow keys to select a template: HTTP triggerFunction name: [HttpTrigger] Writing C:\Users\RithinSkaria\Documents\kodekloud-az500\110-Key Vault\function\RetrieveKey\function.jsonThe function "RetrieveKey" was created successfully from the "HTTP trigger" template.Publishing functionGetting site publishing info...[2023-10-05T15:31:39.360Z] Starting the function app deployment...Creating archive for current directory...Uploading 2.4 KB [###############################################################################################################################################################################################] Upload completed successfully.Deployment completed successfully.[2023-10-05T15:31:39.360Z] Syncing triggers...Functions in fn12676699750510: RetrieveKey = [httpTrigger] Invoke url: https://fn12676699750510.azurewebsites.net/api/retrievekeyPS C:\Users\RithinSkaria\Documents\kodekloud-az500\110-Key Vault\function>
After deployment, review the Function App’s “Application Settings” in the Azure Portal to verify the environment variables (client ID, client secret, service principal name, and tenant ID) are configured. Although embedding secrets in environment variables is acceptable for testing purposes, consider using Managed Identity for production to enhance security.
In the Azure Portal, navigate to the “Code + Test” tab for the “RetrieveKey” function. Despite its name, the function retrieves a secret from the Key Vault. The following PowerShell code illustrates the process:
In this block, the script retrieves the tenant ID, client ID, and client secret from environment variables, while the Key Vault name and secret name come from URL parameters. It then calls Azure AD to acquire an access token for “https://vault.azure.net” and prepares an authorization header for subsequent API requests.The following section retrieves the secret from the Key Vault:
If the secret is successfully retrieved, its value is returned with an HTTP 200 (OK) status. Otherwise, the function returns an error message with a 500 (Internal Server Error) status.
To test this configuration:
Copy the function URL.
Append the required parameters (for example, keyVaultName and secret) to the URL.
Open the URL in your browser.
If retrieval fails, verify that the service principal has been assigned the appropriate role (e.g., “Secret User”) on the Key Vault.
For example, assign the service principal by navigating to the Key Vault’s “Access control (IAM)”, selecting an appropriate role, adding the service principal as a member, and confirming the assignment. Then, reattempt the function URL.
Once correctly configured, the secret’s value (for example, a connection string) will be returned in the browser, matching the value stored in the Key Vault. An example secret might be:
Copy
ABxgstevsgdu6364837--248673873674
This demonstration shows how a Function App can retrieve a secret from Azure Key Vault. In production, consider using Managed Identity as a more secure alternative to employing a service principal.We hope this lesson clarifies how Azure Key Vault access is configured, and how RBAC and Access Policies work together to manage keys, secrets, and certificates.