Accessing the OpenShift Console
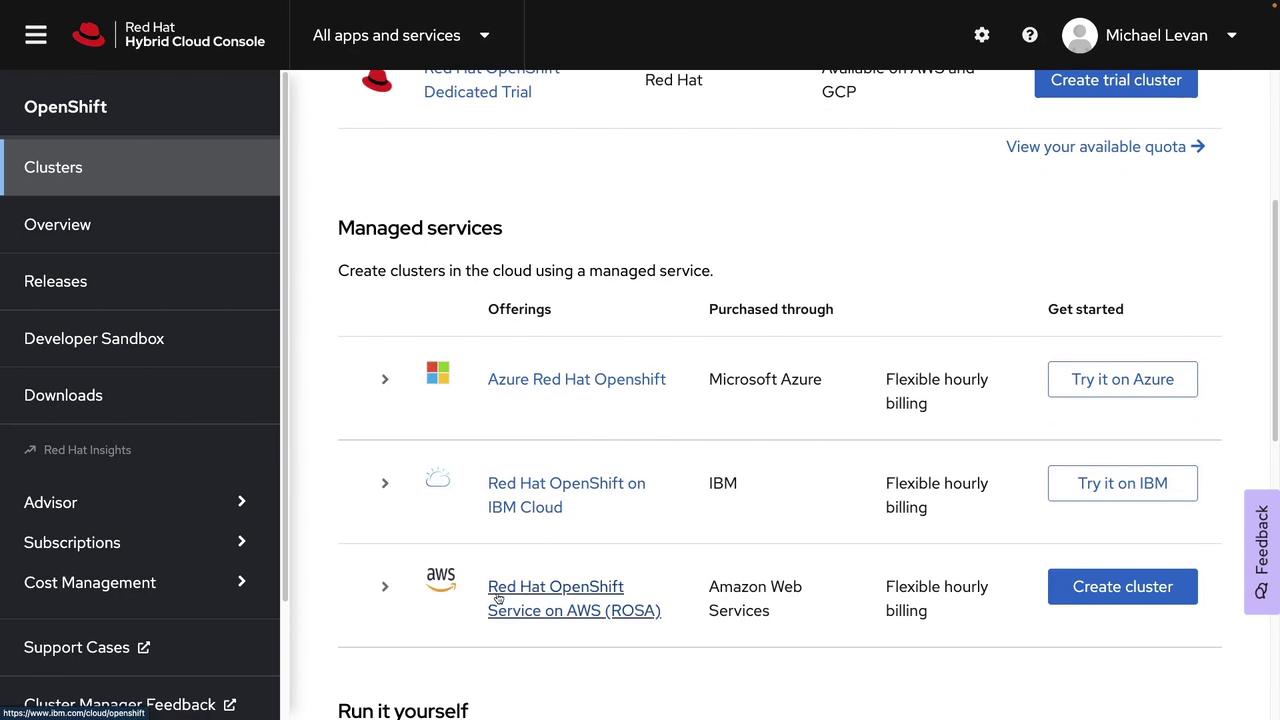
Begin by logging into Red Hat’s Cloud Console and navigating to the OpenShift section under “Manage Infrastructure.” Here, you will find options such as Assisted Installer Clusters, Archives, and Register Cluster (if you have an existing OpenShift cluster). Click on Create Cluster. For production environments, all options except the local installation are production-ready. If your subscription is active, your console may appear as follows:
Even though the trial version appears free, you are still liable for paying for the cluster configuration and any related cloud services. Trials used for learning purposes should be deleted promptly to avoid unexpected charges.
Cloud Options for OpenShift
Under the cloud category, you can choose from several deployment options:- OpenShift on Azure
- OpenShift on IBM Cloud
- OpenShift on AWS
- Self-managed installation on cloud instances or virtual machines
- User Provisioned Infrastructure: You manage the infrastructure.
- Installer Provisioned Infrastructure: Deployment is automated.
Creating an Azure Red Hat OpenShift Cluster
Follow these steps to create your Azure Red Hat OpenShift cluster:-
Initiate Cluster Creation:
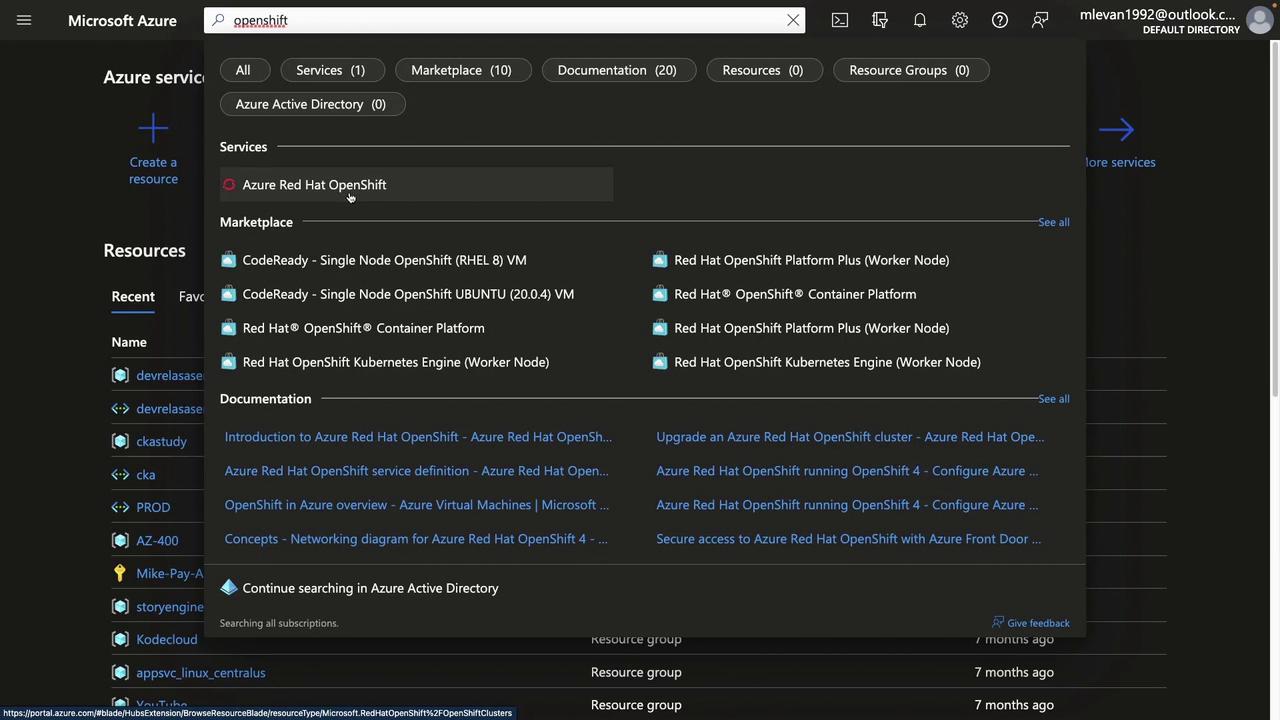
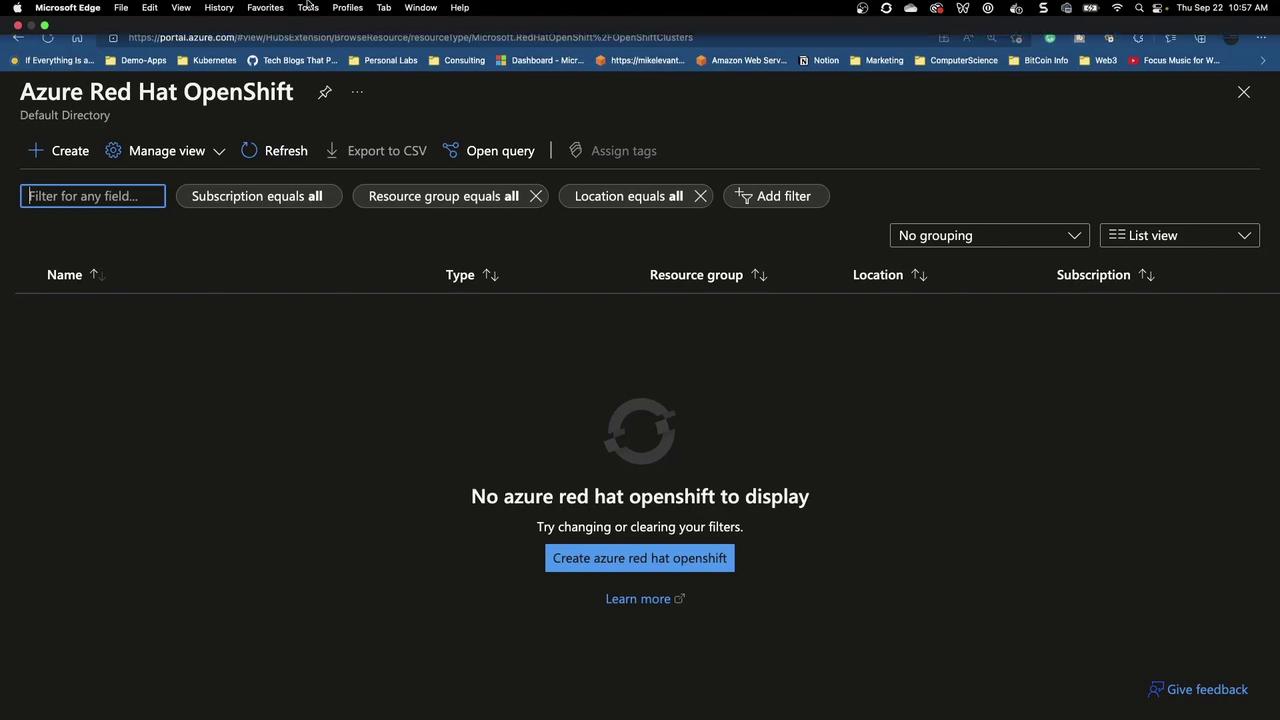
From the OpenShift service in Azure, click Create Azure Red Hat OpenShift. -
Configure the Cluster:
- Resource Group: Select a resource group (for example, “CodeCloud”).
- Region: Choose your desired region (e.g., East US for New Jersey).
- Cluster Name & Domain: Provide a suitable name such as “CodeCloud Test Cluster” for both fields.
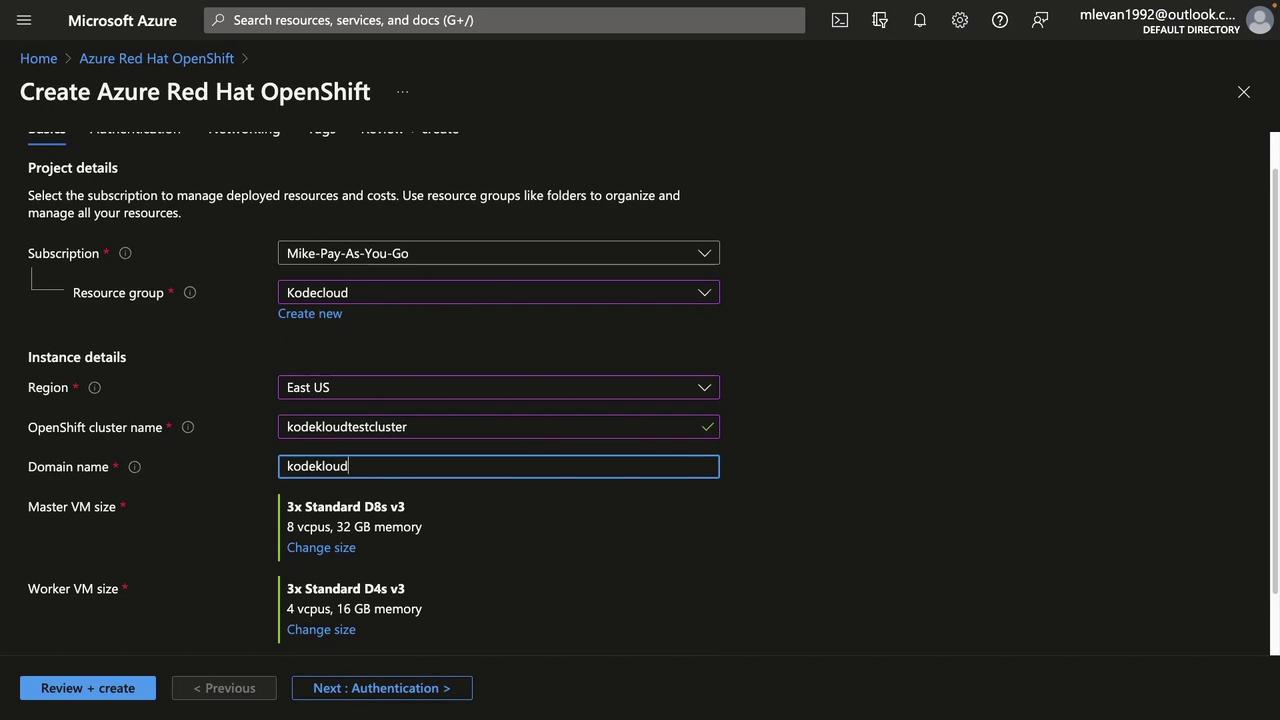
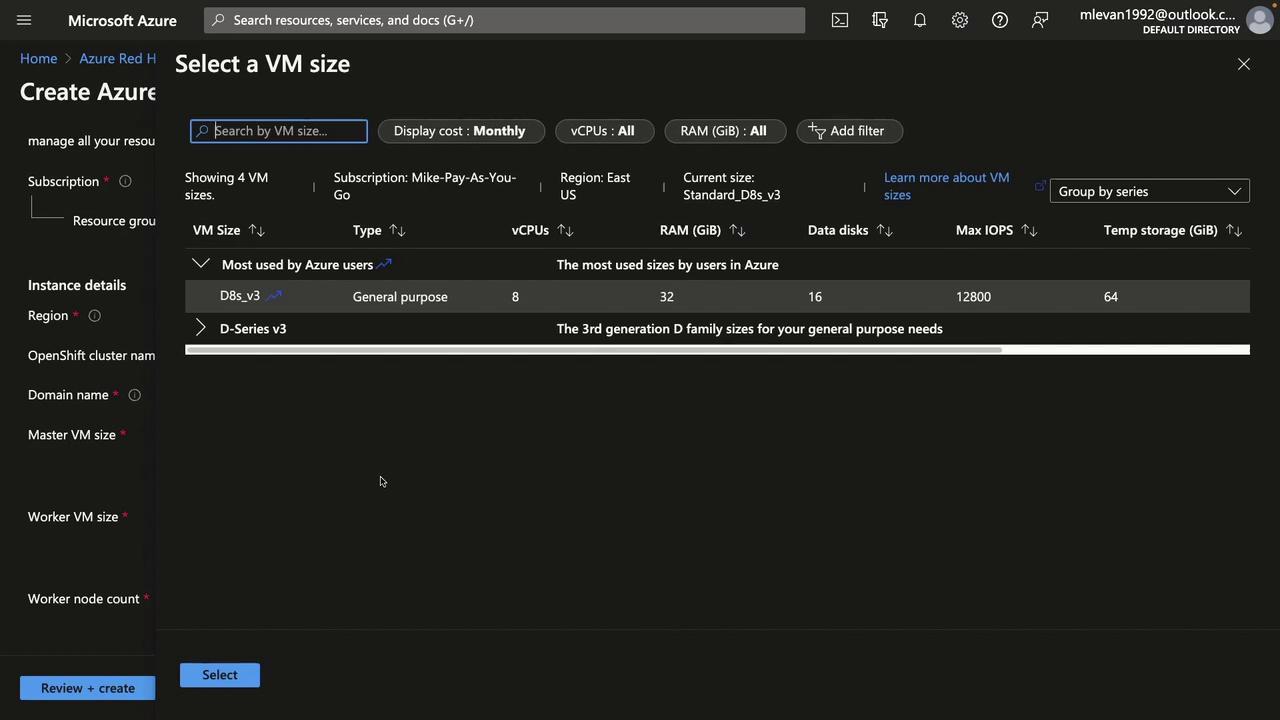
- Select Machine Sizes:
Configure the master (control plane) and worker nodes by selecting the appropriate virtual machine sizes. A typical configuration might include three to four worker nodes for high availability and two control plane nodes.
-
Authentication Setup:
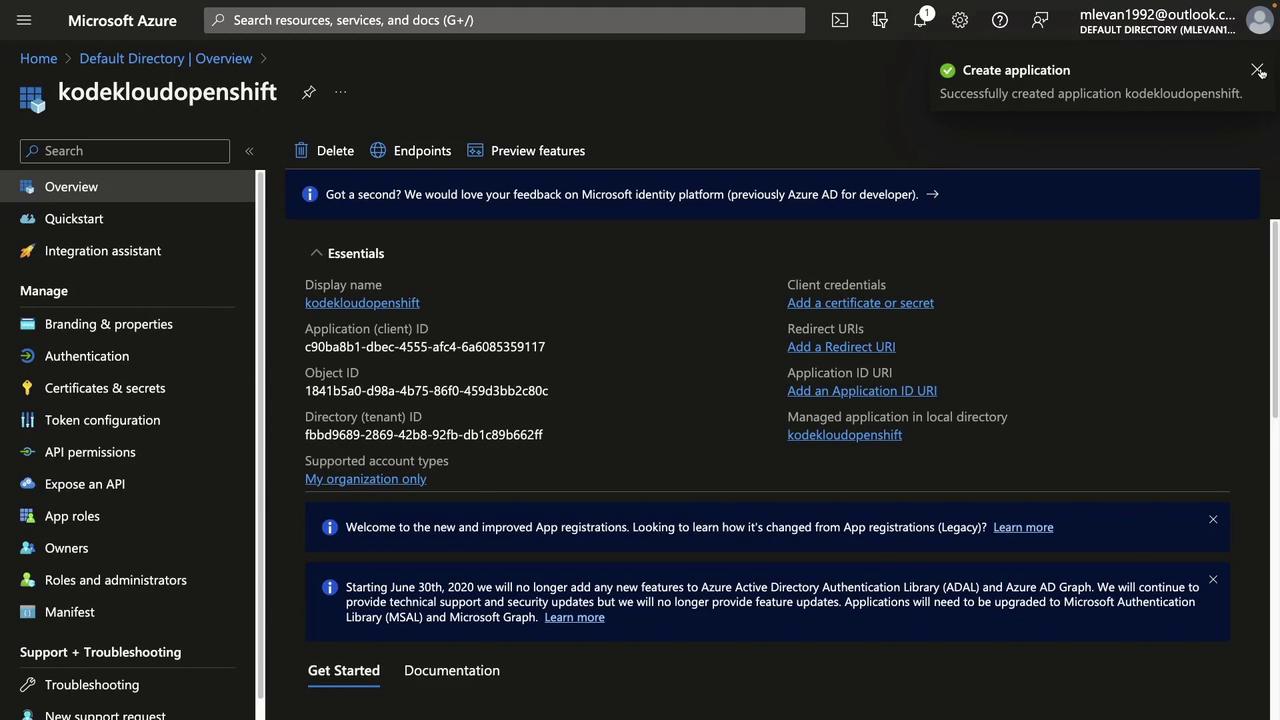
To set up authentication, specify a service principal from Azure Active Directory (AAD):- Open a new tab to access Azure Active Directory.
- Create an app registration (for example, “CodeCloud OpenShift”) using default settings for a single tenant.
- Copy the Client ID from the app registration.
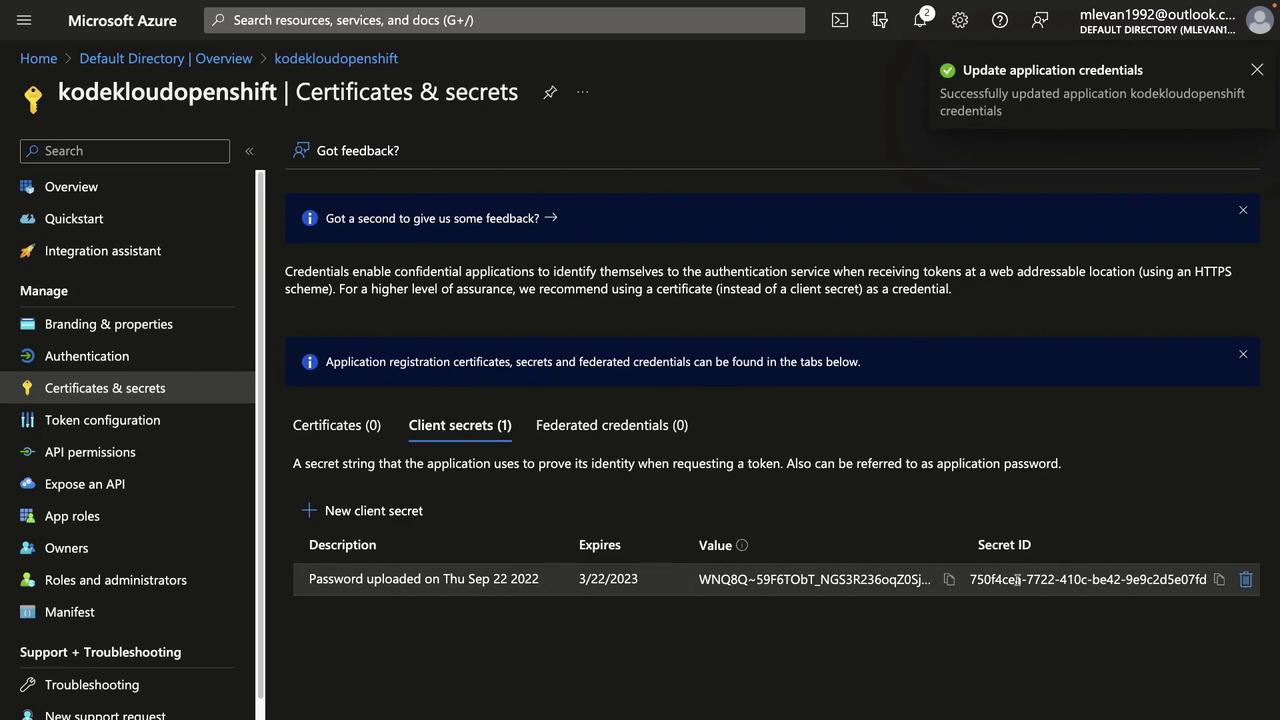
- Next, generate a new client secret in the app registration and save its value.
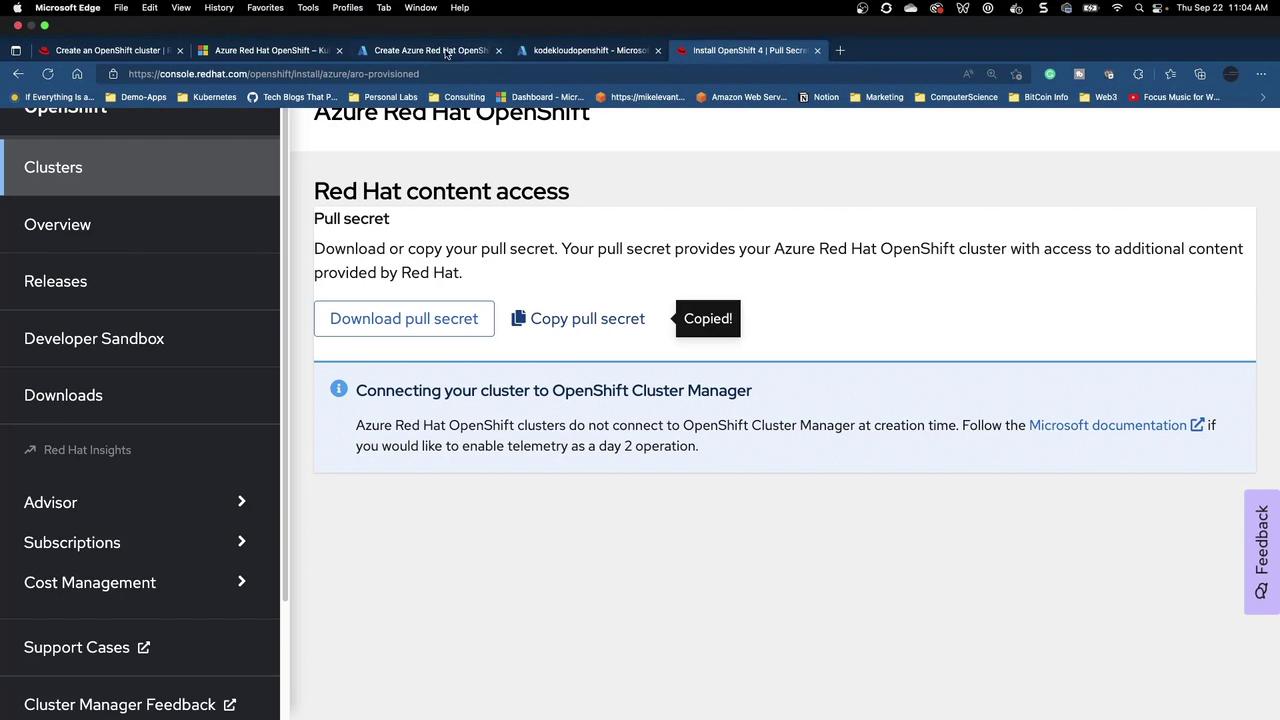
- Red Hat Pull Secret:
Retrieve your OpenShift pull secret from Red Hat’s Console at the following path:
console.redhat.com/OpenShift/install/Azure/ARO-provisioned
Paste the pull secret into the Azure configuration.
-
Network Configuration:
Setup networking by creating two subnets—one for the master (control plane) and one for the worker nodes.- API Server Visibility: Choose between a public API server accessible via a public IP or a private one. A public API is acceptable if your RBAC permissions are secure.
- Ingress Visibility: Select public if external access to front-end applications is required, or private for internal access.
-
Tags and Review:
Add relevant tags (for instance, “cluster OpenShift”) and click Review + Create. If you encounter a validation error regarding the object ID, revisit your app registration to modify API permissions:- Click Add a permission
- Select Azure Service Management
- Ensure the required permission for user impersonation is checked.
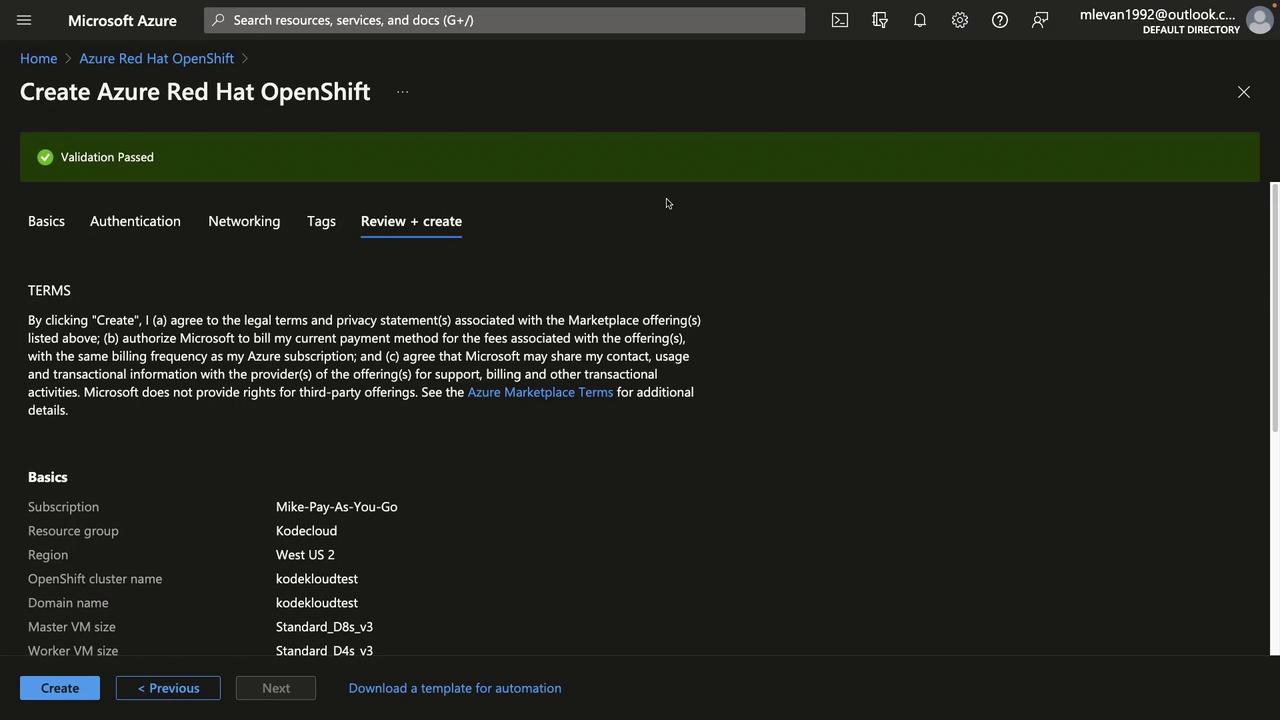
- Create the Cluster:
Click Create. The cluster creation process may take some time; feel free to take a break while you wait.
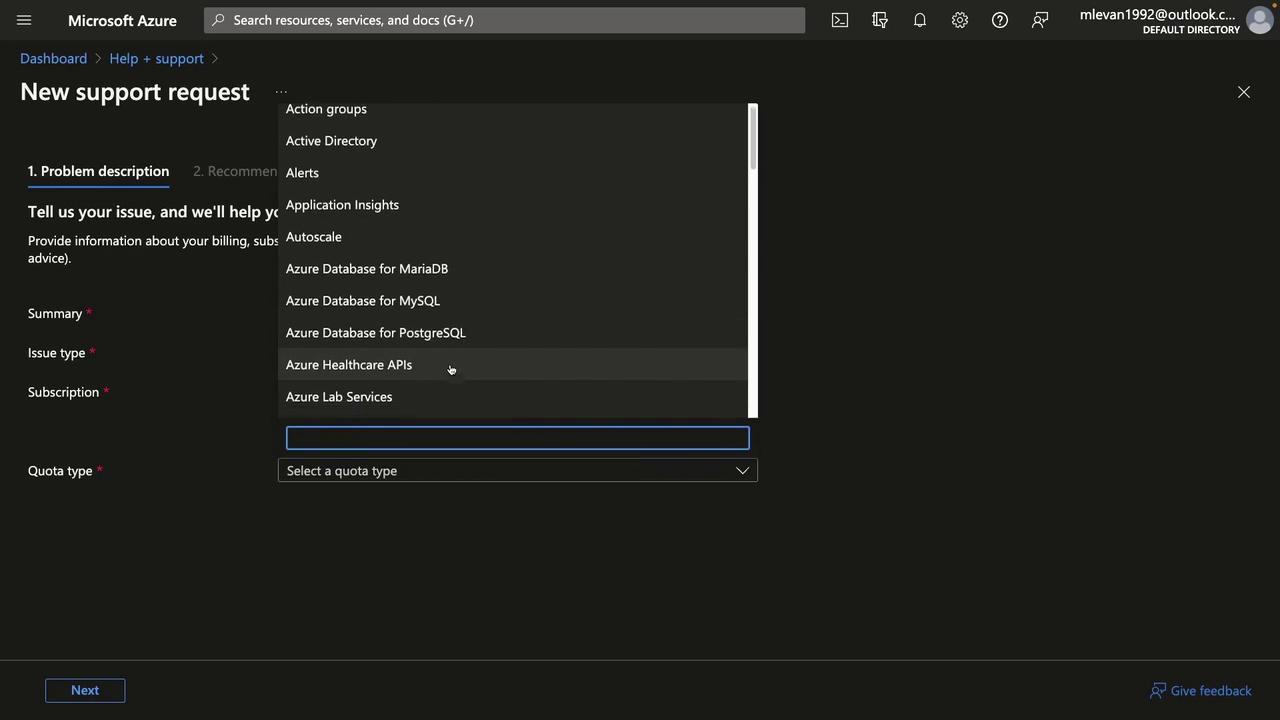
Managing Resource Quotas
The installation requires a total of 36 virtual CPU cores. If your current Azure account lacks this quota, follow these steps:- Navigate to Help and Support and select Create a support request.
- Describe your issue and choose Service and Subscription Limits, Quotas.
- For the quota type, select Compute VM Cores vCPUs.
- Click Manage Quota to adjust the limit for the standard DSv3 family in your selected region.
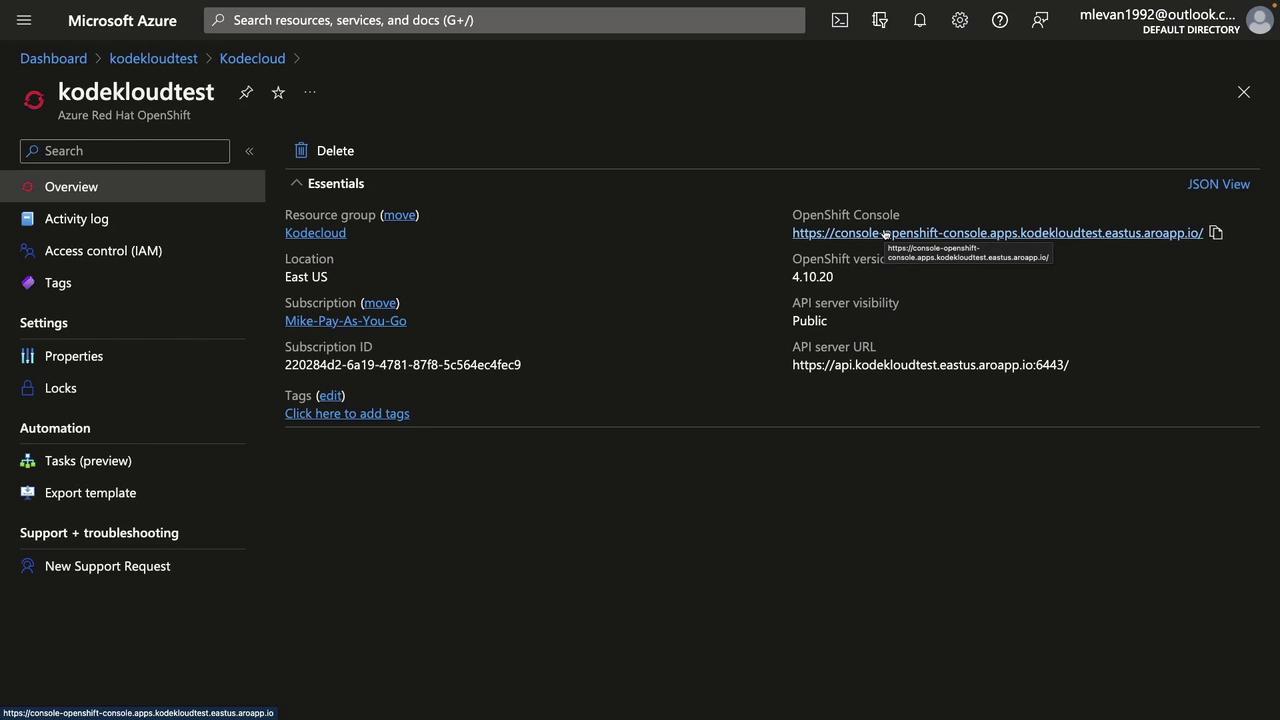
Accessing the OpenShift Cluster Console
After the cluster is created, click OpenShift to access the cluster console. You will need to use the default credentials, which you can retrieve using the command below: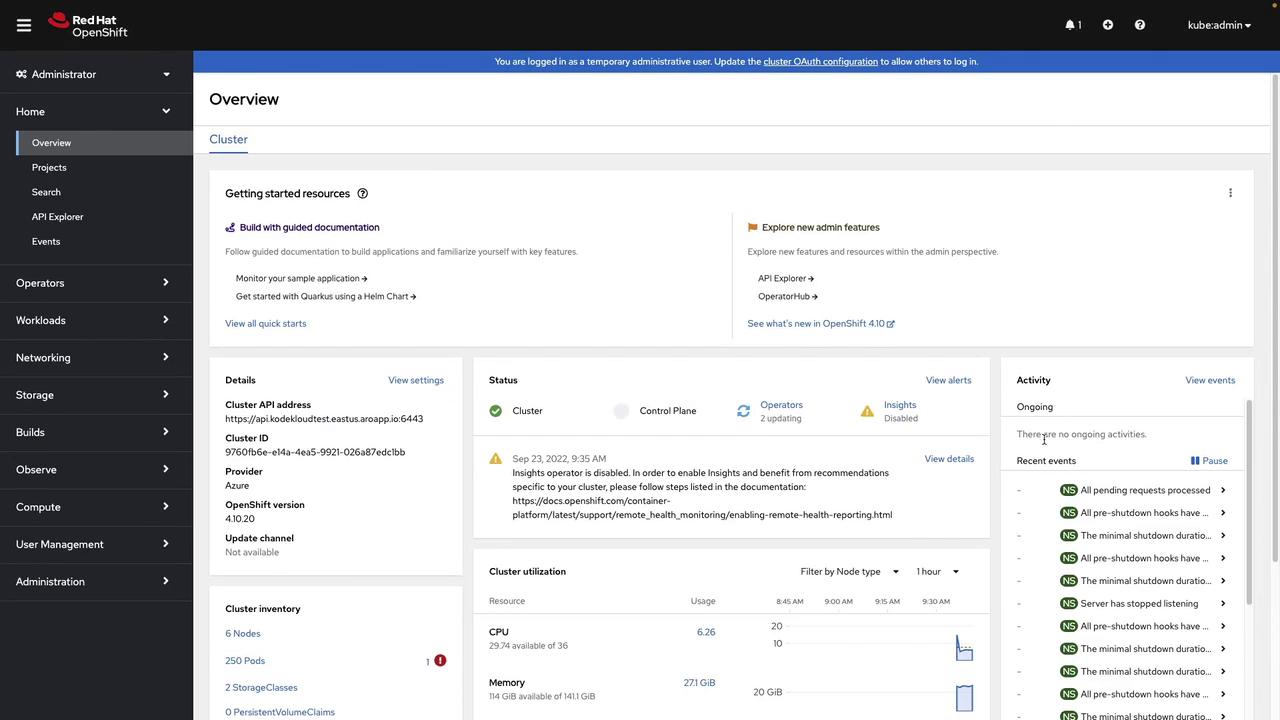
This guide has taken you through the comprehensive process of provisioning an OpenShift cluster on Azure Red Hat OpenShift, covering important aspects such as authentication, networking, and resource quota configuration. Enjoy managing your production Kubernetes environment!