This article provides an overview of the OpenShift UI and CLI, highlighting their features and functionalities for developers and administrators.
In this lesson, we’ll explore OpenShift through both its web console and CLI. Previously, you learned about various installation methods for OpenShift, such as CodeReady Containers (CRC), sandbox environments, and full production clusters. Now, we’ll take a high-level look at the user interface (UI) and command-line interface (CLI) before diving deeper into deployments and advanced features in later lessons.
The OpenShift console offers two primary views: one tailored for developers and another designed for administrators. Each view is organized to cater to its intended audience, ensuring that both development and administrative tasks are intuitive and accessible.
The Developer portal provides a visual representation of your cluster’s architecture and the resources deployed within it. The Topology view offers an overall picture of your projects:
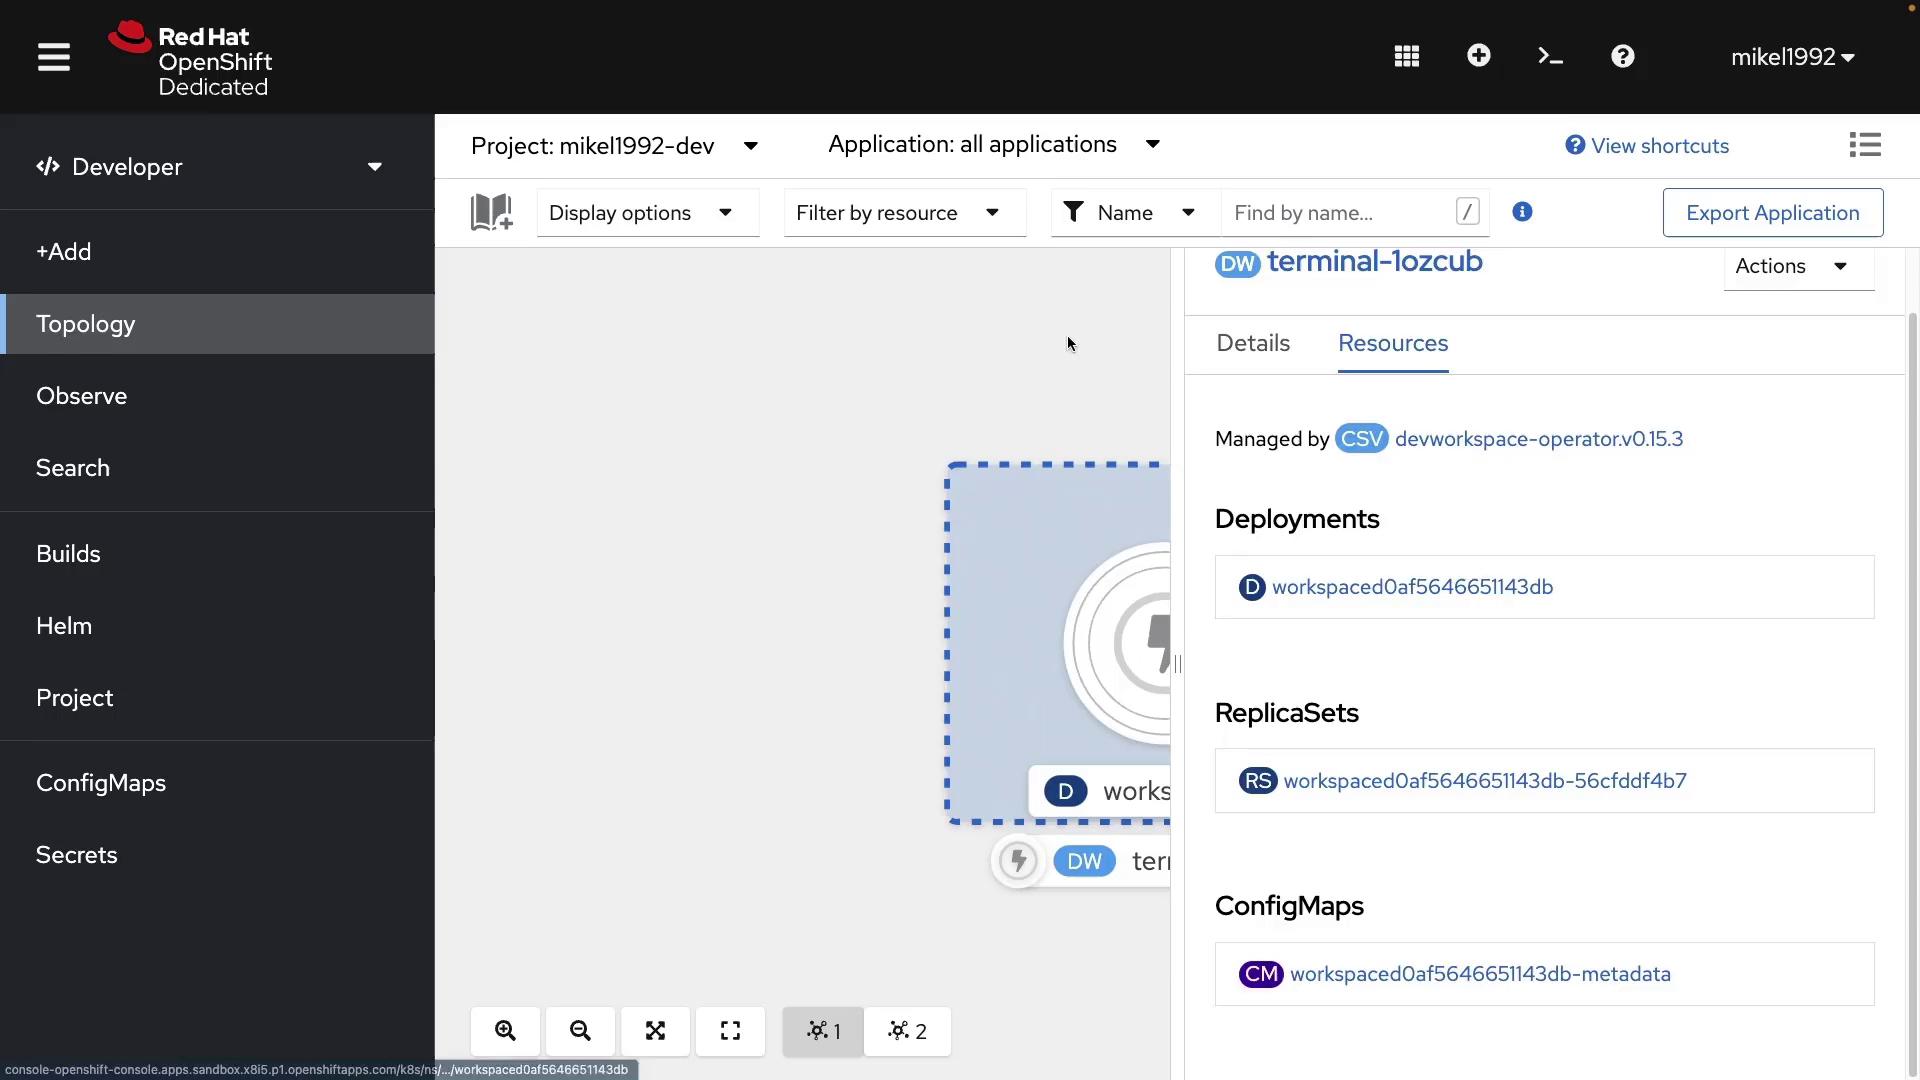
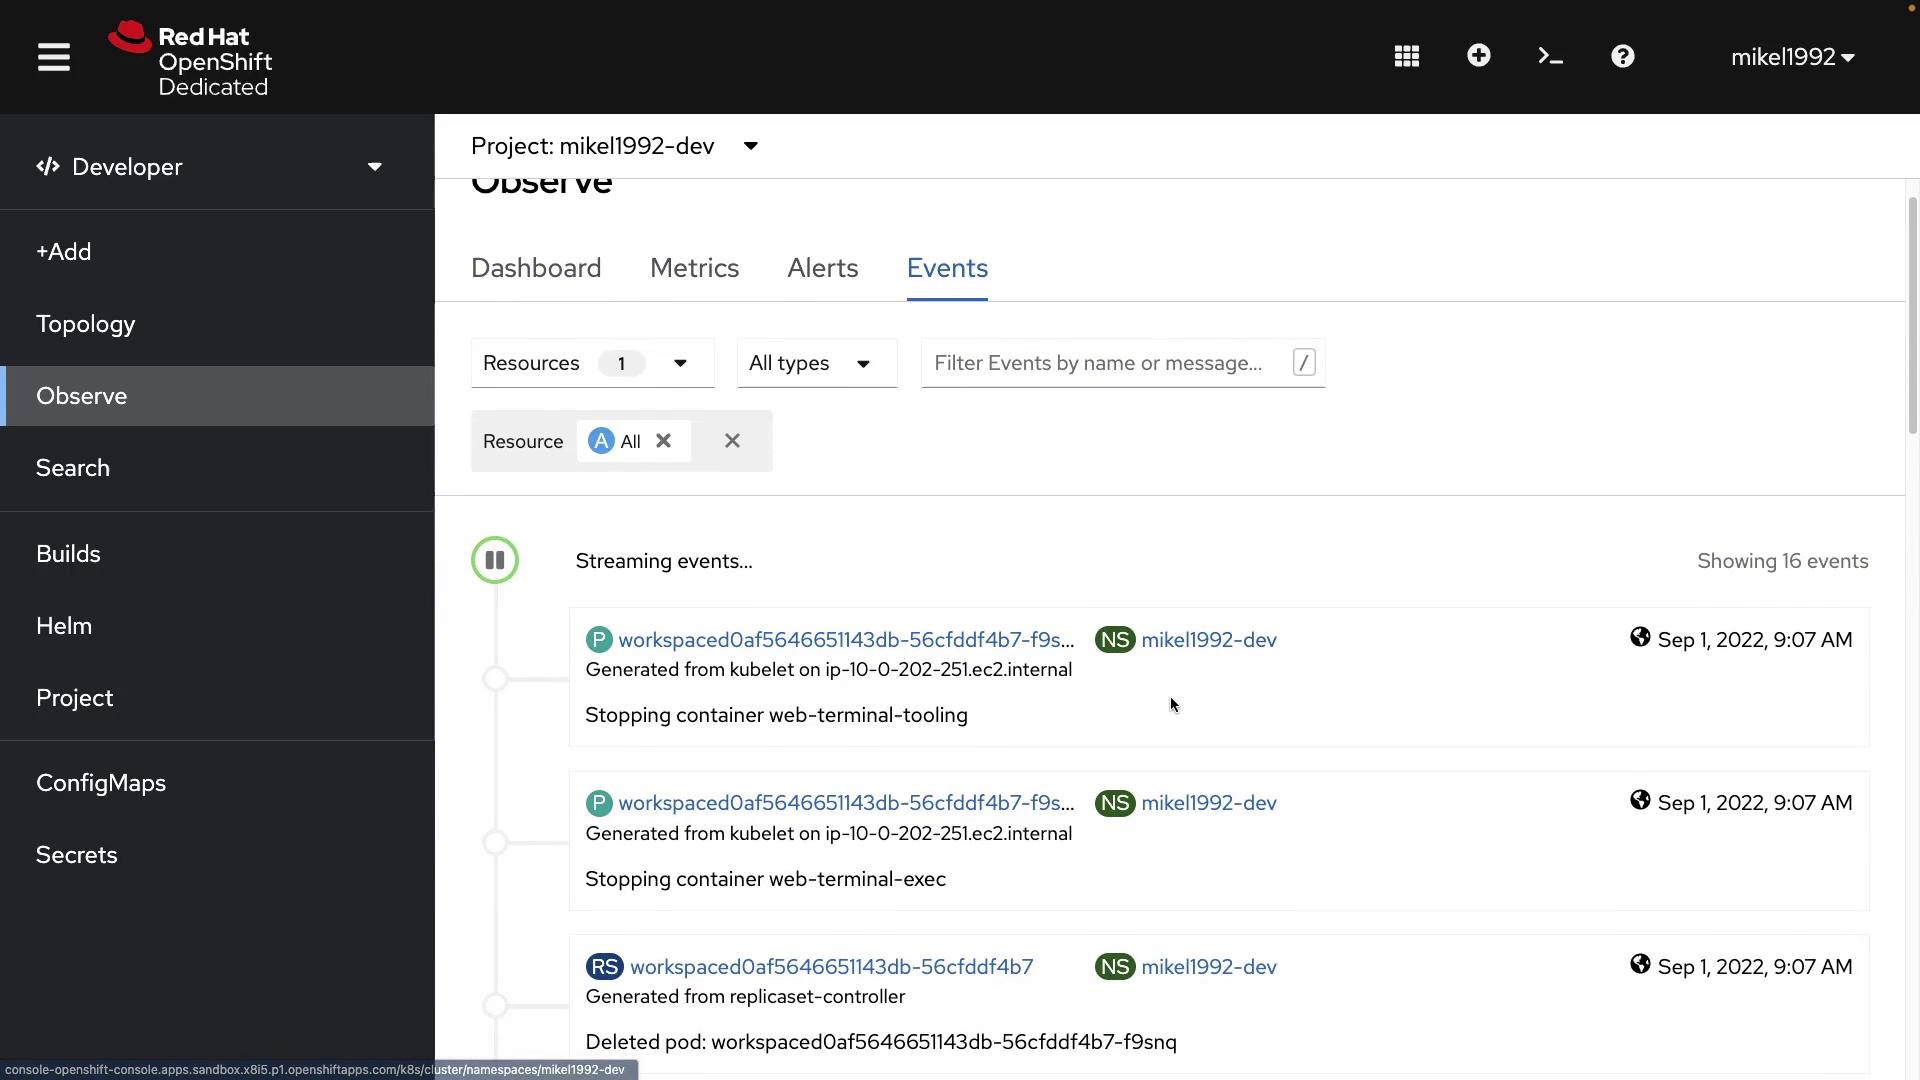
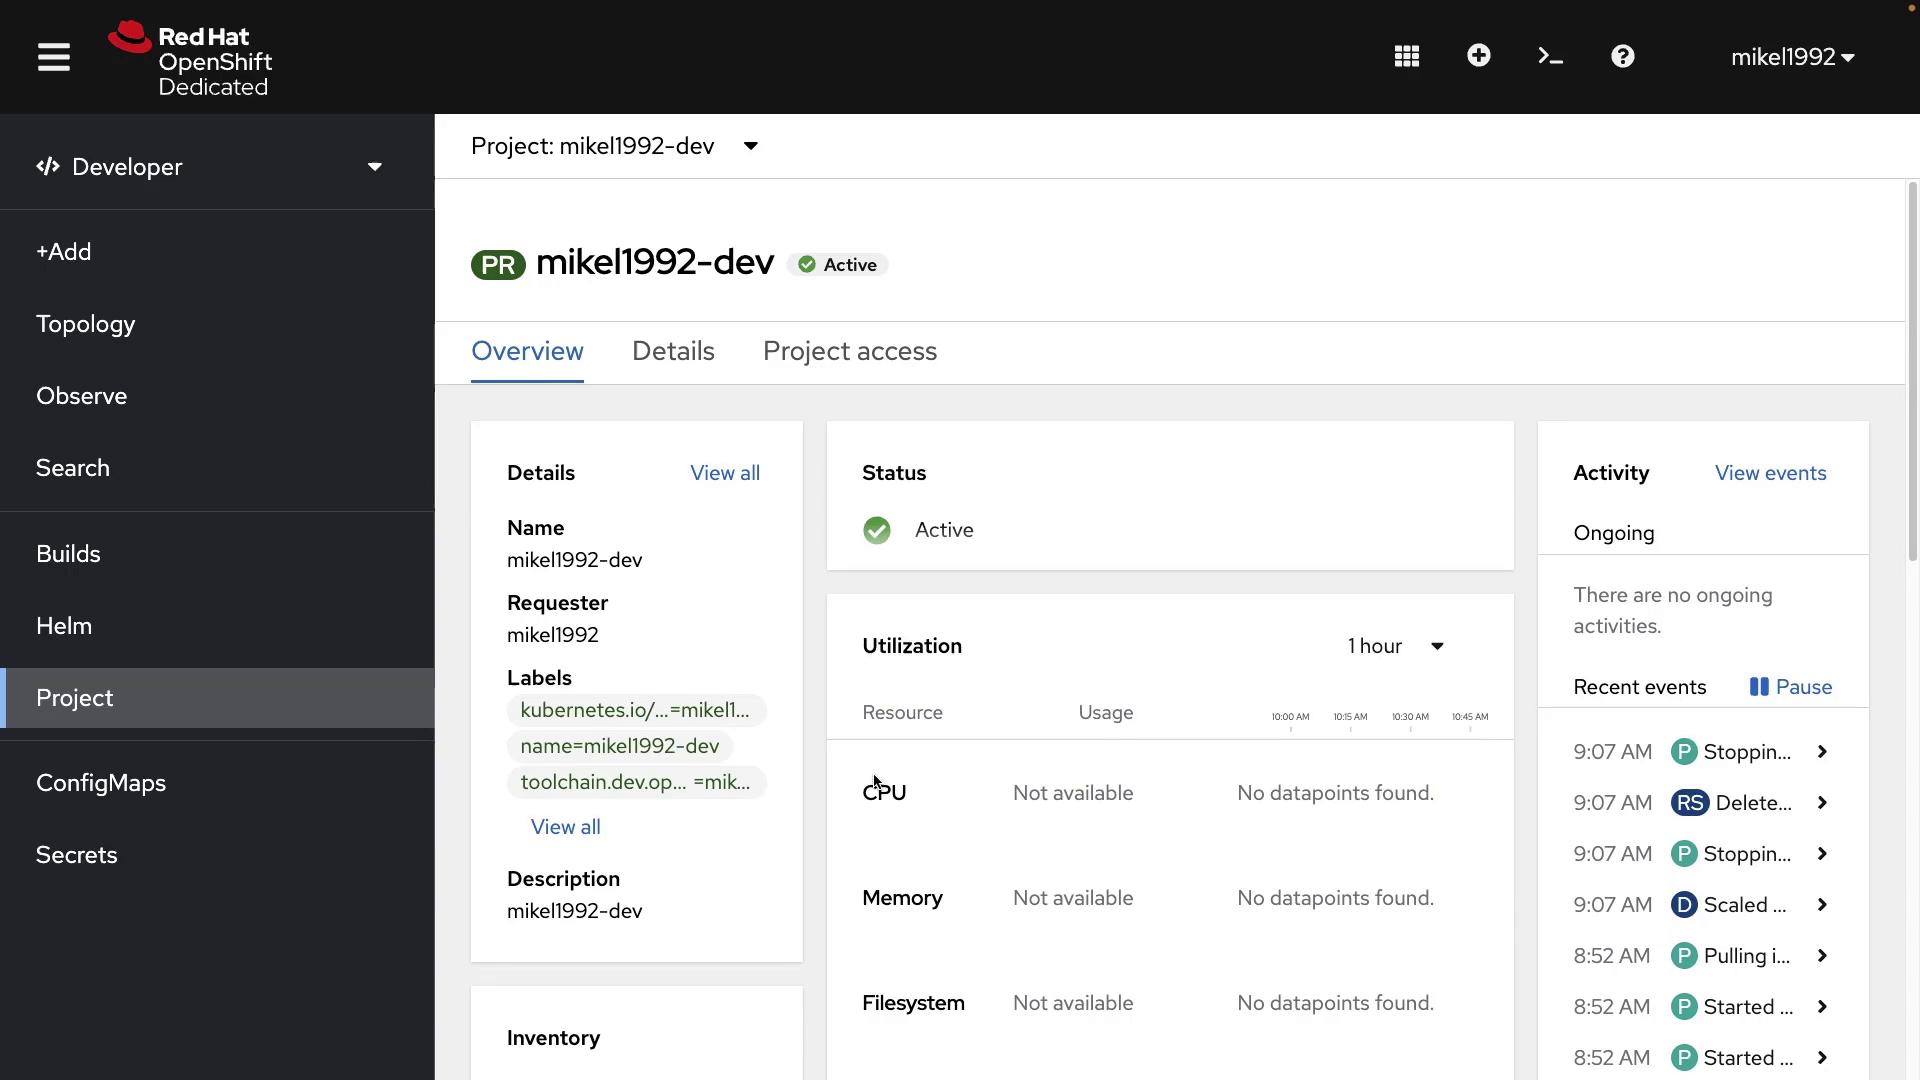
Even if your cluster is new and has minimal activity, clicking on your workspace reveals detailed information about deployments, replica sets, config maps, labels, namespaces, annotations, and more.The Observability section is where you can view logs, metrics, alerts, and events. Initially, activity might seem sparse, but as your cluster scales, this area will provide valuable insights:
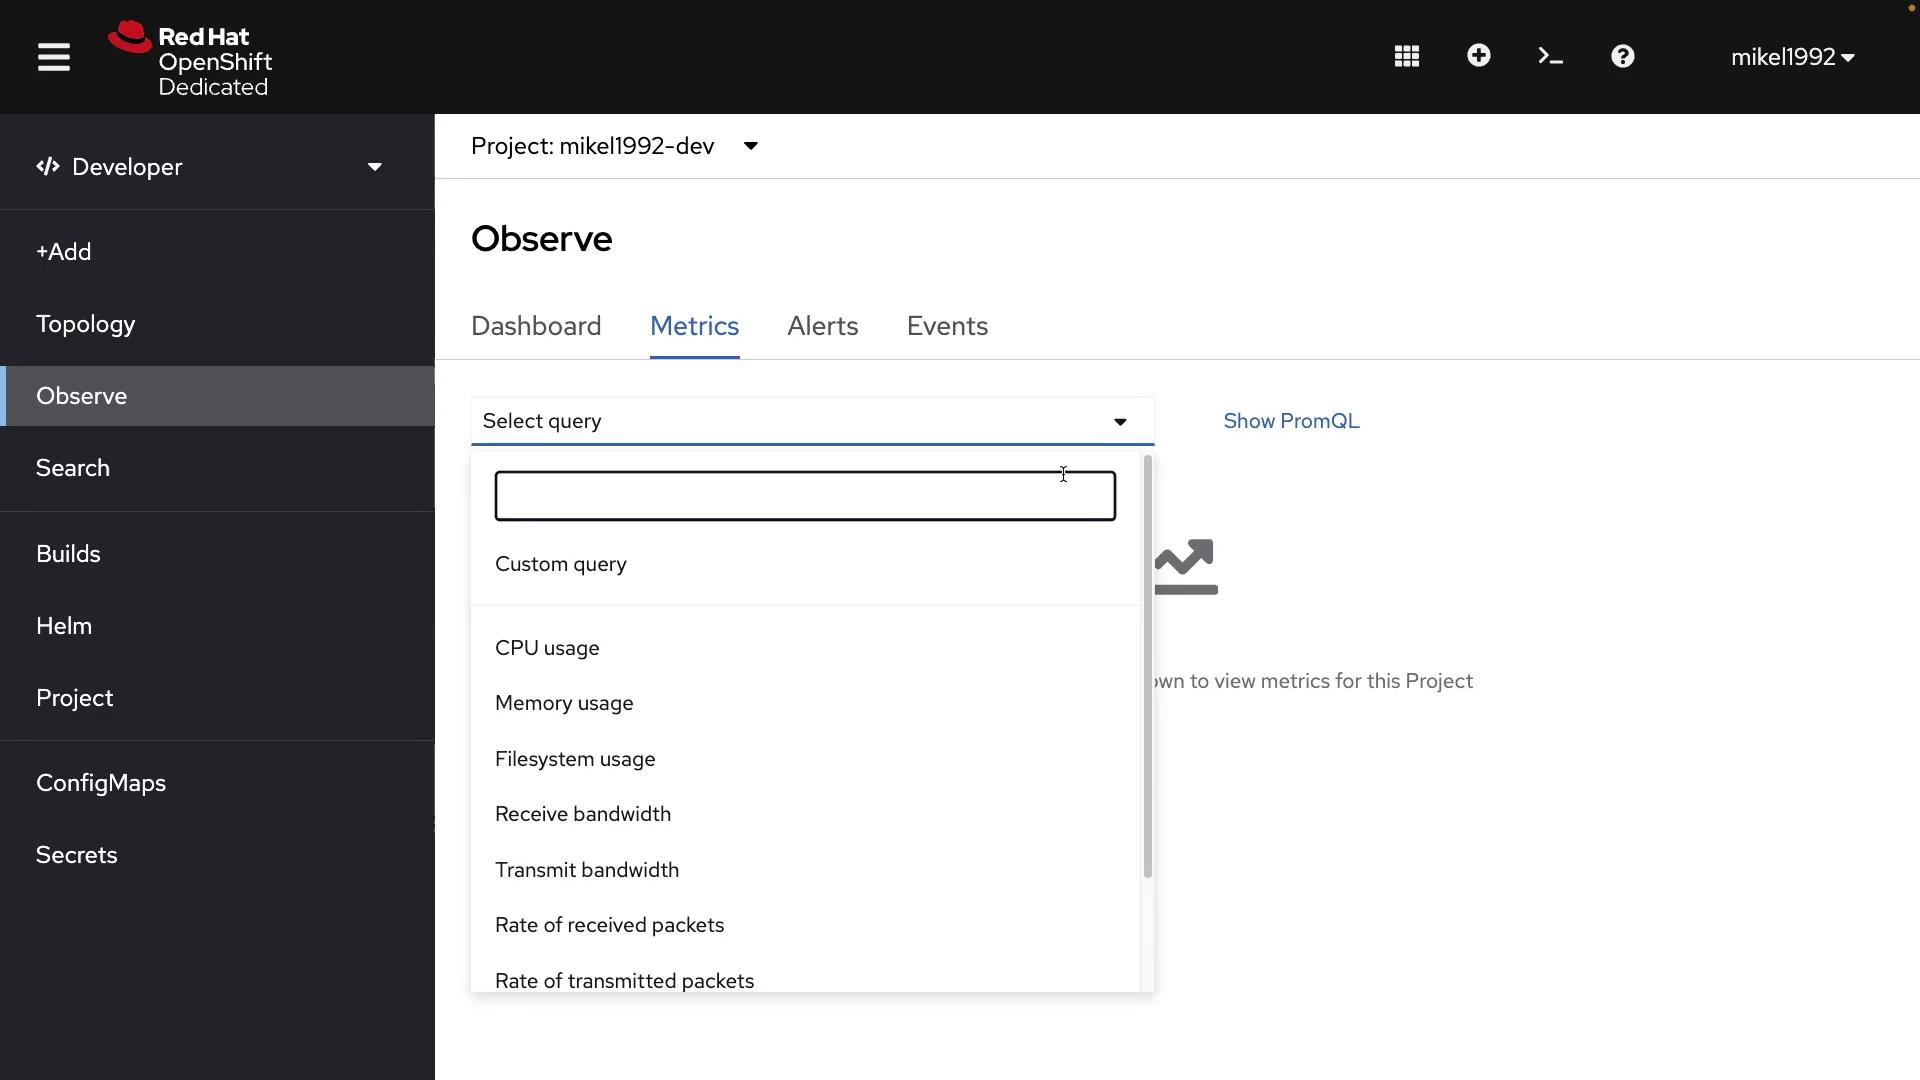
For example, selecting performance metrics such as CPU usage is straightforward:
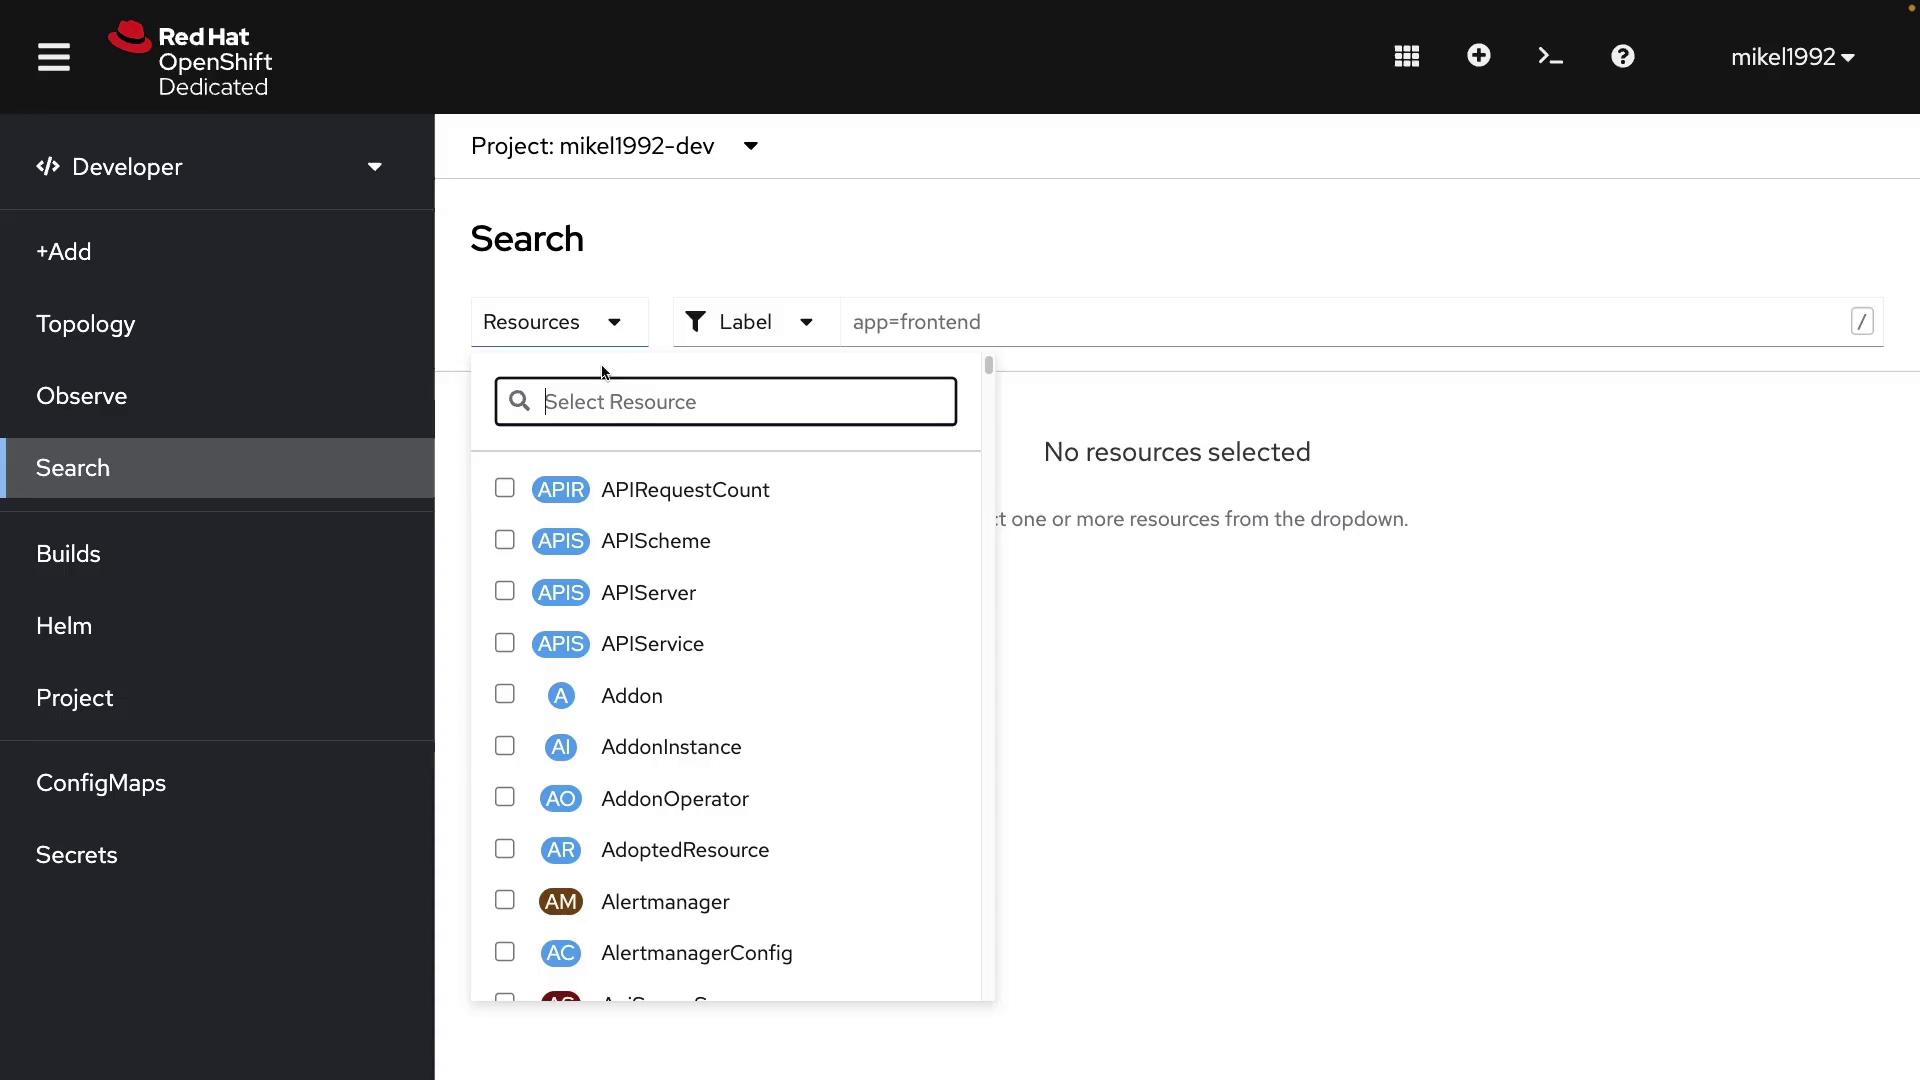
Additionally, you can search for specific resources, view build configurations, or create a new build config directly from the portal:
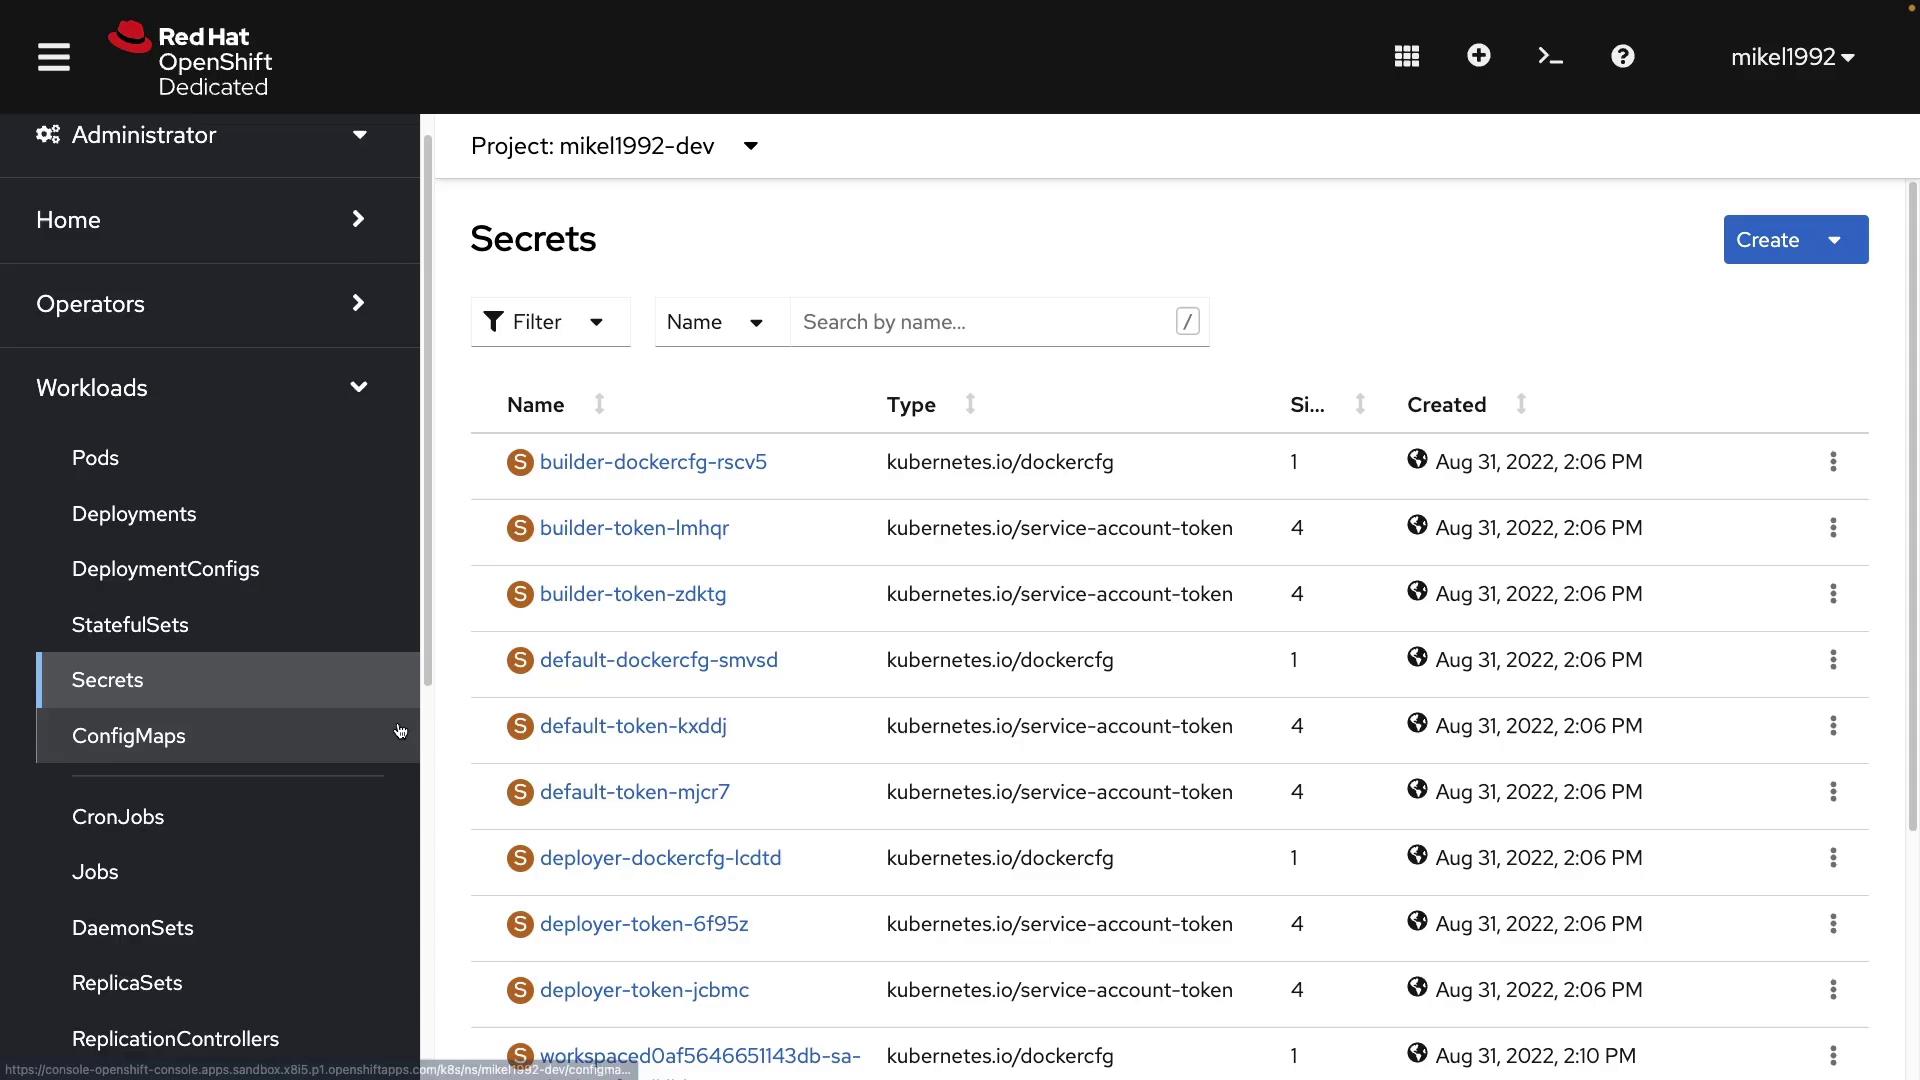
In OpenShift, projects function similarly to namespaces in Kubernetes. You also have access to config maps and secrets, as shown in the following dashboard:
Switching to the Administrator portal reveals additional management functionalities, such as operators, workloads, and networking. In the Workloads section, you can view pods, deployments, deployment configurations, and more. As you progress to the networking section, you’ll find services, ingress resources, and other networking components:
Other important tools accessible in this view include persistent volumes, storage classes, builds, user management, service accounts, roles, role bindings, and cluster settings.When you navigate to the Deployments section and click on “create deployment,” OpenShift provides you with a Kubernetes manifest similar to the YAML example below:
This YAML follows the standard Kubernetes format by specifying the API version, kind, metadata, and specifications required for deployment. Even seasoned Kubernetes users can benefit from the clear breakdown provided by OpenShift.
The OpenShift CLI (oc) is designed to mirror the behavior of kubectl, providing a familiar environment to manage your resources.For instance, you can log into your OpenShift environment using the CLI with the following commands:
After successfully logging in, you can list all pods in your current project using:
Copy
oc get pods
A sample output might look like this:
Copy
oc-4.10.12-macosx ./oc login --token=sha256~mCl9aEdARbsLxD-agVHo9eZMYAFYo2Tx7GCulza-r9E --server=https://api.sandbox.x81i5.p1.openshiftapps.com:6443Logged into "https://api.sandbox.x81i5.p1.openshiftapps.com:6443" as "mikel1992" using the token provided.Using project "mikel1992-dev".oc-4.10.12-macosx ./oc get podsNAME READY STATUS RESTARTS AGEworkspaced0af5646651143db-56cfddf4b7-jwc2s 2/2 Running 0 6m12s
These examples demonstrate that the OpenShift CLI uses a command structure similar to kubectl. Many operations available via kubectl are directly transferable to oc commands.
If you prefer to use a terminal outside the OpenShift web console, you can download and install the oc CLI on your local machine. This provides you with the flexibility to manage your resources from your own environment.
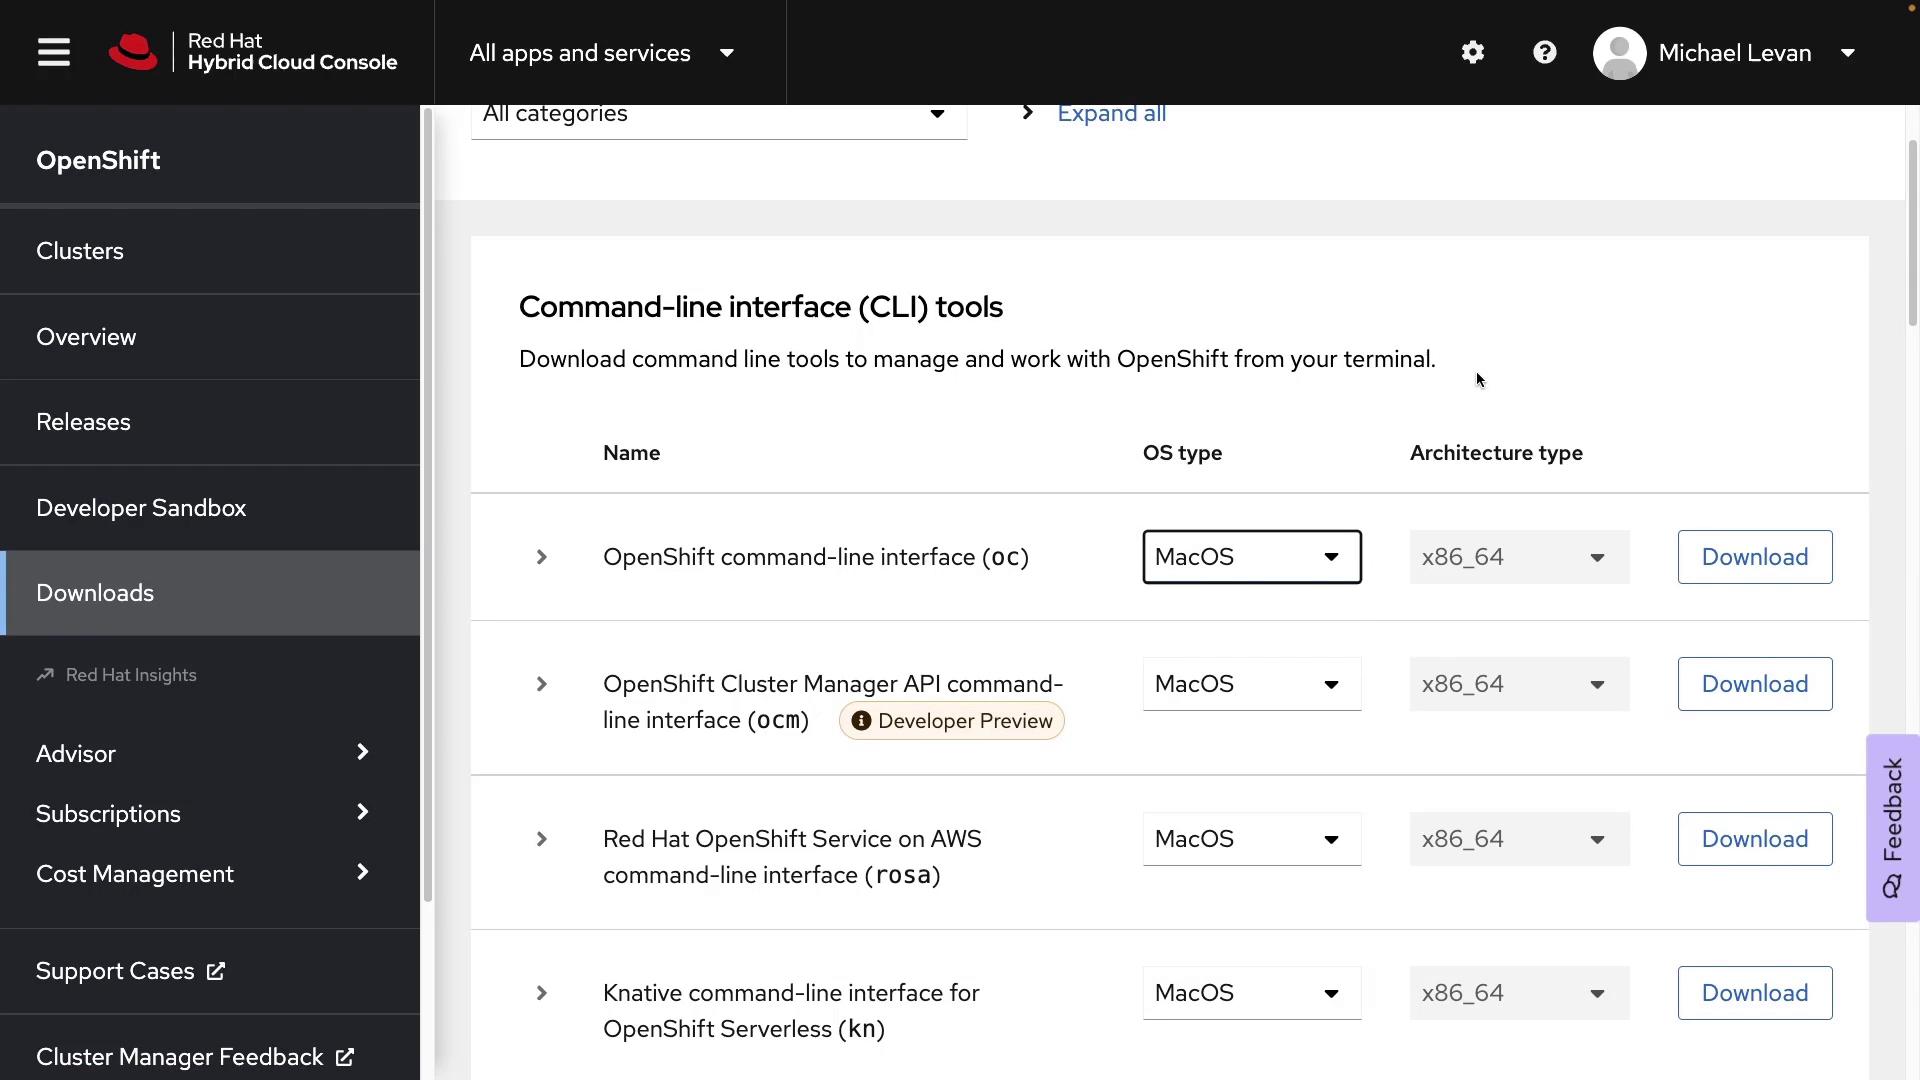
To install the oc CLI, navigate to the Red Hat Hybrid Cloud Console:
Select the appropriate version for your operating system, install the tool, and authenticate using the provided login command from the console’s dropdown menu. Once connected, you’ll be ready to manage your OpenShift environment with ease.Throughout this lesson, we’ve provided an overview of both the OpenShift UI and CLI. In upcoming lessons, we’ll explore advanced topics such as deployments, configurations, and the extensive capabilities that OpenShift offers for modern cloud-native applications.