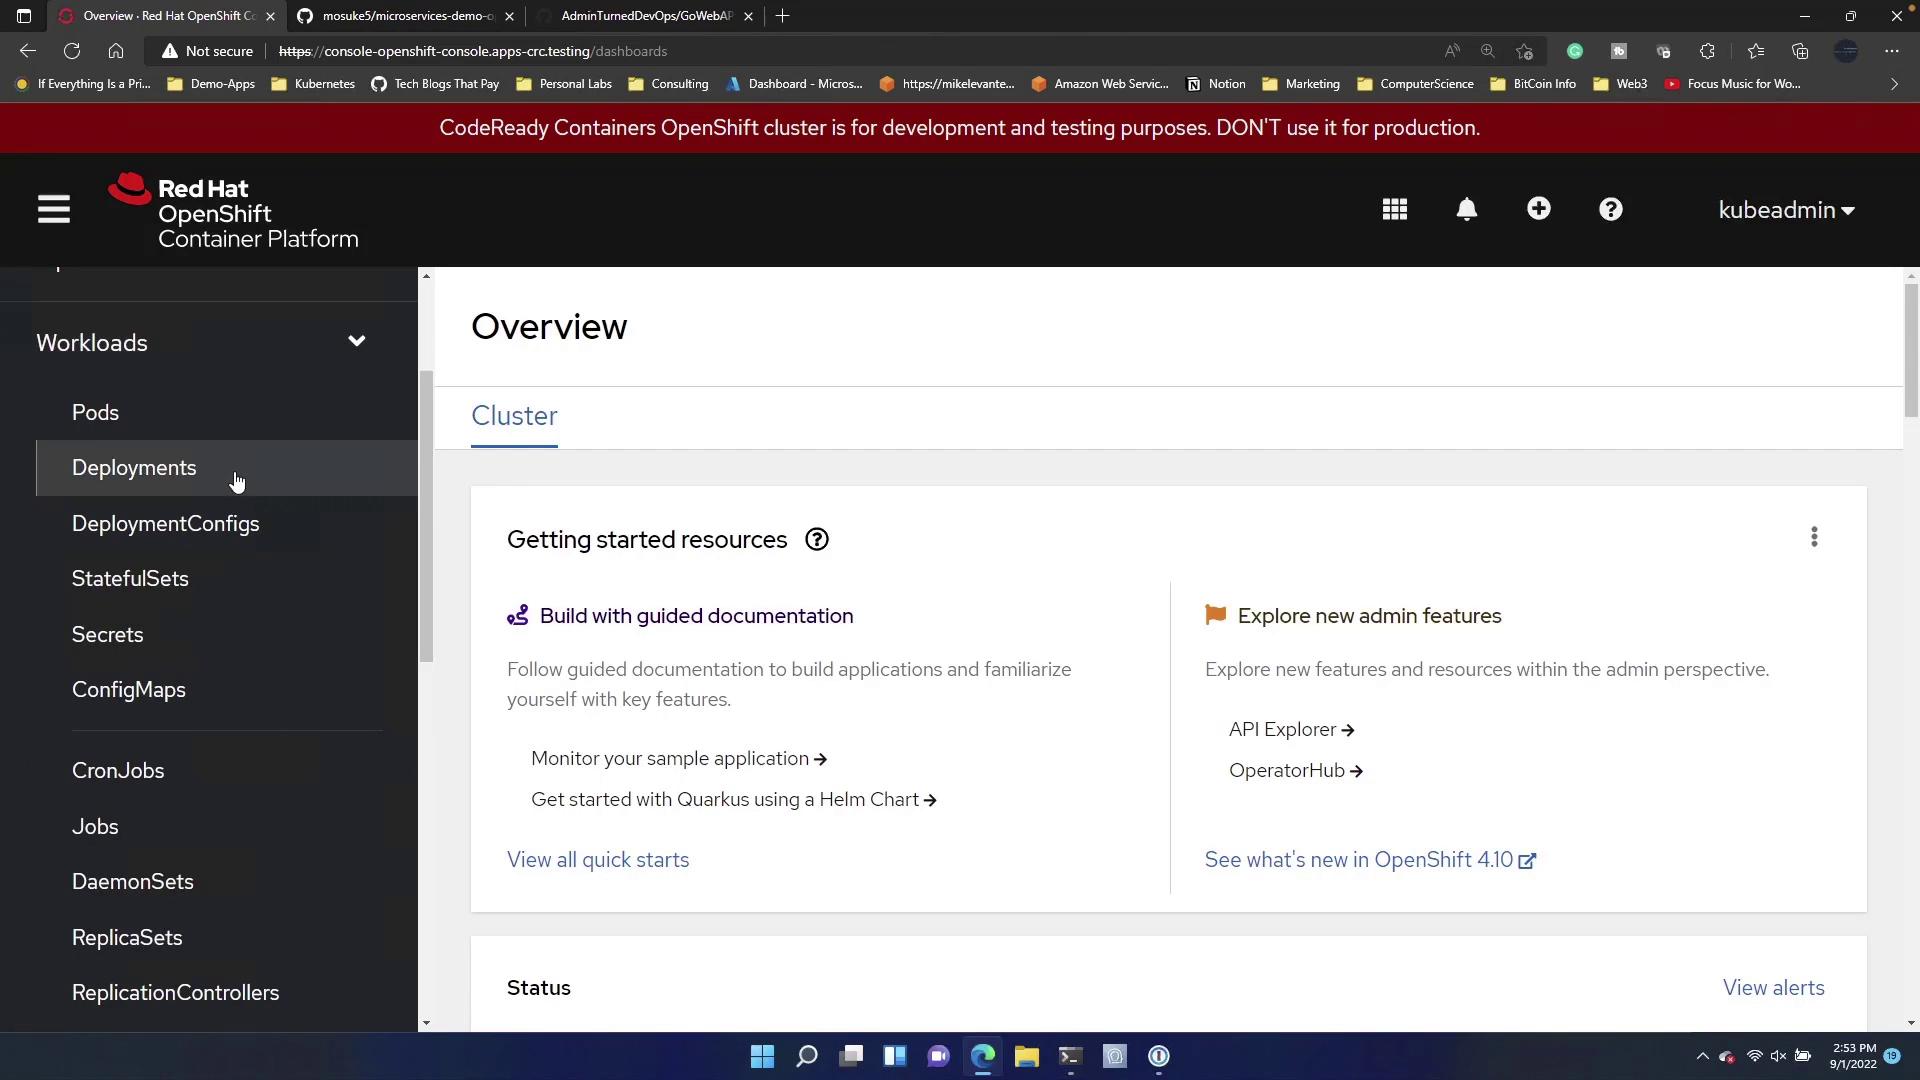
Deploy applications on OpenShift using the web console with methods like manual deployment and importing from a Git repository.
Deploy applications on OpenShift quickly and efficiently using multiple methods. In this guide, we cover two primary approaches: deploying via the Workloads > Deployments interface and importing a Git repository. We also briefly touch on using the terminal with kubectl for deployment.
For applications with multiple components (e.g., services, deployments, daemon sets), consider using automated methods to deploy all configurations simultaneously.
For demonstration, deploy a stateless Nginx application with the following Kubernetes manifest:
Copy
apiVersion: apps/v1kind: Deploymentmetadata: name: nginx-deploymentspec: selector: matchLabels: app: nginx replicas: 2 # instructs the deployment to run 2 pods matching the template template: metadata: labels: app: nginx spec: containers: - name: nginx image: nginx:1.14.2 ports: - containerPort: 80
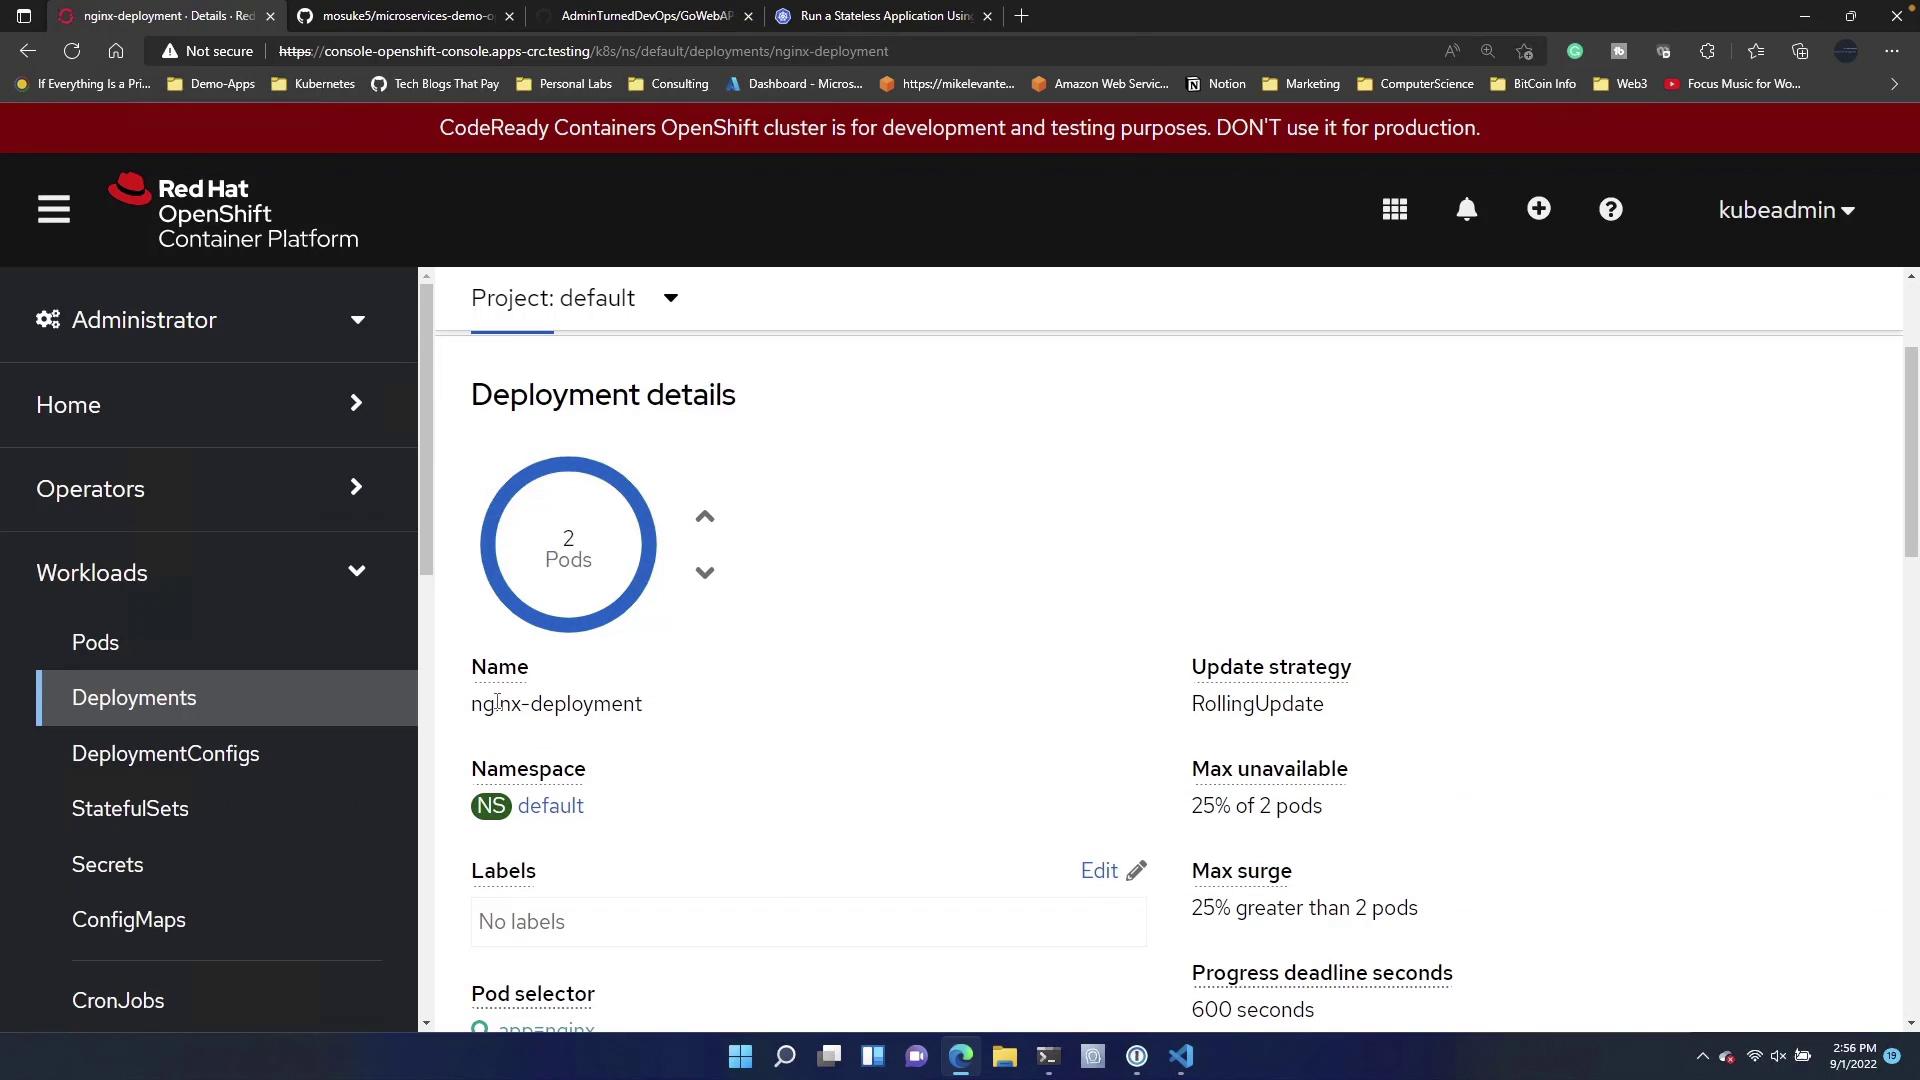
Copy the manifest into the editor and click Create Deployment.
The deployment process will start, and you can verify its status after a few moments.
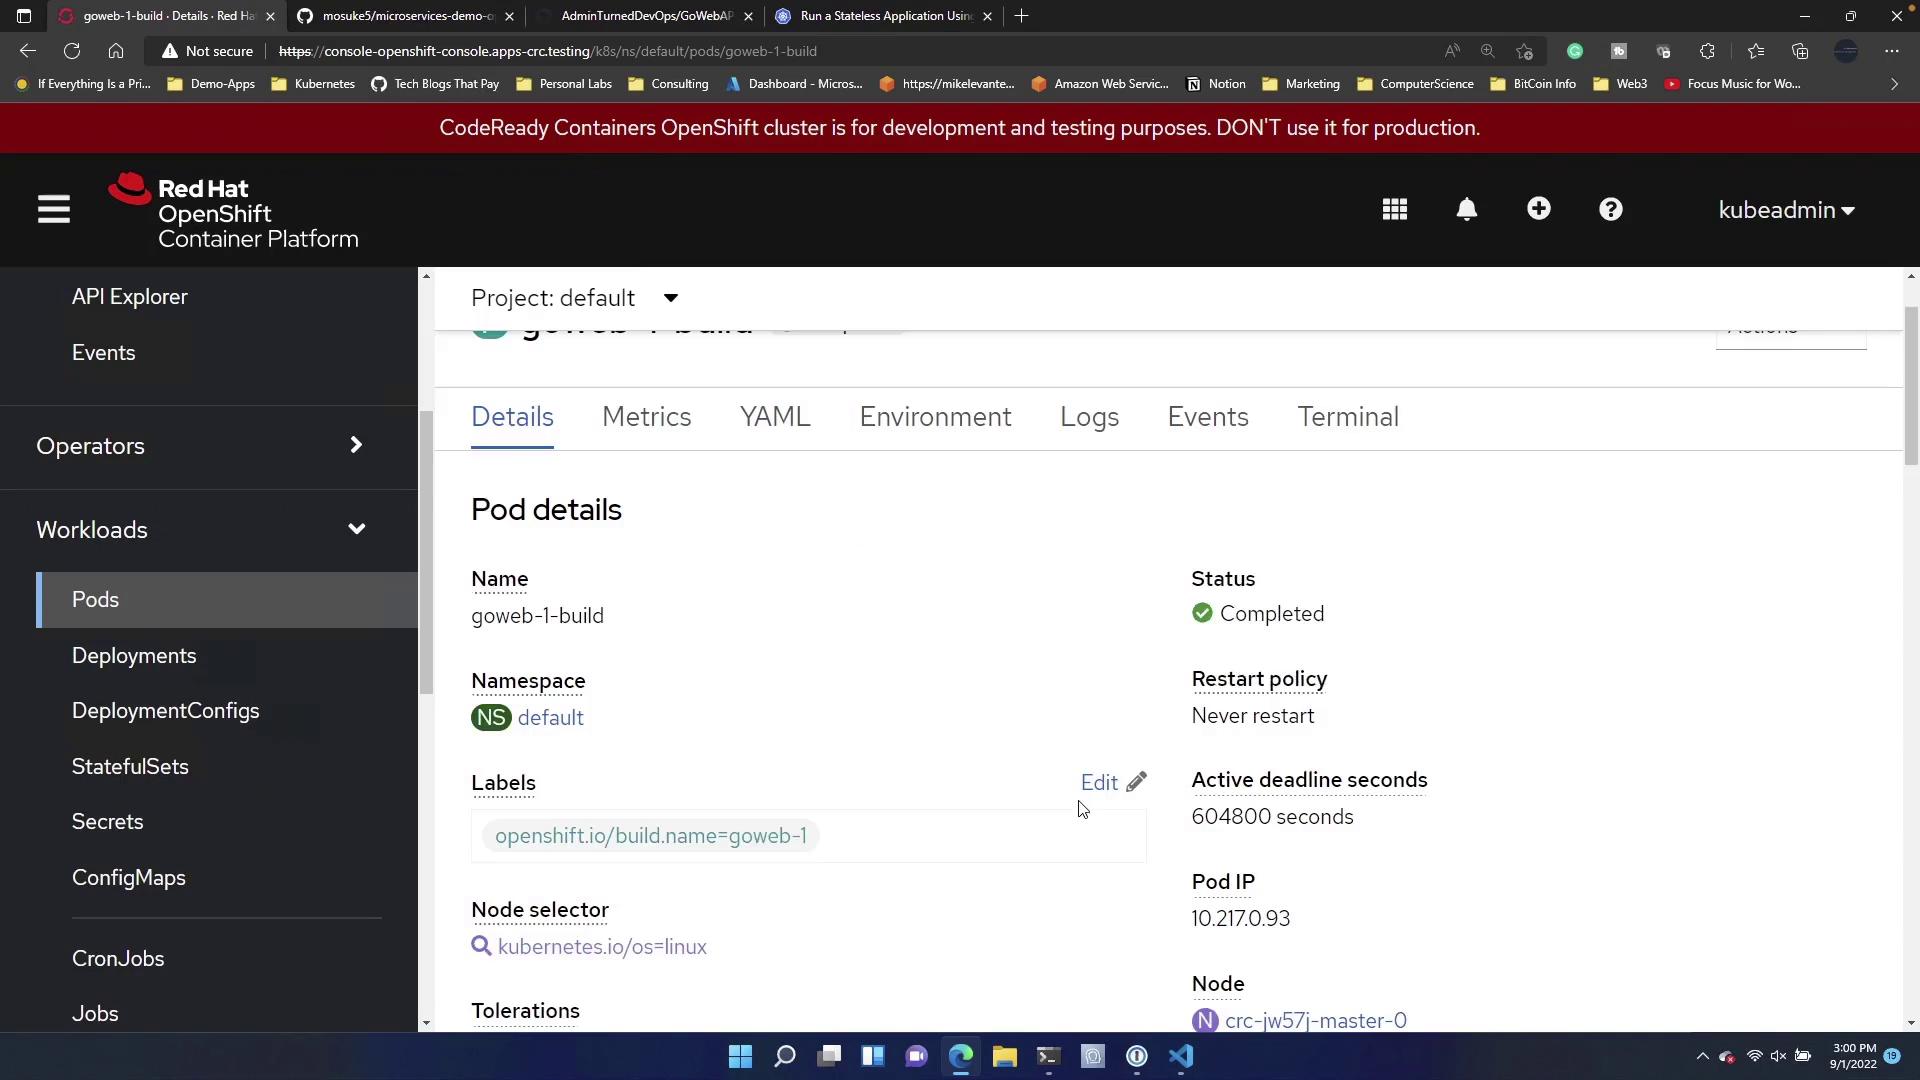
Once running, you can view key details like the namespace, deployment name, update strategy, node selector, and pod selector. The dashboard also provides options to view the YAML configuration and a list of running pods.
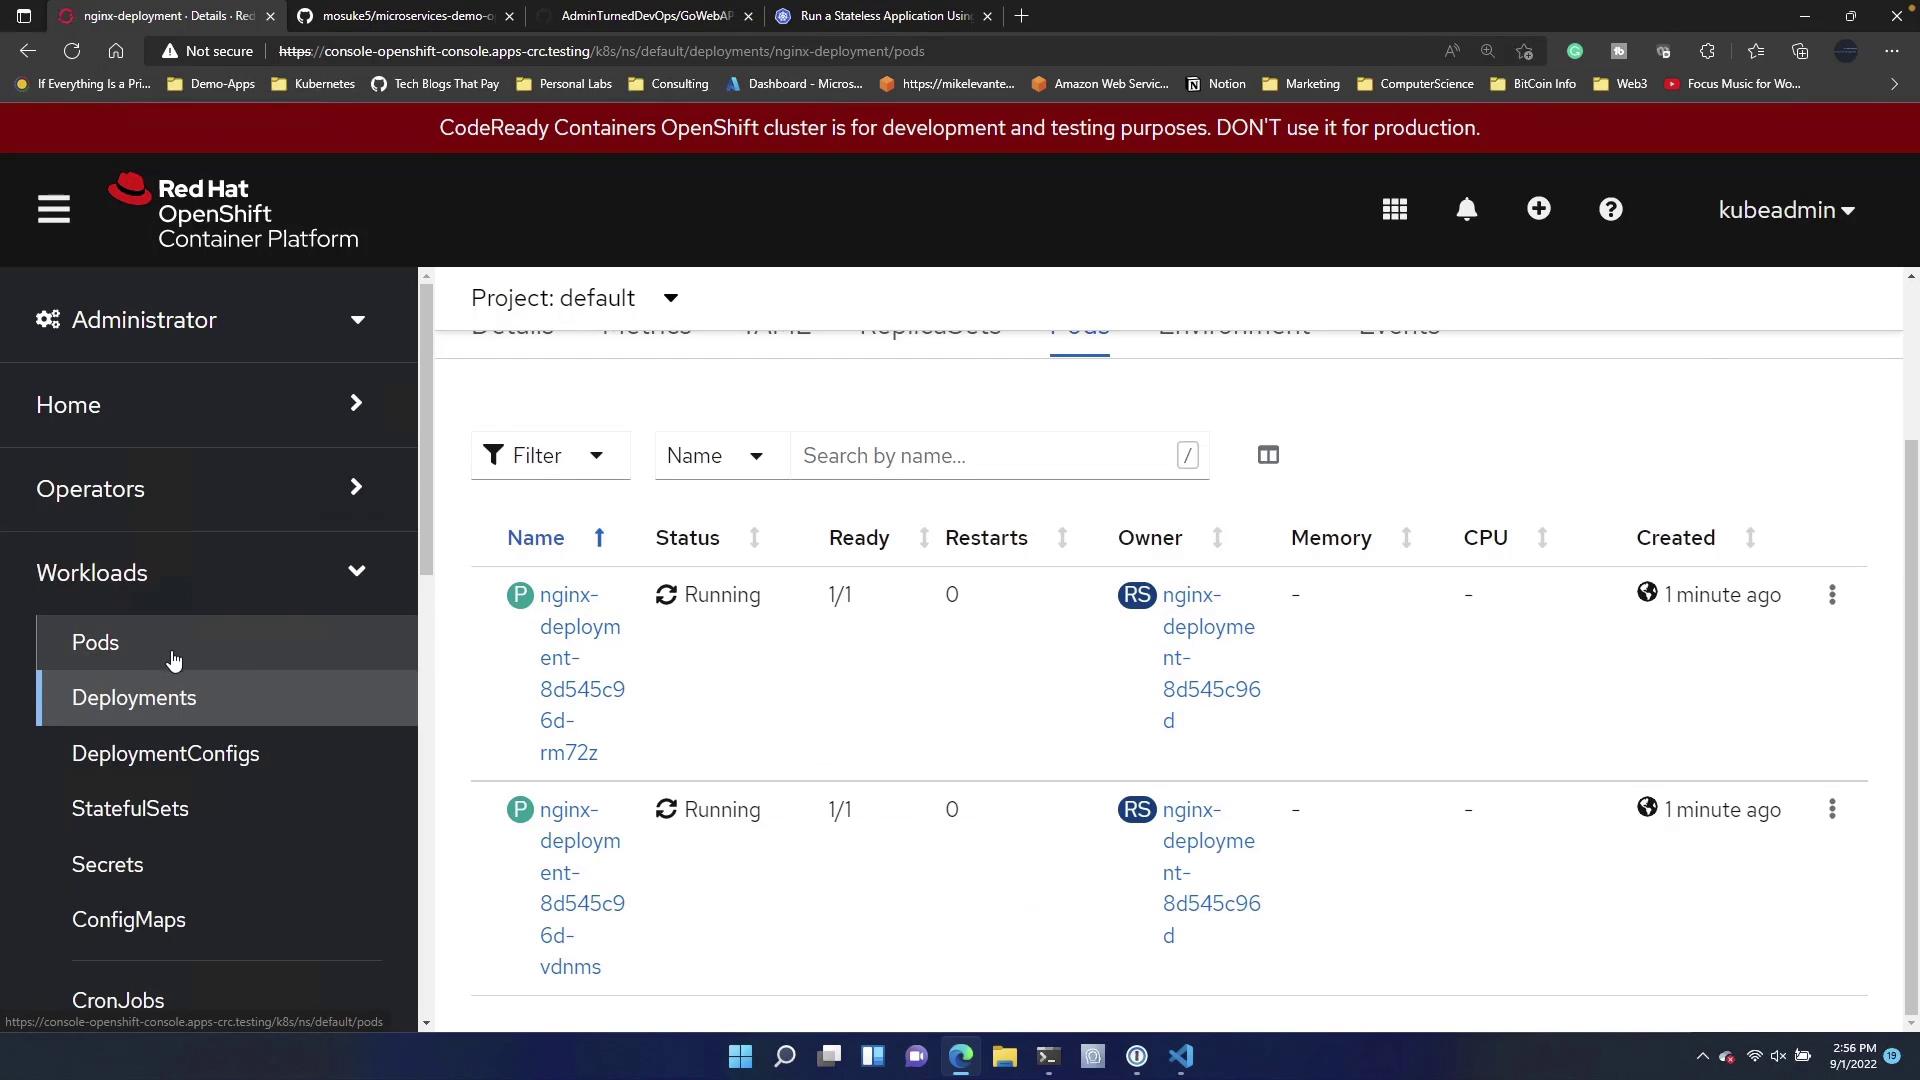
To inspect deployed pods:
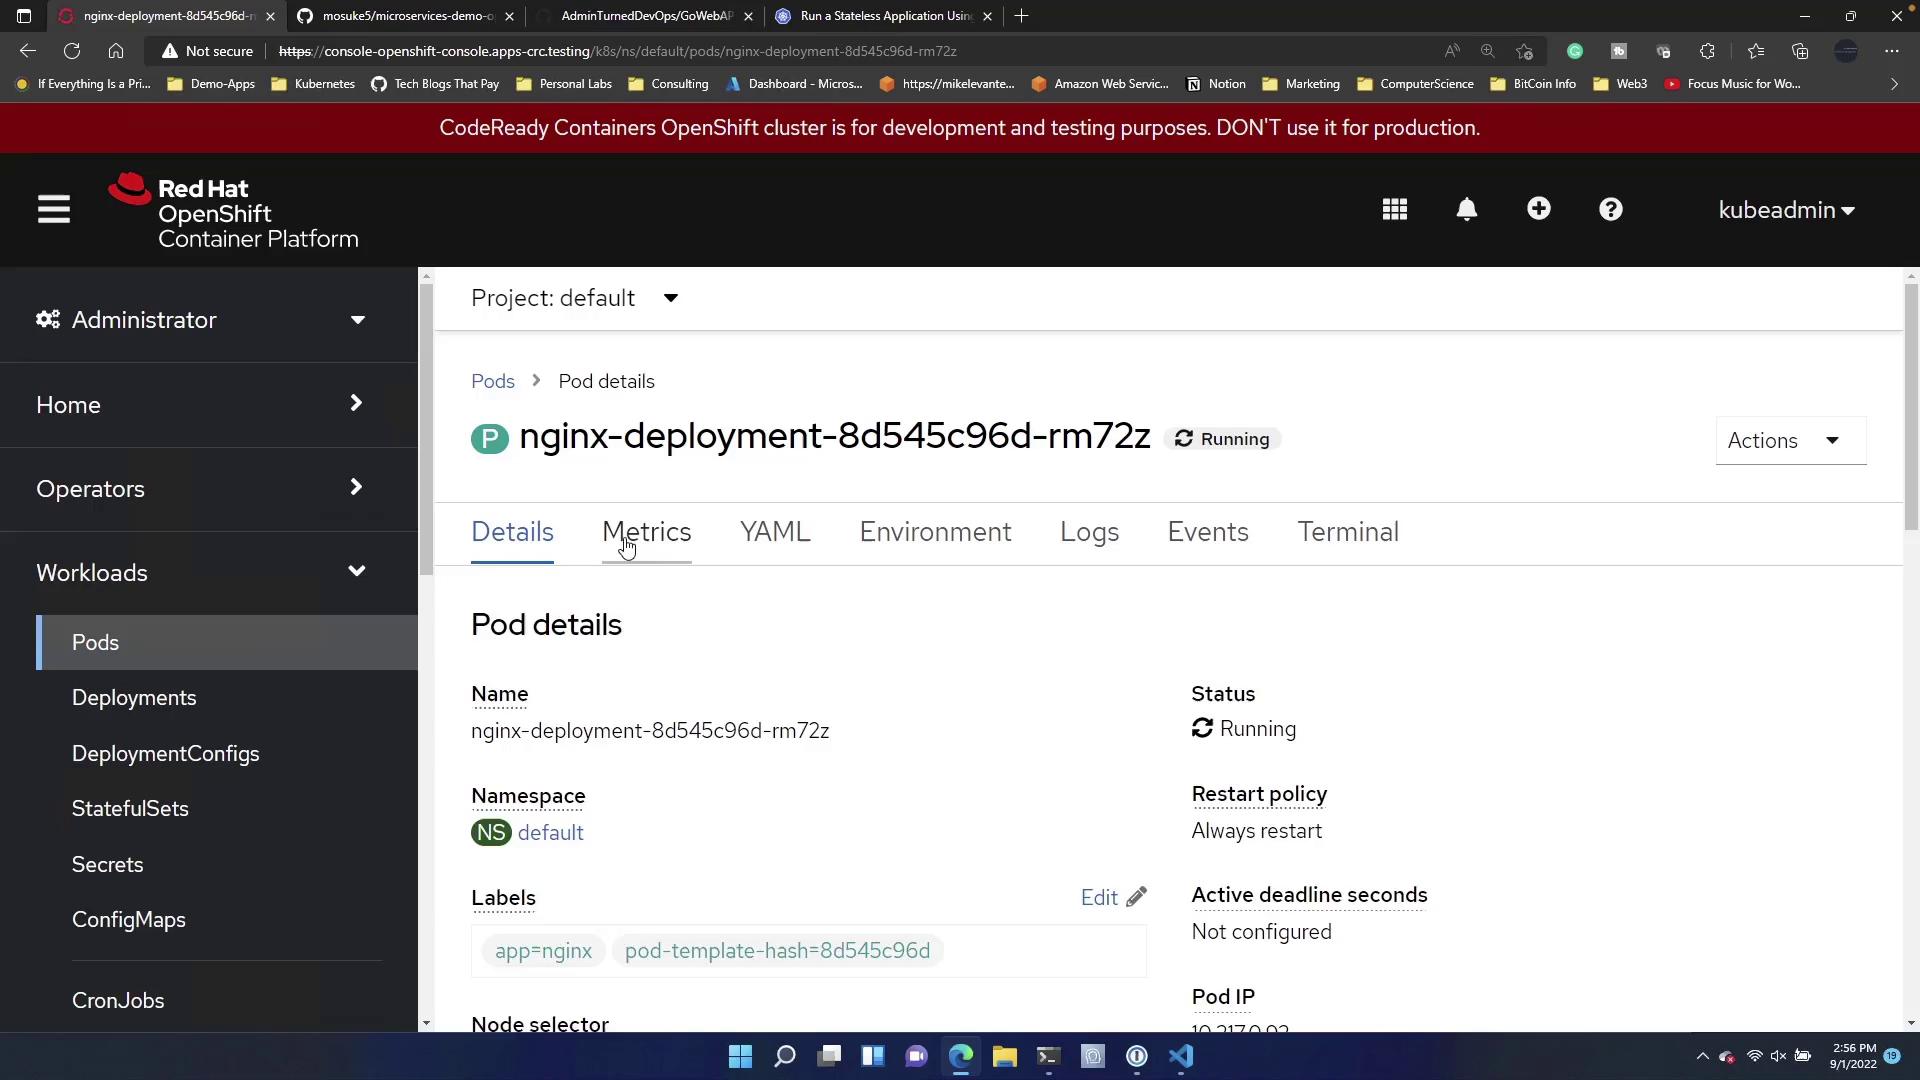
Navigate to Pods under the deployment.
Click on a specific pod to view its details, logs, and even access an embedded terminal (similar to executing “kubectl exec”).
For example, executing this command in the interactive terminal:
Copy
# lsbin dev boot docker-entrypoint.sh home lib64 mnt proc run srv tmp vardocker-entrypoint.d etc lib media opt root sbin sys usr#
displays the pod’s file structure. This manual approach is ideal for a few deployments, but it can be less efficient when managing numerous configurations.
Method 2: Deploying an Application by Importing a Git Repository
For a streamlined deployment process, import your application directly from a Git repository. In this example, we deploy a basic Go Web API application that returns “Welcome to the Go Web API!” on its homepage and provides a JSON endpoint.Below is the primary Go code for this application:
Copy
package mainimport ( "encoding/json" "fmt" "log" "net/http")type whoami struct { Name string Title string State string}func main() { request()}func whoAmI(response http.ResponseWriter, r *http.Request) { who := []whoami{ { Name: "Michael Levan", Title: "Kubernetes Engineer", State: "ND", }, } json.NewEncoder(response).Encode(who) fmt.Println("Endpoint Hit:", who)}func homePage(response http.ResponseWriter, r *http.Request) { fmt.Fprintf(response, "Welcome to the Go Web API!") fmt.Println("Endpoint Hit: homePage")}func aboutMe(response http.ResponseWriter, r *http.Request) { fmt.Fprintf(response, "A little bit about Michael Levan...") fmt.Println("Endpoint Hit: MichaelLevan")}func request() { http.HandleFunc("/", homePage) http.HandleFunc("/whoami", whoAmI) http.HandleFunc("/about", aboutMe) log.Fatal(http.ListenAndServe(":8080", nil))}
To deploy this Go Web API application:
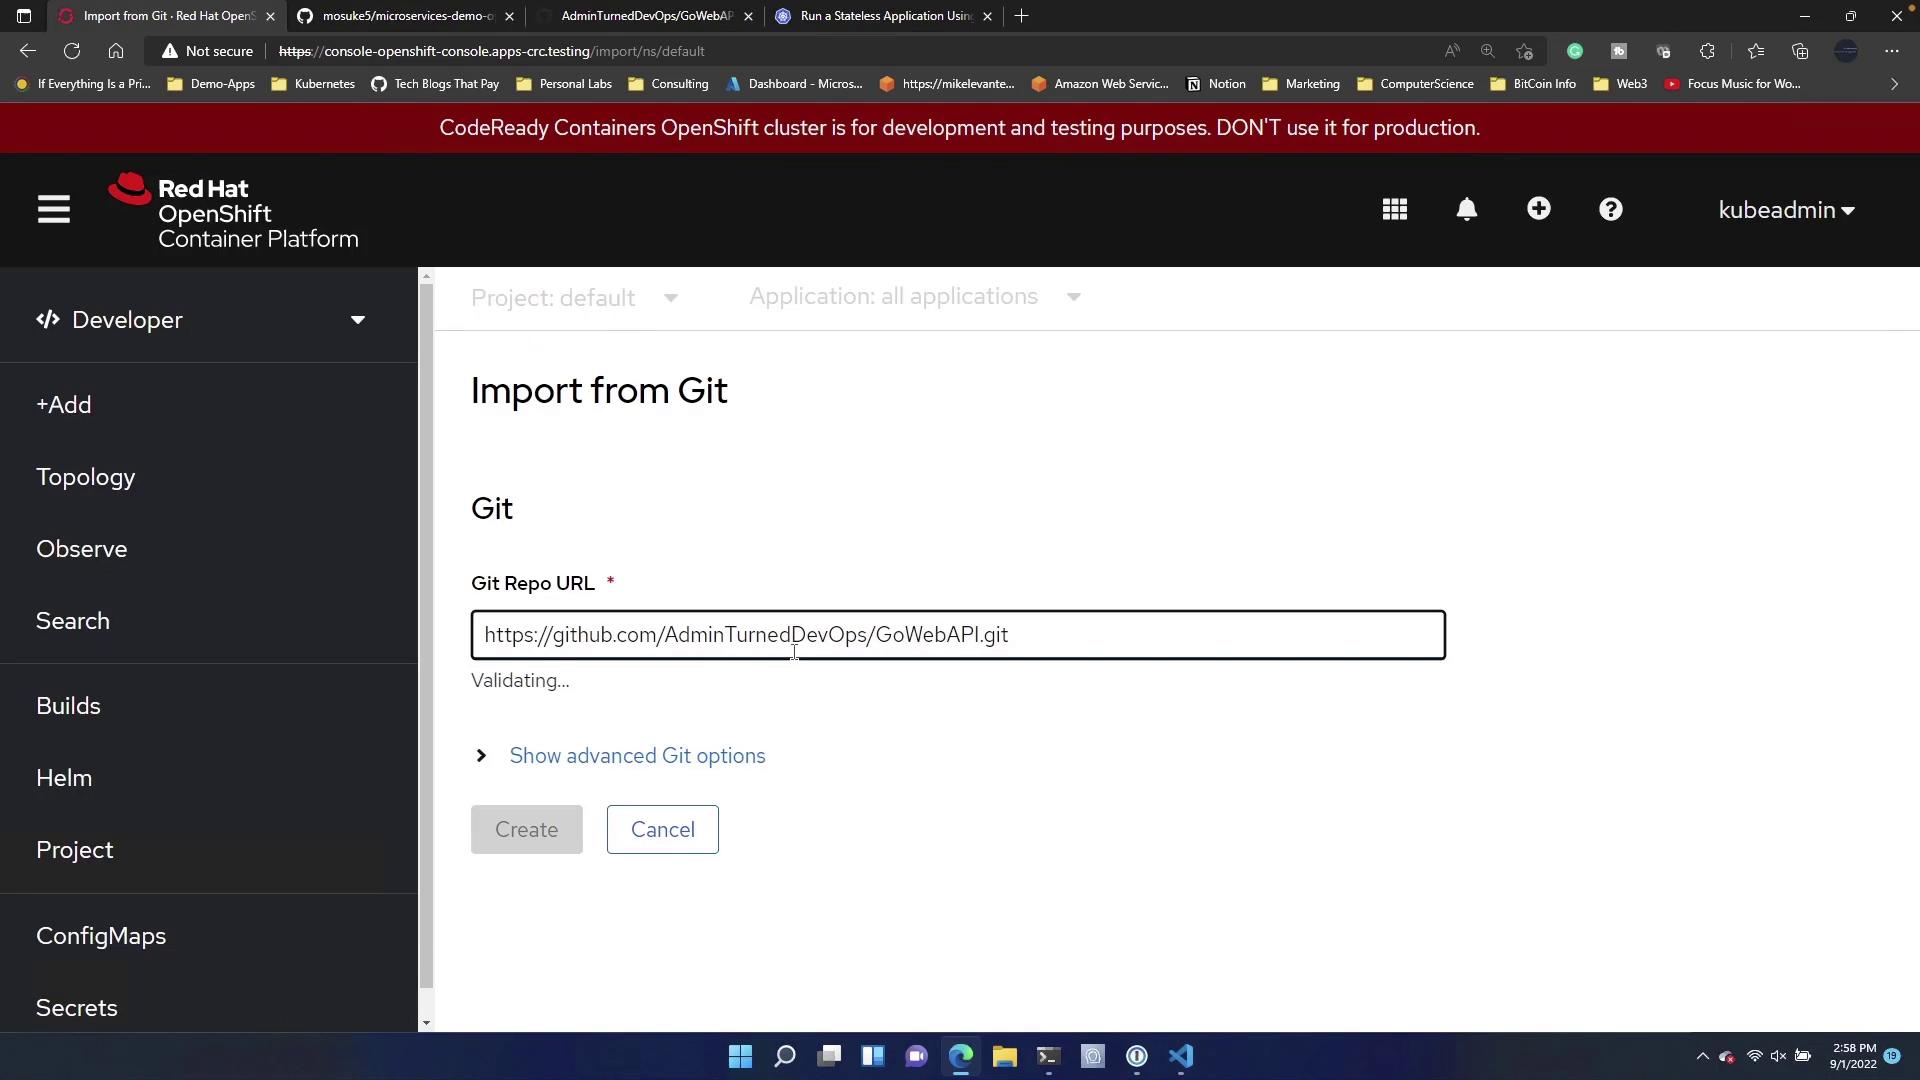
Copy the HTTPS link of the Git repository.
In the Developer view of the OpenShift web console, click Add, then scroll down to Git Repository.
Paste the Git repository URL. The web console will detect the Dockerfile in the repository and use it to build and deploy your application.
Provide a unique name for your application (e.g., GoWebAPI or goweb).
Configure additional settings such as the target port, which sets the exposed port of your application. OpenShift automatically creates a route—a public URL—so your application can be accessed externally.
After clicking Create, the build starts automatically. Once the build completes successfully, verify the pod status by navigating to Workloads > Pods.
Finally, check the Routes section under Networking. Click the route URL to confirm that the homepage displays “Welcome to the Go Web API!”—indicating your application is running properly.
This guide demonstrated two methods to deploy applications using the OpenShift web console:
Manually creating a deployment with a custom YAML manifest.
Importing an application directly from a Git repository, which automatically builds and deploys your code using the provided Dockerfile and configuration settings.
Both methods streamline deployment management and offer flexibility based on your project needs. In upcoming sections, we will discuss deploying full-blown applications via the terminal using kubectl.For more information on related topics, visit the following resources: