OpenShift 4
Openshift Concepts Projects and Users
Deploying applications CLI
If you're not already familiar with the Sock Shop app, you'll find it to be a robust microservices demonstration application. It deploys various deployments, services, databases, and more, simulating a real-world, multi-service architecture. This makes it an excellent choice for testing configurations in Kubernetes and OpenShift.
Deploying on Kubernetes
To deploy Sock Shop on Kubernetes, first create a dedicated namespace and then deploy the entire application using the following commands:
kubectl create namespace sock-shop
kubectl apply -f complete-demo.yaml
This procedure deploys several microservices that together form the full Sock Shop application. Once deployment completes, you should see a functional user interface displaying various components of the system.
Note
The Sock Shop app is widely used in Kubernetes demonstrations, making it a standard reference for multi-service architectures.
Deploying on OpenShift
For this lesson, we will deploy the Sock Shop microservices demo on OpenShift. Unlike the original Sock Shop manifests—which required full access to the Kubernetes API—the modified version for OpenShift is designed to run without needing cluster admin privileges.
Creating a New Project and Applying the Manifest
Start by creating a new project in OpenShift and apply the deployment manifest:
$ oc new-project sock-shop
$ oc apply -f complete-demo.yaml
deployment.extensions/carts-db created
service/carts-db created
deployment.extensions/carts created
service/carts created
Next, expose the frontend service:
$ oc expose service/front-end
route.route.openshift.io/front-end exposed
Verify the route configuration with:
$ oc get route
NAME       HOST/PORT                                          PATH      SERVICES   PORT    TERMINATION
front-end  front-end.sock-shop.apps.xxxxxxxxxxxxxx.com                  web
If you haven't already cloned the repository that contains the manifest, do so now. Then, navigate to the directory and deploy the application using:
oc apply -f .\complete-demo.yaml
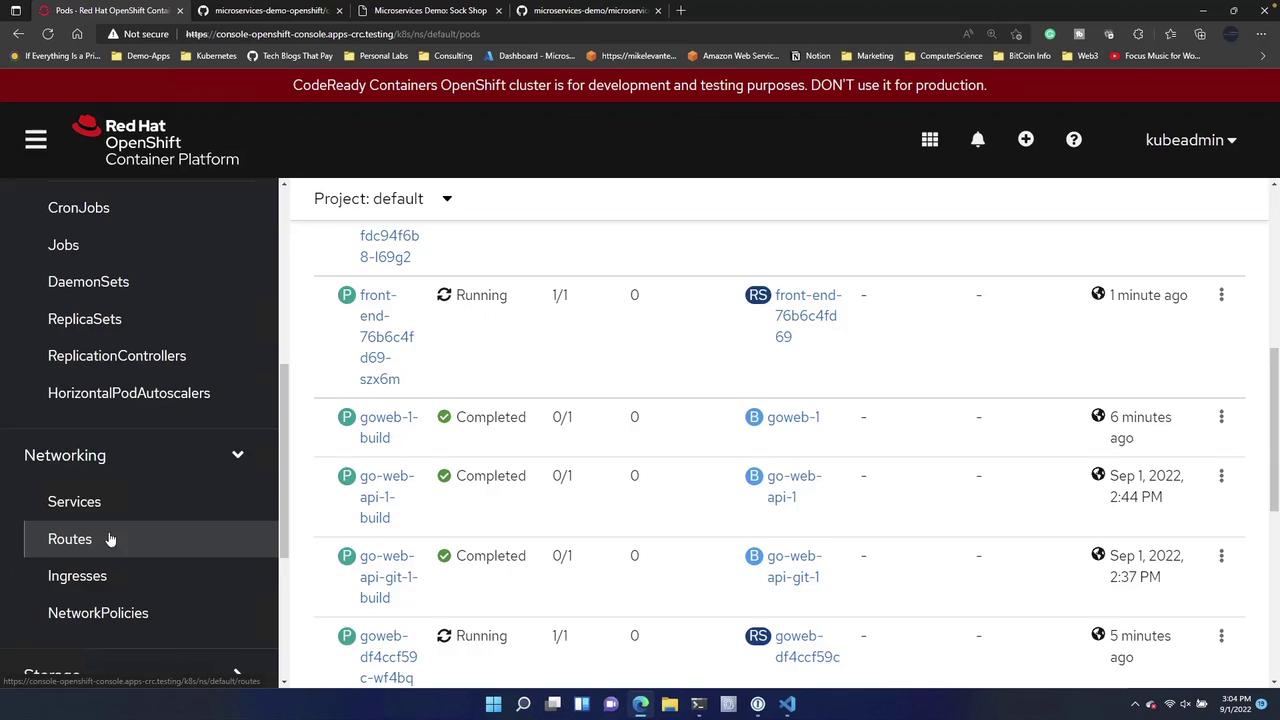
This YAML file defines several deployments and services that collectively bring the application online. Once successfully applied, refresh your OpenShift console. In the Workloads > Deployments section, you should see all key services—such as carts, carts-db, catalog, front-end, orders, orders-db, and others—deployed. In the Pods section, all required pods for the Sock Shop app will be listed.
Verifying the Application
To confirm the successful deployment, navigate to the Routes section in the OpenShift console and locate the route for the new front-end service. Opening this route in your browser should display the application interface, demonstrating that the deployment has been successful.
Using the CLI can significantly streamline the deployment process compared to the UI, especially if you are already familiar with commands like kubectl apply -f or oc apply -f.
For instance, running the deployment command again with the CLI will reapply the manifest:
oc apply -f .\complete-demo.yaml
The output should resemble the following, indicating that each component of the application (services, deployments, and routes) has been created:
service/catalogue created
deployment.apps/front-end created
service/front-end created
route.route.openshift.io/front-end created
deployment.apps/orders-db created
service/orders created
deployment.apps/payment created
service/payment created
deployment.apps/queue-master created
service/queue-master created
deployment.apps/rabbitmq created
service/rabbitmq created
deployment.apps/shipping created
service/shipping created
deployment.apps/user-db created
service/user created
deployment.apps/user created
service/user created
Tip
For rapid deployments and iterative configurations, the CLI method using oc apply -f is highly efficient.
Alternative Deployment Methods
There are several ways to deploy the Sock Shop application on OpenShift:
- Directly via the OpenShift UI.
- From a linked Git repository.
- Directly from the terminal using the CLI, as demonstrated above.
Each method adheres to similar workflows. It’s beneficial to explore all approaches to become well-versed in standard deployment processes and determine which method best suits your workflow.
Happy deploying!
Watch Video
Watch video content