Understanding Projects
Once your OpenShift cluster is up and running—with both UI and CLI access—you can start exploring its core concepts. OpenShift projects are essential for organizing and managing resources efficiently. They allow teams to work in isolation, even in a consolidated environment where resources are shared. Consider a large Kubernetes cluster handling hundreds of deployments, pods, and services. In such environments, multiple teams might inadvertently have resource conflicts or unwanted access to each other’s deployments. OpenShift projects mitigate these risks by grouping resources and enforcing isolation. Under the hood, projects in OpenShift are implemented as Kubernetes namespaces. When a project is created, Kubernetes automatically prefixes resource names for basic grouping, while OpenShift ensures full grouping and isolation in a seamless manner. Below is a diagram that illustrates how multiple projects are structured. In this image, each project contains a service called “teamX.myservice” connected to various components (shown as red cubes), with servers arranged in a row at the bottom.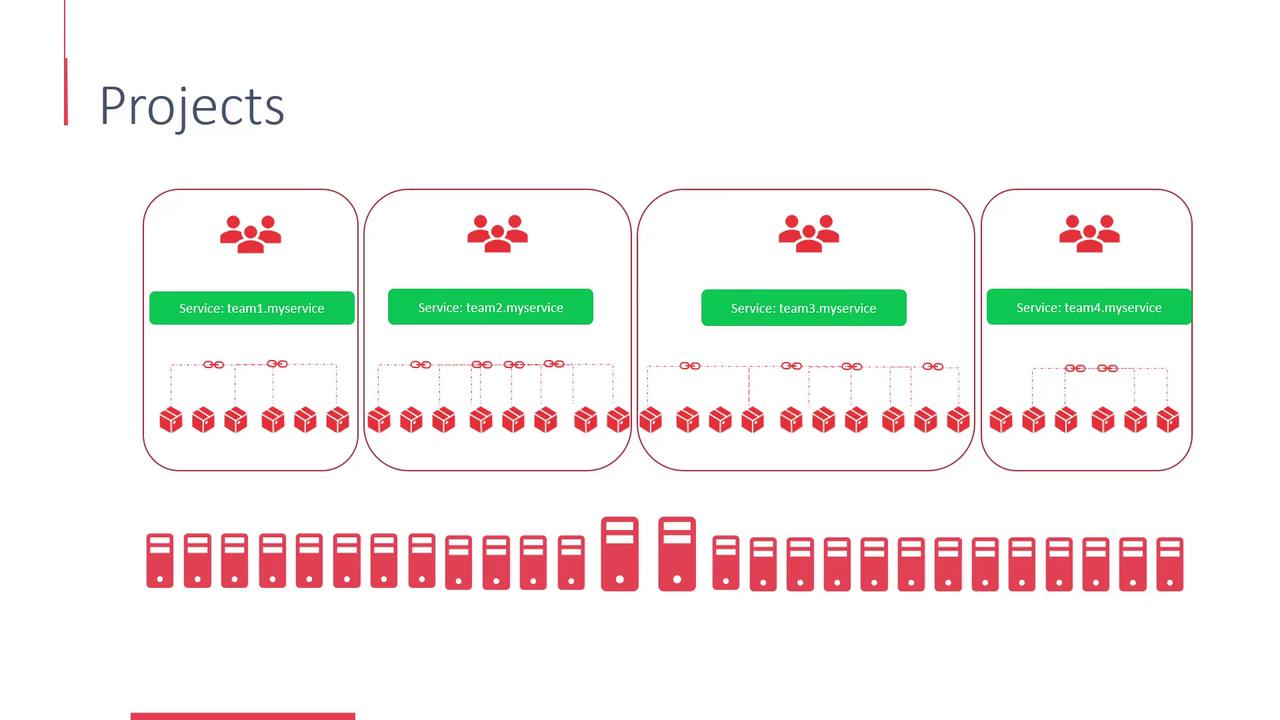
User Management in OpenShift
OpenShift features robust user management capabilities by categorizing users into three primary types:-
Regular Users:
These are everyday users such as developers who interact with the platform to deploy and maintain applications. An example of a regular user is the typical “developer” account. -
System Users:
These are specialized accounts designated for managing the infrastructure. They include cluster administrators and node-specific users. By default, OpenShift creates several system accounts (e.g., “system:admin”, “system:master”). These accounts use asystem:prefix to distinguish them from regular user accounts. -
Service Accounts:
Service accounts are used within projects to enable secure communication between internal application components. For instance, a web server might use a service account to connect to a database. These accounts are automatically prefixed withsystem:serviceaccount.
Understanding the differences between these user types is crucial for setting up proper access control and ensuring your cluster remains secure.
OAuth and User Authentication
OpenShift integrates an OAuth server directly into the Master, which governs user authentication and authorization. This approach simplifies login processes and secures access to your cluster. In simple deployments, such as when using Minishift in an all-in-one mode, OpenShift is configured with an “allow-all” identity provider. This means any user can log in using any password, and if a user doesn’t exist, OpenShift will automatically create the account on the first login. Note that in this configuration, the password is not actually validated. For more secure environments, the “deny-all” identity provider is the default. Here, no user can access the cluster unless an administrator explicitly creates and enables their account. If you need to modify these settings, you can update the master configuration at/etc/openshift/master/master-config.yaml.
The following diagram outlines the behavior of the OAuth server for both “Allow All” and “Deny All” configurations. It also highlights the location of the master configuration file.
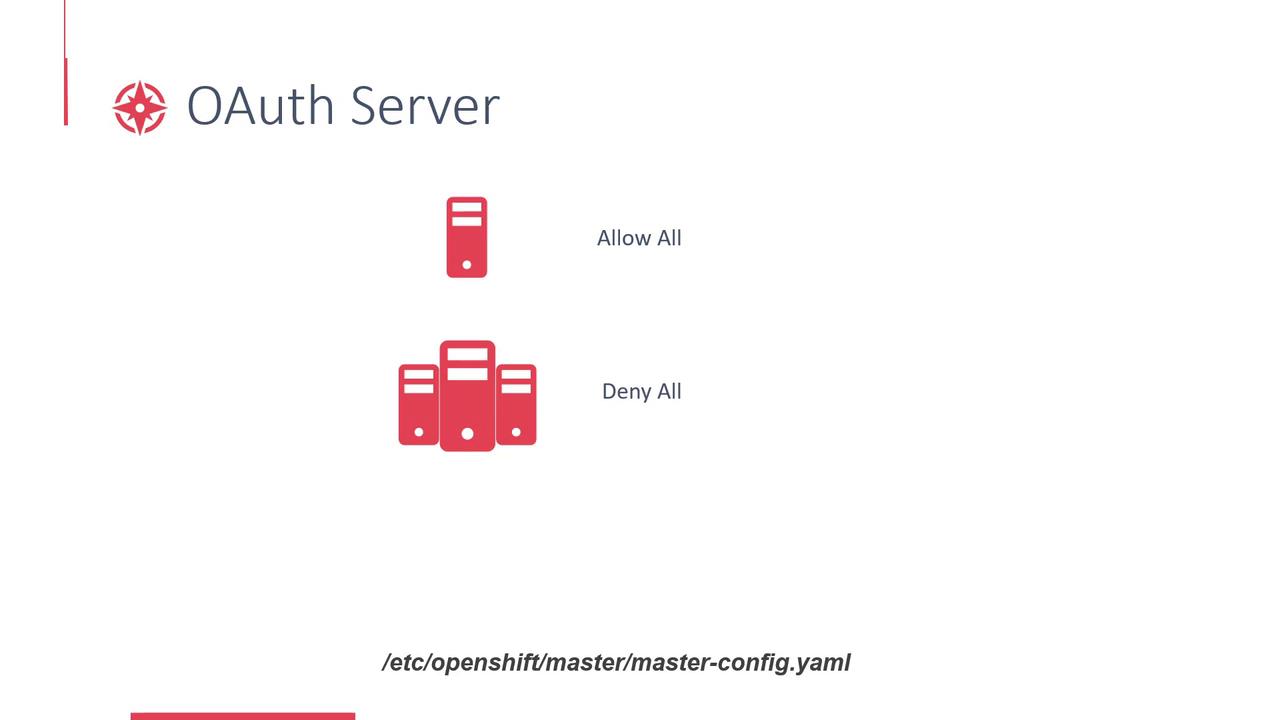
In production environments, always opt for a secure identity provider configuration to prevent unauthorized access.