OpenShift 4
Openshift Concepts Projects and Users
Demo Projects and Users
Welcome to this in-depth lesson on managing projects and users in OpenShift. In this guide, we will explore how to use both the command-line interface (CLI) and the web console to manage your OpenShift environment effectively.
Logging into the CLI
In this section, you will learn how to log in to the OpenShift CLI using the system administrator credentials. Although we have previously discussed creating a project via the user interface, we now focus on accessing and managing your environment through the CLI.
Log in with the following command using the username "system:admin":
c:\minishift-1.16.1-windows-am64> oc login -u system:admin
Logged into "https://192.168.99.102:8443" as "system:admin" using existing credentials.

You have access to the following projects and can switch between them with 'oc project <projectname>':

  * default
  kube-public
  kube-system
  myproject
  openshift
  openshift-infra
  openshift-node
  openshift-web-console

Using project "myproject".
c:\minishift-1.16.1-windows-am64>
Since this is a Minishift deployment, a password is not required and you are logged in directly. The CLI displays a list of default projects created when the OpenShift cluster is first set up.
Viewing Users in the System
To view the users currently configured on the system, run the following command. Notice that in this demonstration, we are logged in using a developer account on the web console:
c:\minishift-1.16.1-windows-amd64>oc get users
NAME        UID
developer   758ed92d-4c3b-11e8-8098-e2e0de05d311
c:\minishift-1.16.1-windows-amd64>
If you examine the identity configuration, you will see that it uses the "anypassword" identity provider. This provider accepts any password, which is the default setting for a Minishift deployment.
c:\minishift-1.16.1-windows-amd64>oc get users
NAME      UID                                  FULL NAME   IDENTITIES
developer 758ed92d-4c3b-11e8-8098-e2e0dee5d311 anypassword:developer
c:\minishift-1.16.1-windows-amd64>
Managing Multiple Users and Projects
Next, log in to the developer console with another user (for example, "developer2") using the anypassword provider. After this login, return to the CLI and run the users command again. You will now see that a new user has been created.
Switch back to the original developer user and create a new project:
c:\minishift-1.16.1-windows-amd64>oc get users
NAME          UID
developer     758ed92d-4c3b-11e8-8098-e2e0de05d311

c:\minishift-1.16.1-windows-amd64>oc get users
NAME          UID
developer     758ed92d-4c3b-11e8-8098-e2e0de05d311
developer2    ba585475-4c43-11e8-8098-e2e0de05d311
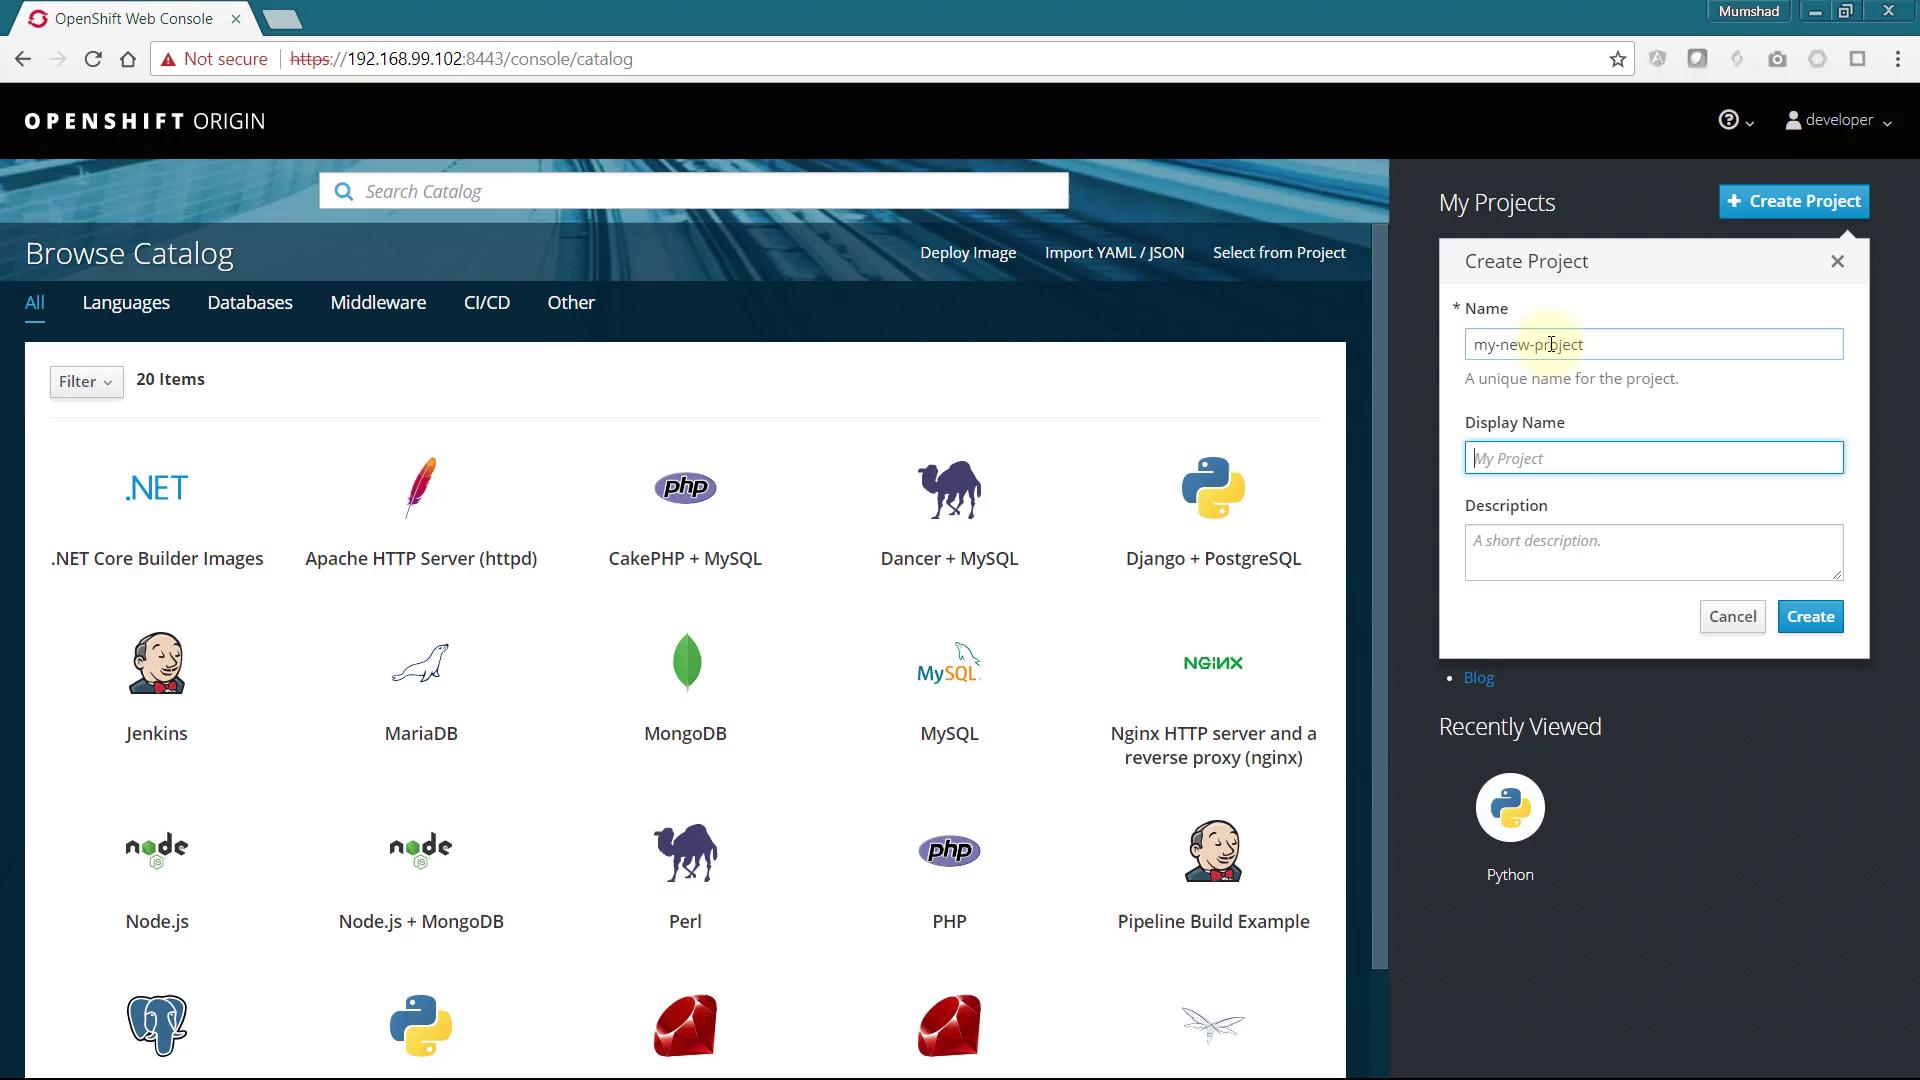
To create a new project via the web console, click the Create Project button. Enter a project name and display name, then click Create.
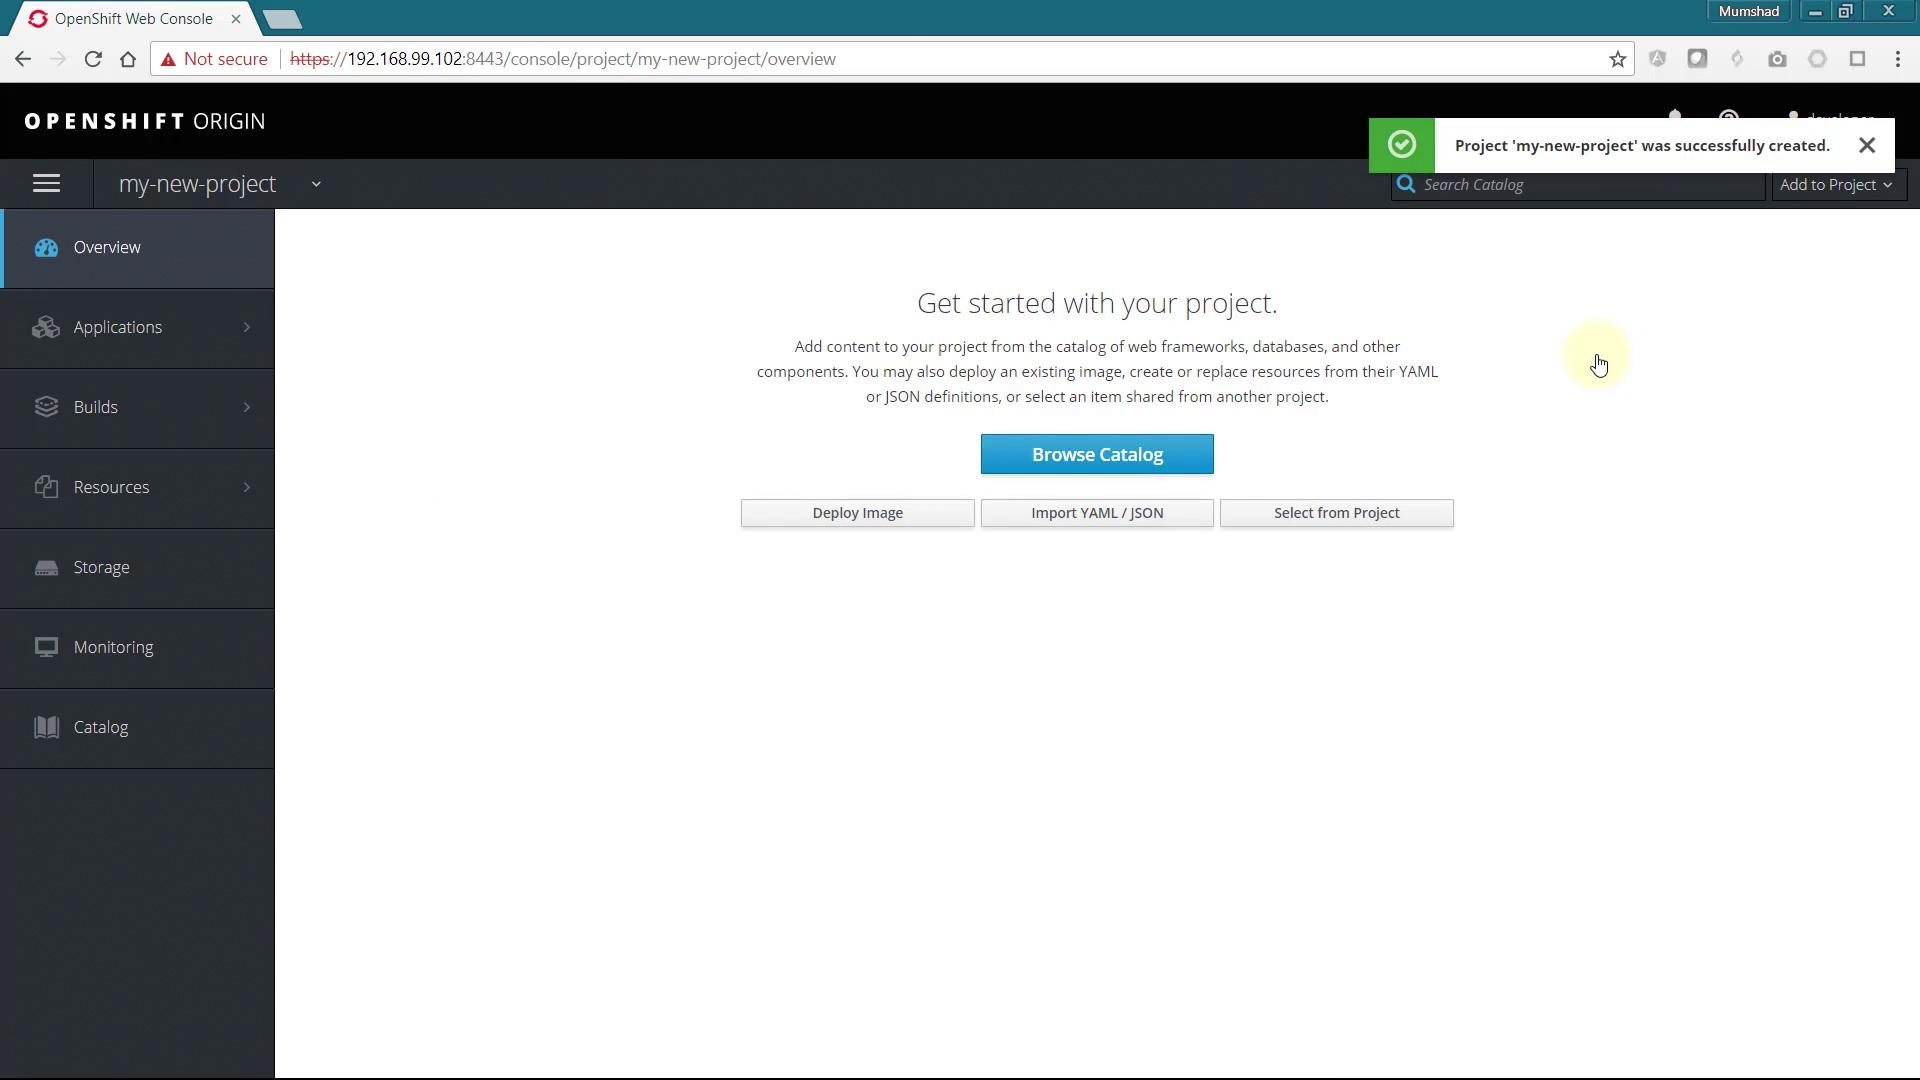
After creating your project, click on it to view its console window. Here, you'll have access to additional details about the deployed applications.
::: note Default Projects Remember that OpenShift automatically creates a set of default projects when the cluster is initially set up. :::
Viewing Default Projects via the CLI
The CLI displays all projects when logged in as the system admin user. However, to view these projects within the web console, you must be logged in as a system administrator. Use the following CLI command to log in again as "system:admin":
c:\minishift-1.16.1-windows-amd64>oc login -u system:admin
Logged into "https://192.168.99.102:8443" as "system:admin" using existing credentials.

You have access to the following projects and can switch between them with 'oc project <projectname>':
  *
  default
  kube-public
  kube-system
  * myproject
  openshift
  openshift-infra
  openshift-node
  openshift-web-console

Using project "myproject".
c:\minishift-1.16.1-windows-amd64>oc get pro
::: warning Web Console Login Logging in to the web console using a system admin user is not permitted because system users do not have access through the UI. :::
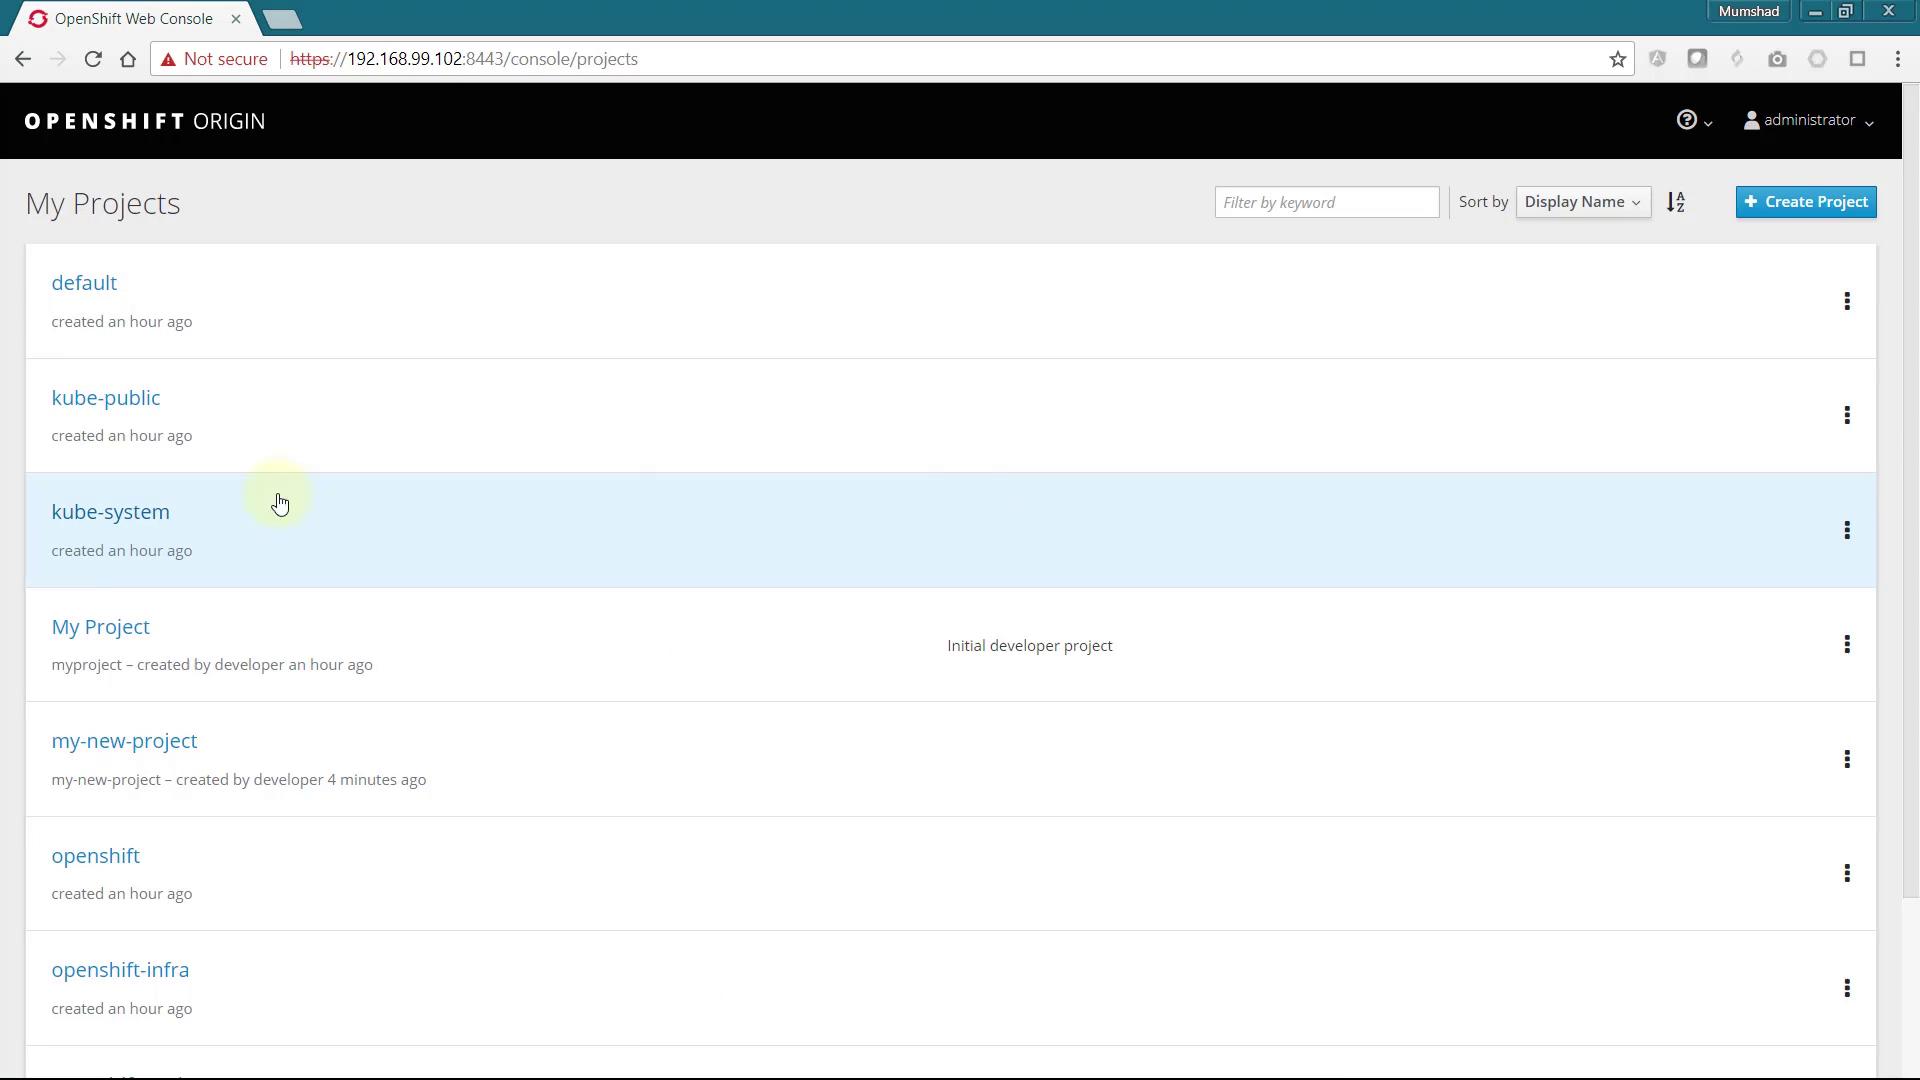
Granting Cluster Administrator Privileges
To view all projects in the web console, create a new user and assign cluster administrator privileges. For this demonstration, we use the username "Administrator." When you log in with this new username, the system will automatically create the user using the anypassword identity provider.
Grant the new user cluster administrator privileges with the following command:
c:\minishift-1.16.1-windows-am64>oc adm policy add-cluster-role-to-user cluster-admin administrator
cluster role "cluster-admin" added: "administrator"
After assigning the role, verify the list of users again:
c:\minishift-1.16.1-windows-am64>oc get users
NAME          UID
developer     758ed92d-4c3b-11e8-8098-e2e0de05d311
developer2    ba585475-4c43-11e8-8098-e2e0de05d311

c:\minishift-1.16.1-windows-am64>oc get users
NAME          UID
administrator 4343777b-4c44-11e8-8098-e2e0de05d311
developer     758ed92d-4c3b-11e8-8098-e2e0de05d311
developer2    ba585475-4c43-11e8-8098-e2e0de05d311
When you log in to the web console using the newly created administrator account, you will be able to view all available projects and explore their configurations.
Conclusion
This lesson has detailed the process of managing projects and users in OpenShift. By leveraging both the CLI and the web console, you can efficiently administer your OpenShift cluster, manage access, and explore the various projects and configurations available in your environment. Enjoy managing your OpenShift projects and users!
For more detailed information, please refer to the OpenShift Documentation.
Watch Video
Watch video content