This article provides a hands-on tutorial for deploying and scaling applications in OpenShift, focusing on a simple web application example.
Hello and welcome to this comprehensive lesson on scaling applications in OpenShift. In this guide, we will demonstrate how to deploy a simple web application, scale it up or down, and observe the impact on routes. This hands-on tutorial is ideal for beginners who want to understand OpenShift scaling concepts.
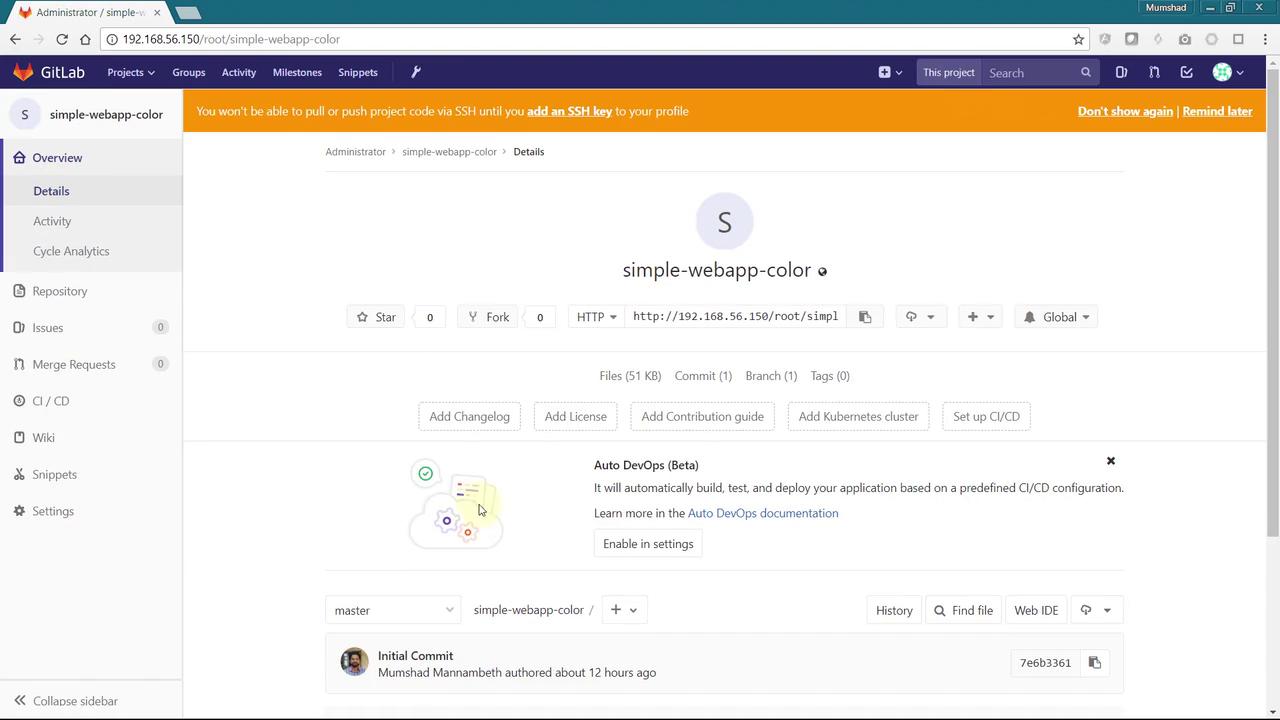
We are using a colorful application named “simple-webapp-color.” This application, hosted in a Git repository, displays a web page with a randomly selected background color upon its first startup.
The following Python code snippet outlines the application’s implementation using Flask:
Copy
import osfrom flask import Flask, render_templateimport socketimport randomapp = Flask(__name__)color_codes = { "red": "#e74c3c", "green": "#16a085", "blue": "#2980b9", "pink": "#e91e63", "darkblue": "#1f3f40", "blue2": "#3498db" # Added a definition for 'blue2' to ensure technical accuracy}color = os.environ.get('APP_COLOR') or random.choice(list(color_codes.keys()))@app.route("/")def main(): print(color) return render_template('hello.html', name=socket.gethostname(), color=color_codes[color])@app.route('/color/<new_color>')def new_color(new_color): if new_color in color_codes: return render_template('hello.html', name=socket.gethostname(), color=color_codes[new_color]) return "Color not defined", 404if __name__ == "__main__": app.run(host="0.0.0.0", port=8080)
Deploying multiple instances of this application means that each instance may display a different background color.
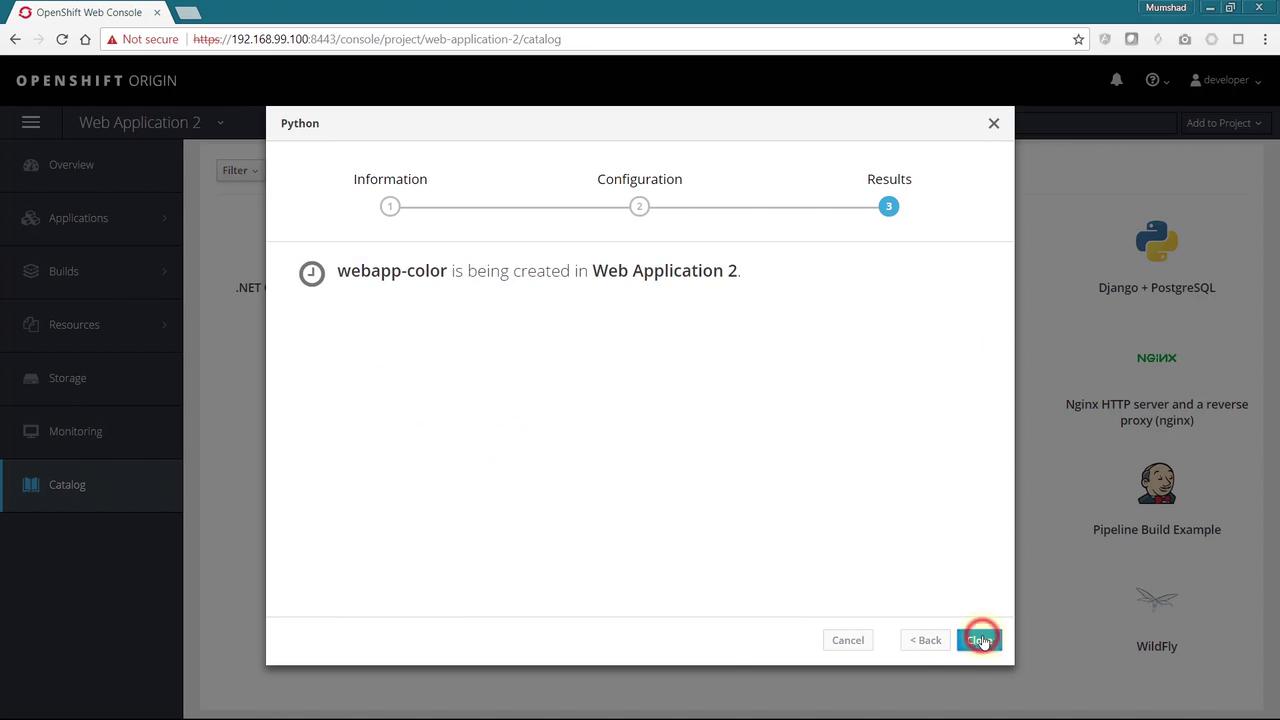
Next, navigate to your OpenShift cluster and create a new project to host the application. Add a new Python app to the project, assign a unique name, and link the Git repository containing your code. Once you click “Create,” the application deployment begins.
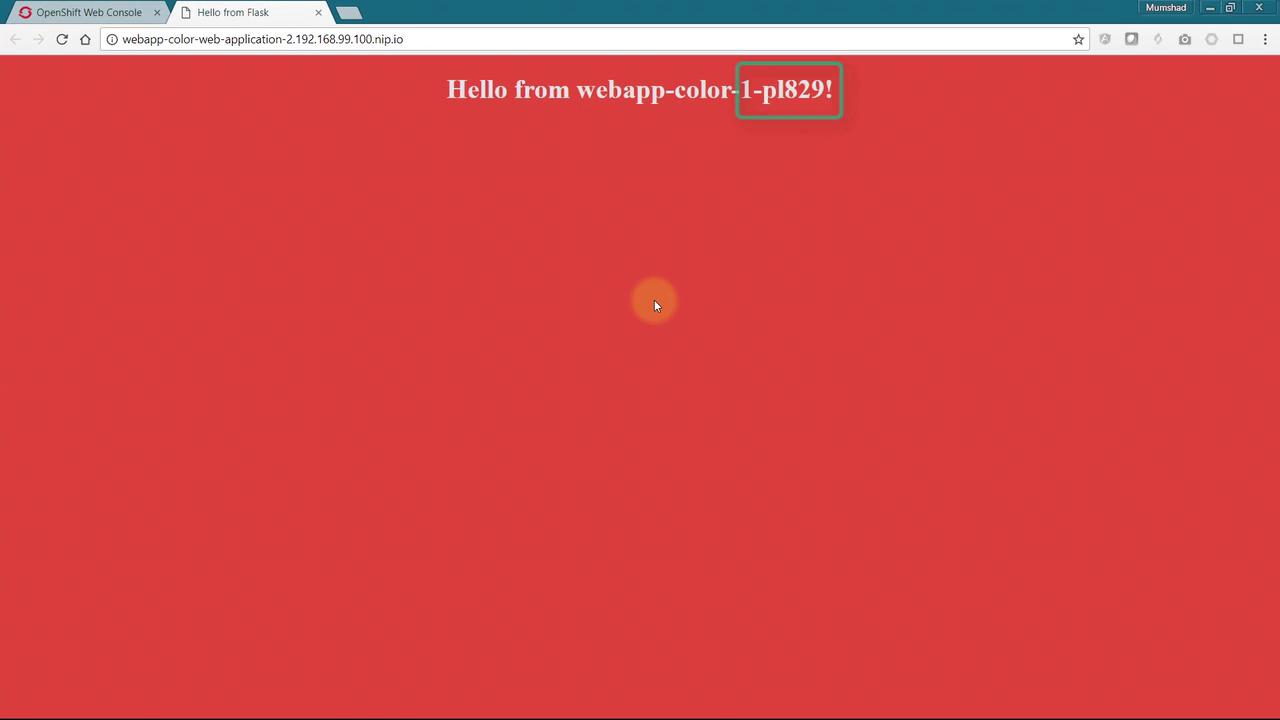
After deployment completes, the application becomes accessible through a provided route in your browser. Initially, you should see a red background along with the name of the host running the application.
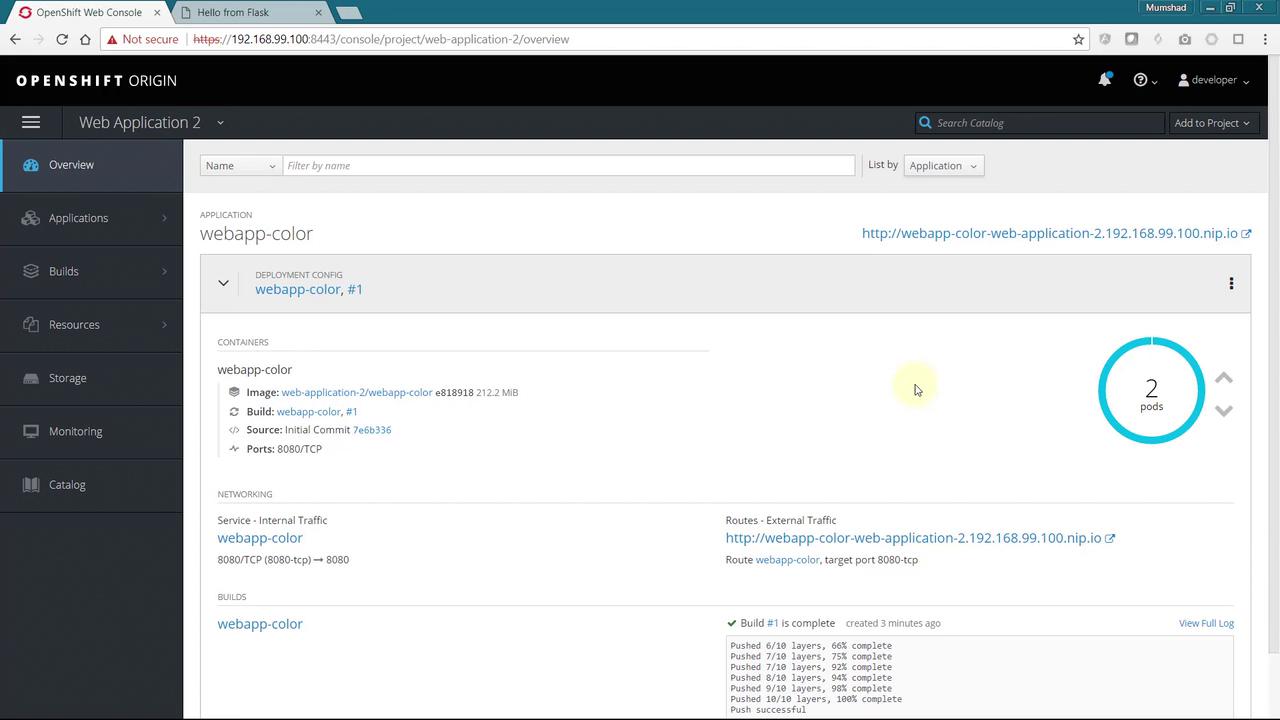
To scale the application, click the up arrow in the OpenShift web console to increase the number of replicas. This action adds a new replica that automatically joins the service based on the deployment configuration’s selector. Consequently, the incoming load is distributed among all available pods.
When you access the application using an incognito browser window, you’ll see that the page served originates from the new replica—now displaying a dark blue background—while the original window continues to show the initial replica. This behavior confirms that requests are being directed to specific instances based on session persistence.
This behavior is a result of sticky sessions, which by default are implemented using the source load balancing strategy on the route. The user’s IP address is recorded, ensuring subsequent requests are sent to the same application instance.
To distribute traffic more evenly across your application instances, you need to update the load balancing strategy and disable session cookies. This configuration change ensures that incoming requests are distributed via a round-robin mechanism rather than being sticky to one instance.In the OpenShift web console, select your application route and choose “Edit YAML.” Under the Annotations section, add the following properties:
After saving the configuration, refresh your browser. You will now observe a round-robin distribution, with each request being directed to a different application instance. Adjusting the number of replicas will scale your application up or down as needed.
In this lesson, you learned how to deploy and scale a web application in OpenShift, manage sessions with different load balancing strategies, and modify route configurations to improve traffic distribution. Scalable application deployment is fundamental in managing execution loads and ensuring balanced resource usage.We hope you found this tutorial helpful. Continue exploring OpenShift for more advanced scaling and deployment techniques!Happy scaling!