This guide demonstrates managing storage in OpenShift, covering provisioning persistent volumes and claiming them within projects for effective data storage.
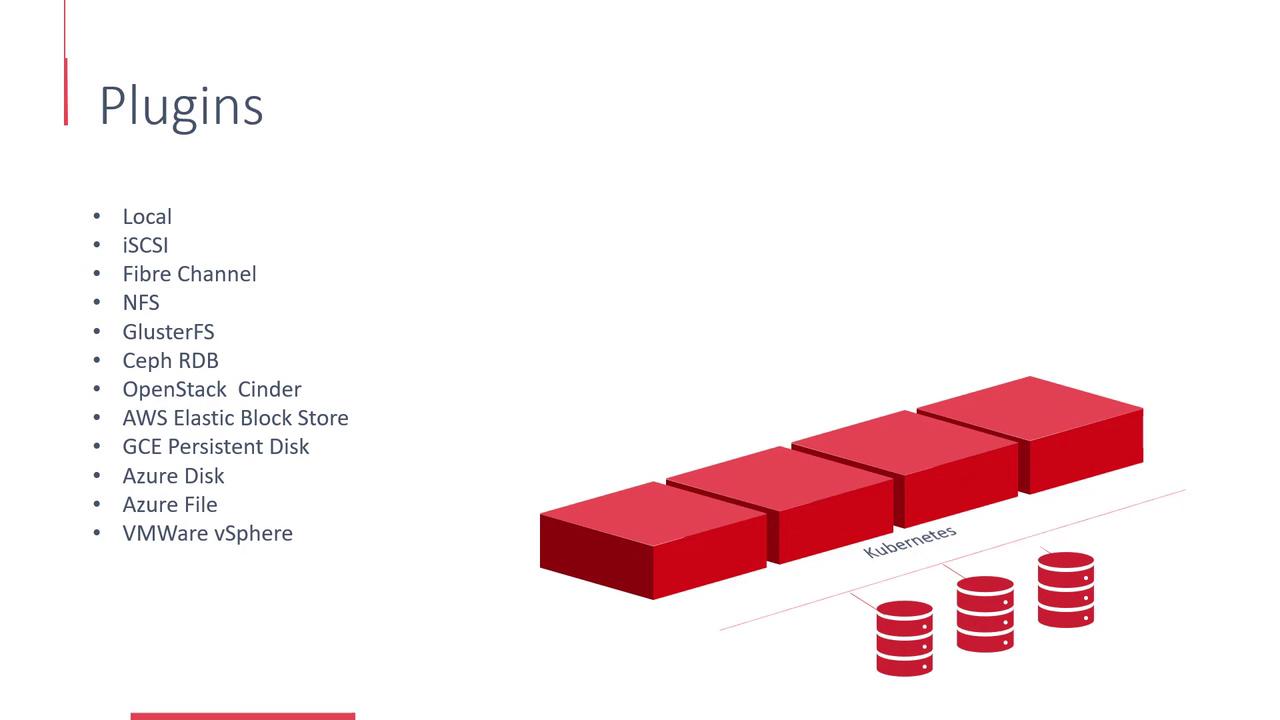
Welcome to this in-depth article on storage management in OpenShift. Here, we explore how OpenShift uses Kubernetes’ Persistent Volume framework to ensure that data outlasts the lifecycle of transient Docker containers.Docker containers are inherently transient, meaning that data stored inside them is lost once they are terminated. To preserve important data, OpenShift attaches a persistent volume at container creation, ensuring that processed data is stored permanently.OpenShift provisions storage using the Kubernetes Persistent Volume (PV) framework and supports a wide range of plugins and platforms. Storage can be provisioned with plugins such as Local, iSCSI, Fibre Channel, and NFS, or through platforms like ClusterFS, Ceph RBD, OpenStack Cinder, AWS Elastic Block Store, Azure Disk, Azure File, and VMware vSphere.
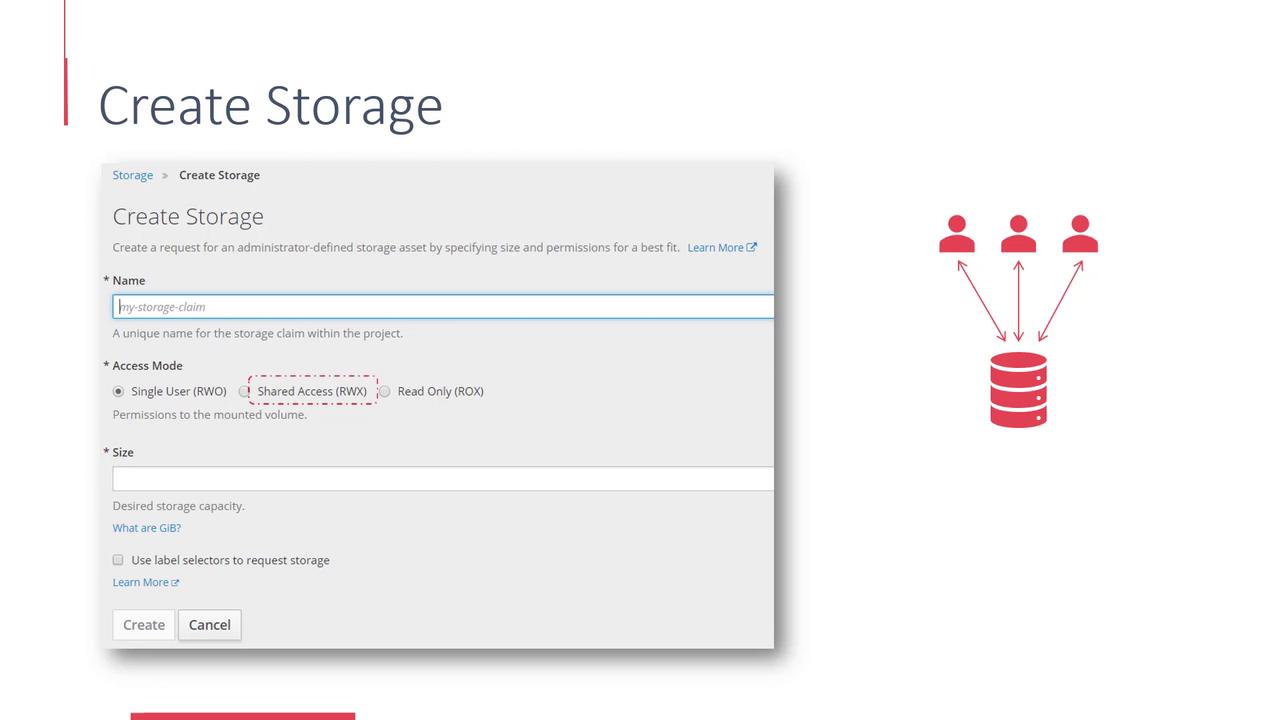
The available storage resources in the OpenShift cluster form a consolidated pool of persistent volume resources. Projects can claim parts of this pool by creating Persistent Volume Claims (PVCs), which are subsequently used by pods as their persistent storage.To create storage, navigate to the OpenShift web console and click the Create Storage button.
Within the Create Storage interface, follow these steps:
Specify the Storage Claim Name
Enter a unique name for your storage claim.
Select an Access Mode
Choose from the following access modes:
Single user mode: The volume can be mounted as read-write by a single node only.
Shared access mode: The volume can be mounted by multiple nodes for read-write access.
Read-only mode: The volume can be mounted by multiple nodes, but only for read access.
Set the Required Size
Define the storage capacity required for your persistent volume claim.
Once the persistent volume claim is created, attach it to your pods by adding a volume reference in the deployment configuration.
This guide demonstrates the process of managing storage in an OpenShift cluster, from provisioning persistent volumes to claiming them within projects. By understanding these steps, you can effectively plan and implement persistent data storage in your containerized environments.Happy provisioning!