OpenShift 4
Networks Services Routes and Scaling
Demo HPA
In this guide, we explore two primary methods for autoscaling applications in OpenShift: using the terminal command and configuring a Horizontal Pod Autoscaler (HPA) through a YAML manifest. These methods ensure your deployment scales dynamically based on workload demands.
Autoscaling with the Terminal Command
To quickly autoscale a deployment from the terminal, use the oc autoscale
command. This command requires you to specify the deployment name along with the minimum and maximum number of replicas.
For instance, to autoscale the "image-registry" deployment, execute:
oc autoscale deployment/image-registry --min=5 --max=7
After running the above command, open the OpenShift console and navigate to Workloads → Deployments. You will see a list similar to the one below:
In real-world scenarios, multiple deployments may run simultaneously. For example, if your "front-end" deployment experiences heavy traffic and initially runs with only one pod, you can scale it by executing:
oc autoscale deployment/front-end --min=2 --max=7
Once this command is executed and the console is refreshed, you will observe that the "front-end" deployment now meets the minimum requirement of two pods. The autoscaler will further scale up to seven pods if necessary.
Note
Autoscaling via the terminal command offers a quick and effective way to adjust resources in response to varying traffic loads.
Configuring a Horizontal Pod Autoscaler with a YAML Manifest
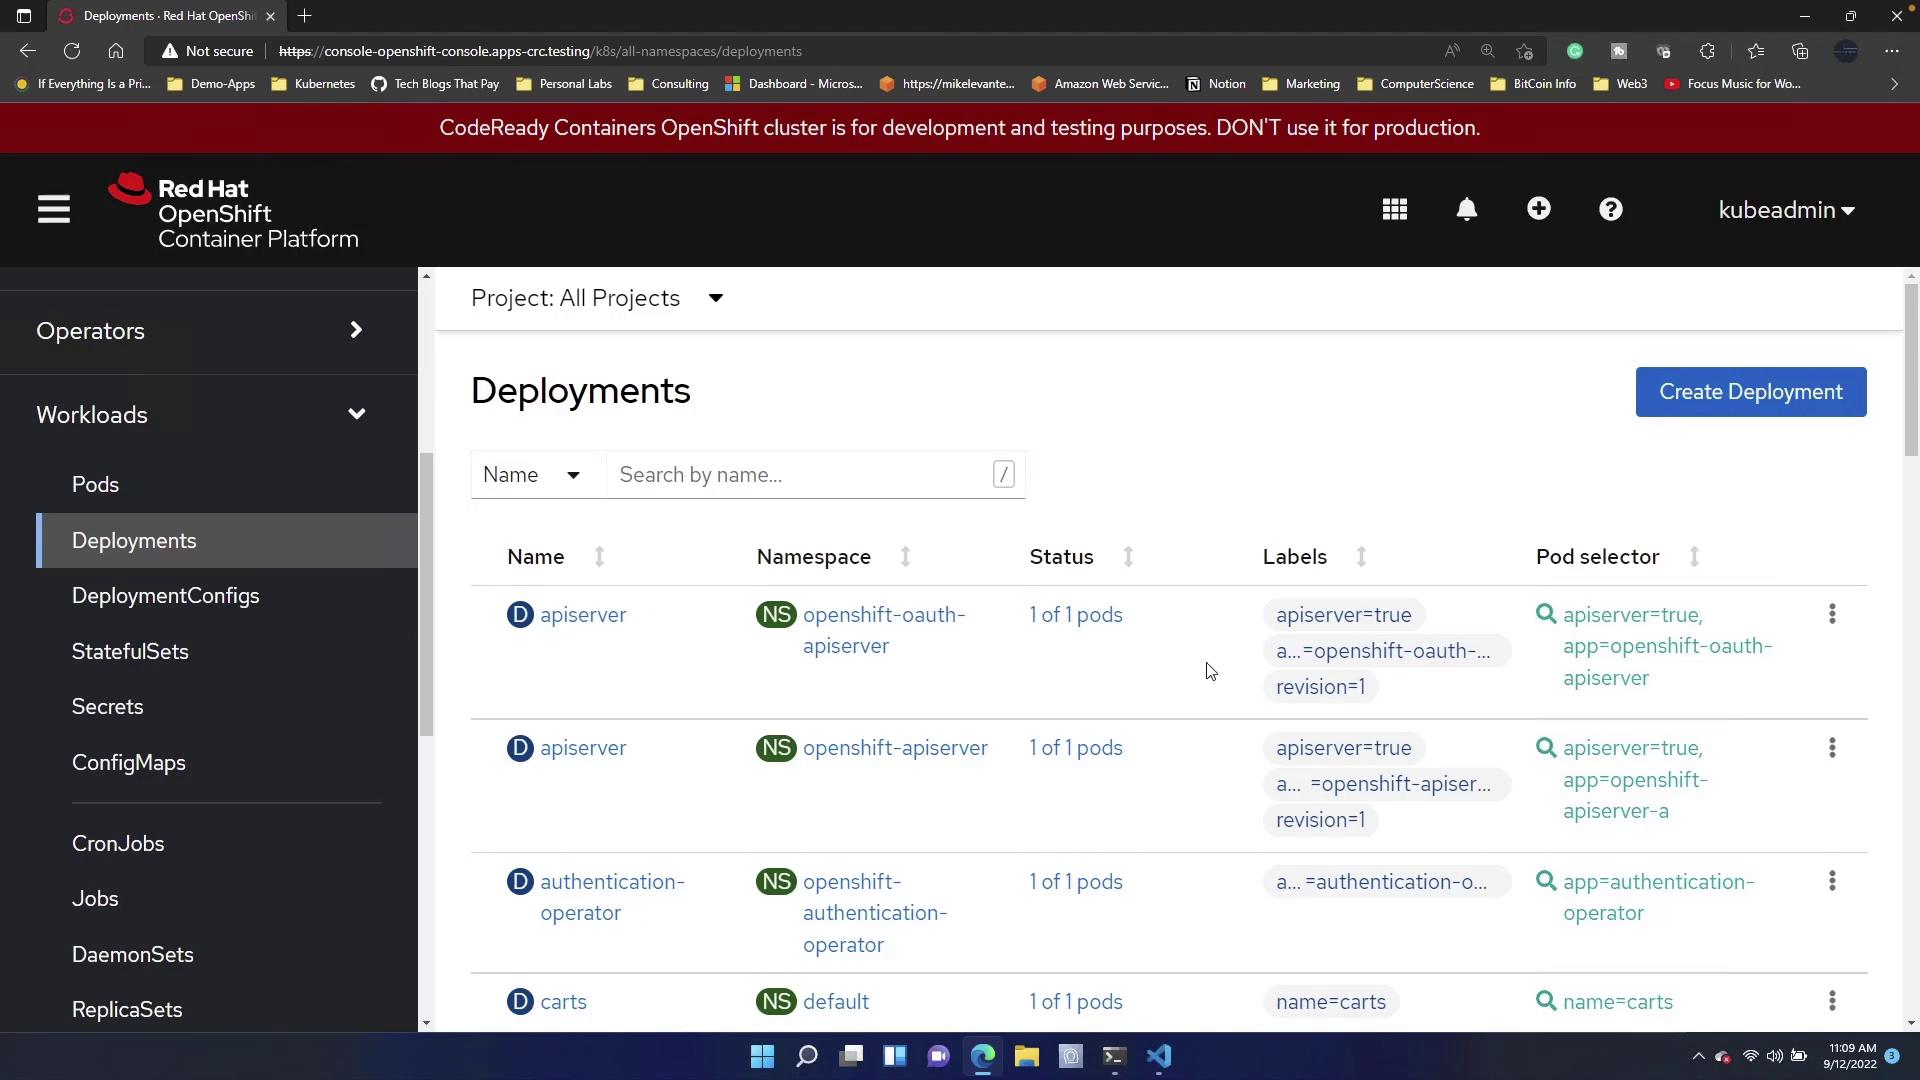
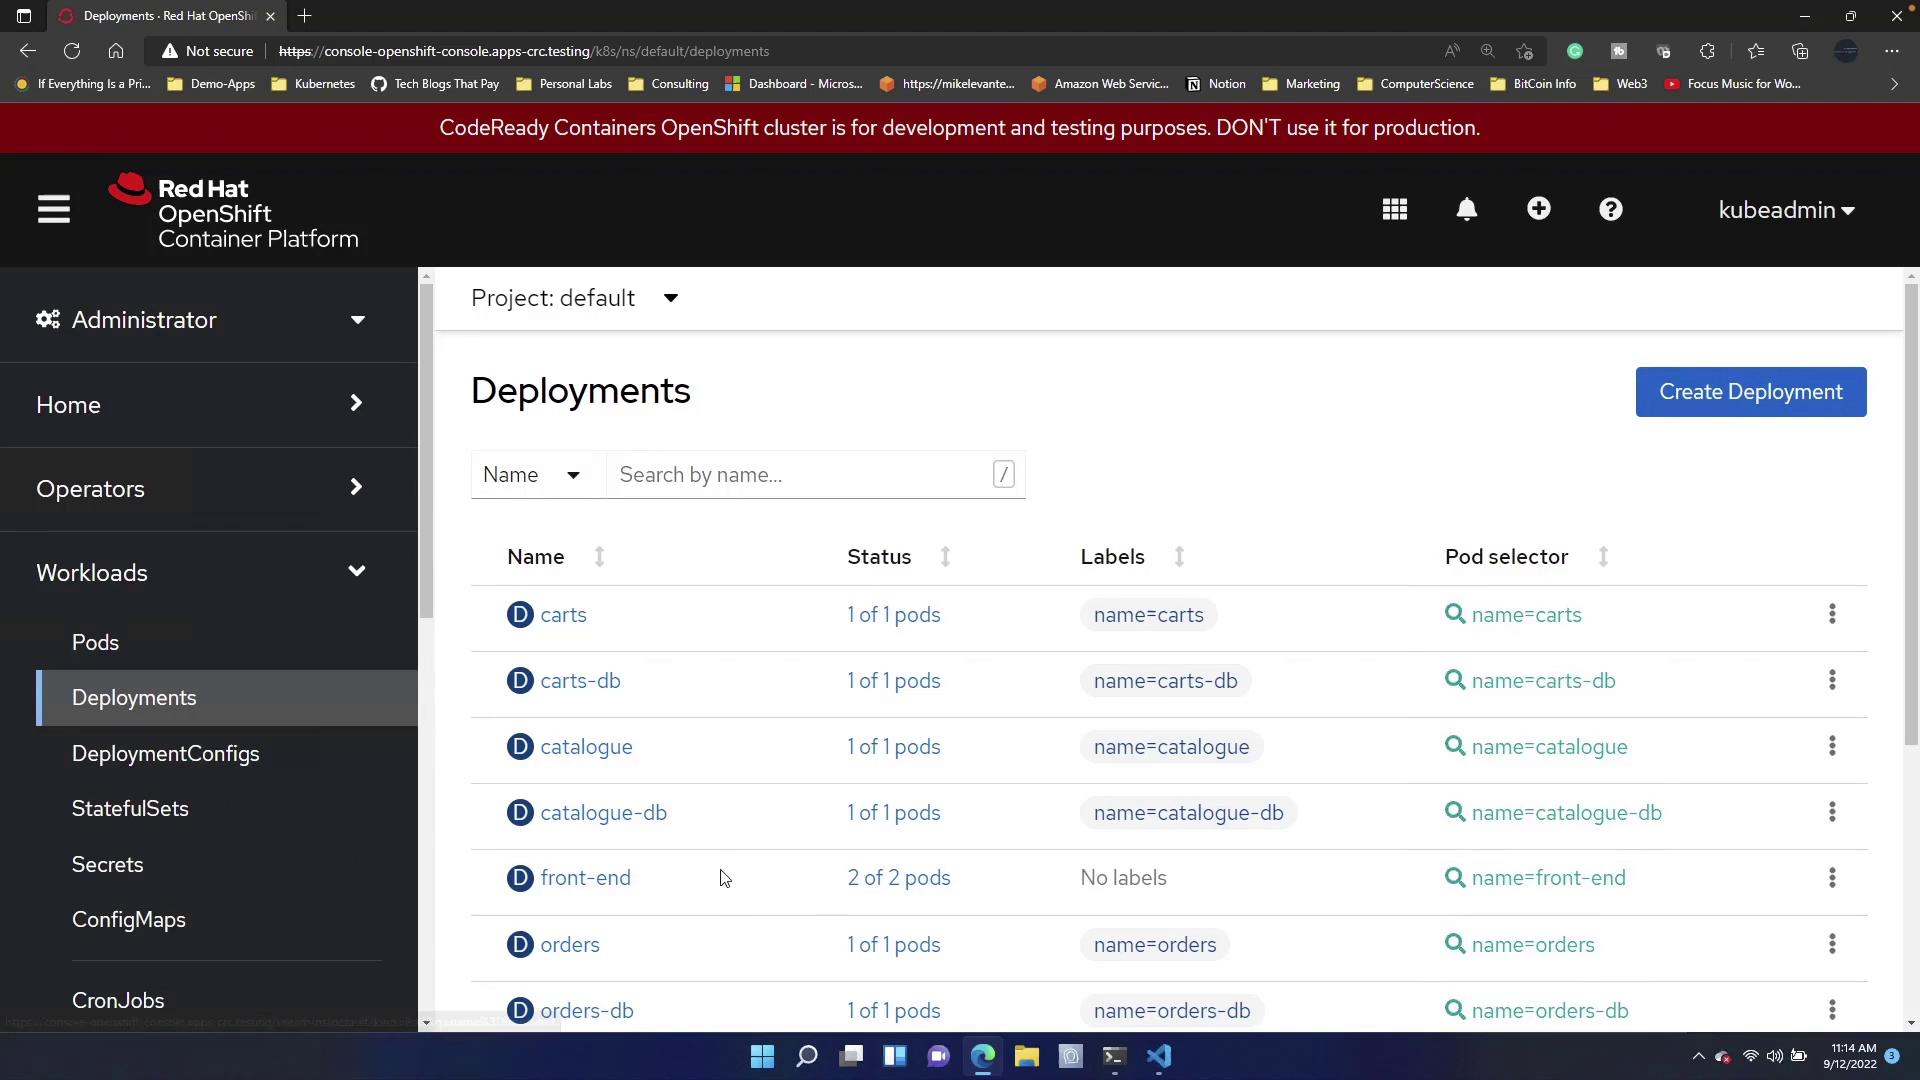
Defining autoscaling via a YAML manifest provides a declarative approach to managing deployment resources. Start by navigating to the Deployments section in the OpenShift console, click on Create New Deployment, and clear the pre-filled template. Then, insert the following manifest for the "image-registry" deployment:
name: image-registry
namespace: default
spec:
maxReplicas: 7
minReplicas: 3
scaleTargetRef:
apiVersion: apps/v1
kind: Deployment
name: image-registry
targetCPUUtilizationPercentage: 75
status:
currentReplicas: 5
desiredReplicas: 0
To apply autoscaling to the "front-end" deployment, adjust the manifest accordingly:
apiVersion: autoscaling/v1
kind: HorizontalPodAutoscaler
metadata:
name: front-end
namespace: default
spec:
maxReplicas: 7
minReplicas: 3
scaleTargetRef:
apiVersion: apps/v1
kind: Deployment
name: front-end
targetCPUUtilizationPercentage: 75
Manifest Breakdown
- apiVersion and kind: Define the resource as a Horizontal Pod Autoscaler.
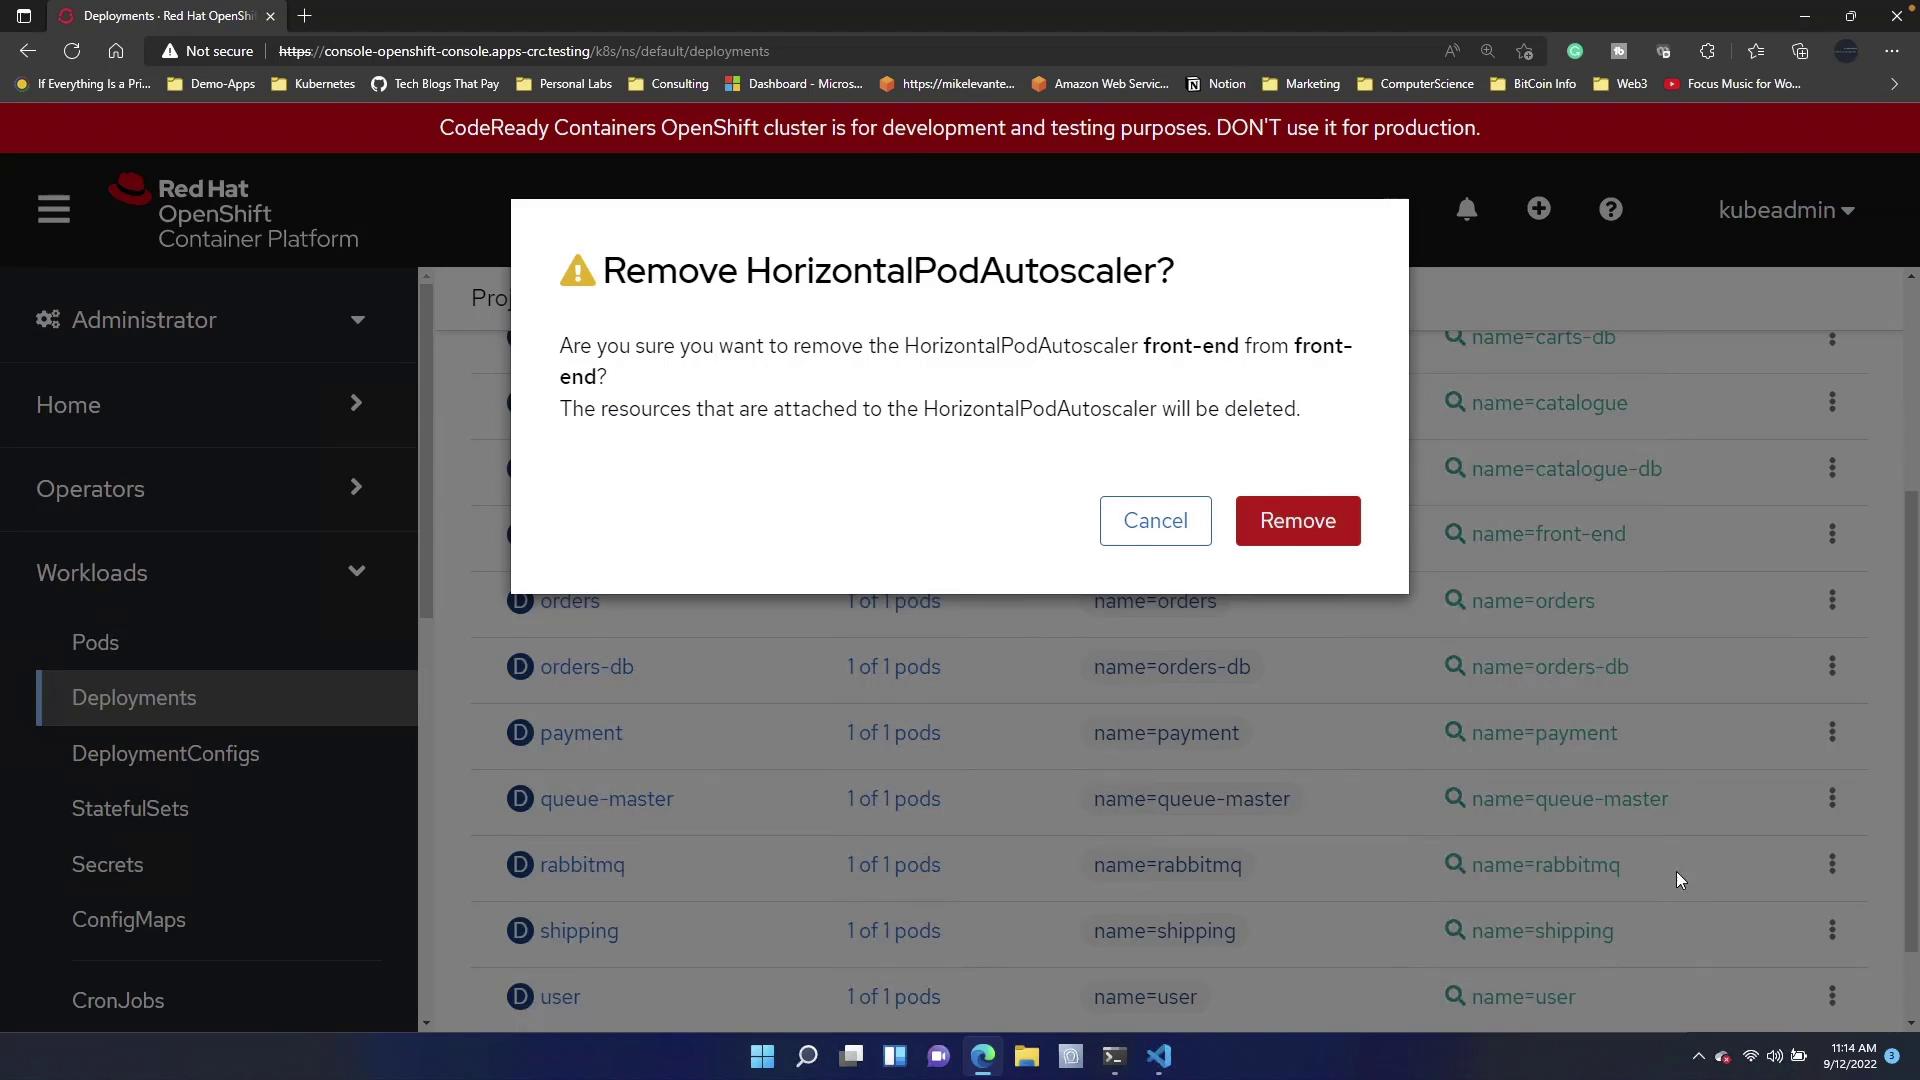
- metadata: Specifies the HPA name ("front-end") and the namespace ("default").
- spec: Configures the autoscaling behavior:
minReplicas: 3
andmaxReplicas: 7
determine the scaling boundaries.scaleTargetRef
identifies the target deployment.targetCPUUtilizationPercentage: 75
sets the CPU usage threshold for scaling.
- status: Reflects the current state managed by the system (e.g.,
currentReplicas: 5
).
Warning
If an HPA is already configured for the deployment, attempting to create a new one may fail. Remove the existing autoscaler before applying the new manifest.
To remove an existing autoscaler, navigate back to the deployments, locate the "front-end" autoscaler, click on the options (hamburger menu), and select the removal option.
After removal, apply the new deployment manifest. Within three to four seconds, the deployment should update to display the expected number of replicas.
This guide demonstrated how to implement autoscaling in OpenShift using both terminal commands and a YAML-based Horizontal Pod Autoscaler. By employing these techniques, your deployments can automatically adjust to changing workloads, ensuring optimal performance and resource utilization.
For further information, consider visiting the OpenShift Documentation and expanding your knowledge on container orchestration and autoscaling best practices.
Watch Video
Watch video content