In this guide, you will learn how to create a Docker image within your CI runner and push it to Docker Hub. This allows your production network to always pull the latest image. We will cover the entire process—from setting up your Docker Hub repository and generating an access token to configuring GitHub secrets and integrating Docker commands into your GitHub Actions workflow.
CI Job Example Below is a sample output from one of our CI jobs. It shows that pip was updated, dependencies were installed, and tests were executed using pytest:
job1 succeeded 1 minute ago in 9s * update pip * install all dependencies * test with pytest Collecting pytest Downloading pytest-6.2.5-py3-none-any.whl (280 kB) Collecting pluggy<1.0,>=0.12 Downloading pluggy-0.13.1-py2.py3-none-any.whl (18 kB) Collecting iniconfig Downloading iniconfig-1.1.1-py2.py3-none-any.whl (5.0 kB) Collecting attrs>=19.2.0 Downloading attrs-21.2.0-py2.py3-none-any.whl (57 kB) Collecting pyparsing>=2.0.3 Downloading pyparsing-2.4.7-py2.py3-none-any.whl (67 kB) Installing collected packages: pyparsing, pluggy, iniconfig, attrs, pytest Successfully installed attrs-21.2.0 iniconfig-1.1.1 packaging-21.0 pluggy-0.13.1 pytest-6.2.5 =============================================== short test summary info ================================================ tests/test_calculations.py . [ 32%] tests/test_posts.py . [ 71%] tests/test_users.py . [ 85%] tests/test_votes.py . [100%] ============================================= warnings summary =============================================== ..././..../opt/hostedtoolcache/Python/3.9.7/x64/lib/python3.9/site-packages/attrs/py.10 ... ... Docs: https://docs.pytest.org/en/stable/warnings.html
Once your tests pass, your production network is ready to pull the newly built image.
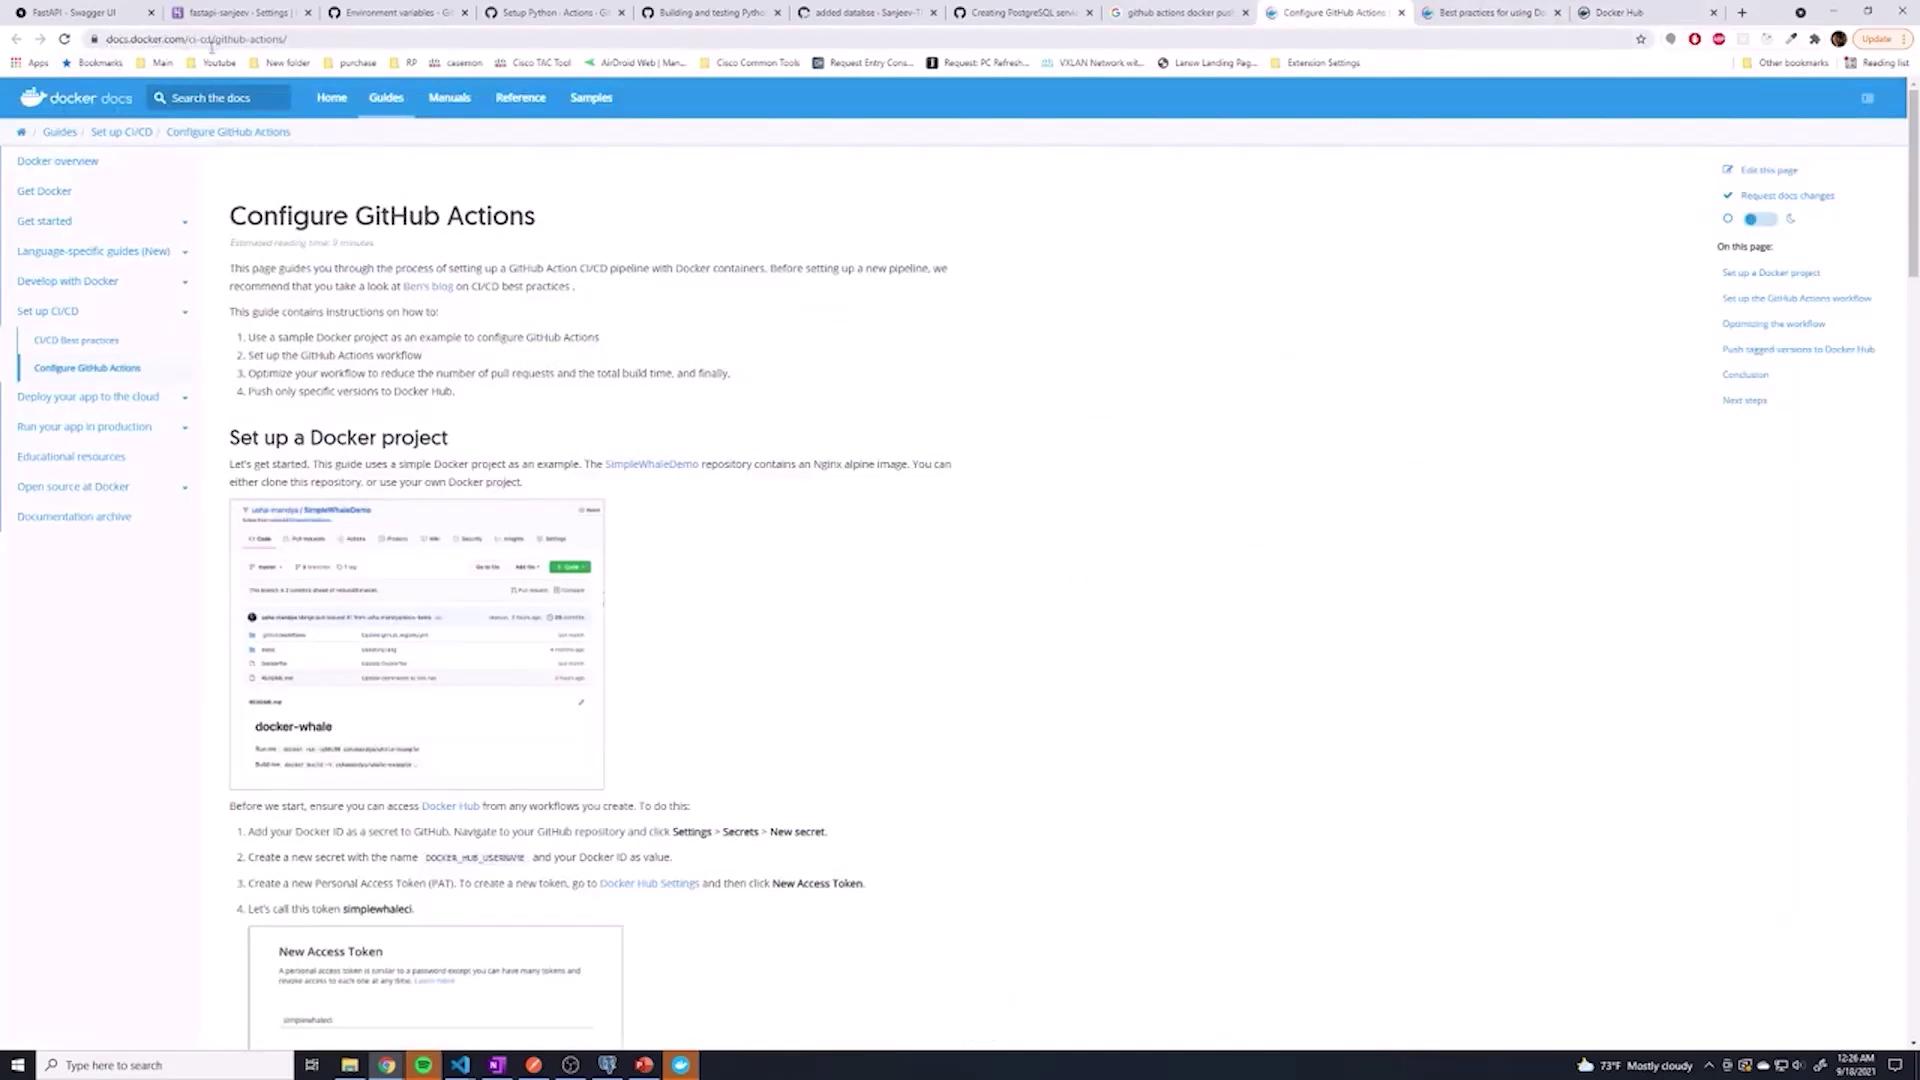
Setting Up Your Docker Hub Repository To integrate Docker with your GitHub Actions workflow, follow these steps:
Log into your Docker Hub account.
Click Create repository .
Choose a repository name that clearly reflects your project. For simplicity, set the repository to public.
To tag your local image for pushing to Docker Hub, use the following Docker command:
docker tag local-image:tagname new-repo:tagname
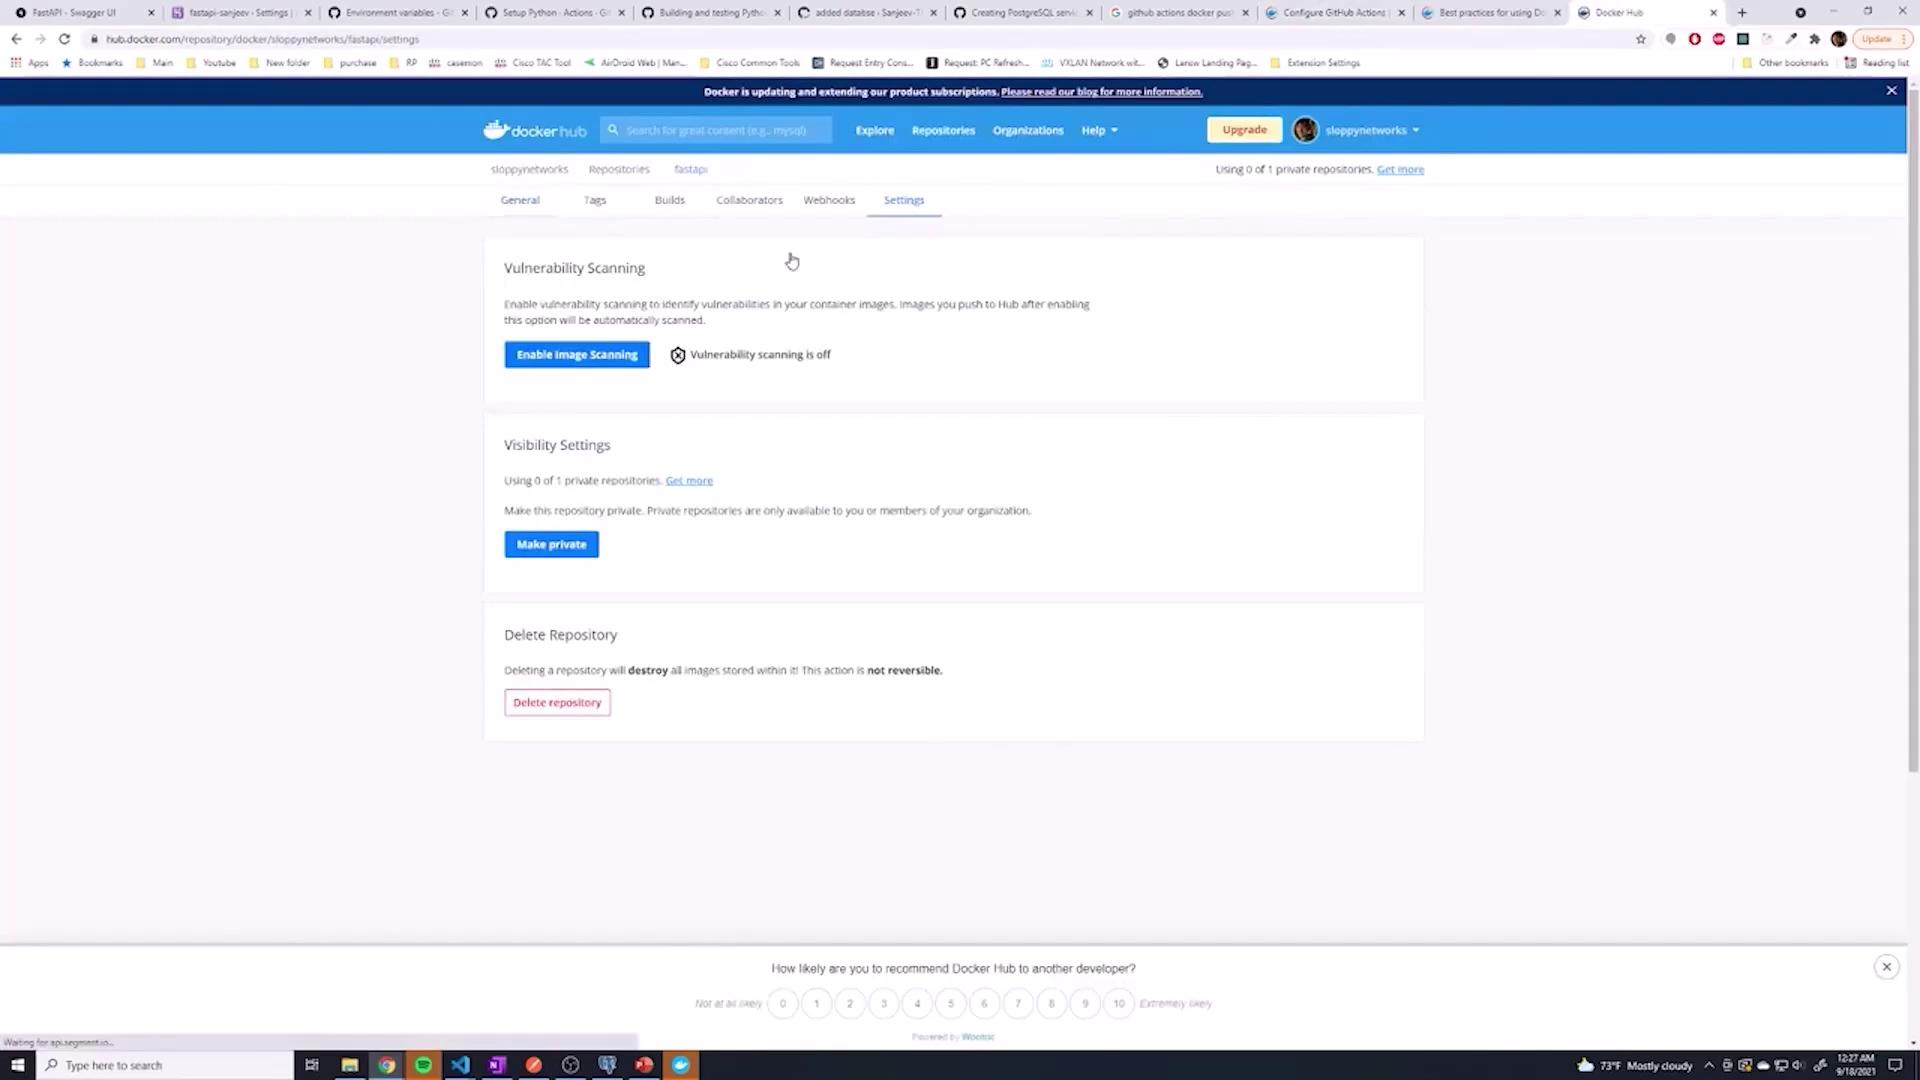
Generating an Access Token on Docker Hub Next, generate an access token:
Navigate to your account settings (or “Security” under account settings).
Click New Access Token and follow the prompts.
The process might display pop-ups similar to these:
Remember: Once generated, copy the access token immediately. It will only be displayed once.
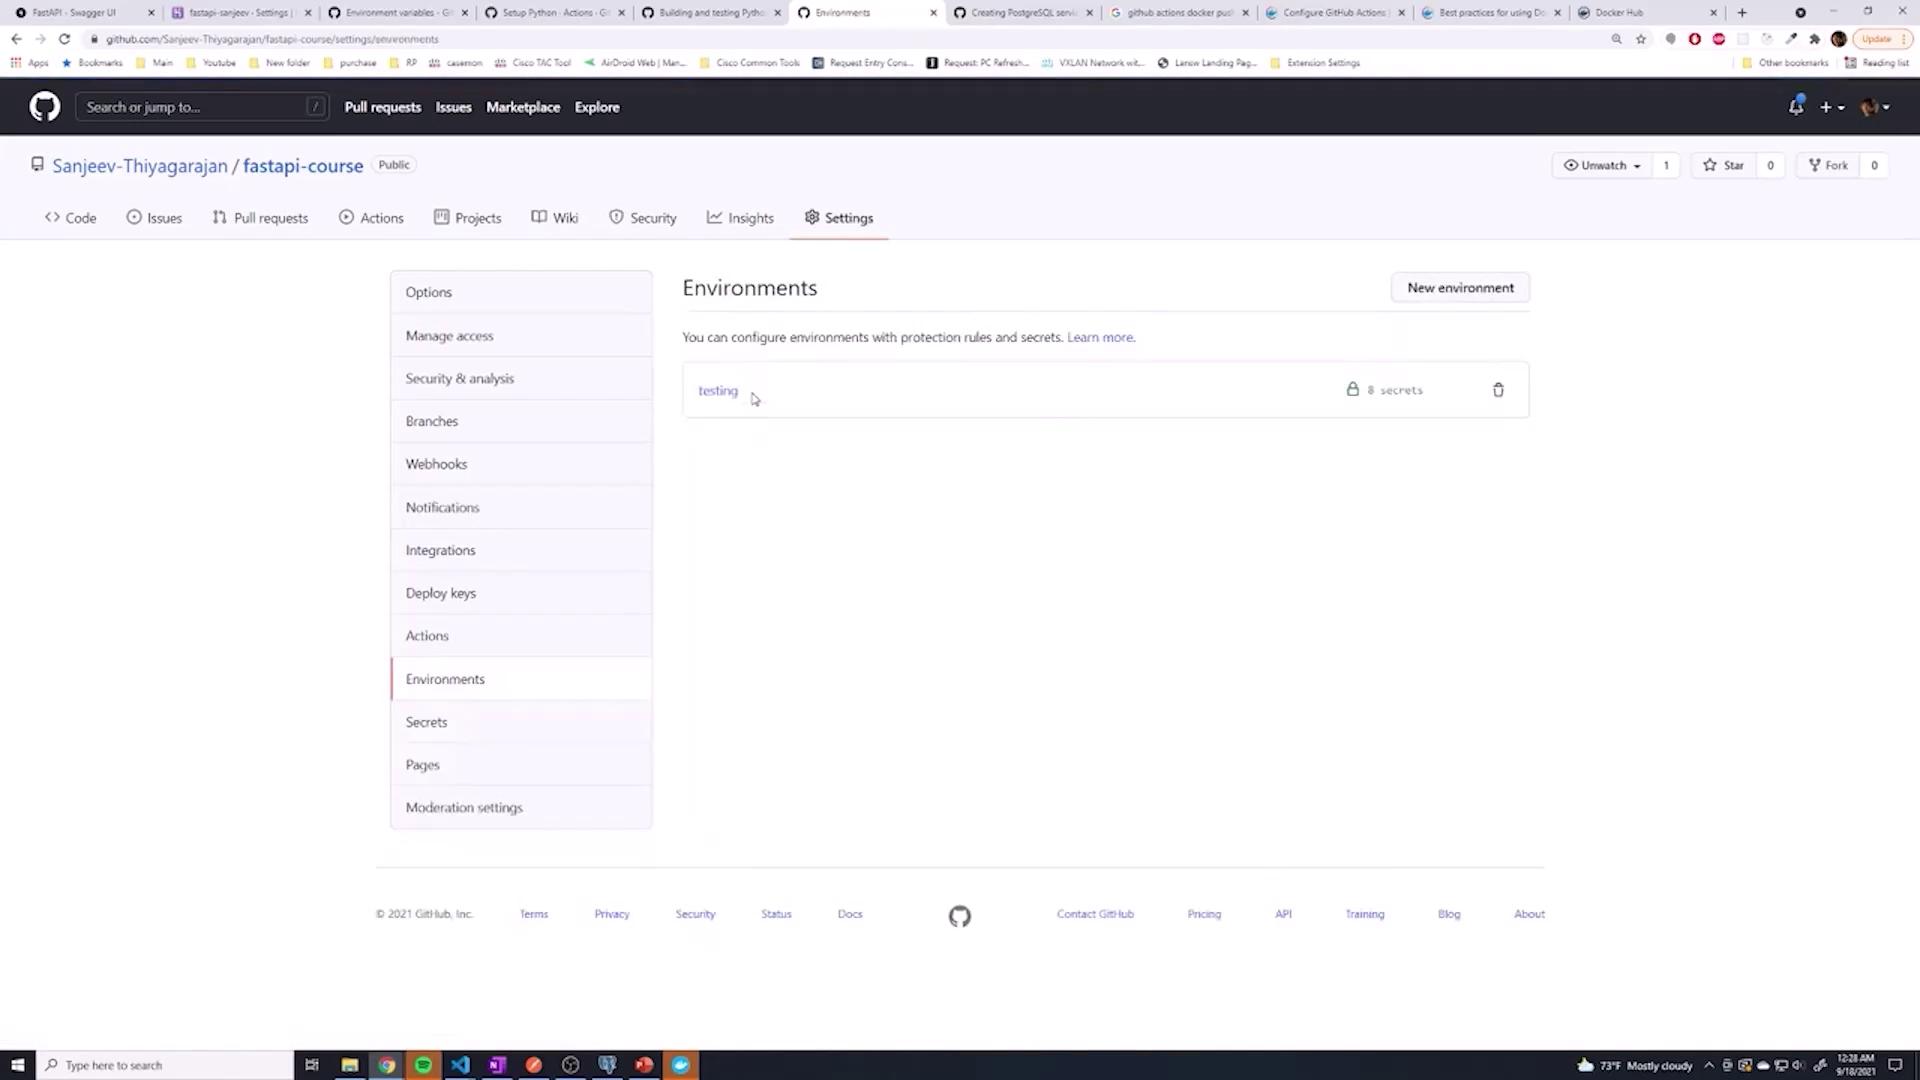
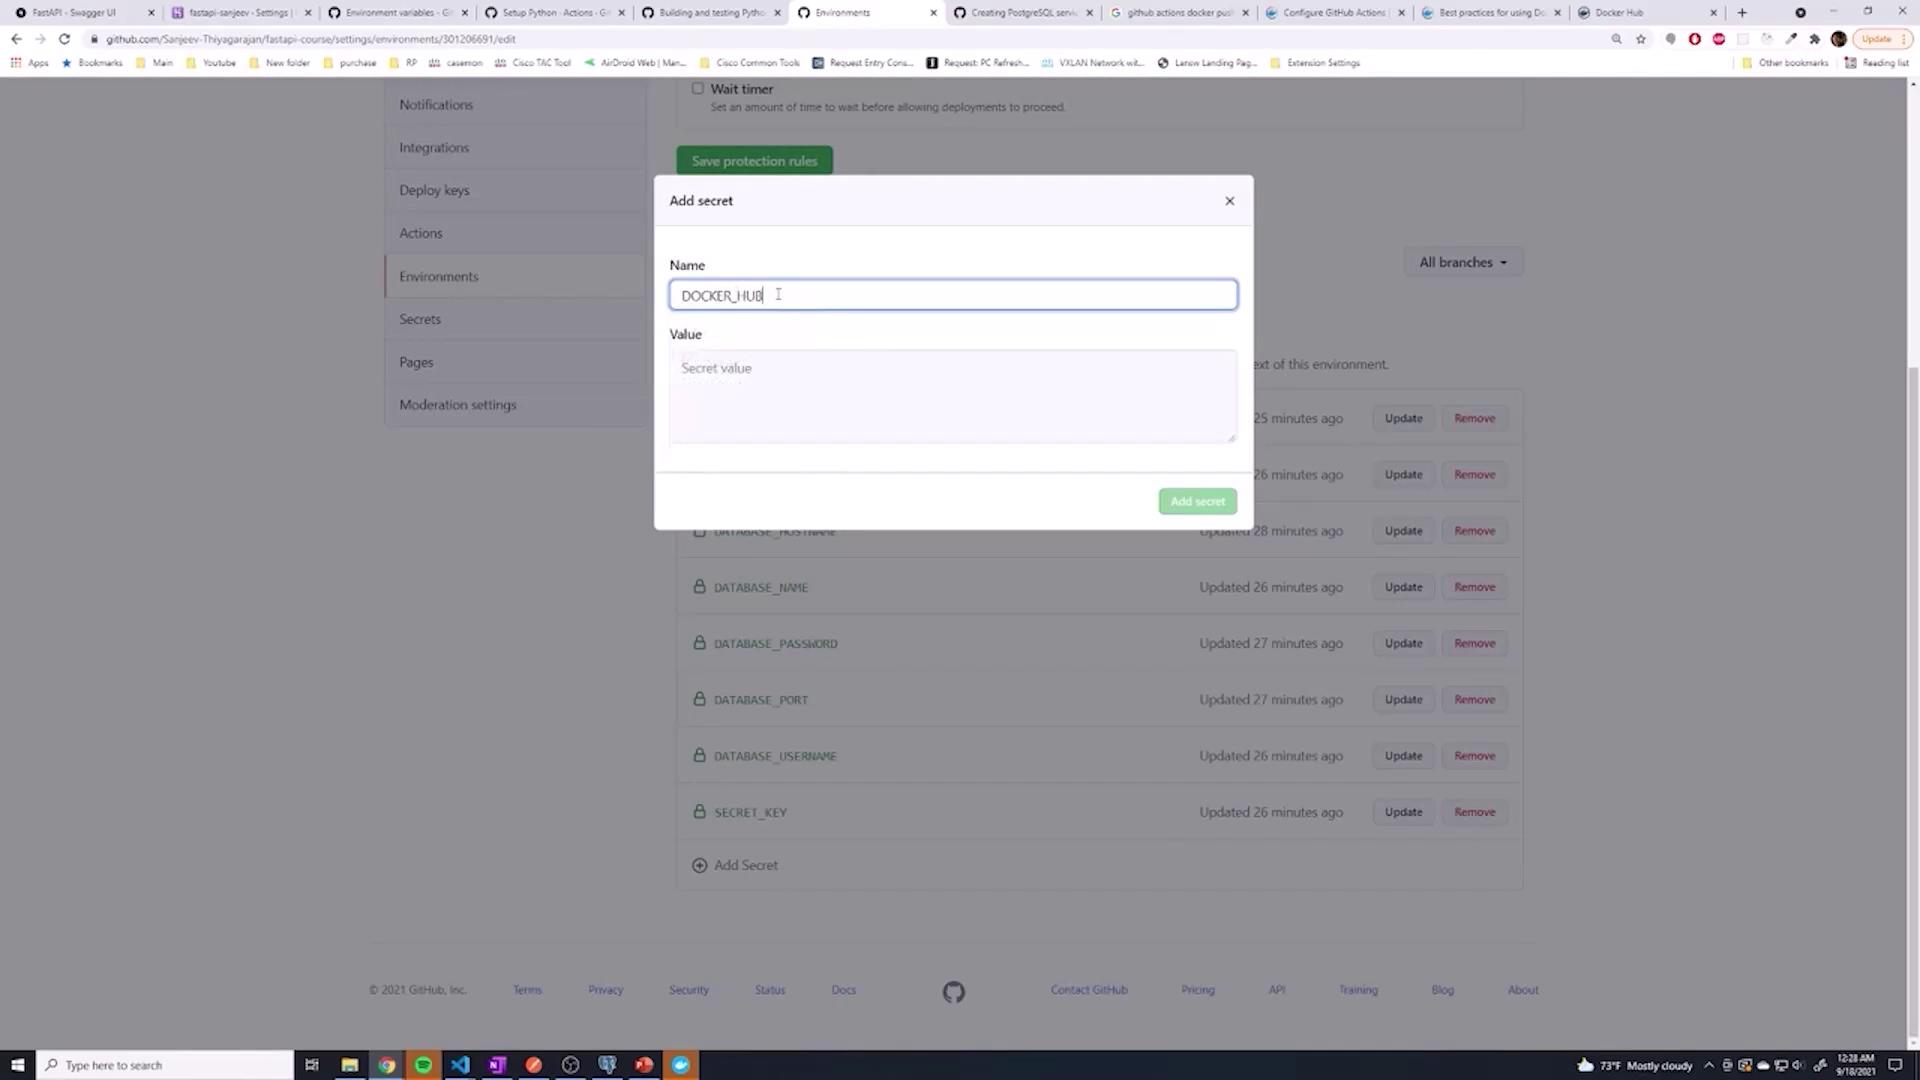
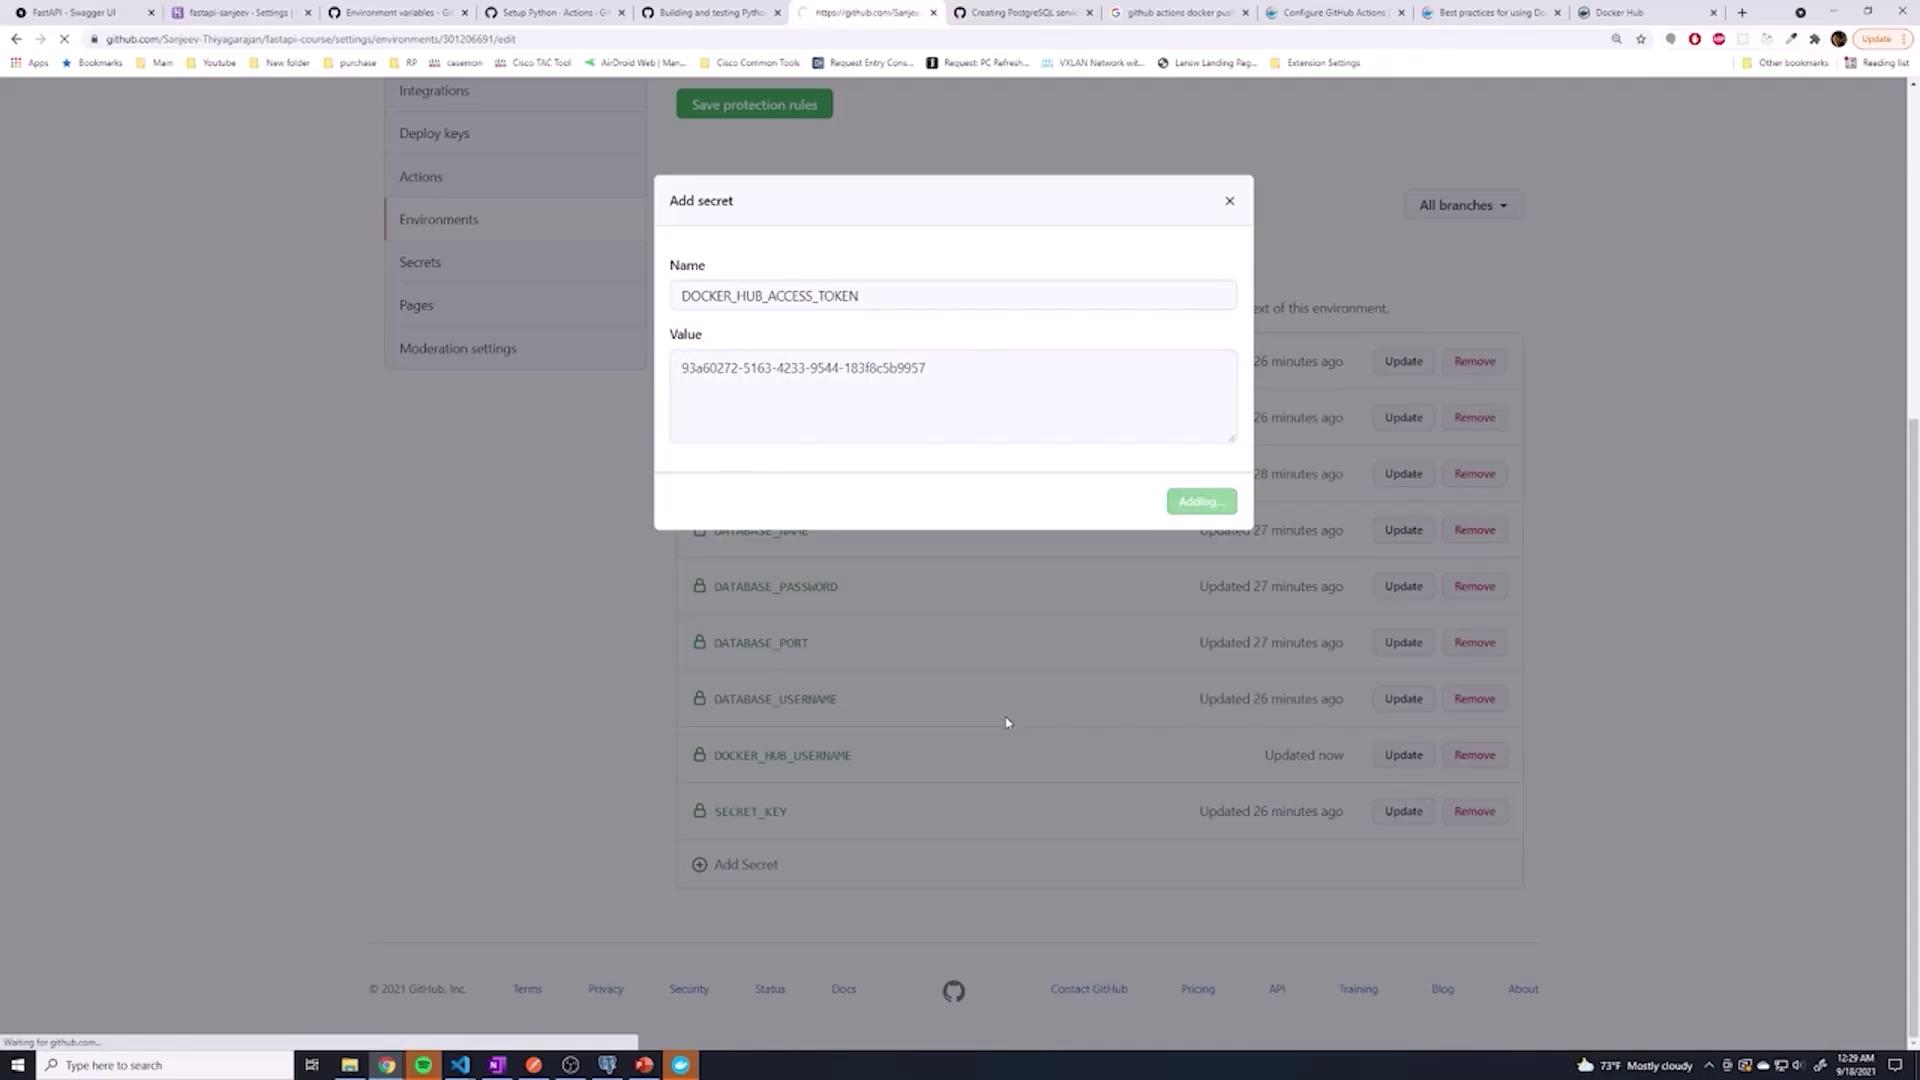
Storing Credentials in GitHub Secrets With your Docker Hub username and access token, take the following steps:
Store these credentials as secrets in GitHub (either as global repository secrets or within a specific environment, e.g., “testing”).
Name them appropriately, for example, DOCKER_HUB_USERNAME and DOCKER_HUB_ACCESS_TOKEN.
The images below guide you through adding secrets in GitHub:
Configuring GitHub Actions Workflow Now that your credentials are securely stored, integrate Docker commands into your GitHub Actions workflow. Below is a sample workflow that logs in to Docker Hub, sets up Docker Buildx, and builds/pushes your image:
jobs : build : runs-on : ubuntu-latest steps : - name : Check Out Repo uses : actions/checkout@v2 - name : Login to Docker Hub uses : docker/login-action@v1 with : username : ${{ secrets.DOCKER_HUB_USERNAME }} password : ${{ secrets.DOCKER_HUB_ACCESS_TOKEN }} - name : Set Up Docker Buildx id : buildx uses : docker/setup-buildx-action@v1 - name : Build and Push id : docker_build uses : docker/build-push-action@v2 with : context : . file : ./Dockerfile builder : ${{ steps.buildx.outputs.name }} push : true tags : ${{ secrets.DOCKER_HUB_USERNAME }}/fastapi:latest cache-from : type=local,src=/tmp/.buildx-cache cache-to : type=local,dest=/tmp/.buildx-cache - name : Image Digest run : echo ${{ steps.docker_build.outputs.digest }}
In this workflow:
The repository is checked out.
Docker Hub is authenticated using your GitHub secrets.
The Docker Buildx action is configured as the builder.
The Docker image is built using the context (current directory) and the specified Dockerfile and then pushed to Docker Hub.
The image digest is printed for verification.
Example: Integrating Environment Variables and Services If your project requires additional environment variables (like a Postgres service), you can include them as follows:
DATABASE_PASSWORD : ${{ secrets.DATABASE_PASSWORD }} DATABASE_NAME : ${{ secrets.DATABASE_NAME }} DATABASE_USERNAME : ${{ secrets.DATABASE_USERNAME }} SECRET_KEY : ${{ secrets.SECRET_KEY }} ALGORITHM : ${{ secrets.ALGORITHM }} ACCESS_TOKEN_EXPIRE_MINUTES : ${{ secrets.ACCESS_TOKEN_EXPIRE_MINUTES }} services : postgres : image : postgres env : DATABASE_PASSWORD : ${{ secrets.DATABASE_PASSWORD }}
You can also incorporate Docker Hub login and build steps in your testing workflow:
jobs : build : steps : - name : Set Up Python uses : actions/setup-python@v2 with : python-version : "3.9" - name : Update pip run : python -m pip install --upgrade pip - name : Install All Dependencies run : pip install -r requirements.txt - name : Test with pytest run : | pip install pytest pytest - name : Login to Docker Hub uses : docker/login-action@v1 with : username : ${{ secrets.DOCKER_HUB_USERNAME }} password : ${{ secrets.DOCKER_HUB_ACCESS_TOKEN }} - name : Set Up Docker Buildx id : buildx uses : docker/setup-buildx-action@v1 - name : Build and Push Image id : docker_build uses : docker/build-push-action@v2 with : context : ./ file : ./Dockerfile builder : ${{ steps.buildx.outputs.name }} push : true tags : ${{ secrets.DOCKER_HUB_USERNAME }}/fastapi:latest - name : Display Image Digest run : echo ${{ steps.docker_build.outputs.digest }}
Ensure each step in your workflow contains either uses or run. Combining both in a single step can lead to YAML syntax errors.
Handling Buildx Issues If you encounter an error—such as one related to unsupported cache export on the default Docker driver—try switching to a different driver with this command:
docker buildx create --use
Make sure Buildx is set up before calling the build and push actions.
Creating a Dockerfile If your repository does not yet include a Dockerfile, create one at the project root (named with a capital D). Here’s a simple example:
FROM python:3.9.7 WORKDIR /usr/src/app COPY requirements.txt ./ RUN pip install --no-cache-dir -r requirements.txt COPY . CMD [ "uvicorn" , "app.main:app" , "--host" , "0.0.0.0" , "--port" , "8000" ]
After creating your Dockerfile, commit your changes using:
git add --all git commit -m "added docker"
Then push your changes to the repository to trigger the CI/CD pipeline. You can verify a successful push by checking Docker Hub or reviewing your GitHub Actions log output.
Continuous Delivery Once your CI/CD pipeline successfully pushes the image to Docker Hub, you can extend the workflow to continuously deliver your application. Use additional docker push commands to deploy to production. If Docker is not part of your production environment, consider commenting out or removing the Docker steps to conserve build minutes.
With this setup, your GitHub Actions workflow manages both testing and the Docker build/push process—a critical part of your CI/CD pipeline.
Happy coding!