Python API Development with FastAPI

Deployment

Docker

In this lesson, you'll learn how to Dockerize a FastAPI application and set up a PostgreSQL database using Docker containers. Our goal is to create a reproducible environment where your application and all its dependencies are packaged into custom container images.


Selecting a Base Image

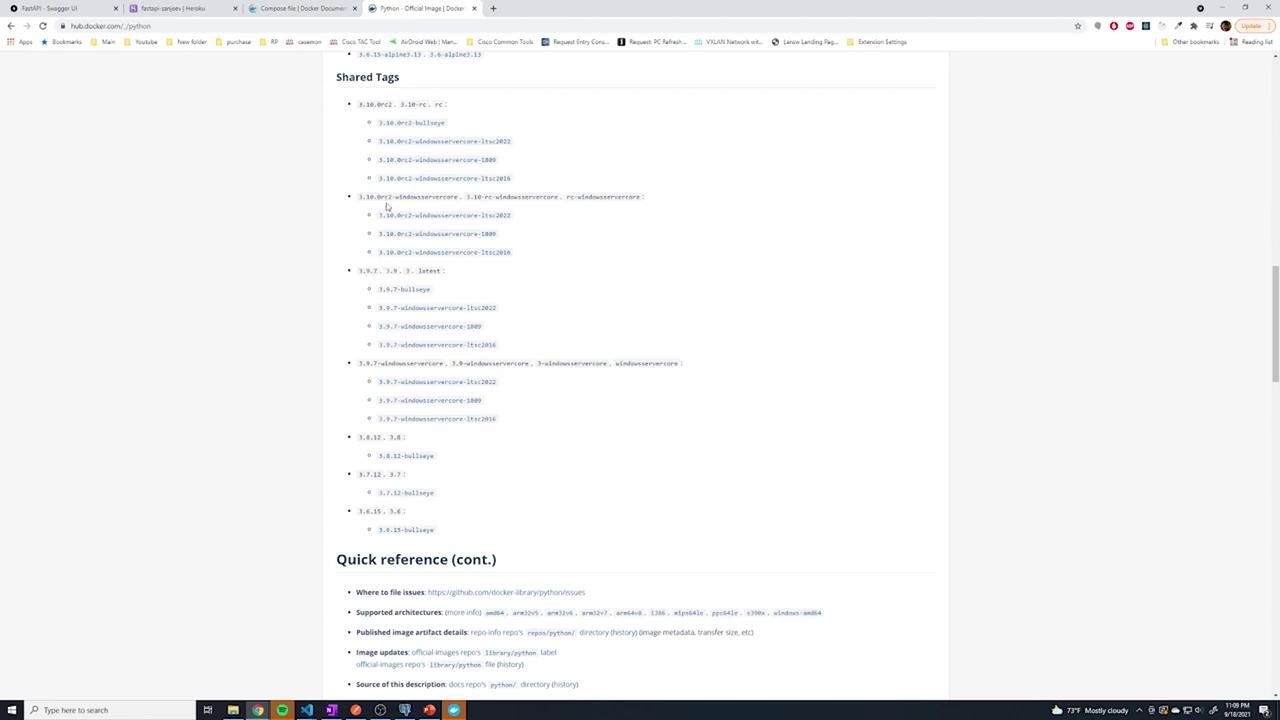
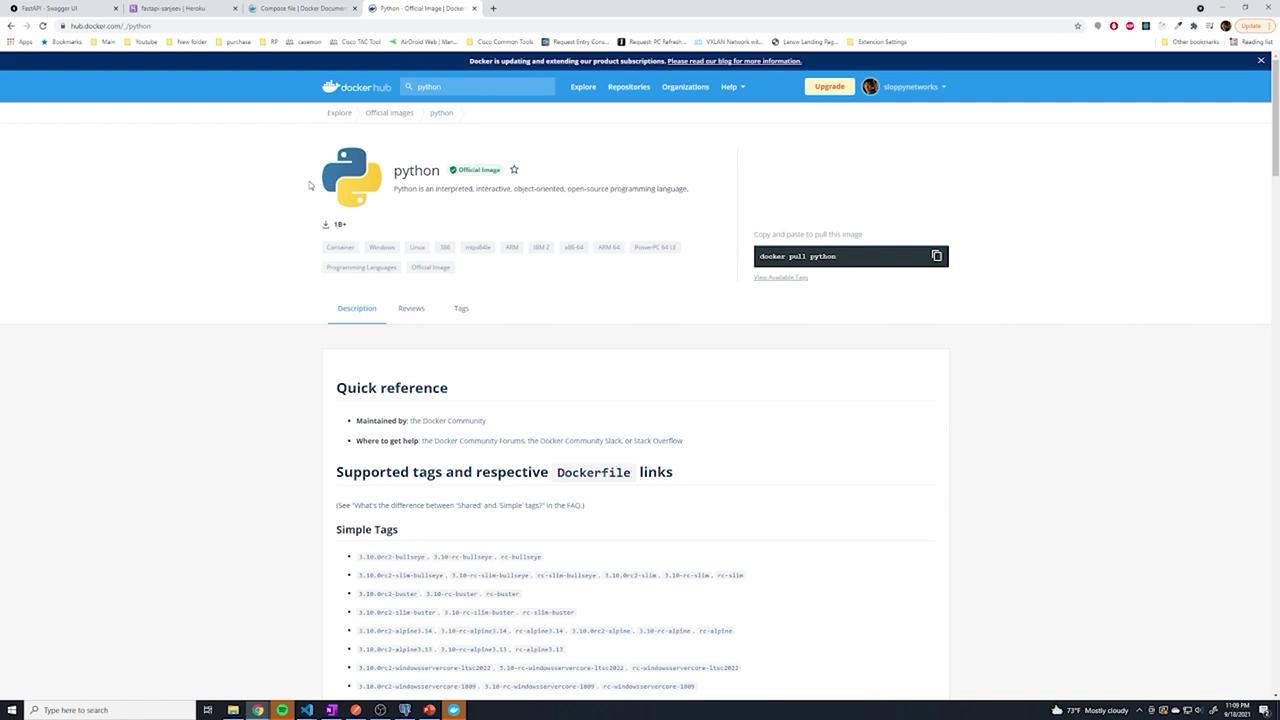
We begin by visiting Docker Hub to select our base image. For this FastAPI container, we will use the official Python image. While multiple versions and variants (such as slim and Alpine) are available, we are using Python version 3.9.7.

The image shows a webpage from Docker Hub displaying information about Python Docker images, including supported tags and respective Dockerfile links.

Scroll down to review the available versions. The default image provides a range of tags and comprehensive documentation detailing supported architectures, Dockerfile links, and more.

The image shows a webpage listing shared tags for Python Docker images, along with a quick reference section containing links and information about file issues, supported architectures, and image updates.

Selecting the official image provides a clean and consistent starting point. However, note that the basic Python image does not include your application code or its dependencies—you will need to copy your source code and manually install dependencies. The essence of Docker is building an image that already contains everything required to run your application.

The image shows the Docker Hub page for the official Python image, including details like tags and Dockerfile links.


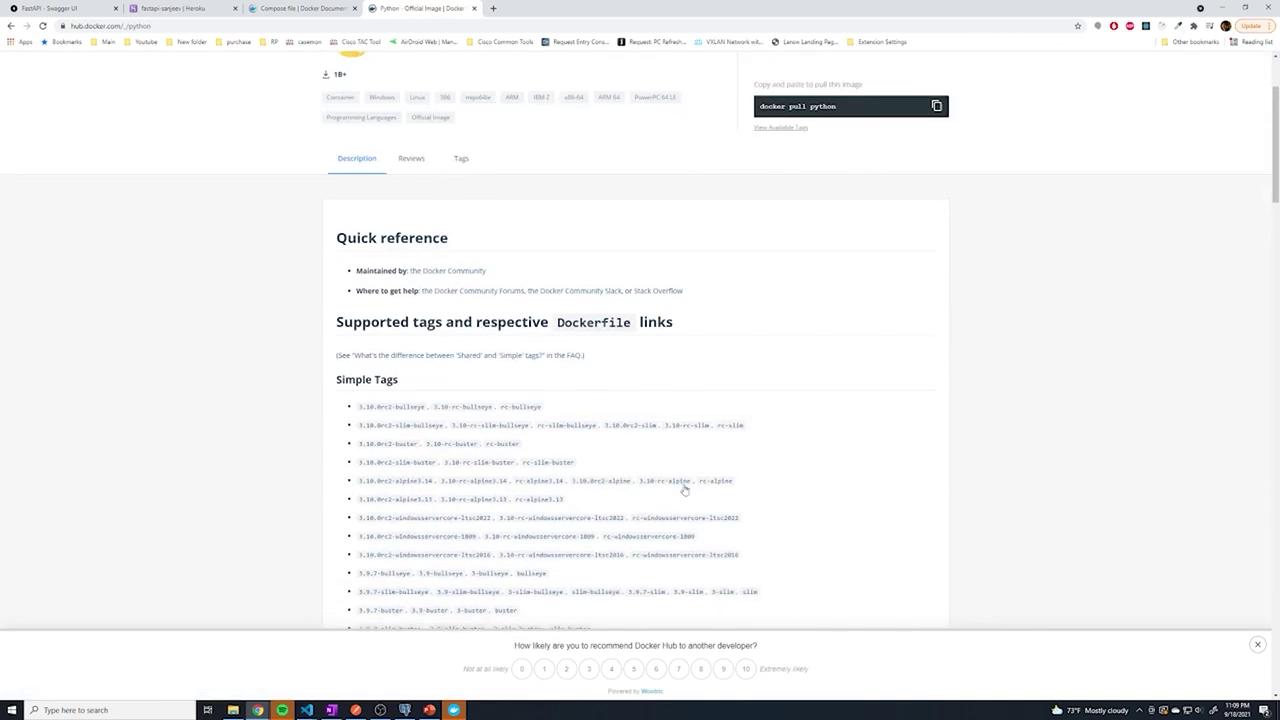
Creating a Custom Docker Image

To create a custom Docker image, start by adding a Dockerfile in your project directory. The Dockerfile specifies the base image and lists the steps necessary for setting up your environment:

  1. Specify the Base Image:
    Begin with the Python 3.9.7 image.

    FROM python:3.9.7
    
  2. Set the Working Directory:
    Establish a working directory within the container to simplify subsequent commands (e.g., copying files).

    WORKDIR /usr/src/app
    
  3. Copy and Install Dependencies:
    First, copy only the requirements.txt file. This leverages Docker’s layer caching so that a change in application code does not cause the dependencies to be reinstalled unnecessarily.

    COPY requirements.txt ./
    RUN pip install --no-cache-dir -r requirements.txt
    
  4. Copy the Application Code:
    Next, copy the remaining application code into the working directory.

    COPY . .
    
  5. Define the Startup Command:
    Finally, specify the command to run Uvicorn, which launches the FastAPI application. Each part of the command is defined as an element in the list.

    CMD ["uvicorn", "app.main:app", "--host", "0.0.0.0", "--port", "8000"]
    

A complete example of the Dockerfile is:

FROM python:3.9.7
WORKDIR /usr/src/app
COPY requirements.txt ./
RUN pip install --no-cache-dir -r requirements.txt
COPY .
CMD ["uvicorn", "app.main:app", "--host", "0.0.0.0", "--port", "8000"]

Building and Running the Docker Image

After creating the Dockerfile, build the image with a custom tag and run the container using these commands:

$ docker build -t my-python-app .
$ docker run -it --rm --name running-my-python-app my-python-app

Alternatively, if you only need to run a single Python script, you can execute:

$ docker run -it --rm -v "$PWD":/usr/src/app -w /usr/src/app python:3 python your-demon-script.py

For Python 2 environments, adjust the image name accordingly.


Optimizing Docker Builds with Layer Caching

Docker caches each step of the Dockerfile. By copying requirements.txt before the rest of the files, changes only to the application code do not force a reinstall of the dependencies.

Example Dockerfile snippet:

FROM python:3.9.7
WORKDIR /usr/src/app
COPY requirements.txt ./
RUN pip install --no-cache-dir -r requirements.txt
COPY .

Docker reuses the cached layers up to the COPY requirements.txt step, saving significant time during rebuilds.

Tip

Avoid copying all files before installing dependencies. Any change in source code may trigger a complete reinstallation of dependencies.


Using Docker Compose for Multi-Container Environments

As your application scales, managing multiple Docker commands can become cumbersome. Docker Compose lets you define multi-container setups in a simple YAML file.

Below is an example docker-compose.yml file for your FastAPI service:

version: "3"
services:
  api:
    build: .
    ports:
      - "8000:8000"
    environment:
      DATABASE_HOSTNAME: postgres
      DATABASE_PORT: 5432
      DATABASE_PASSWORD: password123
      DATABASE_NAME: fastapi
      DATABASE_USERNAME: postgres
      SECRET_KEY: 09d25e094faa256c818166b7a956b93f7099f6f0f4caa6cf63b88e8d3e7
      ALGORITHM: HS256
      ACCESS_TOKEN_EXPIRE_MINUTES: 30

In the ports section, the syntax "localhost_port:container_port" exposes container port 8000 on the host machine.

To run the Docker Compose setup, use:

$ docker-compose up -d

To view logs, execute:

$ docker-compose logs

Rebuild Reminder

If you modify the Dockerfile and need to rebuild the image, run:

$ docker-compose up --build

Setting Up a PostgreSQL Container

To integrate a PostgreSQL database, define an additional service in your docker-compose.yml file with the required environment variables for the official PostgreSQL image:

services:
  postgres:
    image: postgres
    environment:
      - POSTGRES_PASSWORD=password123
      - POSTGRES_DB=fastapi
    volumes:
      - postgres-db:/var/lib/postgresql/data

The volume configuration ensures that database data is persisted even if the container stops.

The image shows a webpage with documentation about PostgreSQL environment variables, detailing their usage and configuration.

When the containers start together, Docker’s DNS resolves service names. Specifying 
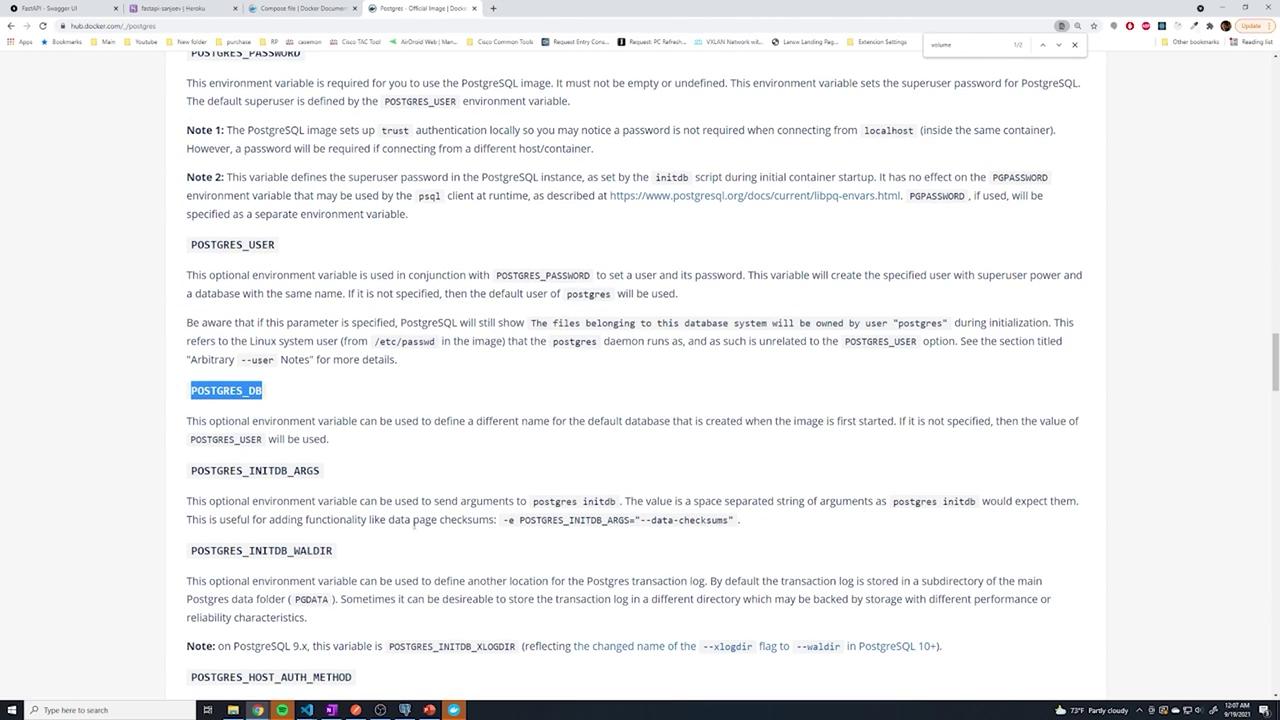
DATABASE_HOSTNAME: postgres in the API configuration ensures that the FastAPI container connects seamlessly with the PostgreSQL container.


Configuring Environment Variables and Service Dependencies

Passing environment variables is critical to ensure the FastAPI settings object is correctly populated. Missing fields can lead to validation errors from Pydantic.

To ensure the API container waits for PostgreSQL to start, add a dependency in your Docker Compose file:

services:
  api:
    build: .
    depends_on:
      - postgres
    ports:
      - "8000:8000"
    environment:
      - DATABASE_HOSTNAME=postgres
      - DATABASE_PORT=5432
      - DATABASE_PASSWORD=password123
      - DATABASE_NAME=fastapi
      - DATABASE_USERNAME=postgres
      - SECRET_KEY=09d25e094faa256c818166b7a956b93f7099f6f0f4caa6cf63b88e8d3e7
      - ALGORITHM=HS256
      - ACCESS_TOKEN_EXPIRE_MINUTES=30
  postgres:
    image: postgres
    environment:
      - POSTGRES_PASSWORD=password123
      - POSTGRES_DB=fastapi
    volumes:
      - postgres-db:/var/lib/postgresql/data

volumes:
  postgres-db:

The depends_on option instructs Docker Compose to start PostgreSQL before the API container. (Note that this does not guarantee PostgreSQL is fully initialized; additional checks may be required in your application logic.)


Using Bind Mounts for Development

For development purposes, you may want to bind mount your local source code into the container so that changes are reflected immediately. To achieve this, add a volume definition to your API service:

services:
  api:
    build: .
    depends_on:
      - postgres
    ports:
      - "8000:8000"
    volumes:
      - ./:/usr/src/app:ro
    command: uvicorn app.main:app --host 0.0.0.0 --port 8000 --reload
    environment:
      - DATABASE_HOSTNAME=postgres
      - DATABASE_PORT=5432
      - DATABASE_PASSWORD=password123
      - DATABASE_NAME=fastapi
      - DATABASE_USERNAME=postgres
      - SECRET_KEY=09d25e094faa256c818166b7a956b93f7099f6f0f4caa6cf63b88e8d3e7
      - ALGORITHM=HS256
      - ACCESS_TOKEN_EXPIRE_MINUTES=30

With the bind mount (./:/usr/src/app:ro), the container uses your local files, and the --reload flag makes sure the application automatically reloads when changes are detected. In a production environment, you would remove the bind mount and the reload flag.

To inspect the container’s filesystem and verify the bind mount status, run:

$ docker exec -it fastapi_api_1 bash

Then use commands like cat app/main.py to ensure the latest version of your files is available.


Pushing Your Image to Docker Hub

Once your image is prepared, you may want to push it to Docker Hub for easier distribution. Follow these steps:

  1. Log in to Docker Hub:

    $ docker login
    
  2. Tag your locally built image with your Docker Hub username and repository name. For instance, if your image is named fastapi_api and your Docker Hub username is sloppynetworks, tag it as follows:

    $ docker image tag fastapi_api sloppynetworks/fastapi
    
  3. Verify the tag with:

    $ docker image ls
    
  4. Finally, push the image to Docker Hub:

    $ docker push sloppynetworks/fastapi
    

If you encounter an error stating “requested access to the resource is denied,” double-check that your image is tagged using the format username/repository.


Separating Development and Production Environments

In development, you might use bind mounts and the --reload flag for rapid iteration. However, the production environment should be optimized for stability, using dynamically injected environment variables and without code mounts. To manage this, it is common to maintain separate Docker Compose files:

  • docker-compose-dev.yml
    Contains bind mounts and the reload flag for faster development cycles.

  • docker-compose-prod.yml
    Uses a pre-built image from Docker Hub, without bind mounts, exposes a different host port (e.g., port 80), and references environment variables from the host:

    version: "3"
    services:
      api:
        image: sloppynetworks/fastapi
        depends_on:
          - postgres
        ports:
          - "80:8000"
        environment:
          - DATABASE_HOSTNAME=${DATABASE_HOSTNAME}
          - DATABASE_PORT=${DATABASE_PORT}
          - DATABASE_PASSWORD=${DATABASE_PASSWORD}
          - DATABASE_NAME=${DATABASE_NAME}
          - DATABASE_USERNAME=${DATABASE_USERNAME}
          - SECRET_KEY=${SECRET_KEY}
          - ALGORITHM=${ALGORITHM}
          - ACCESS_TOKEN_EXPIRE_MINUTES=${ACCESS_TOKEN_EXPIRE_MINUTES}
      postgres:
        image: postgres
        environment:
          - POSTGRES_PASSWORD=${DATABASE_PASSWORD}
          - POSTGRES_DB=${DATABASE_NAME}
        volumes:
          - postgres-db:/var/lib/postgresql/data
    
    volumes:
      postgres-db:
    

Run the appropriate environment using:

$ docker-compose -f docker-compose-dev.yml up -d
$ docker-compose -f docker-compose-prod.yml up -d

In production, pulling the finalized image from Docker Hub helps ensure consistency between development and production without the overhead of local code changes.


Conclusion

This lesson provided a comprehensive walkthrough on Dockerizing a FastAPI application. We covered:

  • Selecting and customizing a Docker base image.
  • Optimizing builds with layer caching.
  • Configuring Docker Compose for multi-container environments.
  • Setting up PostgreSQL as a dependent service.
  • Implementing bind mounts and live-reload features for development.
  • Best practices for pushing images to Docker Hub.
  • Separating configuration for development and production environments.

By following these steps, you can create consistent, streamlined, and easily manageable environments for both development and production.

Happy Dockerizing!

Watch Video

Watch video content

Previous
Deploy Ubuntu VM