Why Use OpenAI Compatibility?
By leveraging the OpenAI client libraries against a local Ollama endpoint, you get:- Consistent API interface across development and production
- Zero code rewriting when moving to the cloud
- Full control for local testing without incurring API costs
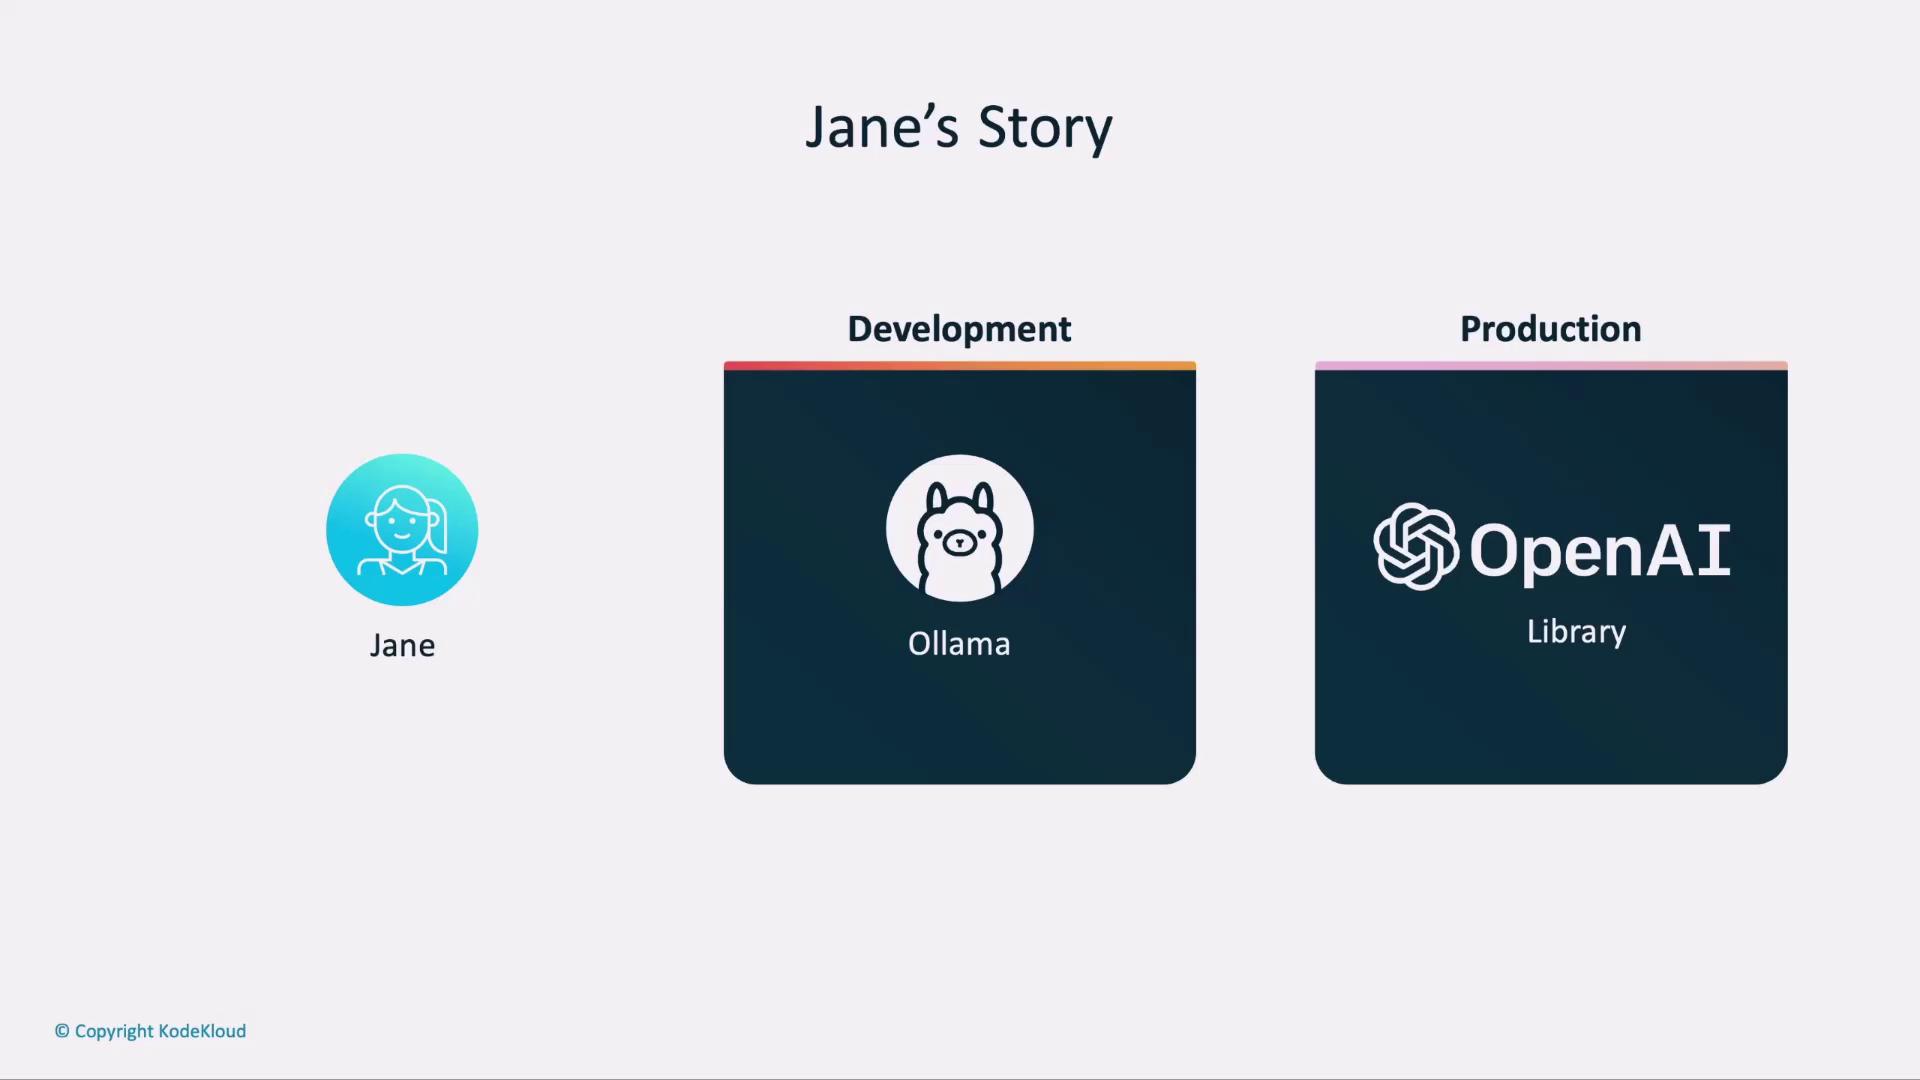
1. Development Environment Setup
In development, point your OpenAI client at Ollama’s REST API. Add these lines to your.env file:
Ollama does not validate
OPENAI_API_KEY locally. Feel free to use a placeholder value while testing.2. Production Environment Setup
When you’re ready to go live, sign in to the OpenAI dashboard to create an API key. Update your.env as follows:
Keep your real
OPENAI_API_KEY secure. Never commit it to source control or expose it in client-side code.Configuration Comparison
| Environment | OPENAI_API_KEY | LLM_ENDPOINT | MODEL |
|---|---|---|---|
| Development | anyrandomtext | http://localhost:11434/v1 | llama3:2:1b |
| Production | Your OpenAI API key | https://api.openai.com/v1 | gpt-3.5-turbo |
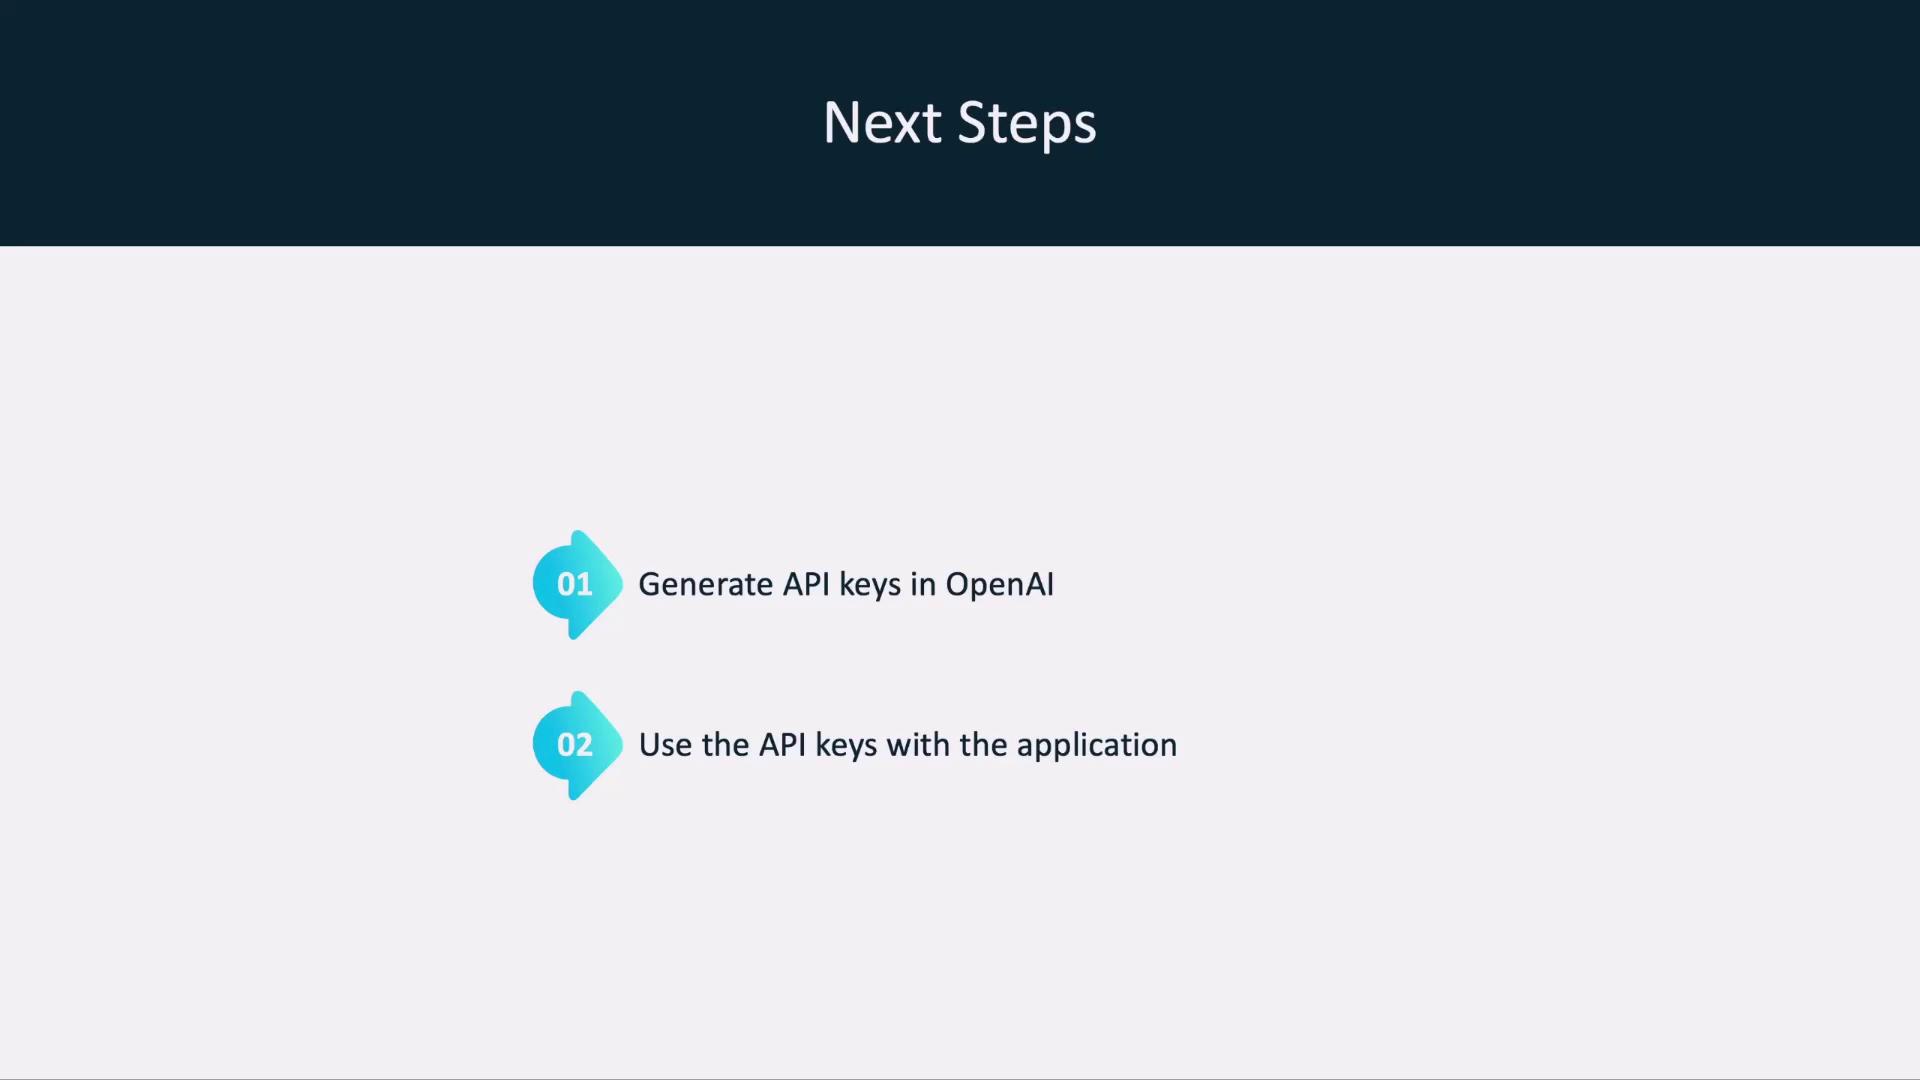
3. Next Steps
- Generate or rotate your OpenAI API keys via the OpenAI dashboard.
- Deploy your application, ensuring the production
.envis configured.