Each file in the generated package plays a specific role in bridging the gap between Rust and JavaScript. Understanding each file will help you make the most out of your WebAssembly module.
Package Structure Breakdown
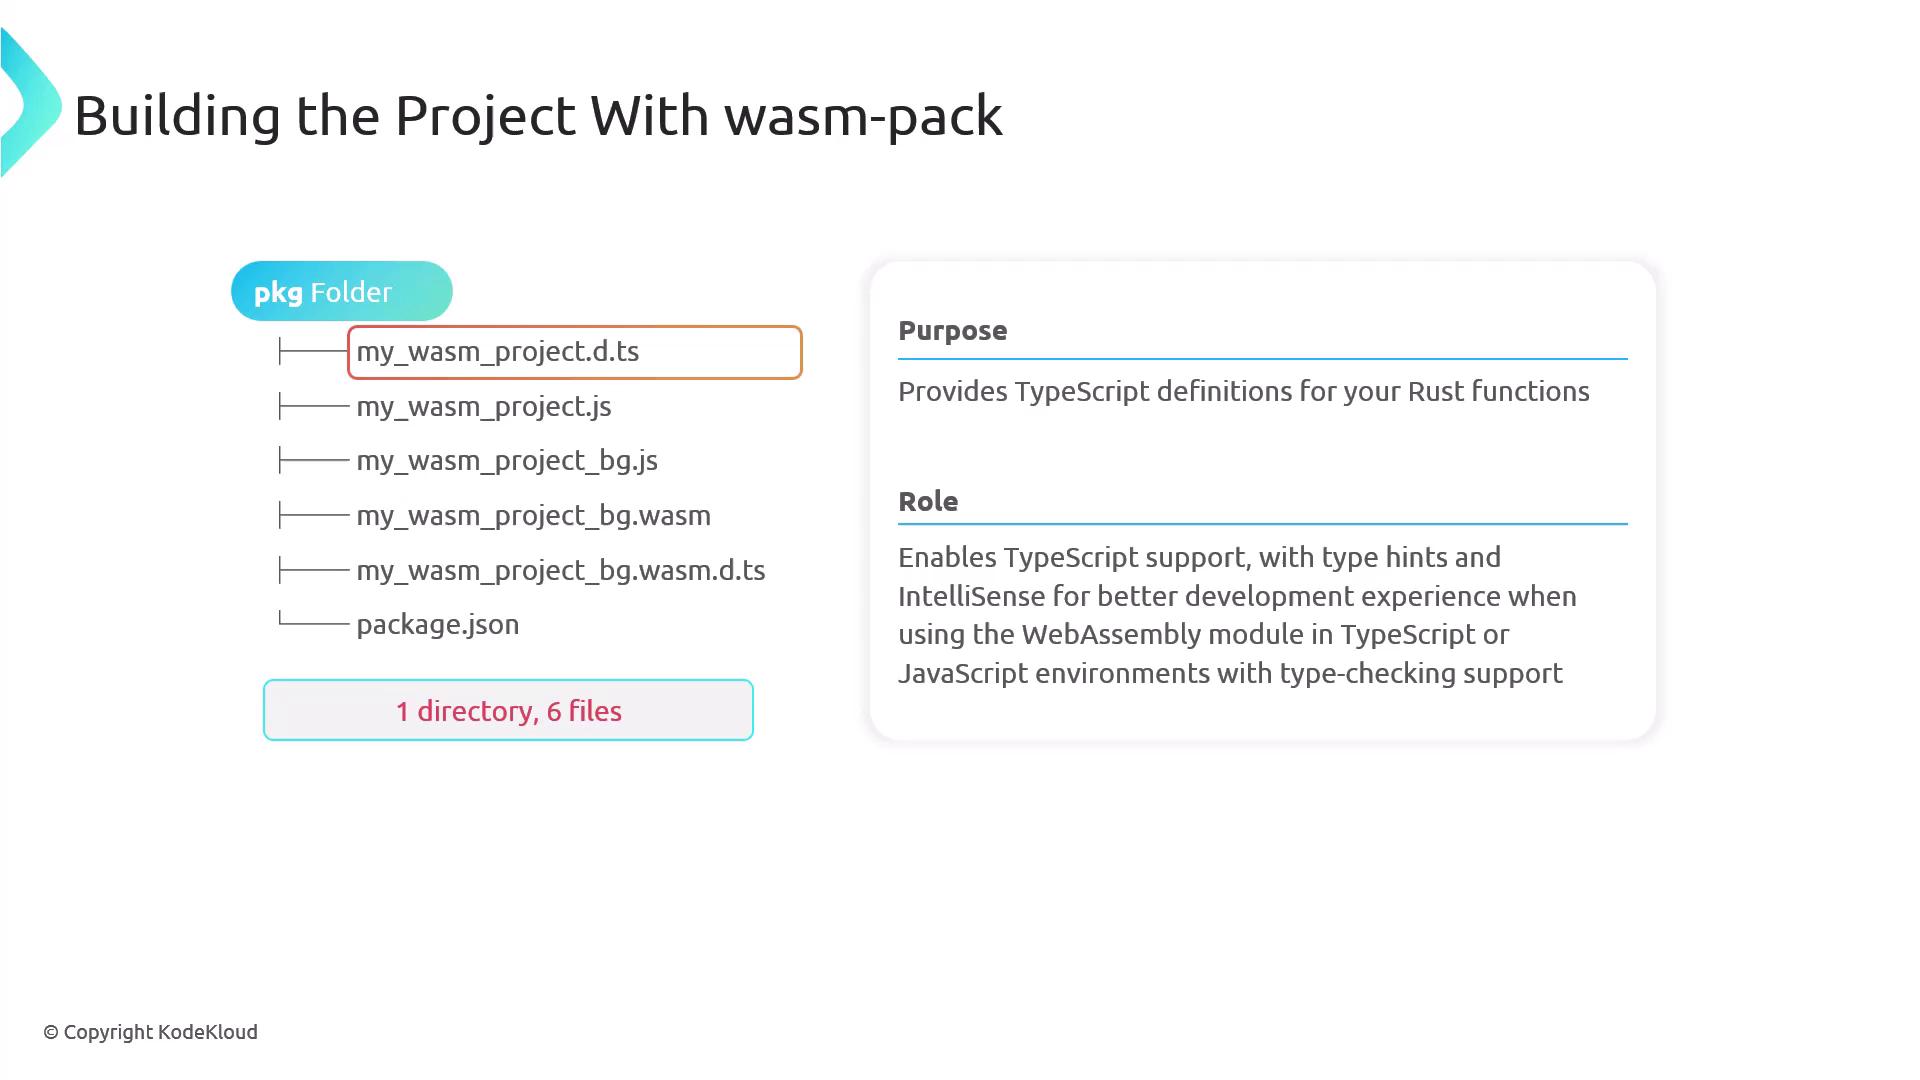
- TypeScript Definition File
This file provides type hints and IntelliSense for your Rust functions when used in TypeScript or in JavaScript environments with type checking support.
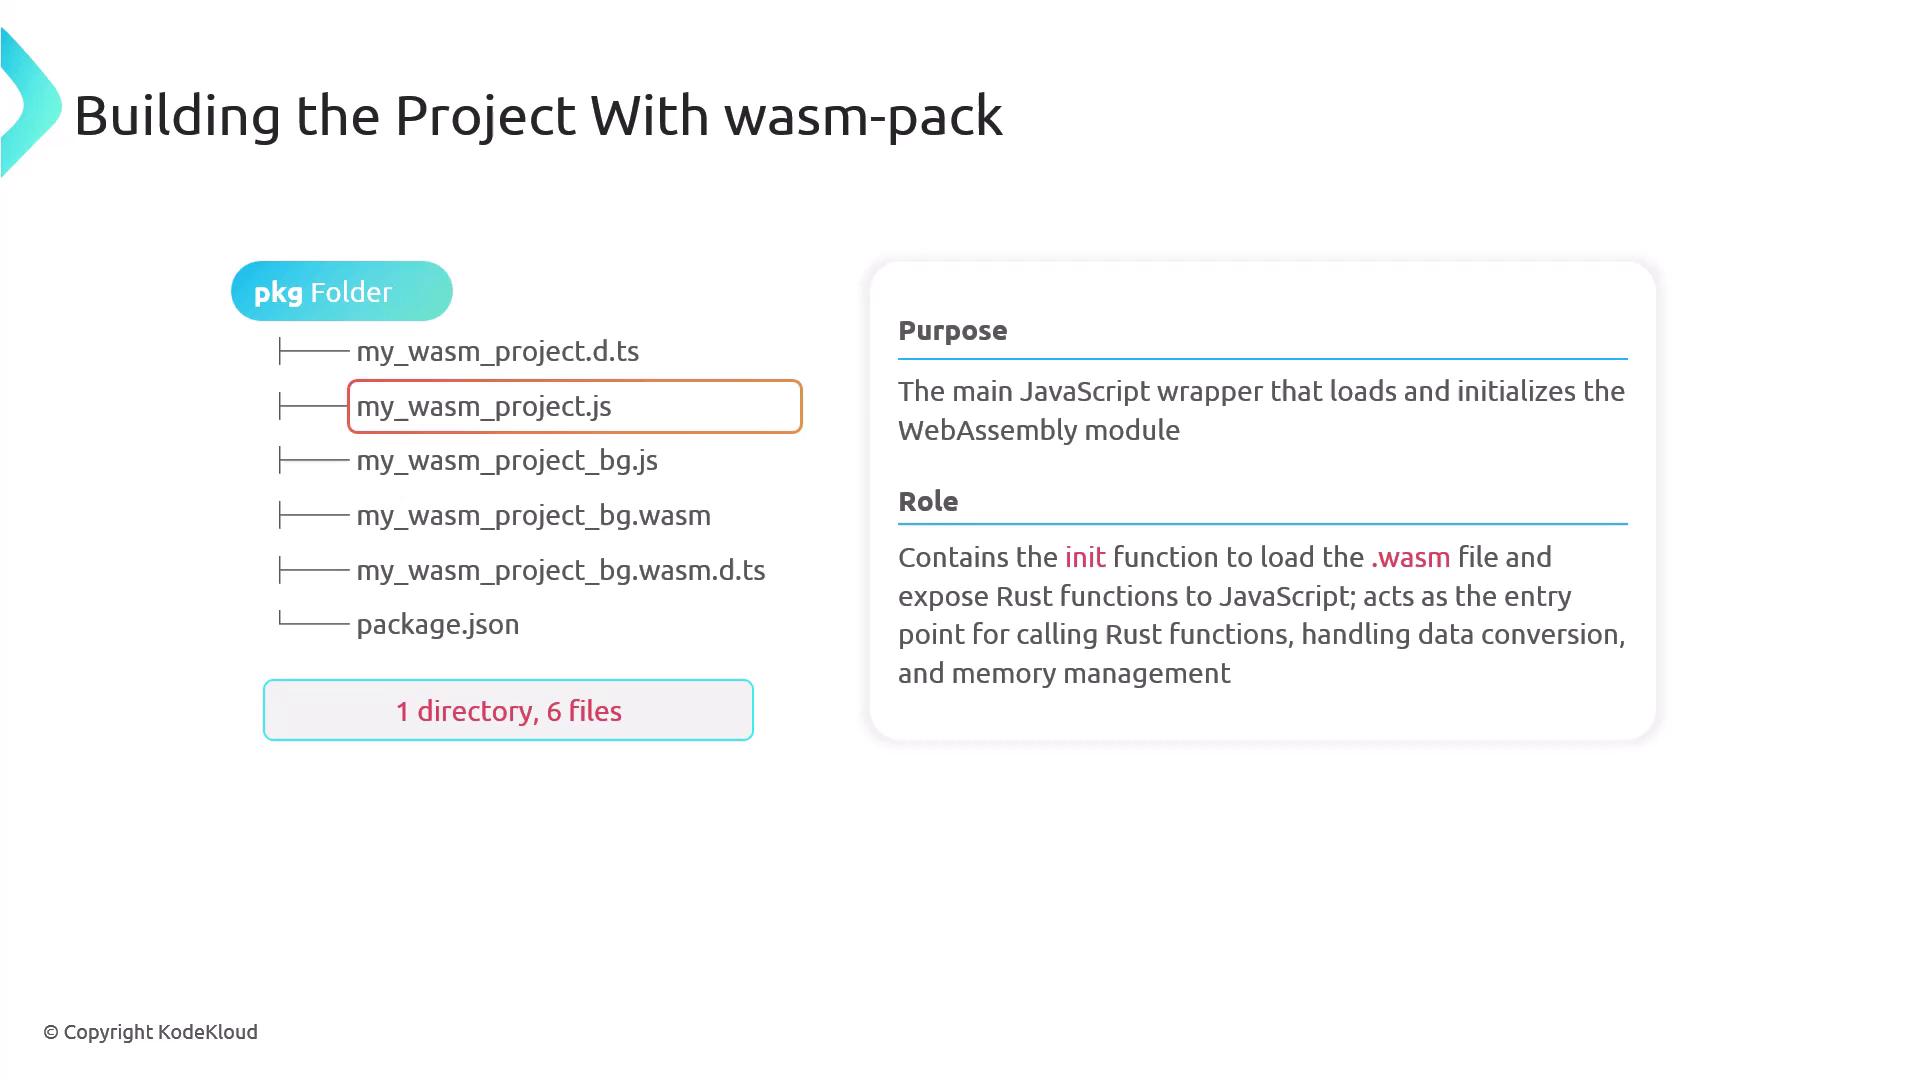
- Main JavaScript Wrapper
The main JavaScript file contains the initialization function (commonly namedinit) that loads the WASM binary and exposes the Rust functions to JavaScript. It serves as the entry point for invoking Rust functions, handling data conversion, and managing memory.
- Additional JavaScript Glue Code
This file acts as the bridge between JavaScript and WebAssembly by providing helper functions for managing complex data types such as strings and arrays. It also includes routines for memory allocation and deallocation required by Rust functions.

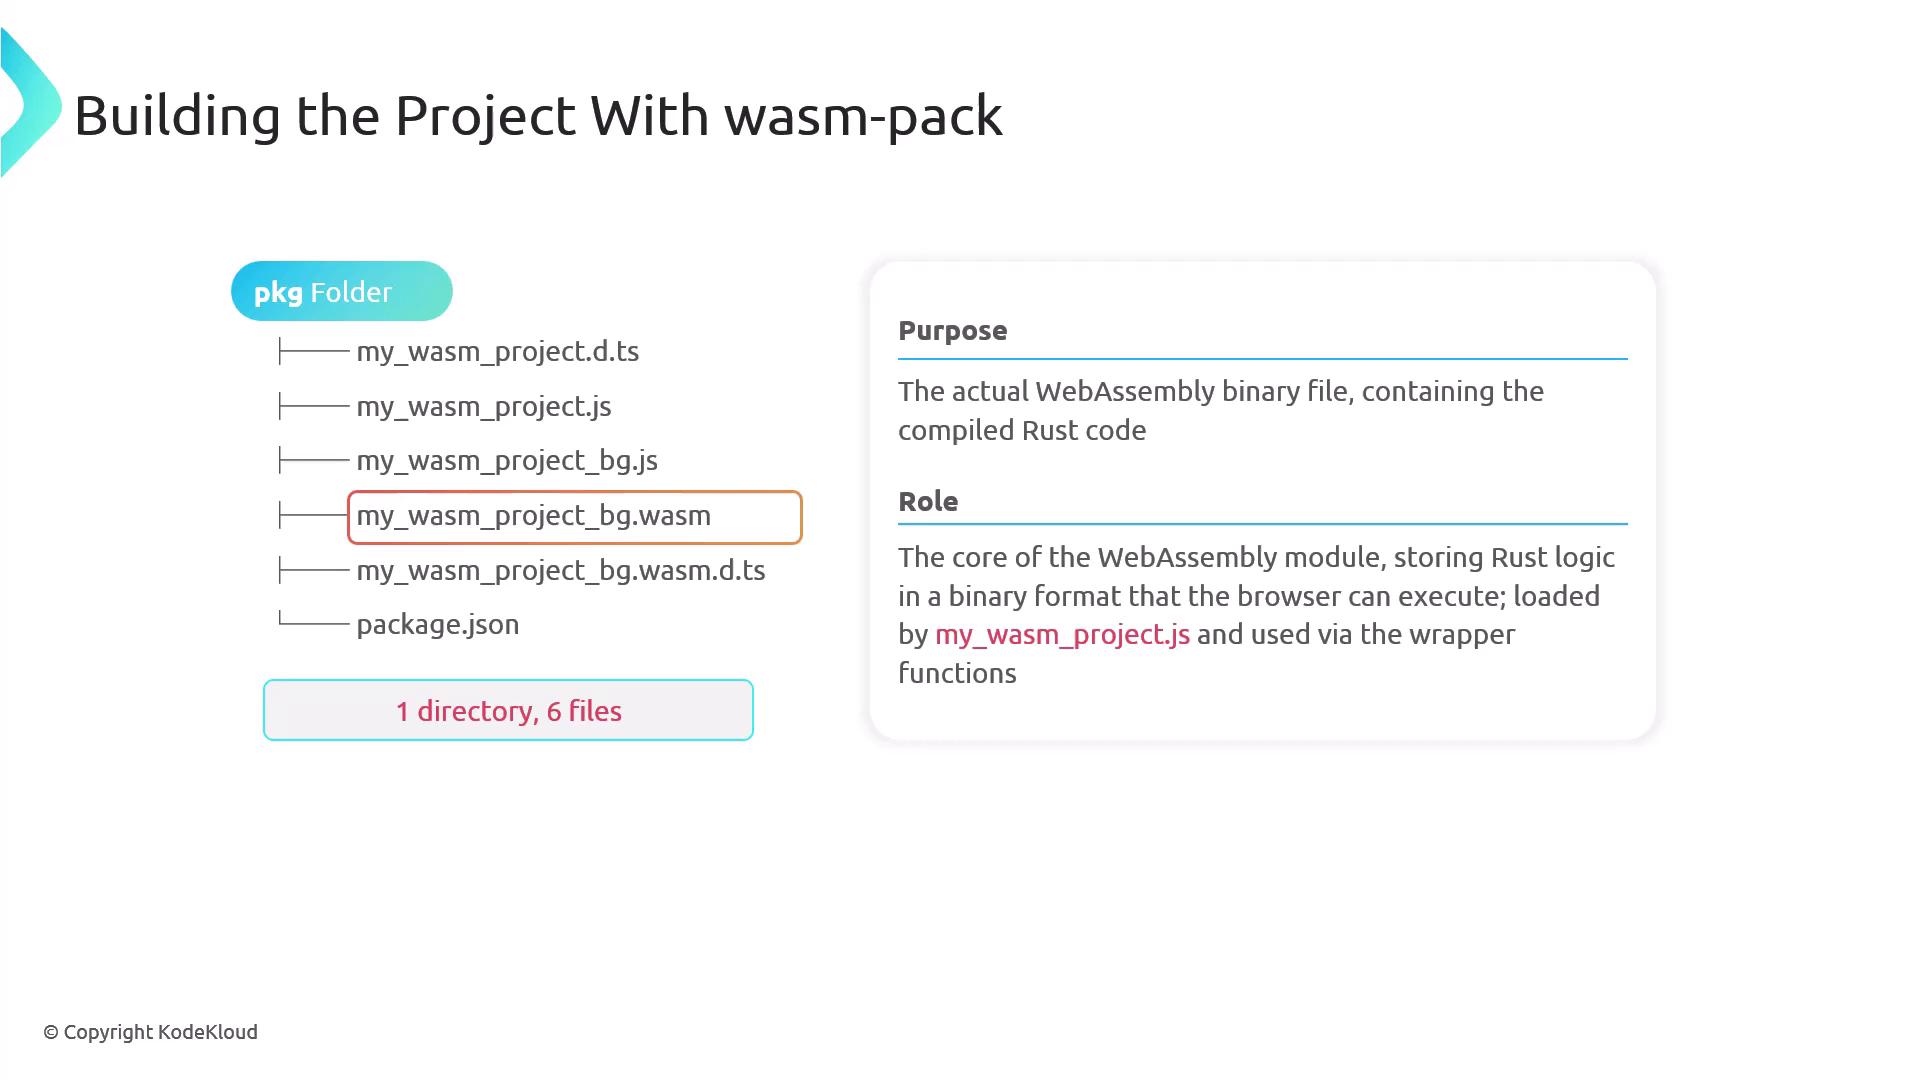
- Core WebAssembly Binary File
The core file contains all the compiled Rust code in a binary format that the browser executes. It is loaded by the JavaScript wrapper and accessed via exposed functions.
-
Secondary TypeScript Definition File
This additional TypeScript definition file ensures that TypeScript can recognize and provide type information for WebAssembly memory elements, even if your project does not directly use TypeScript. -
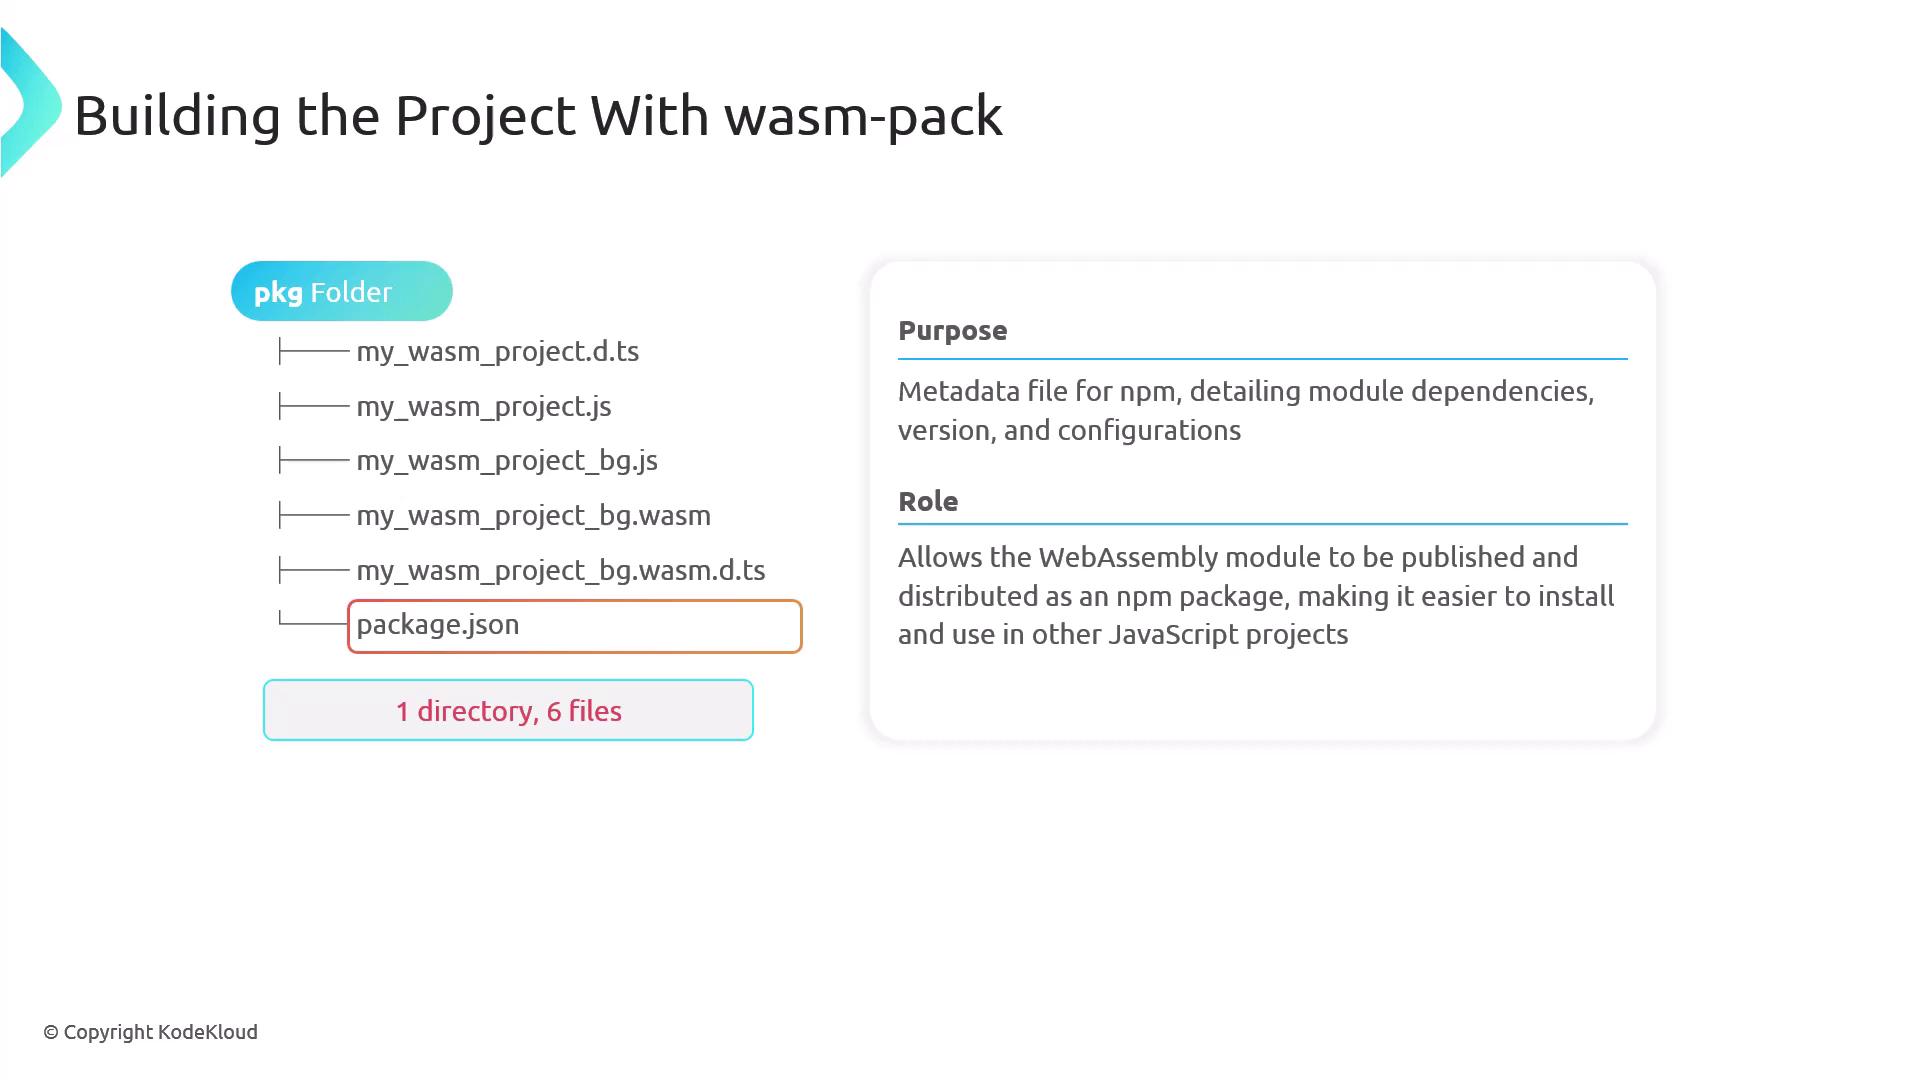
package.json File
Thepackage.jsonfile serves as metadata for npm. It details dependencies, versions, and configurations, enabling the WebAssembly module to be published and distributed as an npm package for integration into other JavaScript projects.
Calling Rust Functions from JavaScript
Let’s walk through a simple example of calling a Rust function from JavaScript using WebAssembly. In your Rust source code, use thewasm-bindgen attribute to expose functions to JavaScript. Below is an example of the greet function:
index.html file to load the module and invoke the function. In the HTML snippet below, we pass a sample name (e.g., “Priyanka”) to the greet function. We have also introduced a new function, add, which returns the sum of two integers. Update your Rust source to include both functions:
index.html file to correctly import and use both functions:
index.html in your browser, you should see “Hello, Priyanka!” displayed on the page. In the browser console, the following output confirms that the WebAssembly module is working as expected:
- Loading Wasm…
- Wasm initialized successfully
- 5 + 3 = 8
This demonstration underscores how accessible Rust functions are within the browser via WebAssembly. The seamless exchange of data types like strings and numbers enhances the development of high-performance web applications.