Rust Programming
WebAssembly with Rust
Setting Up Your Rust and WebAssembly Development Environment
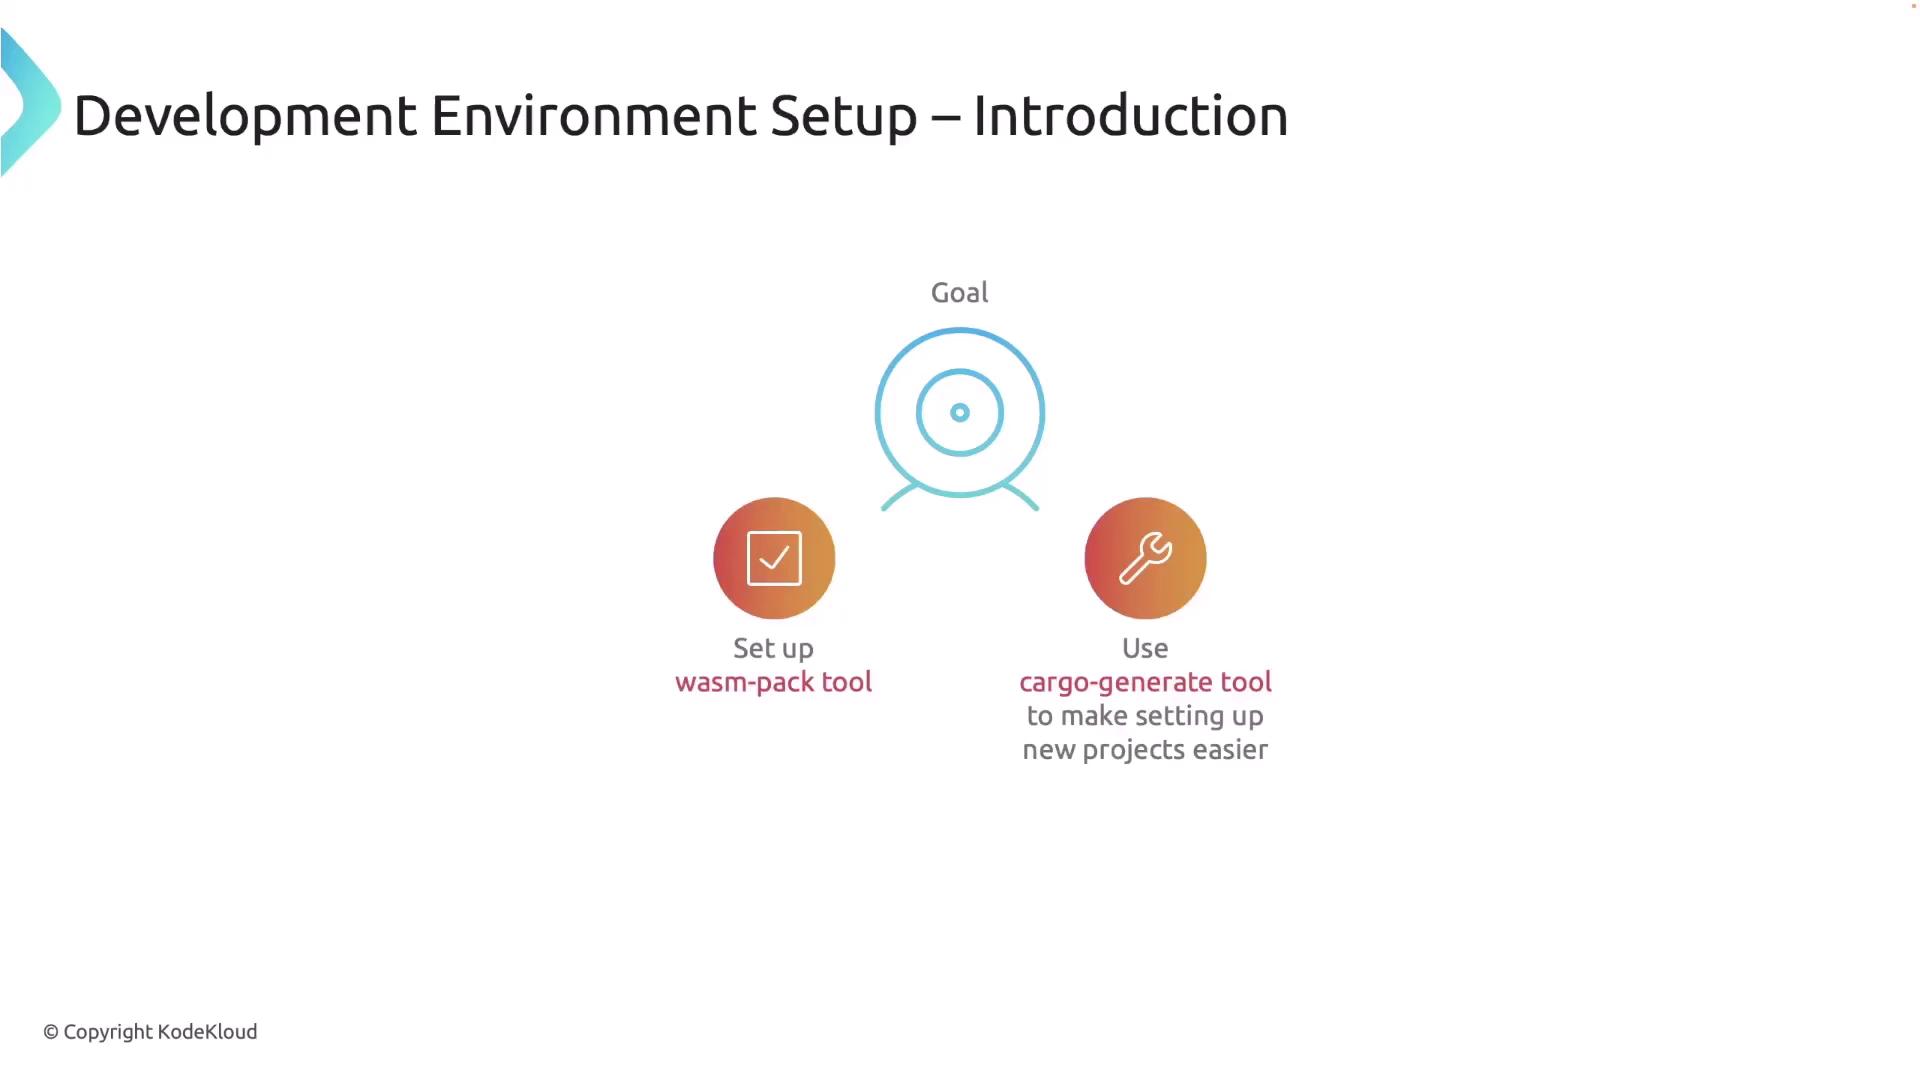
In this guide, we will set up a robust development environment for Rust and WebAssembly. Our primary objectives are to install and configure the essential tools—wasm-pack (for compiling Rust code into WebAssembly and bundling it for JavaScript) and, optionally, Cargo Generate (for rapidly creating new Rust projects from templates).

By the end of this tutorial, you will be able to write a Rust function, compile it into WebAssembly, and load it into a web page.
Installing wasm-pack
wasm-pack is a dedicated Rust tool for building WebAssembly projects. It compiles your Rust code, bundles the output, and seamlessly integrates with JavaScript. To install it, open your terminal and execute:
cargo install wasm-pack
After installation, confirm that wasm-pack is properly installed by running:
wasm-pack --version
If the version number appears (for example, wasm-pack 0.13.1), then wasm-pack has been successfully installed:
cargo install wasm-pack
Updating crates.io index
Ignored package `wasm-pack v0.13.1` is already installed, use --force to override
wasm-pack --version
wasm-pack 0.13.1
Installing Cargo Generate (Optional)
Cargo Generate is an optional helper tool that creates new Rust projects from templates quickly—particularly useful for projects requiring WebAssembly boilerplate code. To install Cargo Generate, execute:
cargo install cargo-generate
If you choose not to use this tool, you can safely skip this step.
Creating a New Rust Project
Once the required tools are installed, create a new Rust library project that compiles to WebAssembly. Start by running:
cargo new my_wasm_project --lib
Then navigate to your project directory:
cd my_wasm_project
Examine the project structure. The important files include:
- Cargo.toml: The configuration file where project dependencies and settings are defined.
- lib.rs: The main Rust source file that will be compiled into WebAssembly.
A basic Cargo.toml file might resemble the following:
[package]
name = "my_wasm_project"
version = "0.1.0"
edition = "2021"

[dependencies]
To enable WebAssembly compilation, update your Cargo.toml by adding a library section that specifies a C-compatible dynamic library:
[package]
name = "my_wasm_project"
version = "0.1.0"
edition = "2021"

[dependencies]

[lib]
crate-type = ["cdylib"]
Writing a Simple Rust Function for WebAssembly
Replace the content of your library file (typically located at src/lib.rs) with the following code. This code snippet uses the wasm-bindgen library to expose a Rust function to JavaScript:
use wasm_bindgen::prelude::*;

#[wasm_bindgen]
pub fn greet() -> String {
    "Hello, wasm-pack!".to_string()
}
The #[wasm_bindgen] attribute is essential, as it makes the greet function callable from JavaScript after being compiled to WebAssembly.
Before compiling, add the wasm-bindgen dependency to your Cargo.toml. Update the [dependencies] section as follows:
[dependencies]
wasm-bindgen = "0.2"
Your updated Cargo.toml should now appear as:
[package]
name = "my_wasm_project"
version = "0.1.0"
edition = "2021"

[dependencies]
wasm-bindgen = "0.2"

[lib]
crate-type = ["cdylib"]
Compiling the Project to WebAssembly
With your code and configuration in place, compile the project to WebAssembly using wasm-pack. Run the following command in your terminal:
wasm-pack build --target web
You may encounter an error such as:
Error: `cargo metadata` exited with an error: Updating crates.io index
error: no matching package found
searched package name: wasm_bindgen
perhaps you meant: wasm-bindgen
This error occurs because the dependency name should use a hyphen (wasm-bindgen) rather than an underscore. After correcting this in Cargo.toml, run the build command again. Successful compilation produces output similar to:
$ wasm-pack build --target web
[INFO]: 🦀️  Checking for the Wasm target...
Compiling to Wasm...
Compiling proc-macro2 v1.0.92
Compiling unicode-ident v1.0.14
Compiling wasm-bindgen-shared v2.0.95
...
Common Pitfall
If you mistakenly place a semicolon after "Hello, wasm-pack!".to_string(); in the greet function, the result will become a statement instead of returning the string. Always ensure the function ends with the expression intended for output.
After a successful build, wasm-pack generates the necessary WebAssembly files and packages them for direct integration with JavaScript.
Integrating with HTML and JavaScript
To load your compiled WebAssembly module onto a web page, create an HTML file (for example, index.html) with the following content:
<!DOCTYPE html>
<html lang="en">
<head>
    <meta charset="UTF-8">
    <title>Rust and WebAssembly</title>
</head>
<body>
    <h1 id="greeting">Loading...</h1>
    <script type="module">
        console.log("Loading Wasm...");
        import init, { greet } from './pkg/my_wasm_project.js';

        init().then(() => {
            console.log("Wasm initialized successfully");
            document.getElementById("greeting").innerText = greet();
        }).catch(error => {
            console.error("Error initializing Wasm:", error);
        });
    </script>
</body>
</html>
wasm-pack also generates helper JavaScript files that manage decoding and memory tasks. An example snippet from these helper files might look like:
let wasm;

const cachedTextDecoder = (typeof TextDecoder !== 'undefined'
    ? new TextDecoder('utf-8', { ignoreBOM: true })
    : undefined);

if (typeof TextDecoder !== 'undefined') {
    cachedTextDecoder.decode();
}

let cachedUint8ArrayMemory0 = null;

function getUint8ArrayMemory0() {
    if (cachedUint8ArrayMemory0 === null || cachedUint8ArrayMemory0.byteLength === 0) {
        cachedUint8ArrayMemory0 = new Uint8Array(wasm.memory.buffer);
    }
    return cachedUint8ArrayMemory0;
}

function getStringFromWasm0(ptr, len) {
    // function implementation
}
Final Build Artifacts and Execution
After a successful build with wasm-pack, you should see output messages confirming that your WebAssembly package is ready for publishing or direct use. For example:
Installing /Users/priyadav/Library/Caches/wasm-pack/wasm-bindgen-cargo-install-0.2.95/bin/wasm-bindgen
Installed package `wasm-bindgen-cli v0.2.95` (executables `wasm-bindgen`, `wasm-bindgen-test-runner`, `wasm2es6js`)
warning: be sure to add /Users/priyadav/Library/Caches/wasm-pack/wasm-bindgen-cargo-install-0.2.95/bin to your PATH
Optimizing wasm binaries with `wasm-opt`...
INFO: Done in 42.80s
Your wasm pkg is ready to publish at `/Users/priyadav/my_wasm_project`
These messages confirm that your Rust code has been successfully compiled into WebAssembly. You can now serve your HTML file and witness the greet function executing in your browser.
By following this guide, you have successfully established your Rust and WebAssembly development environment, created a new project, written a simple Rust function accessible from JavaScript, and compiled your code into a ready-to-use WebAssembly package. This setup paves the way to explore more complex integrations of Rust with web technologies.
For further reading and advanced configurations, consider exploring the following resources:
Watch Video
Watch video content