Terraform Associate Certification: HashiCorp Certified
Terraform Cloud
Terraform Cloud Demo
In this lesson, we will demonstrate how to use Terraform Cloud—from creating an account and setting up a workspace to executing plans and enforcing compliance with Sentinel policies. This comprehensive guide is designed to help you understand and optimize your Terraform Cloud workflow.
1. Creating a Terraform Cloud Account
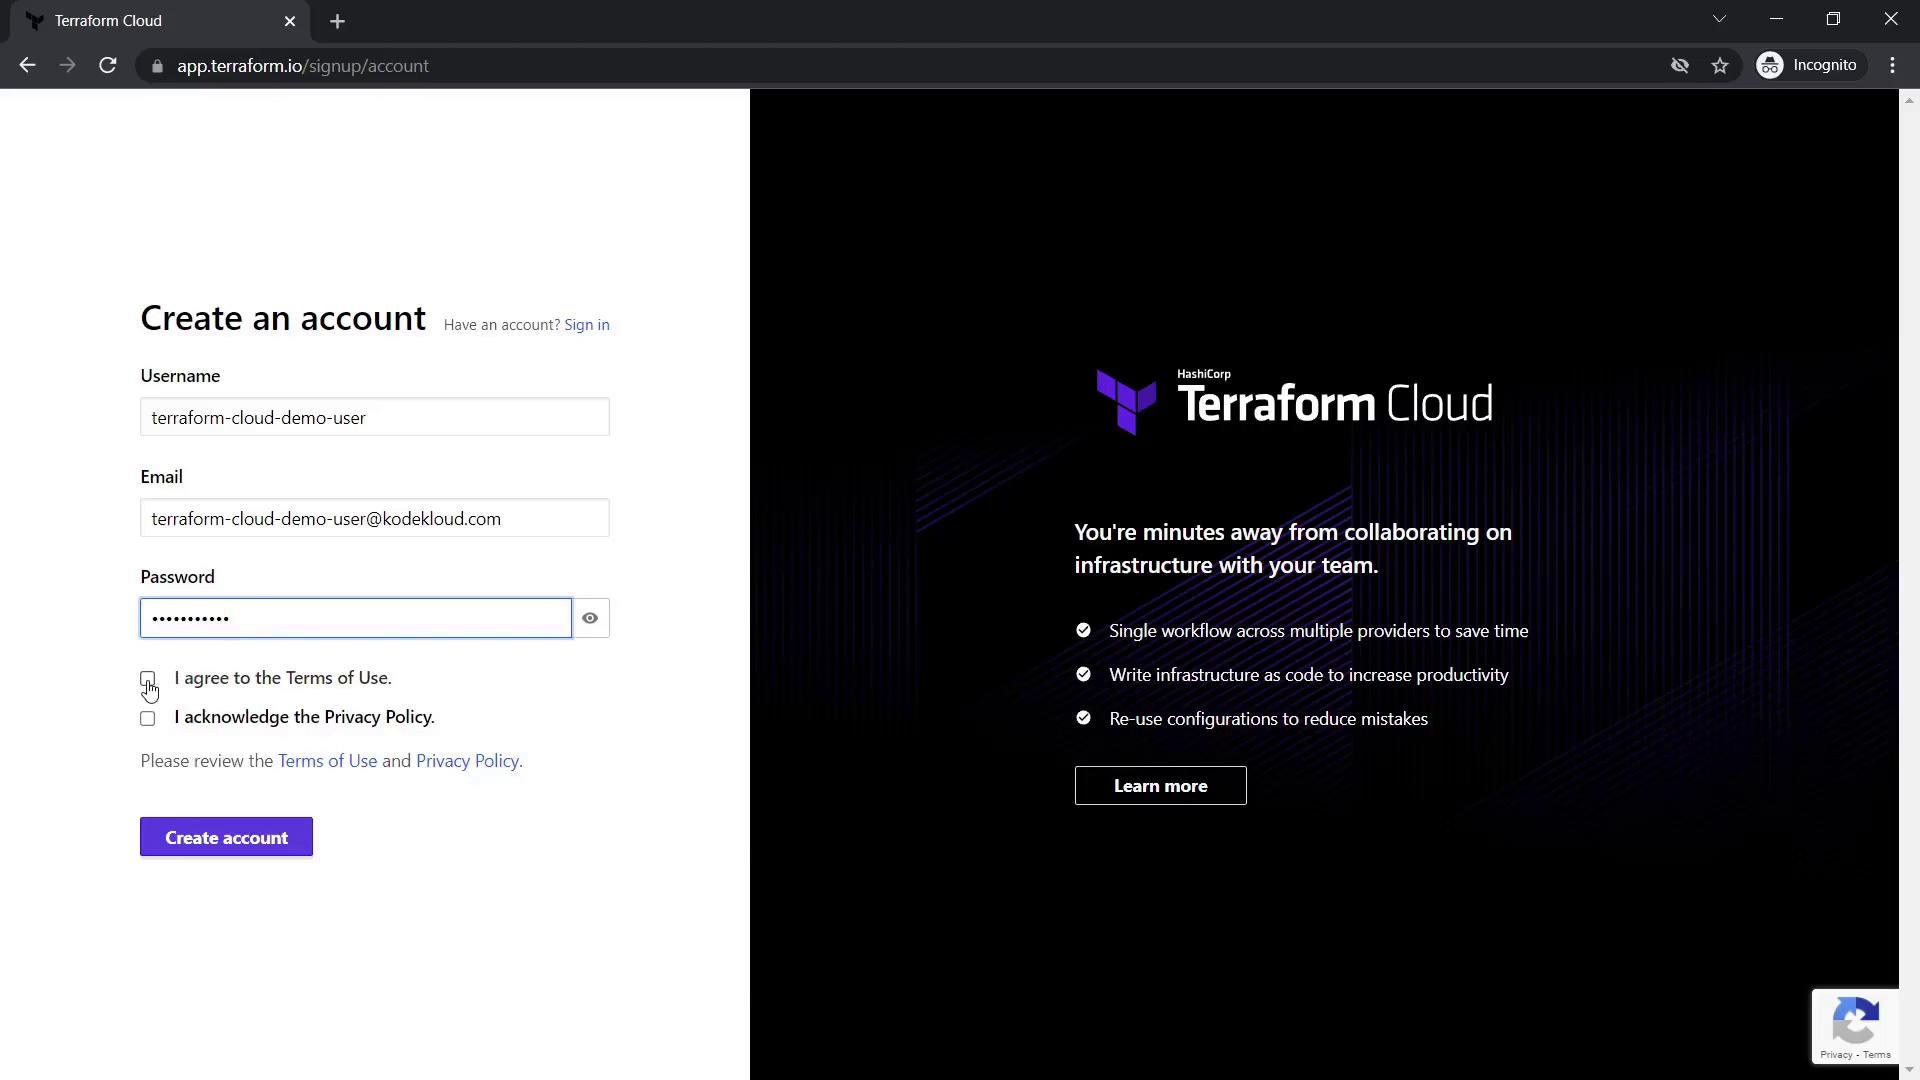
Begin by visiting Terraform Cloud and creating your free account. You can choose to sign in or register a new account by clicking "Free Account." Provide your username, email, and password, and be sure to accept the Terms of Use and Privacy Policy.
After registration, check your email for a confirmation message. Open the link provided to verify your email address.

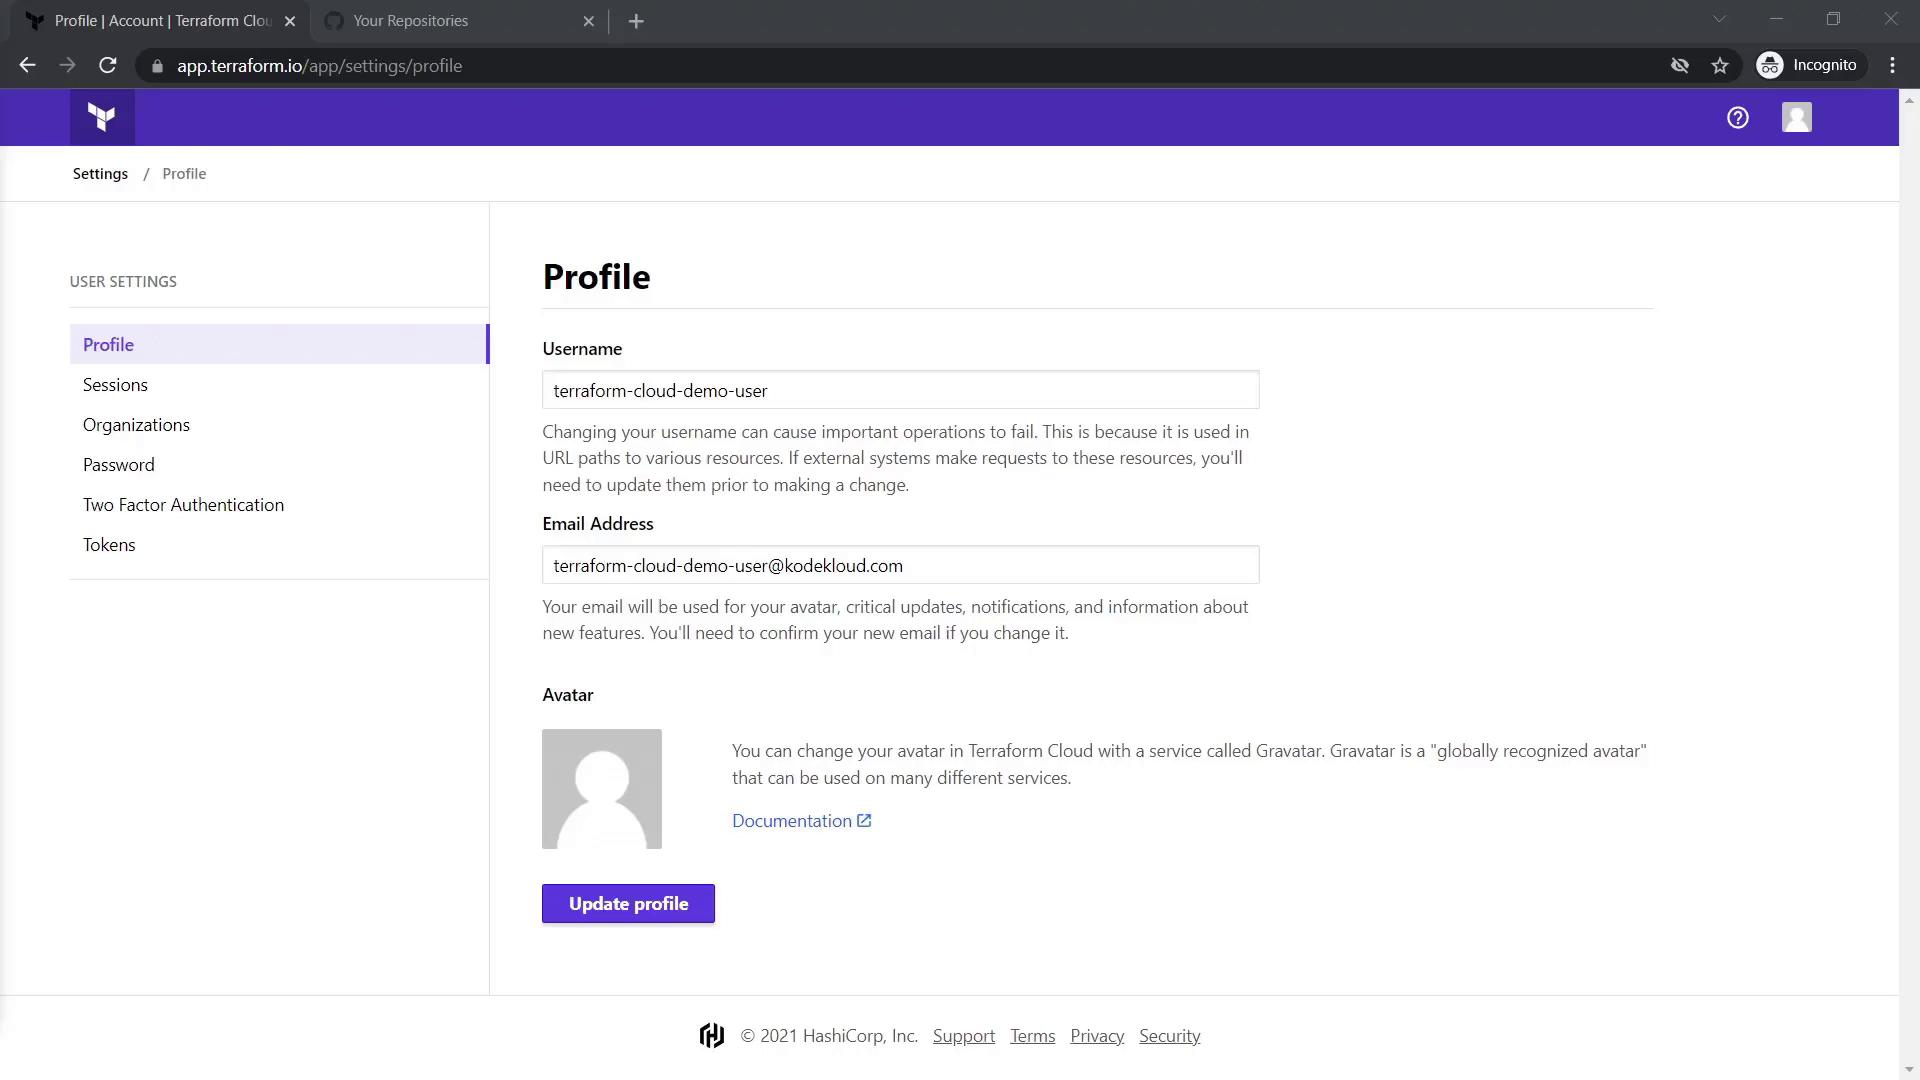
Once confirmed, log in to Terraform Cloud. The dashboard initially shows your user settings such as username, email, and other profile details. Click the Terraform icon in the top left corner to access the main dashboard.
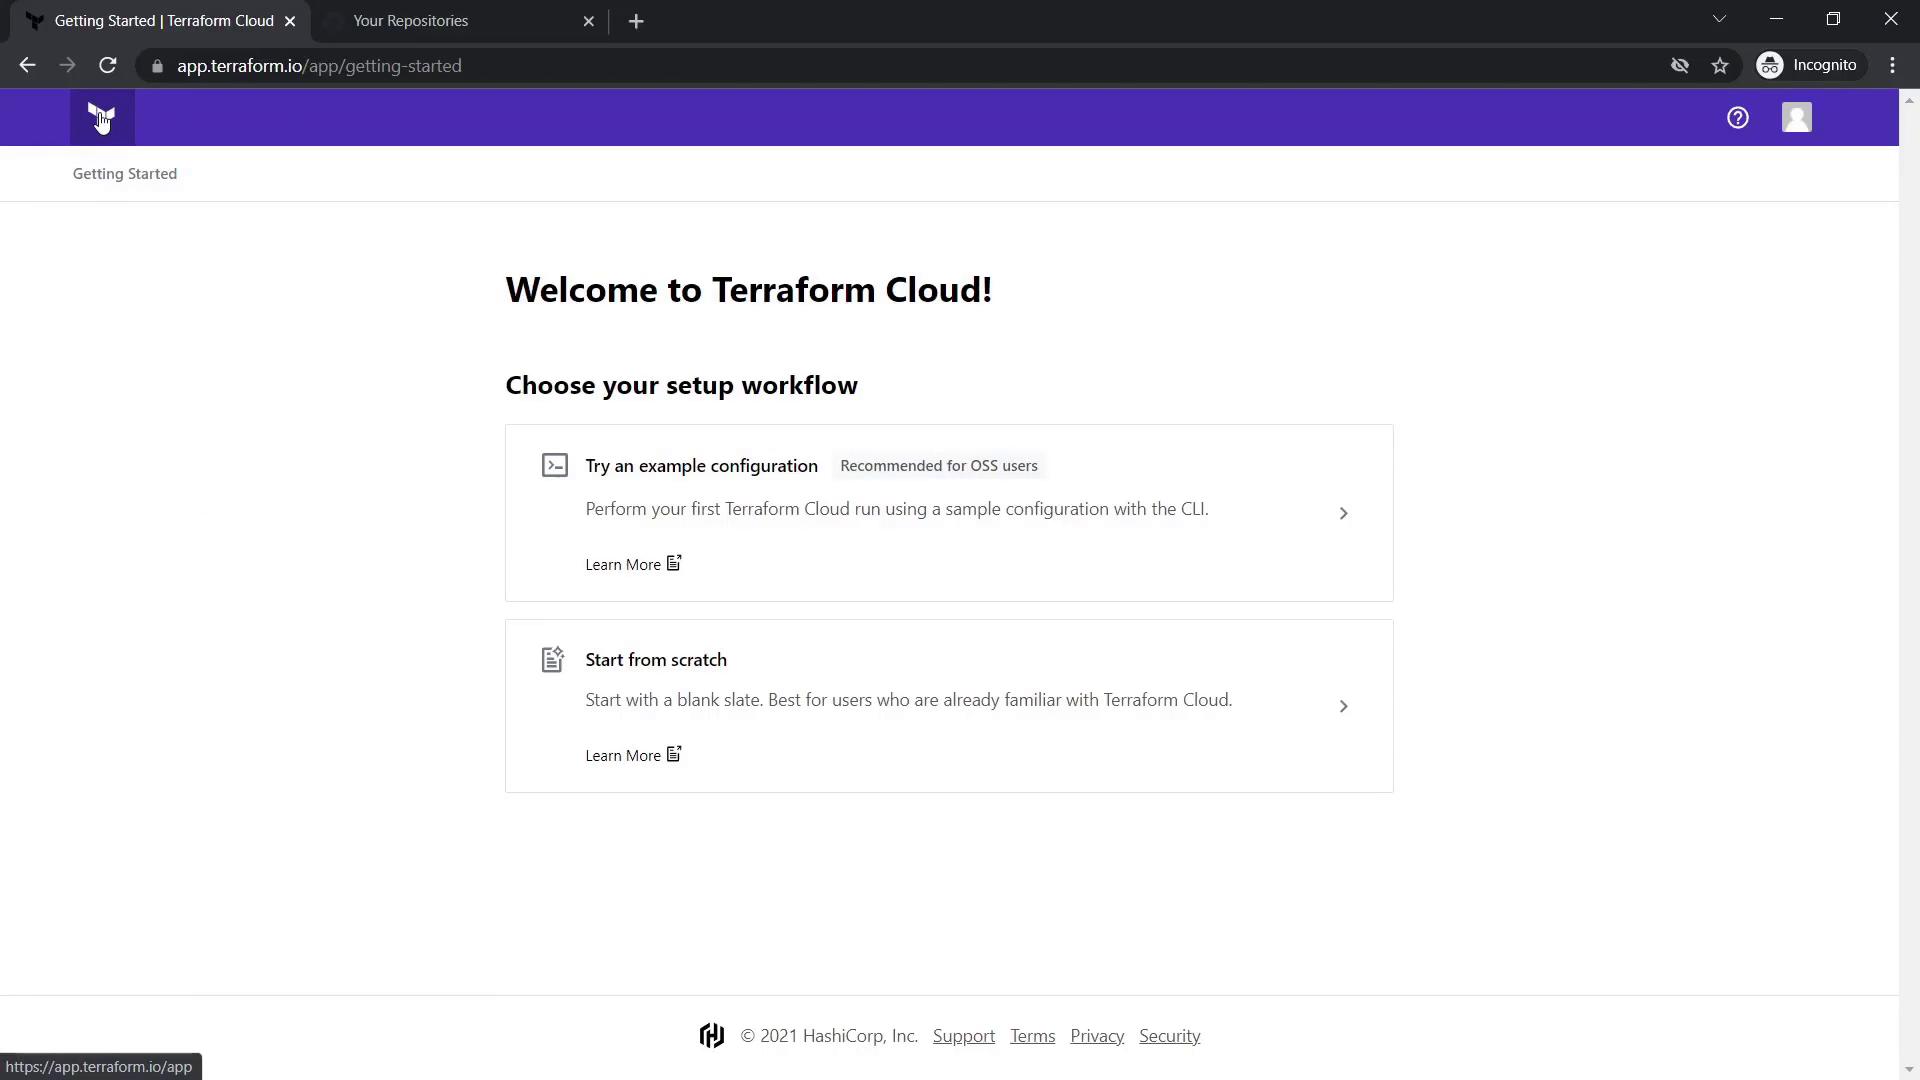
If this is your first login, you will see the "Welcome to Terraform Cloud" page.
2. Setting Up a New Organization and Workspace
2.1 Create an Organization
Select "Start from scratch" to create your first organization. Provide a globally unique organization name. In this demo, we use:
KodeKloud-terraform-cloud-demo-01
The same email you registered with is used for the organization.

2.2 Create a Workspace
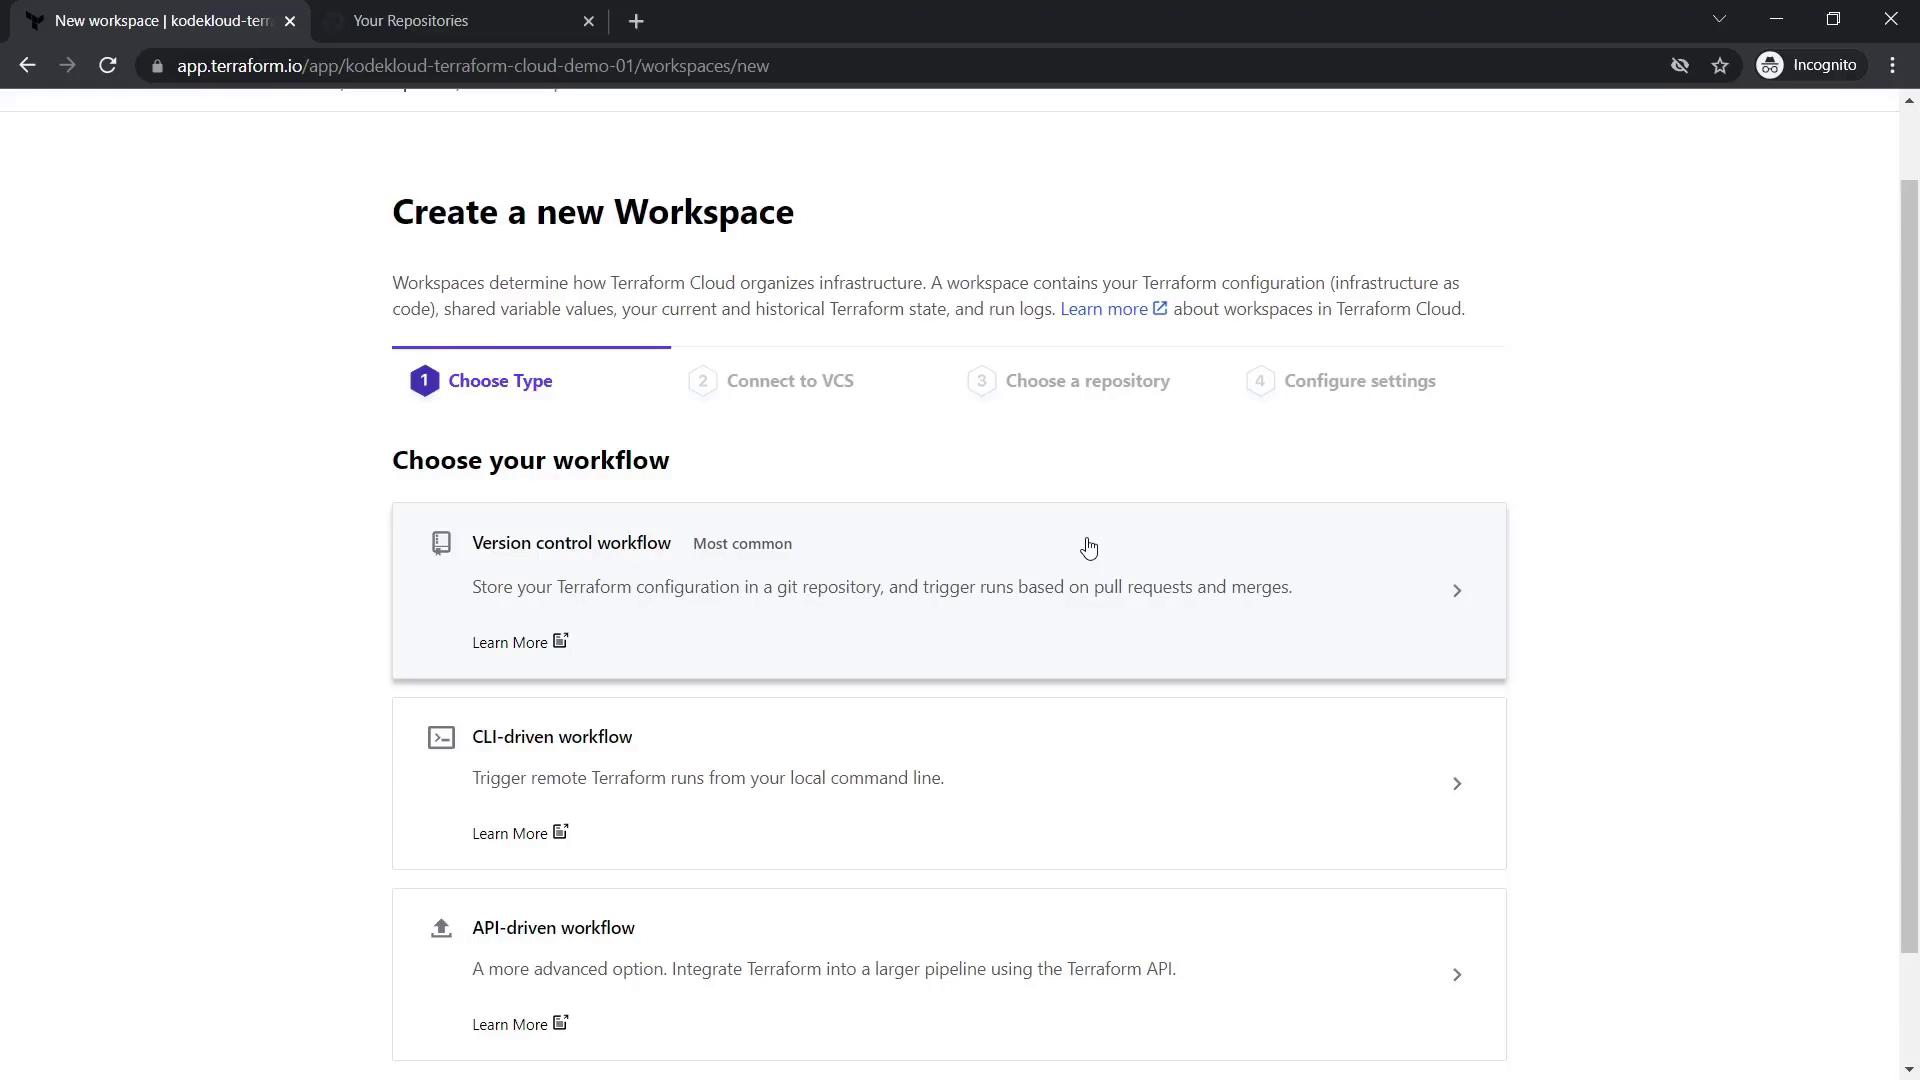
After your organization is set up, create a workspace. A workspace in Terraform Cloud serves as your configuration directory (root module) where you manage configuration files, states, and variables. Choose from these workflow options:
- Version Control Workflow – Integrate directly with repositories from GitHub, GitLab, or Bitbucket.
- CLI-driven Workflow – Execute Terraform runs locally while operations are coordinated remotely.
- API-driven Workflow – Run Terraform operations using API integrations.
For this demo, select the Version Control Workflow.
Terraform Cloud will prompt you to connect a version control provider (defaulting to GitHub if already logged in).
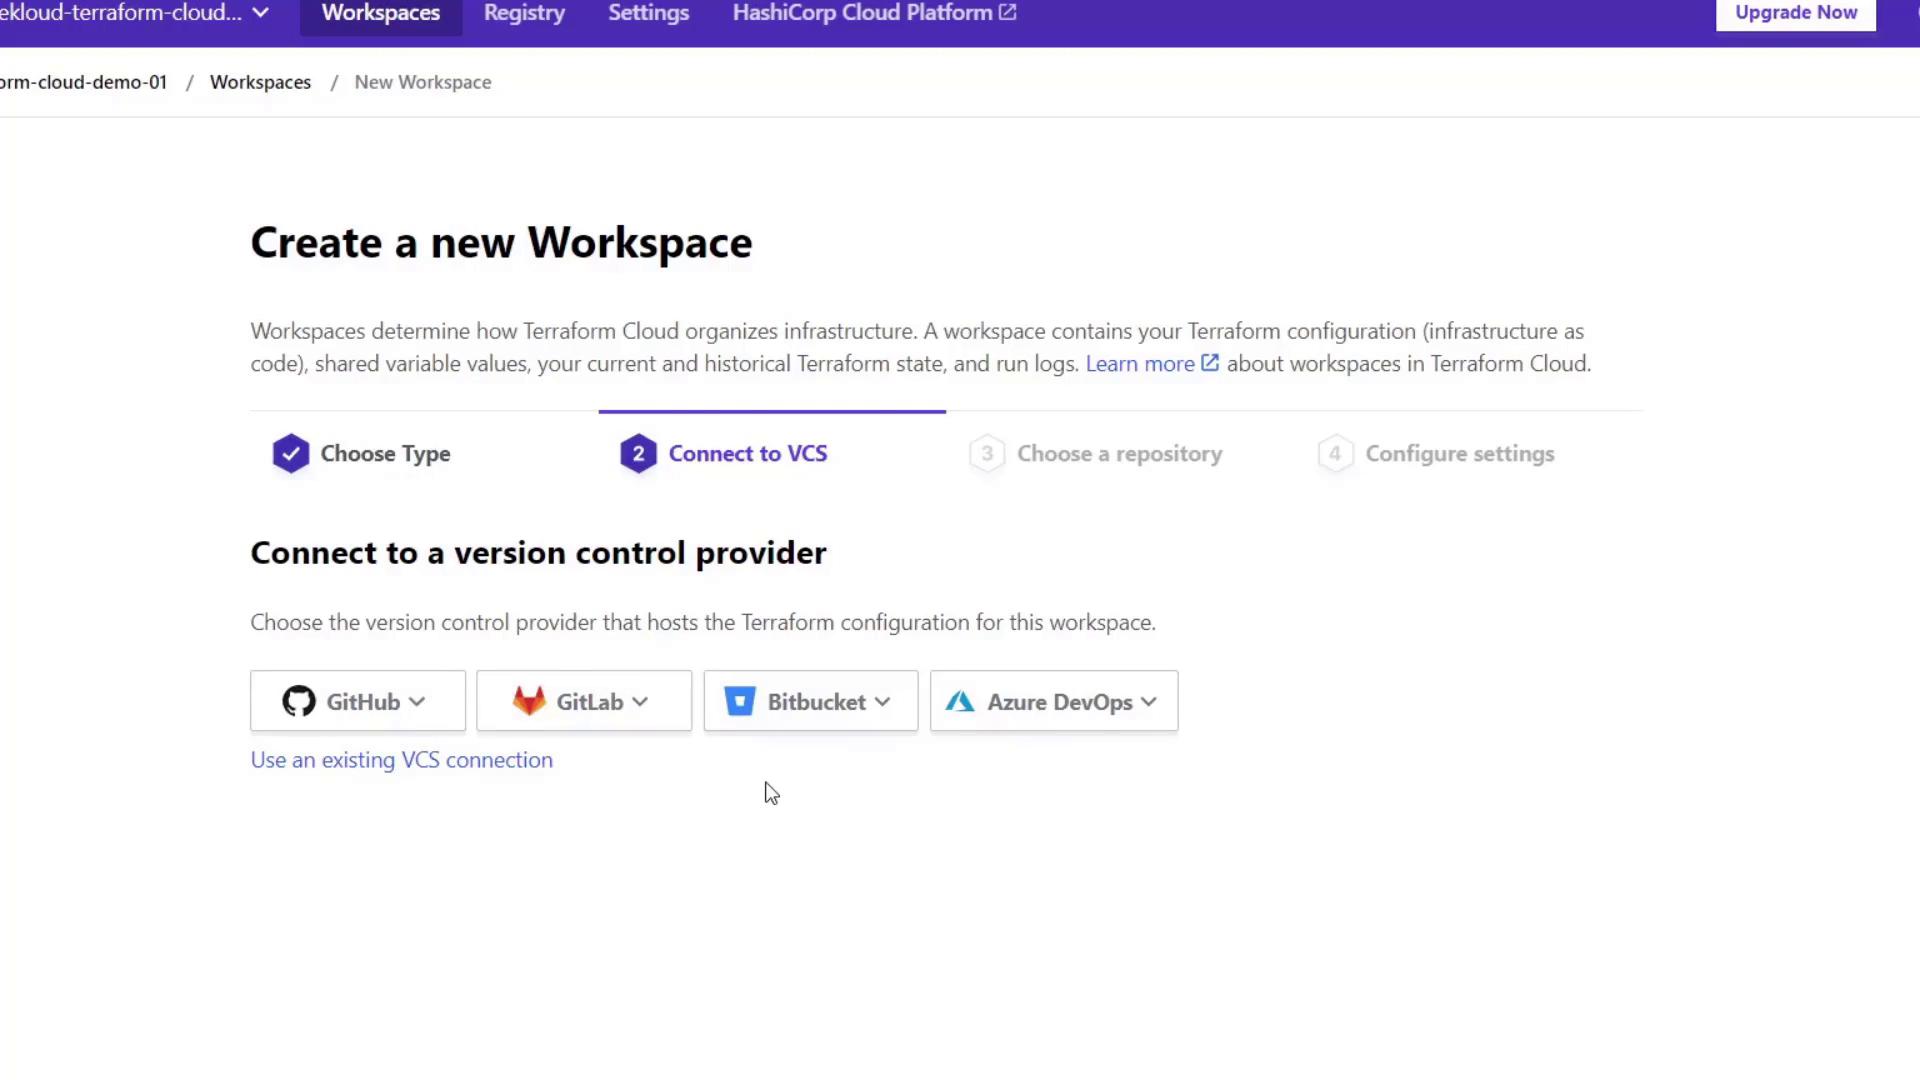
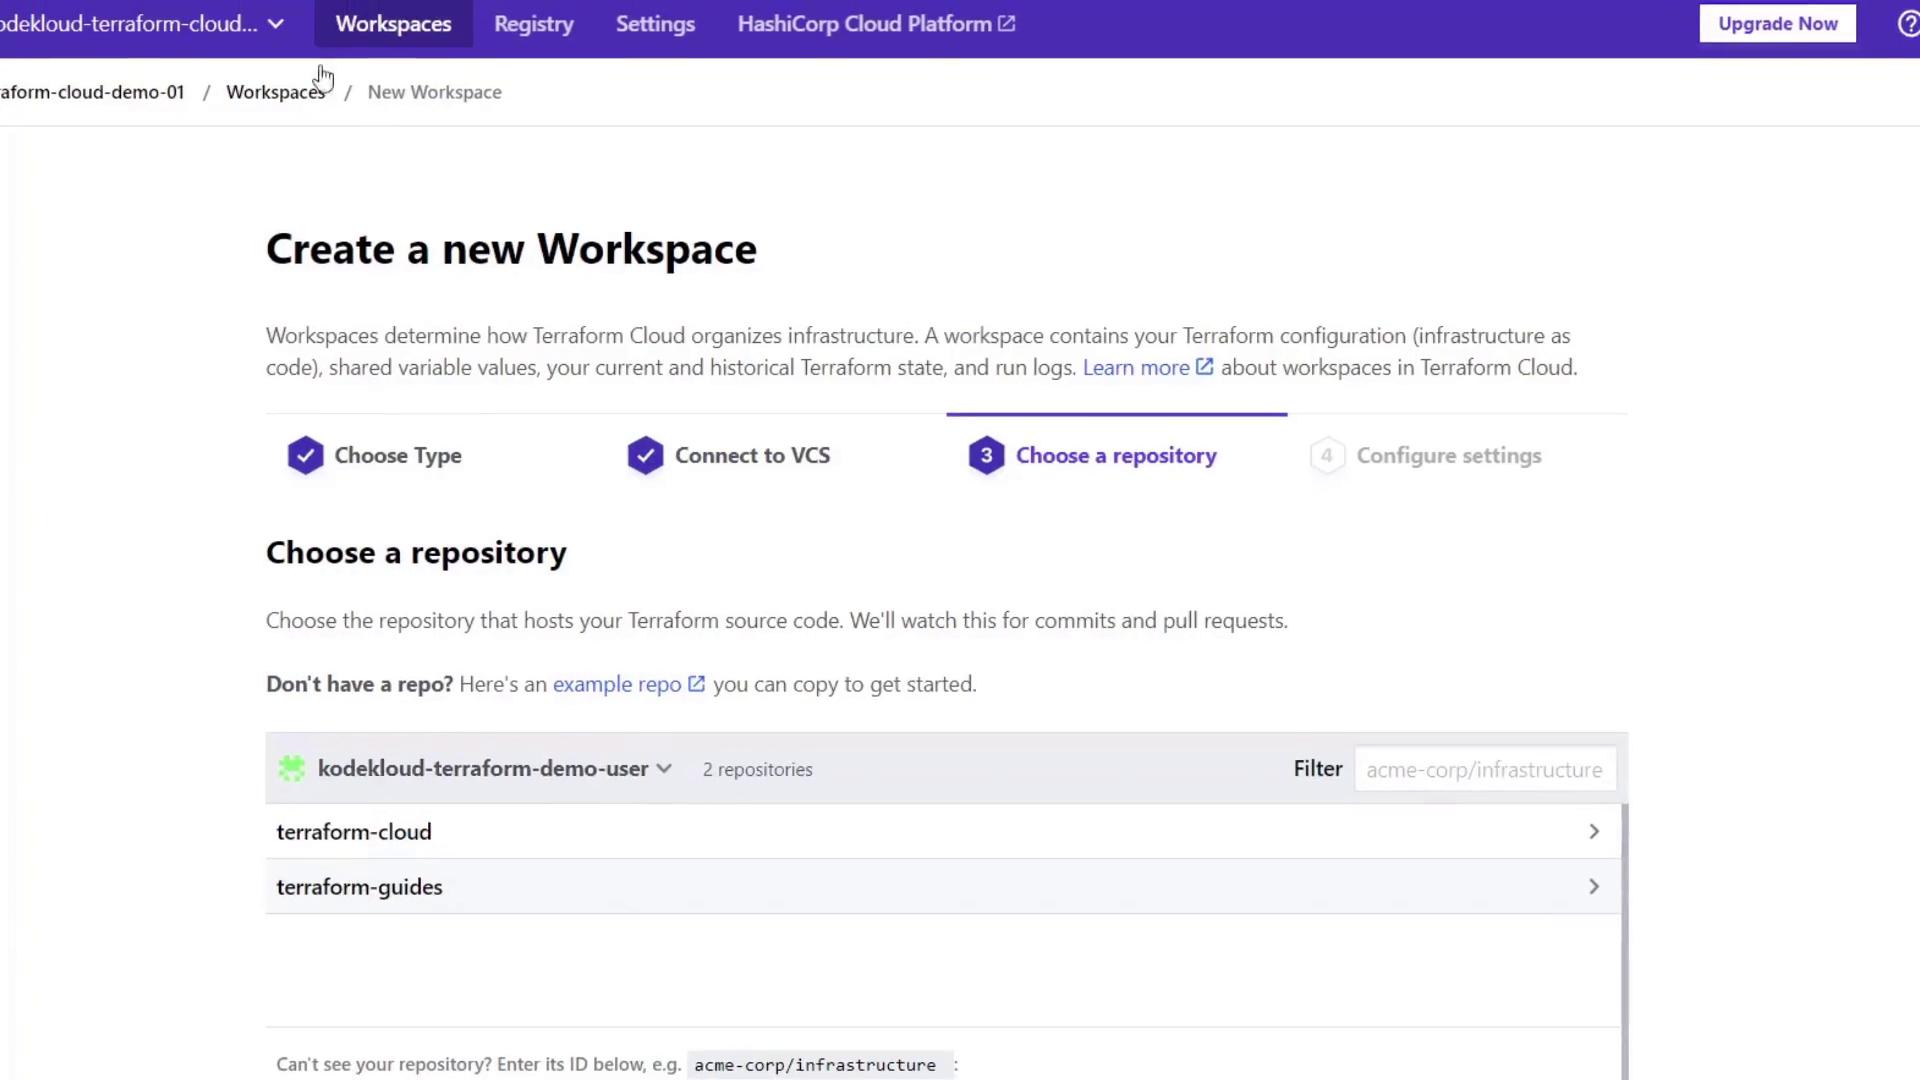
Select your GitHub account, then choose the repository containing your Terraform configuration files (for example, a repository named "Terraform Cloud Repository" with files such as main.tf, provider.tf, and Sentinel policy files).
Review the following example from your main.tf file, which provisions an AWS EC2 instance using predefined variables:
variable "ami" {}
variable "region" {}
variable "instance_type" {}
variable "access_key" {}
variable "secret_key" {}
variable "subnet_id" {}

resource "aws_instance" "terraform-cloud-demo-server" {
  ami           = var.ami
  instance_type = var.instance_type
  subnet_id     = var.subnet_id
  tags = {
    Name = "terraform-cloud-demo-server"
  }
}
Similarly, the provider.tf file configures the AWS provider with the same variables. After selecting the repository, name the workspace (for example, "Terraform Cloud") and click Create Workspace.
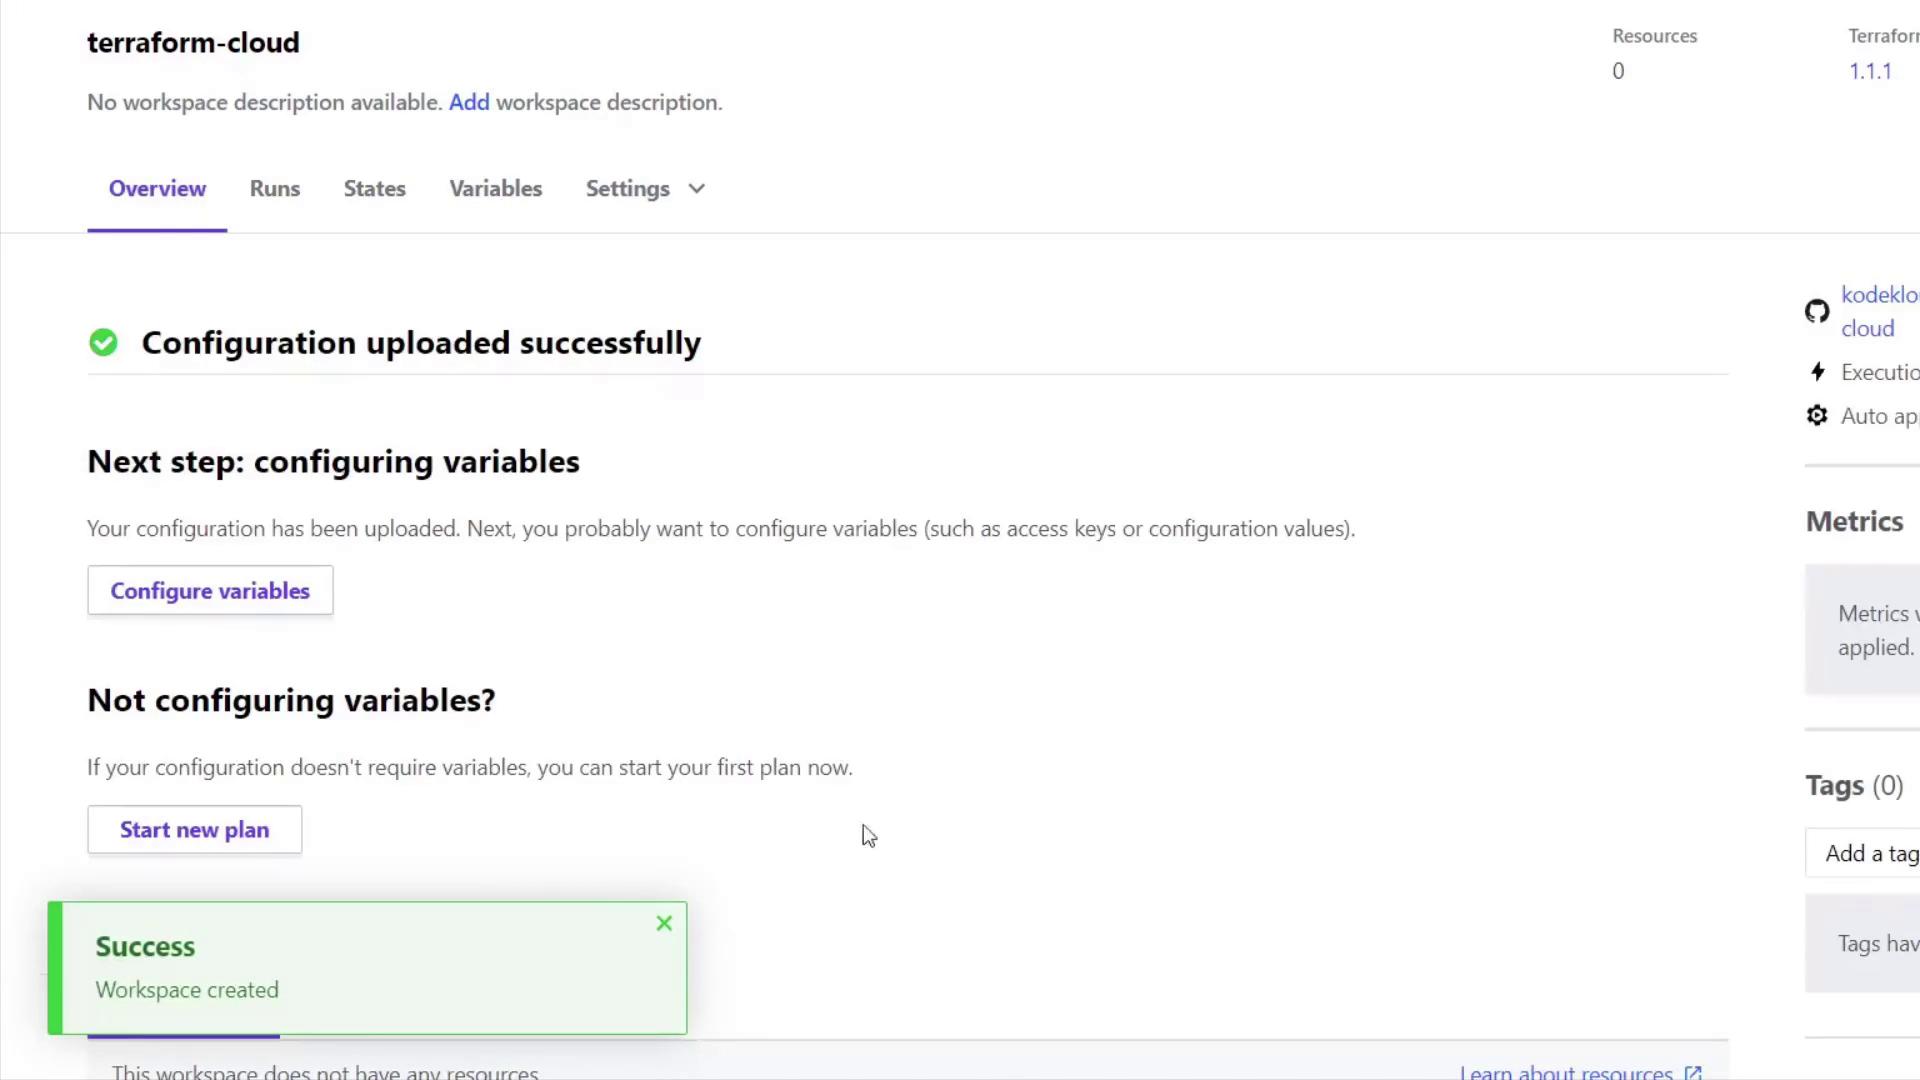
3. Configuring Variables and Running Execution Plans
Within the workspace, navigate through the following tabs: Overview, Runs, State, and Variables. The Overview displays workspace status, VCS integration details, and the current Terraform version (default is 1.1.1, although you can change it).
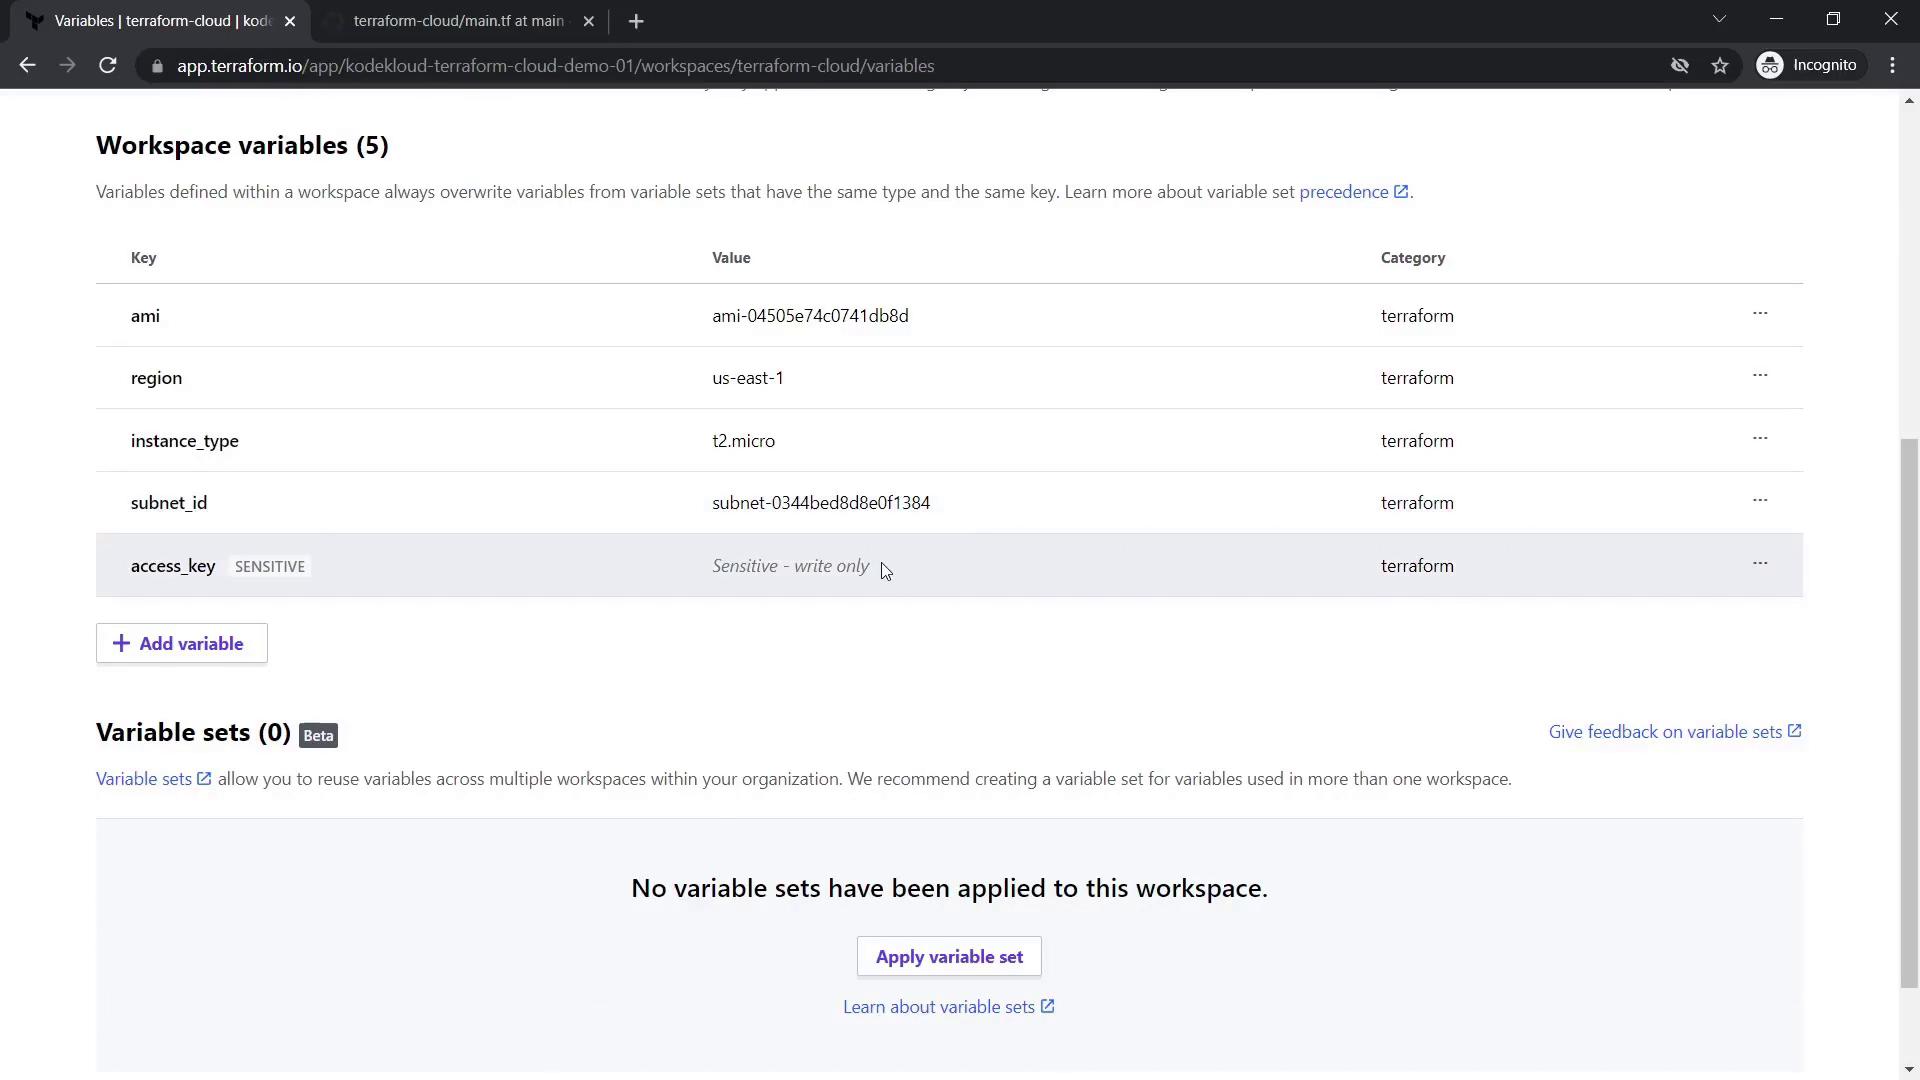
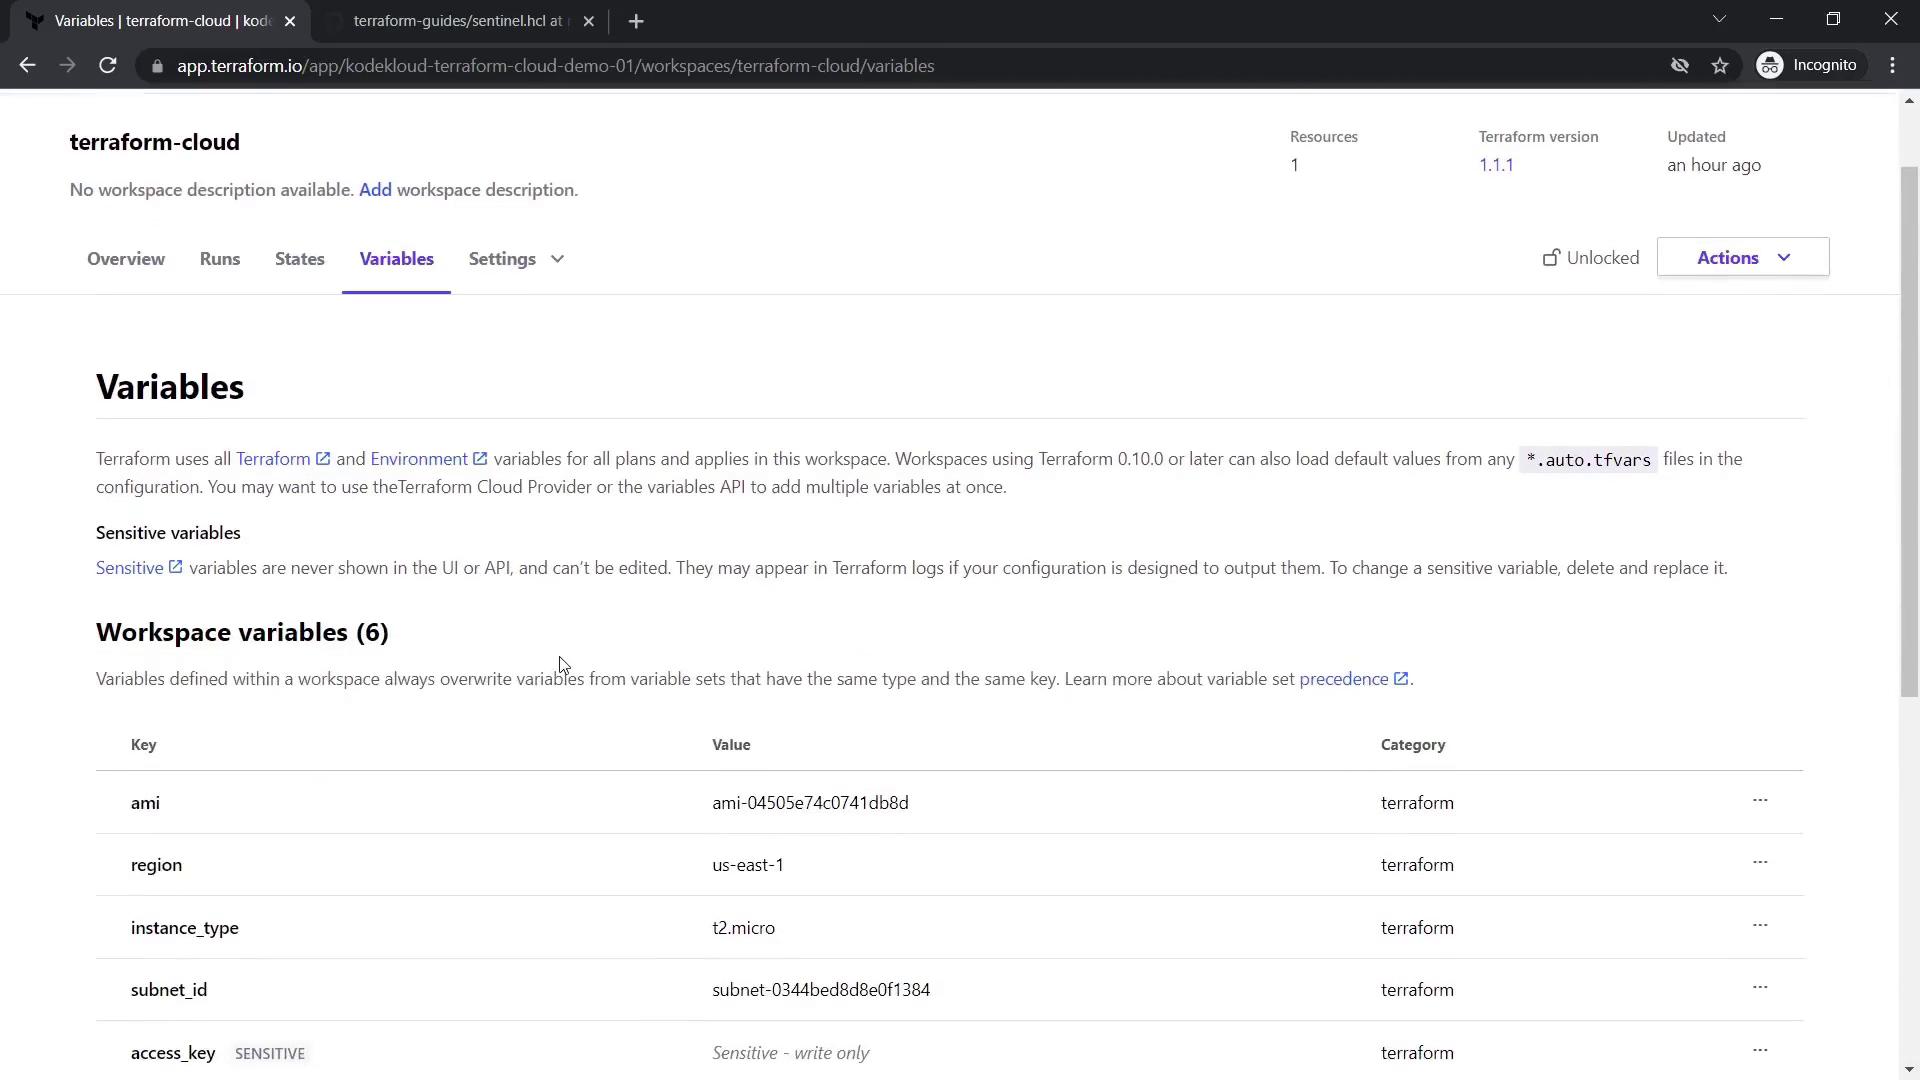
Since the configuration files only declare variables, set their values in the Variables tab. For example, add the following:
- ami:
ami-04505e74c0741db8d - region:
us-east-1 - instance_type:
t2.micro - subnet_id:
subnet-0344bed8d8e0f1384
Also, add AWS access and secret keys as sensitive variables—this ensures that once entered, they will remain masked.
3.1 Execute an Execution Plan
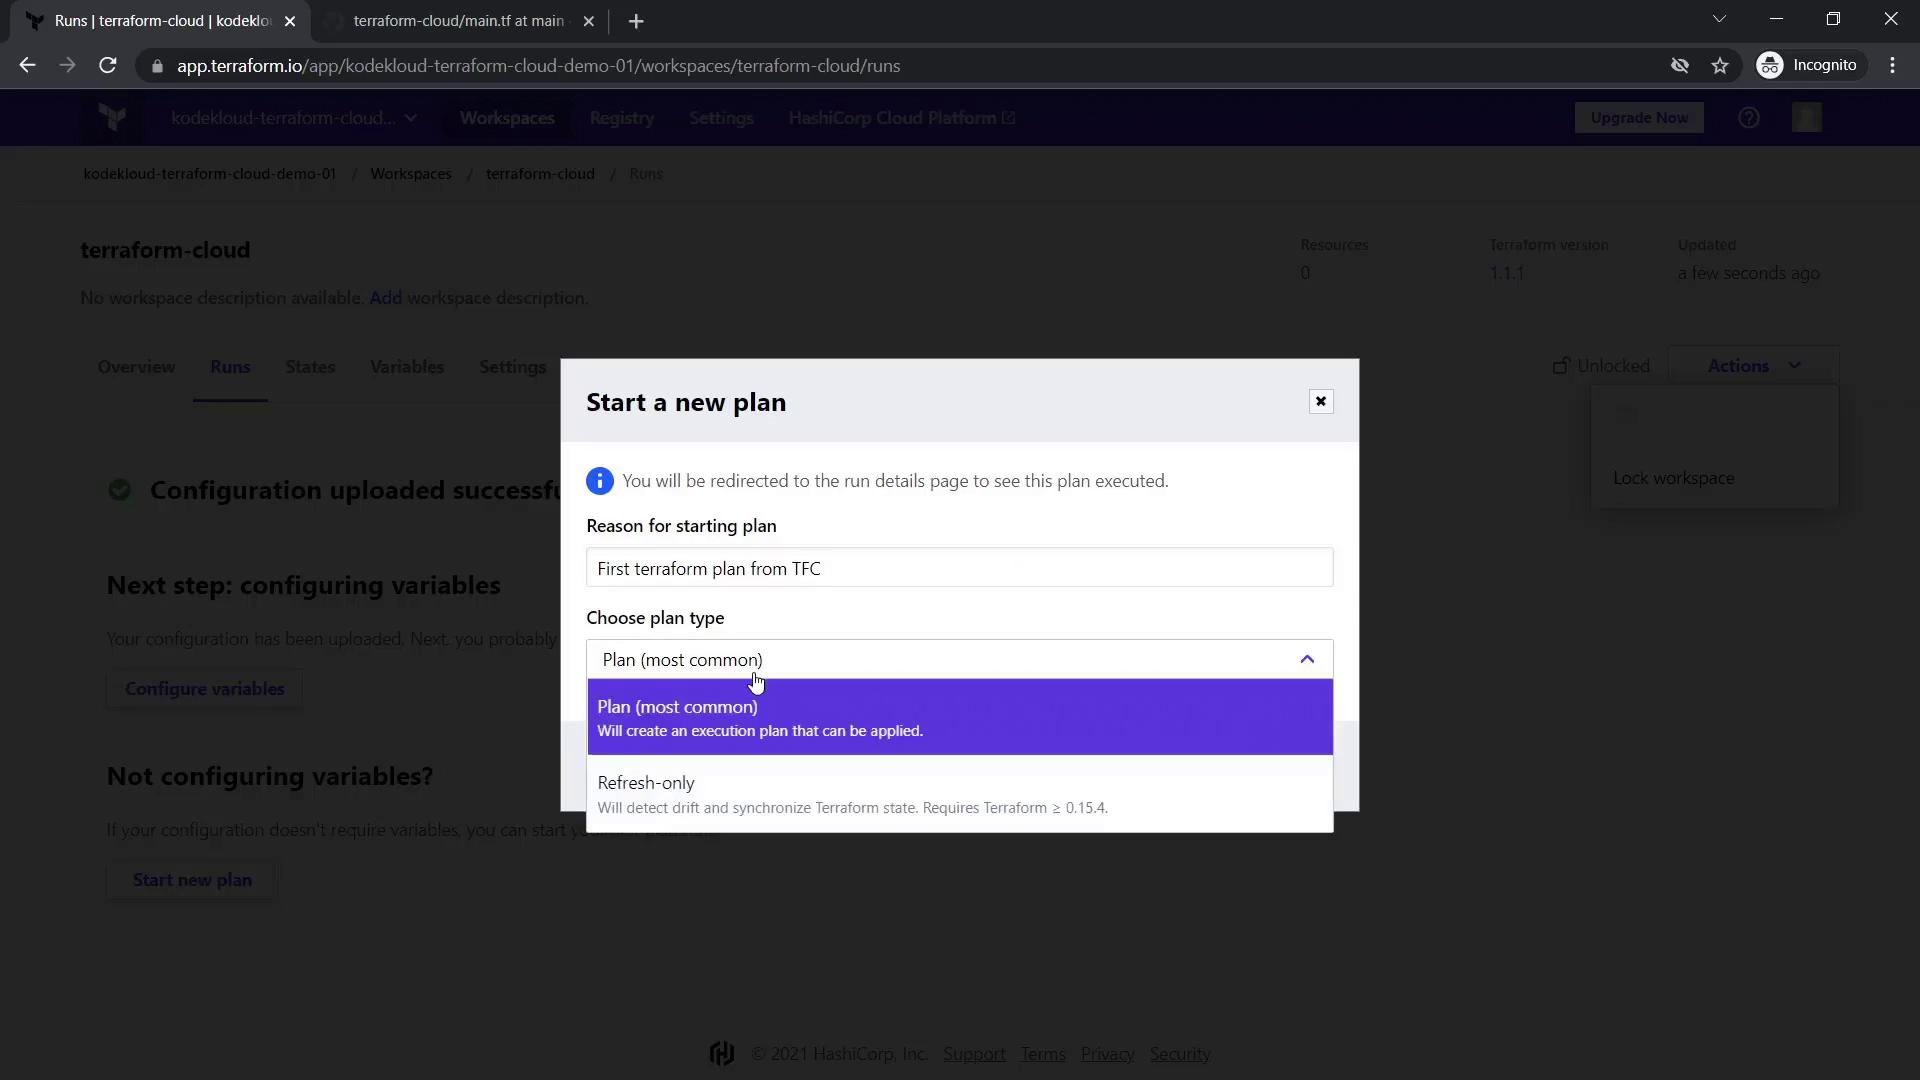
After configuring the variables, start your first execution plan:
- Click the Actions button.
- Select Start New Plan.
- Choose Plan (most common).
Terraform Cloud will generate an execution plan similar to running terraform plan on your local machine.
Review the plan and then choose to either confirm and apply or discard it. If you discard, the Overview tab will update to reflect this choice. You can then create a new plan if desired, and confirm to apply it to provision the EC2 instance.
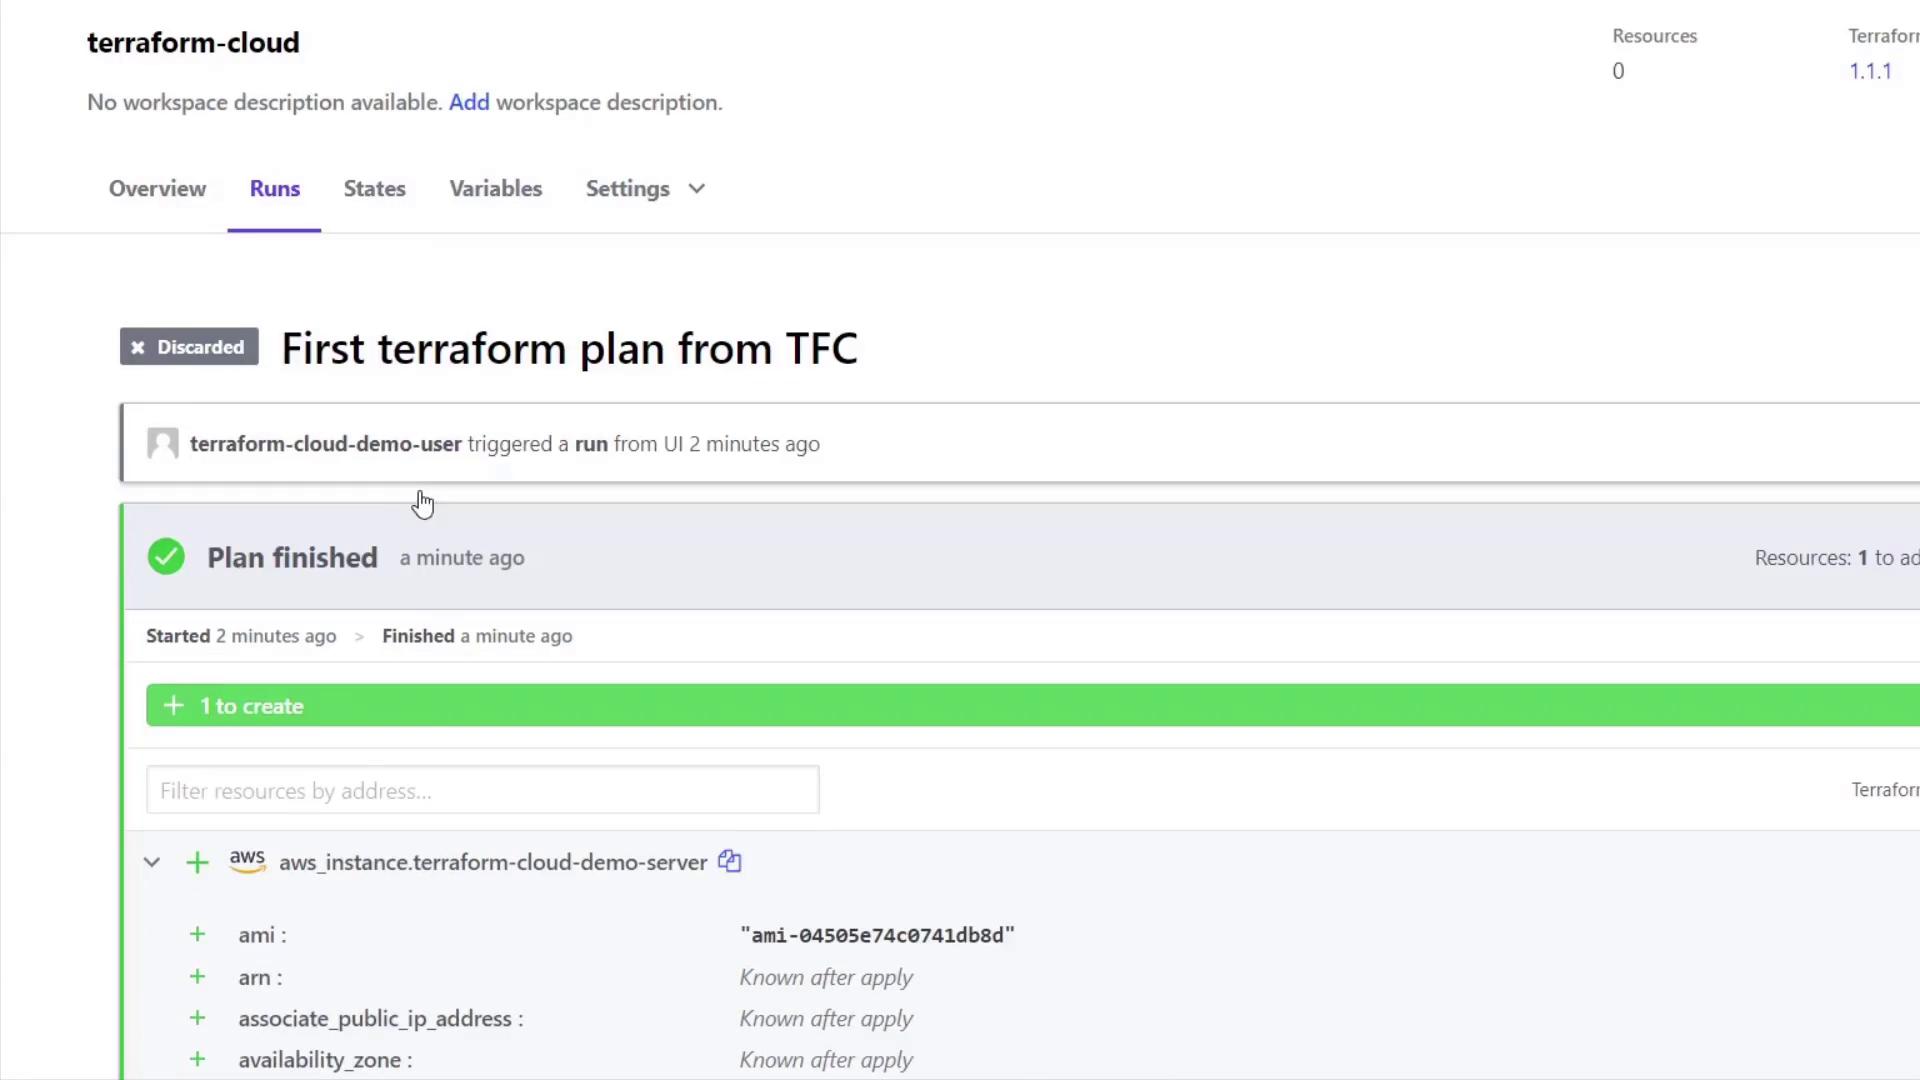
When the plan is applied, the EC2 instance is created, and its resource details, including the provider and outputs, are displayed.
3.2 Destroying Resources
If you wish to destroy the resource, navigate to Workspace Settings > Destruction & Deletion to queue a destroy plan. This plan is equivalent to running terraform destroy on the command line. For example, the execution plan might include details such as:
ami: "ami-04505e74c0741db8d"
arn: "arn:aws:ec2:us-east-1:938059356357:instance/i-082d7c78db7ddc761"
associate_public_ip_address: false
availability_zone: "us-east-1a"
cpu_core_count: 1
cpu_threads_per_core: 1
disable_api_termination: false
ebs_optimized: false
get_password_data: false
hibernation: false
iam_instance_profile: ""
id: "i-082d7c78db7ddc761"
instance_initiated_shutdown_behavior: "stop"
instance_state: "running"
instance_type: "t2.micro"
ipv6_address_count: 0
ipv6_addresses: []
After the destroy plan is applied, the Overview tab will confirm that no resources remain.
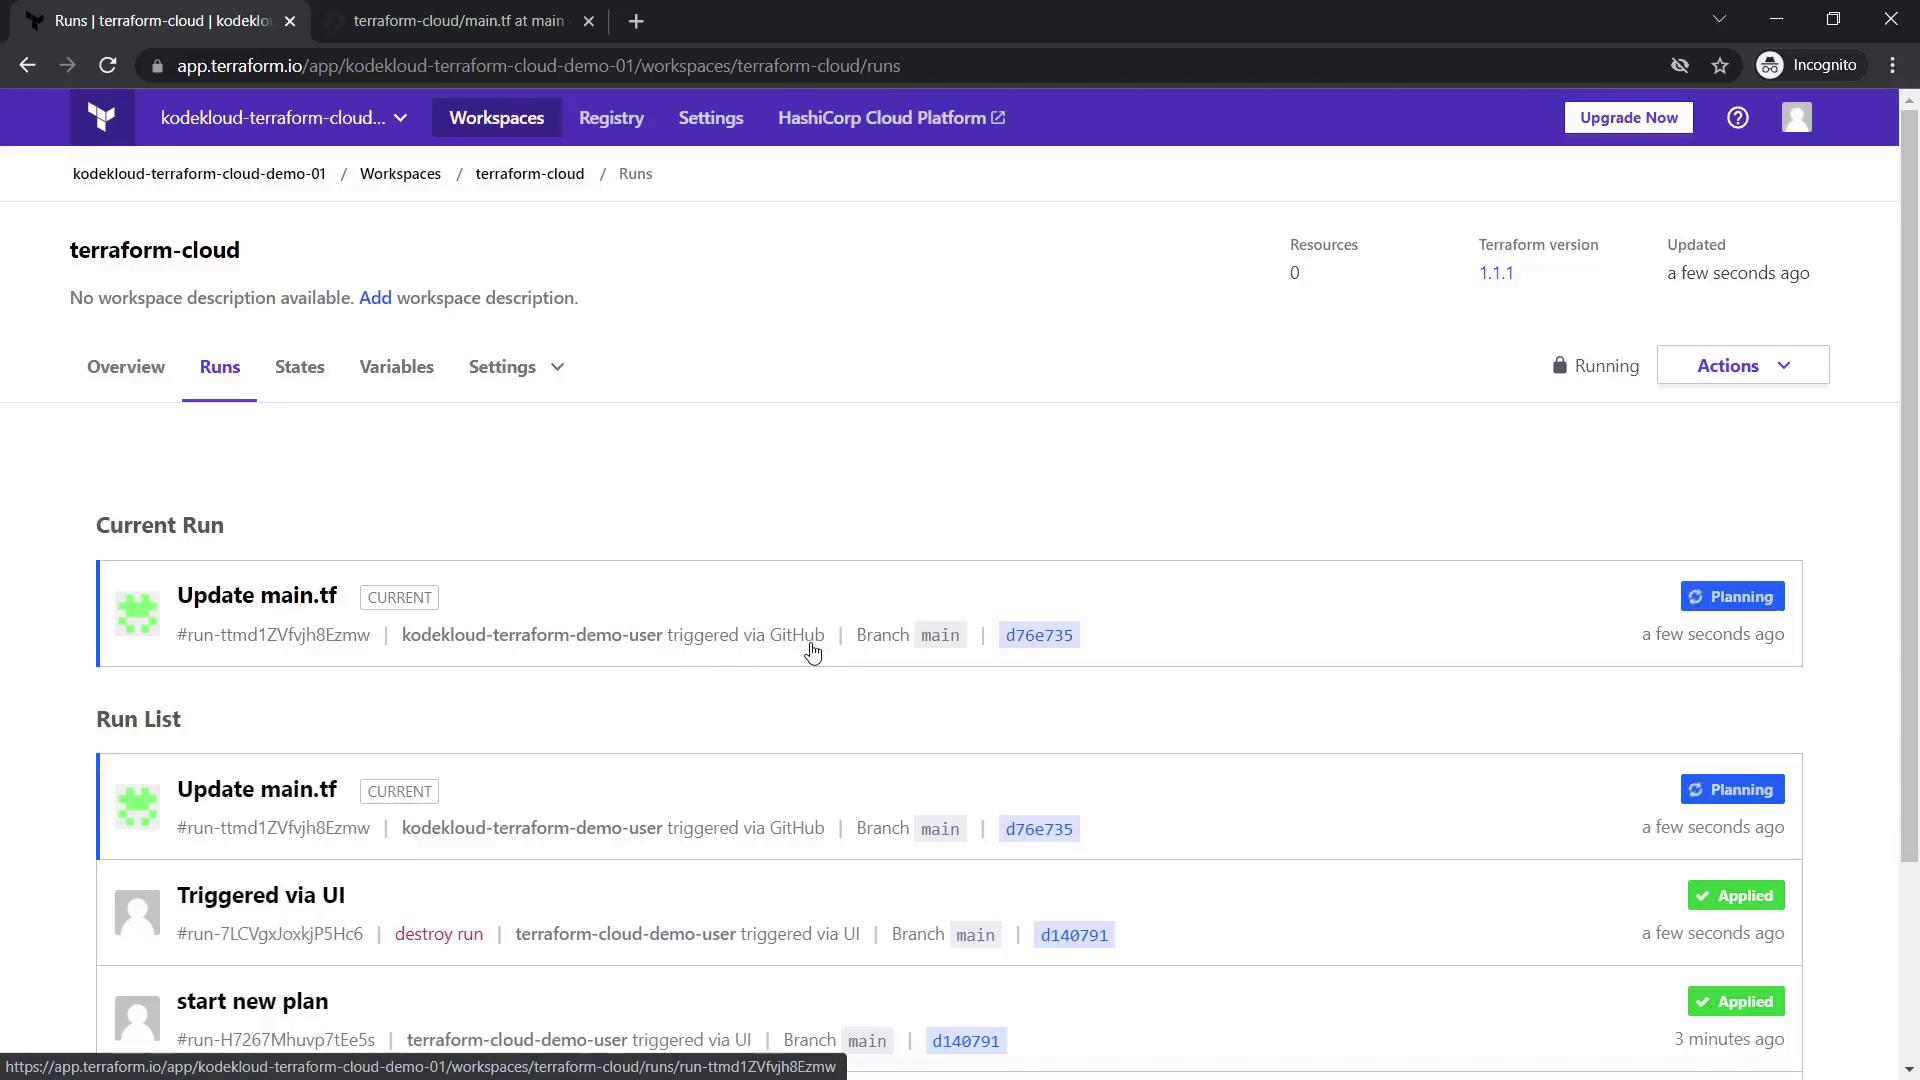
3.3 Handling GitHub Repository Changes
Terraform Cloud automatically triggers a new execution plan upon changes pushed to your GitHub repository. For instance, if you modify the resource name in main.tf:
variable "ami" {}
variable "region" {}
variable "instance_type" {}
variable "access_key" {}
variable "secret_key" {}
variable "subnet_id" {}

resource "aws_instance" "terraform-cloud-demo-server" {
  ami           = var.ami
  instance_type = var.instance_type
  subnet_id     = var.subnet_id
  tags = {
    Name = "terraform-cloud-demo-server"
  }
}
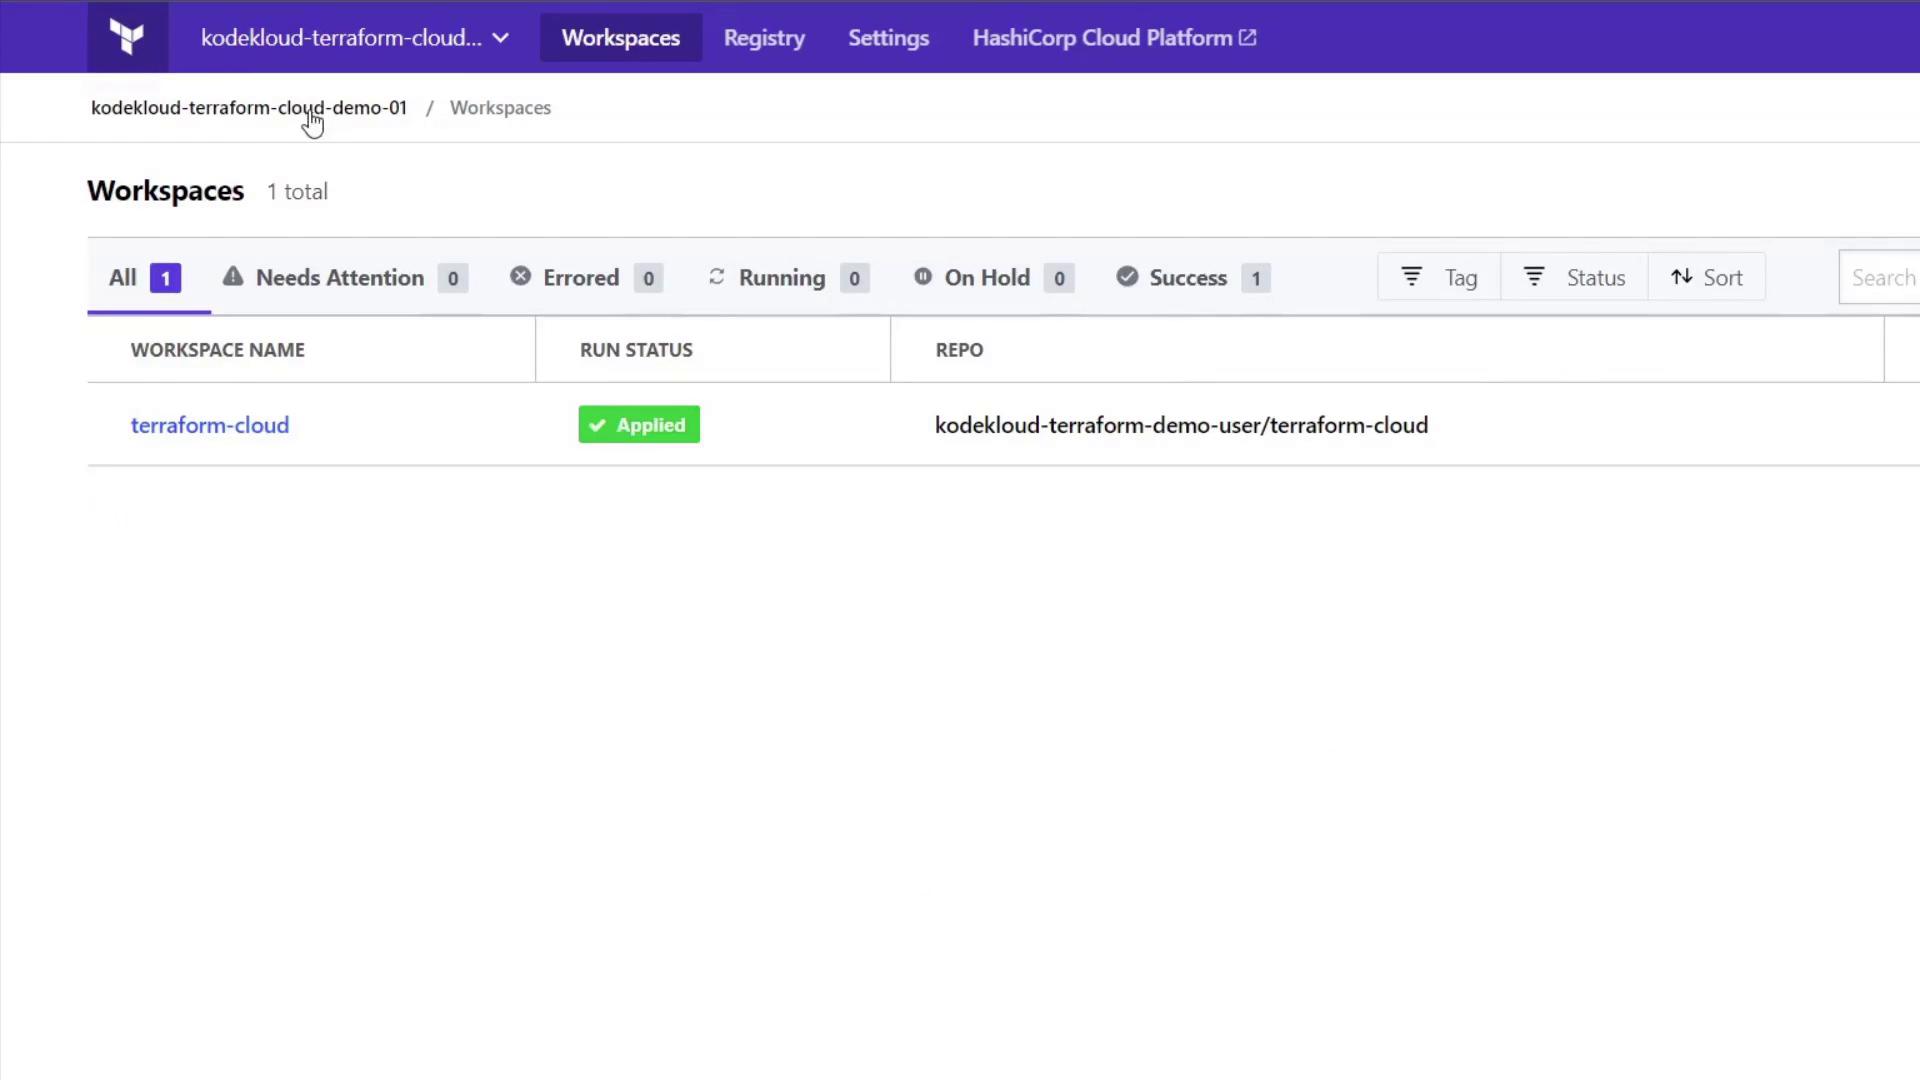
A new plan is triggered by GitHub commits to the main branch. Once confirmed and applied, the updated state is reflected in the State tab where you can review the current terraform.tfstate stored remotely.
A sample state snippet might look like:
{
  "volume_size": 8,
  "volume_type": "gp2",
  "secondary_private_ips": [],
  "security_groups": [
    "default"
  ],
  "source_dest_check": true,
  "subnet_id": "subnet-0344bed8d8e0f1384",
  "tags": {
    "Name": "terraform-cloud-demo-server"
  },
  "tags_all": {
    "Name": "terraform-cloud-demo-server"
  },
  "default": ""
}
4. Workspace Settings and Account Upgrades
Within your workspace settings, you can modify:
- Execution Mode: Choose between remote and local execution.
- Apply Method: Select manual or auto-apply.
- Terraform Version: Change the version (default is 1.1.1).
Locking a workspace prevents concurrent plans, and version control settings display which repository is connected.

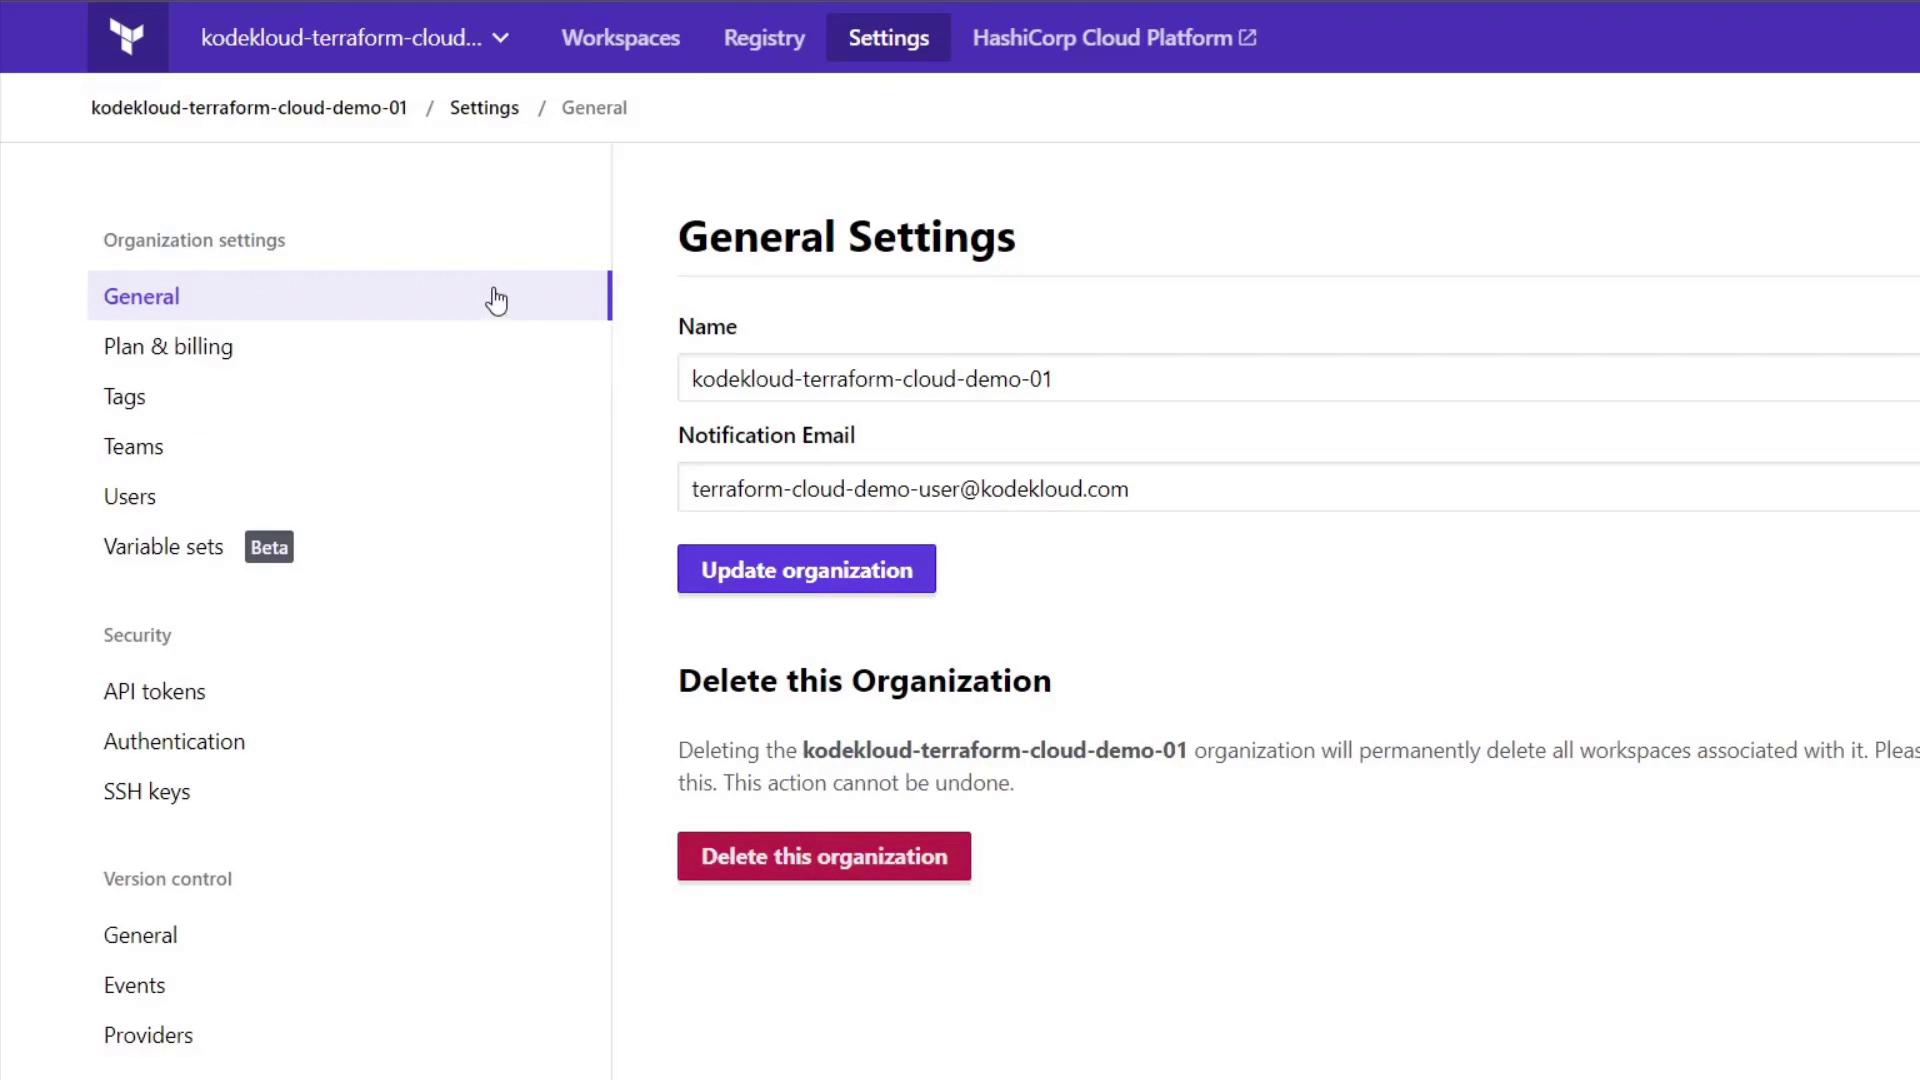
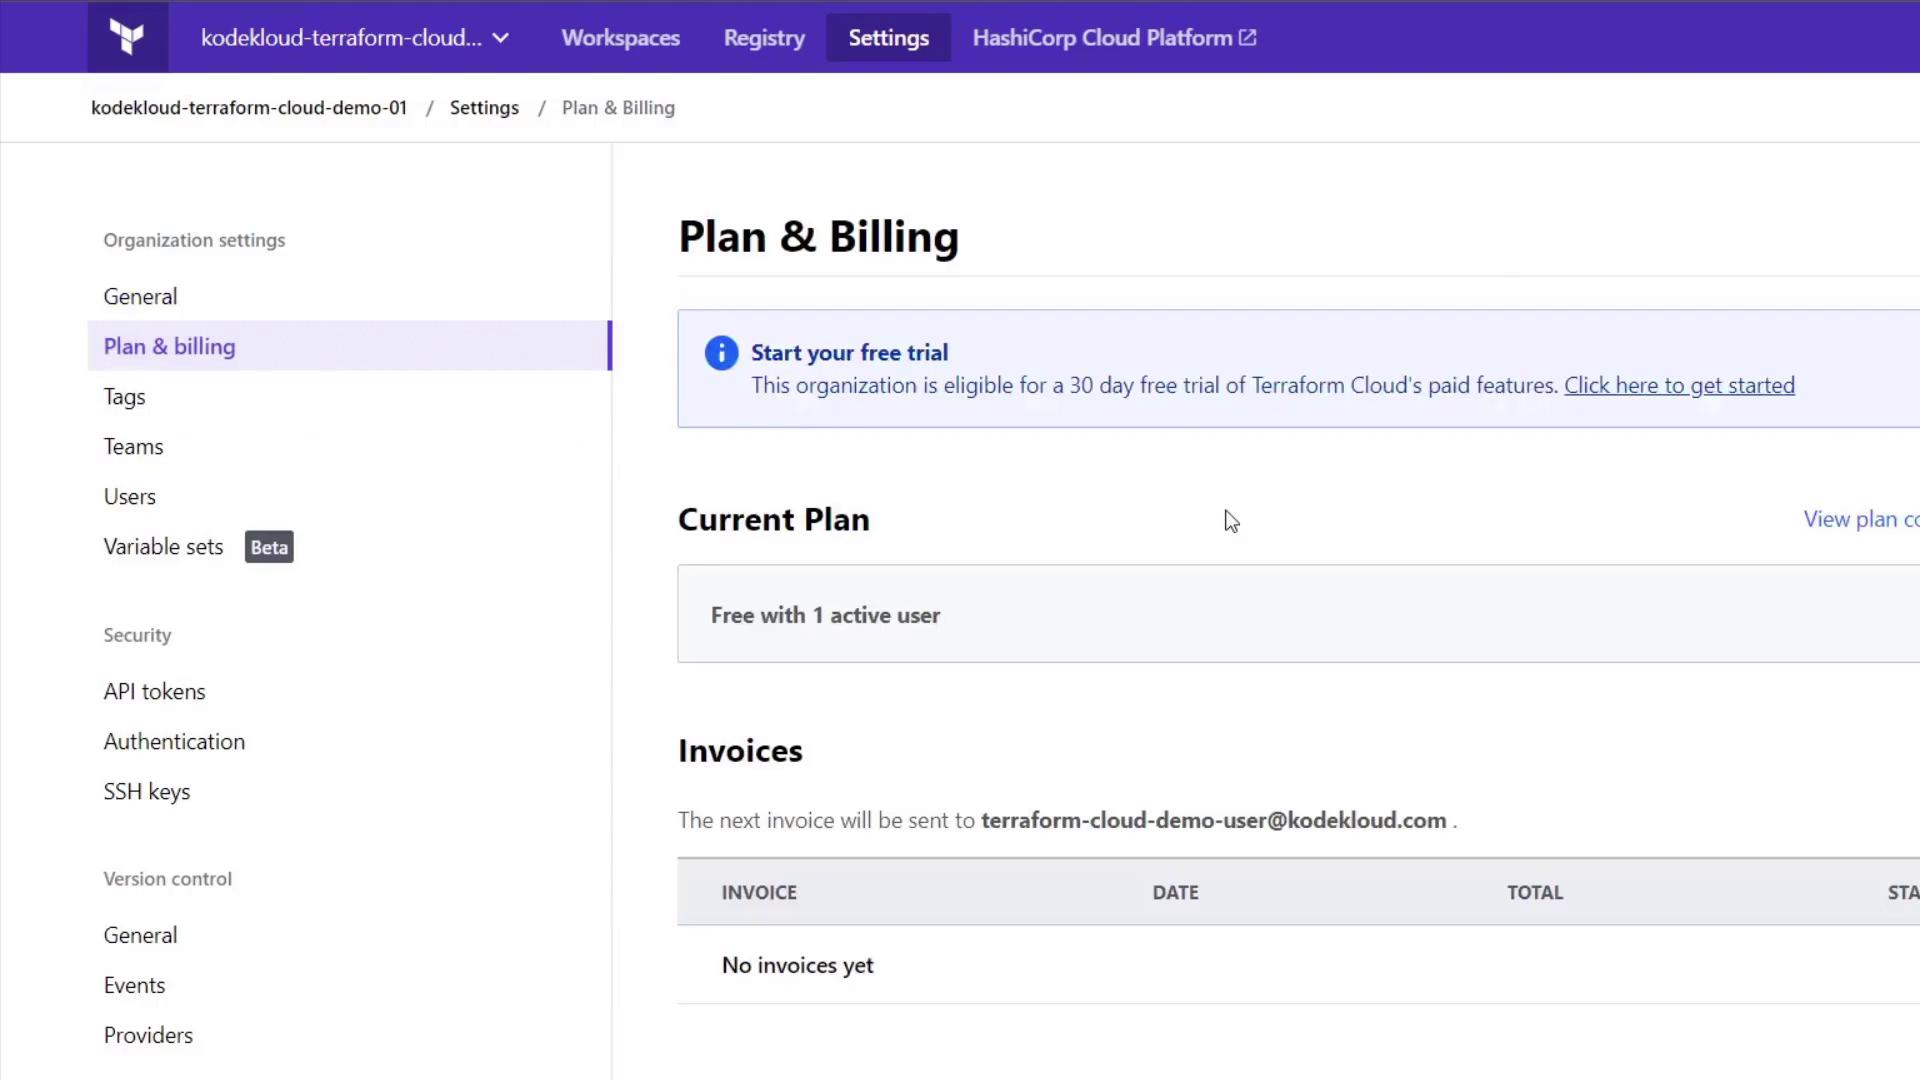
To manage your organization, access the user settings on the left to update organization details (like password changes and two-factor authentication). Organization-specific settings allow you to review the organization name and manage deletion if necessary.
The Plan & Billing tab displays your current free plan (supporting up to five users) and offers comparisons for upgrading to more advanced plans. Upgrading to a trial plan for team accounts is available without requiring a credit card.
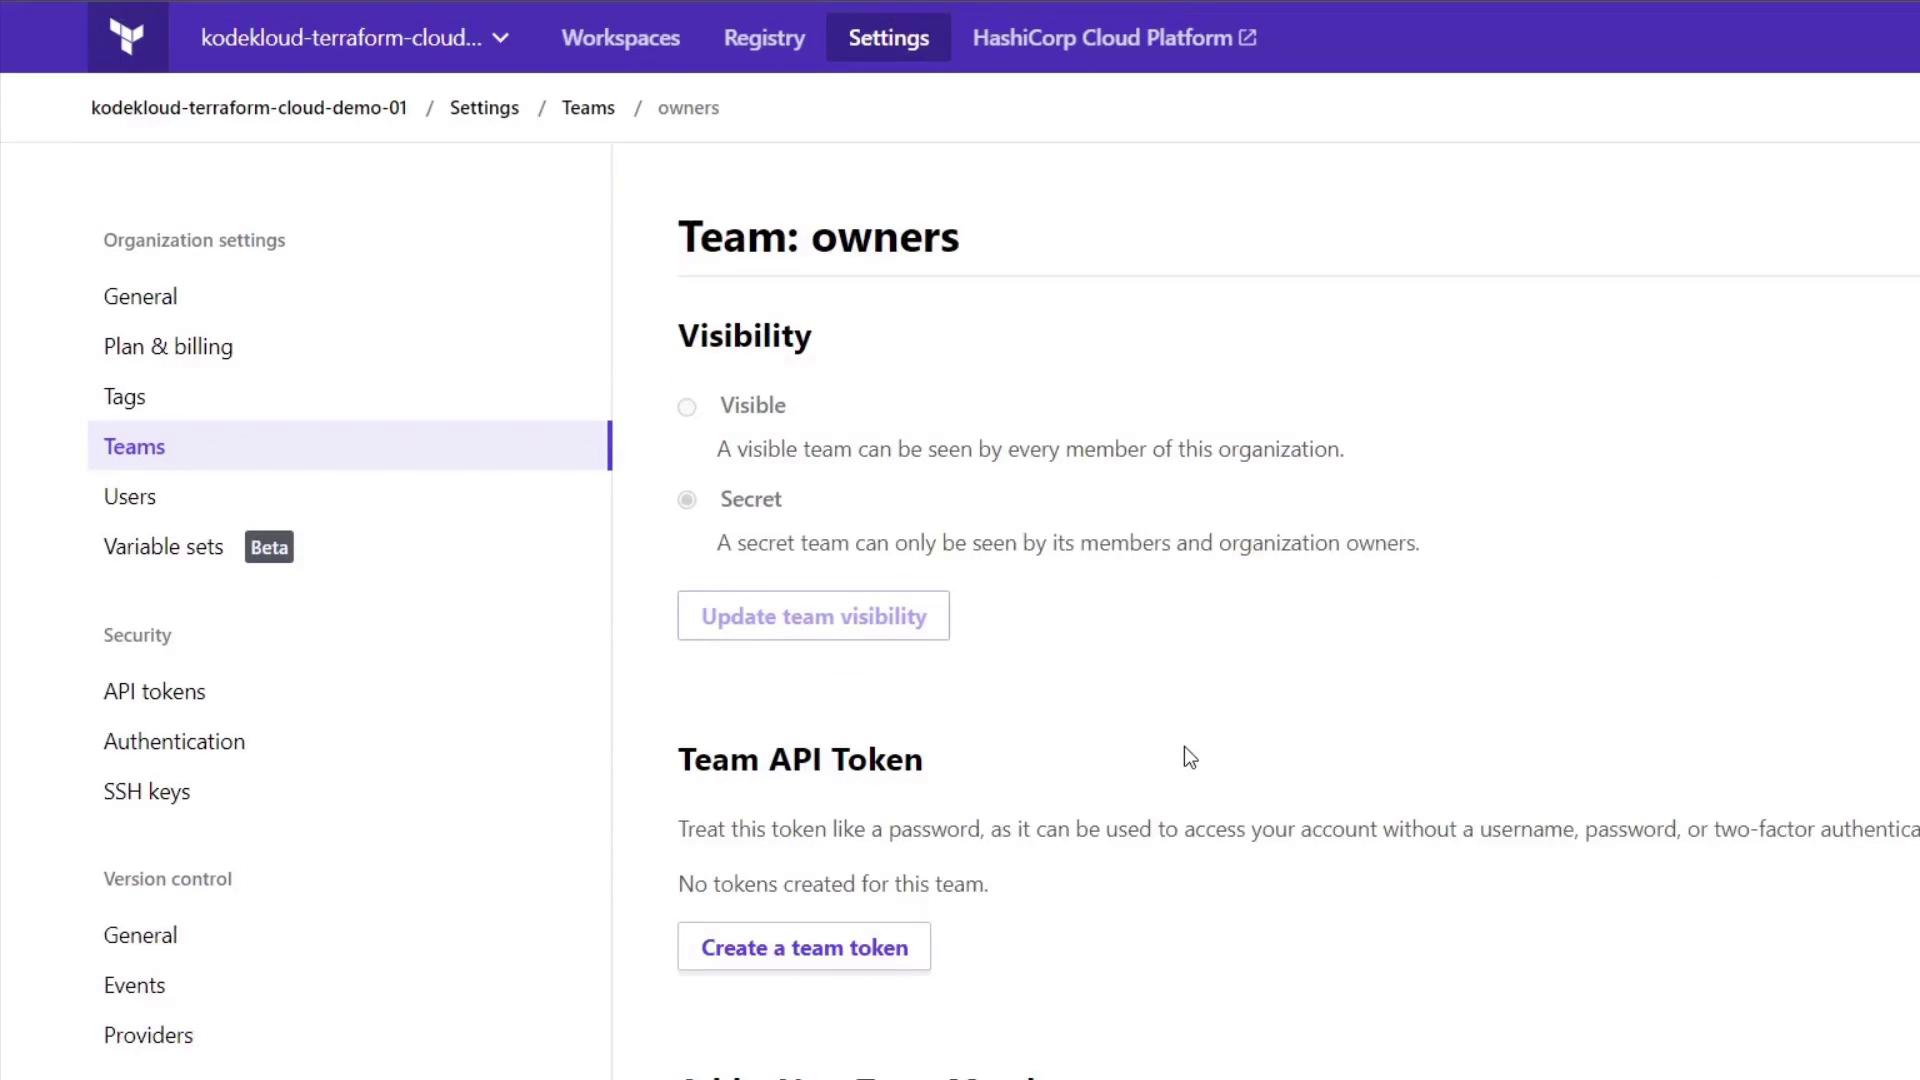
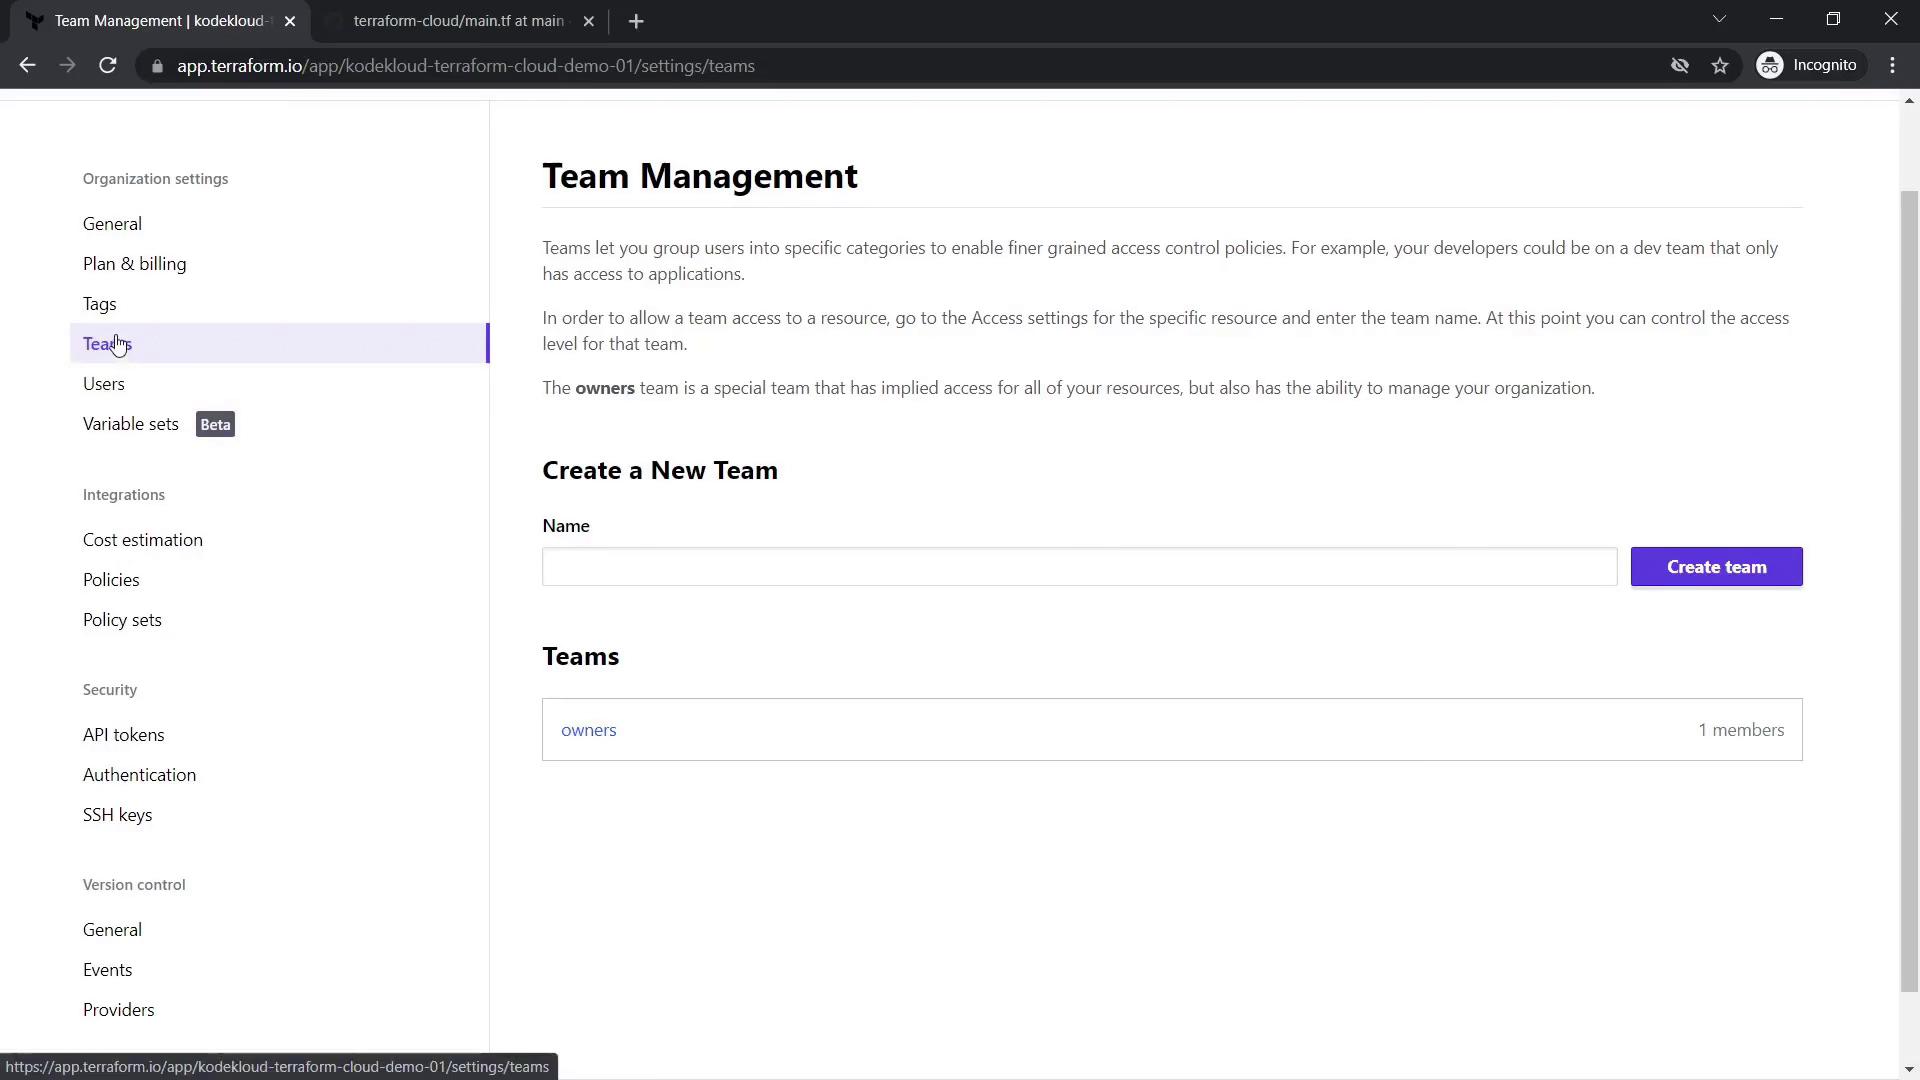
You can manage teams under the Teams section—by default, an "owners" team exists. You can add new users and create API tokens as necessary.
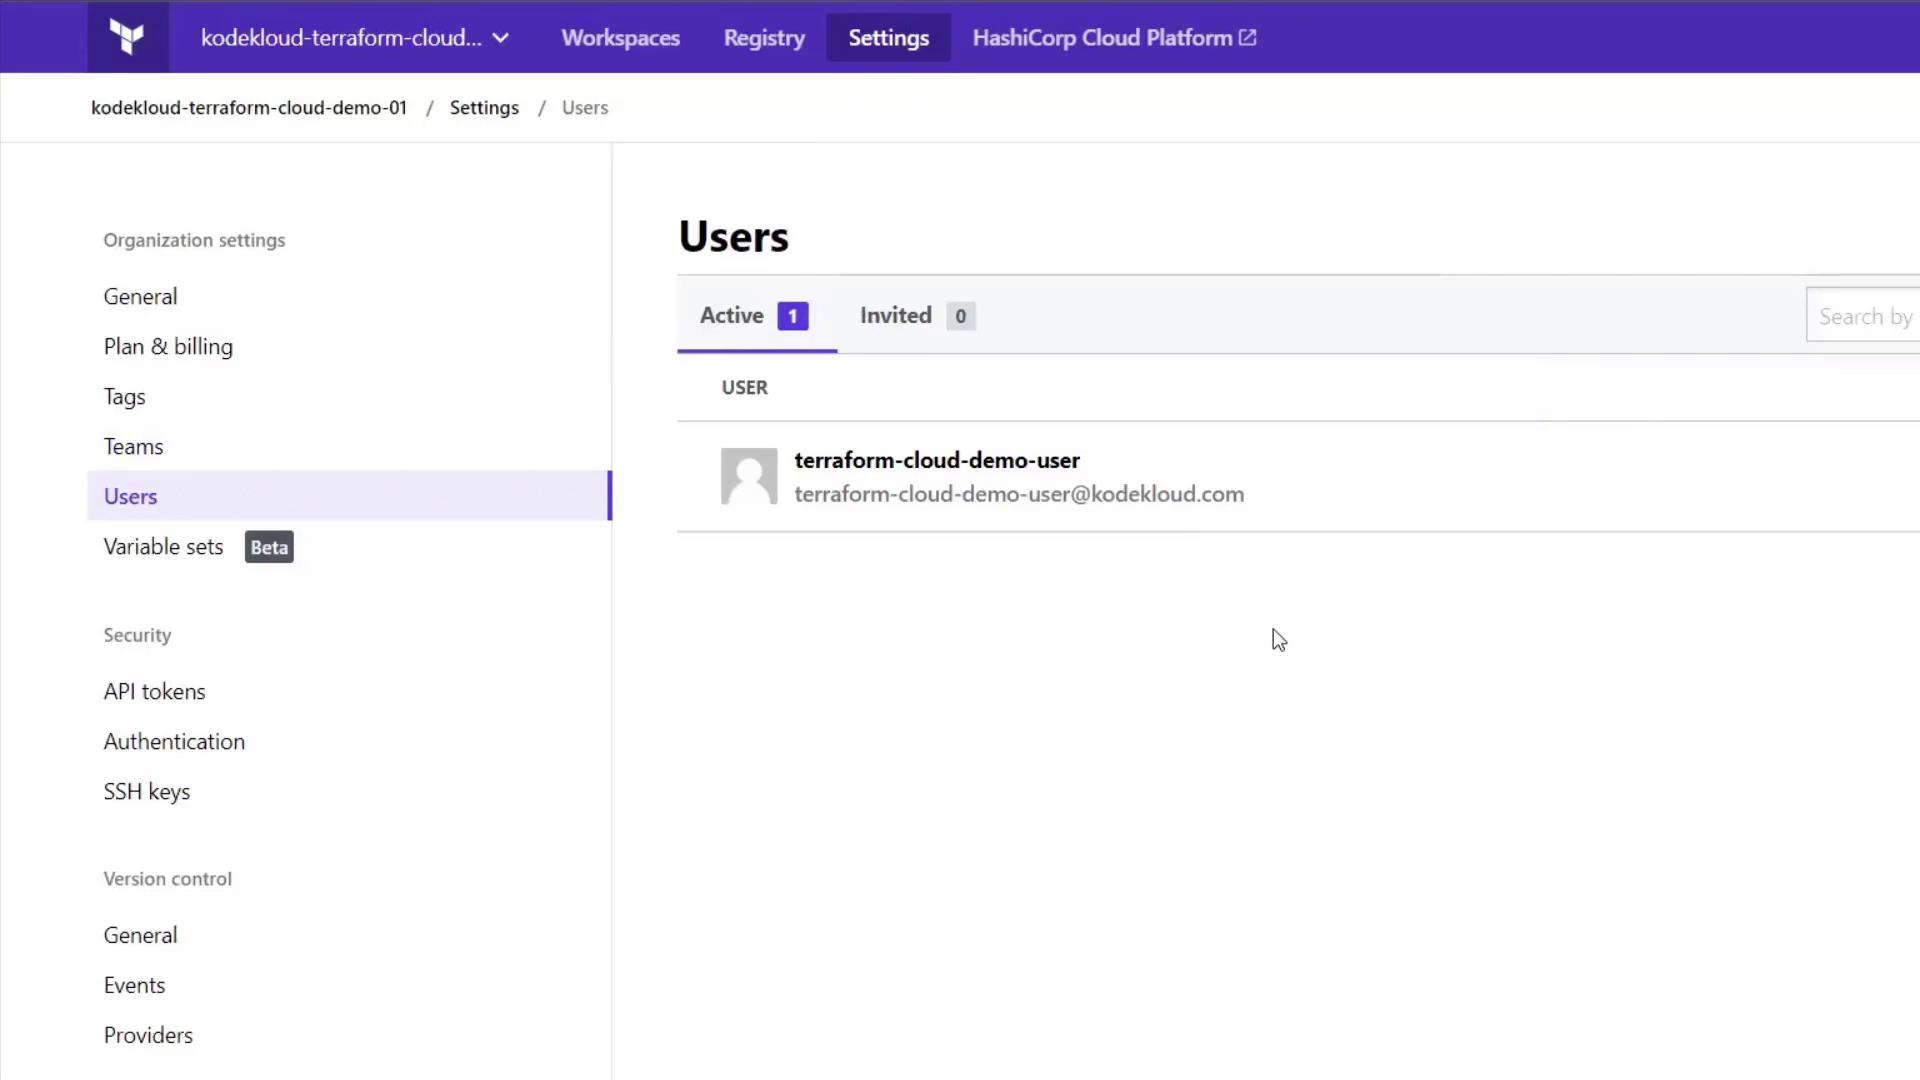
Manage individual users in the Users section, and assign them to teams such as "owners."
Upgrade via the plan comparisons page to access additional features like creating extra teams and integrations.
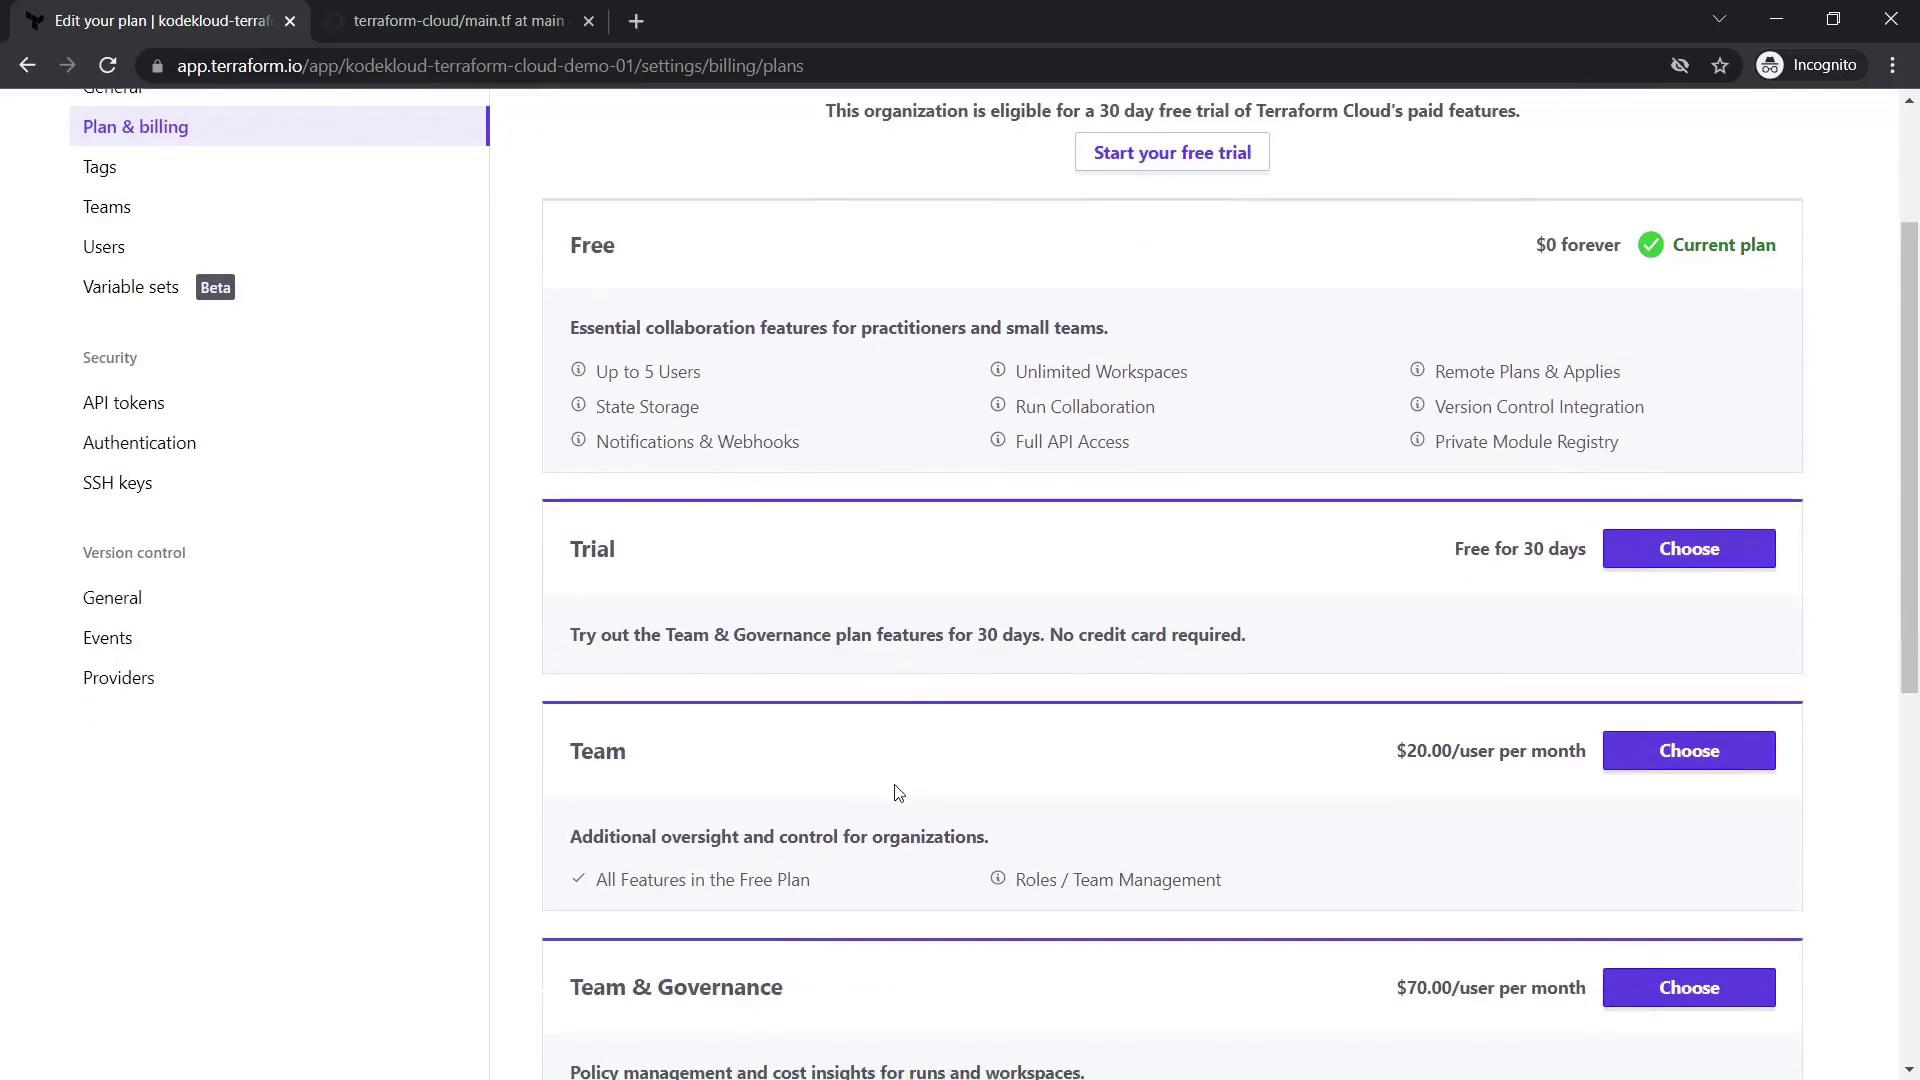
After upgrading to a trial plan, you gain access to features such as additional team creation and cost estimation capabilities.
5. Cost Estimation and Policy Enforcement with Sentinel
5.1 Cost Estimation
Terraform Cloud offers a cost estimation feature to help you monitor resource expenditure. To explore this:
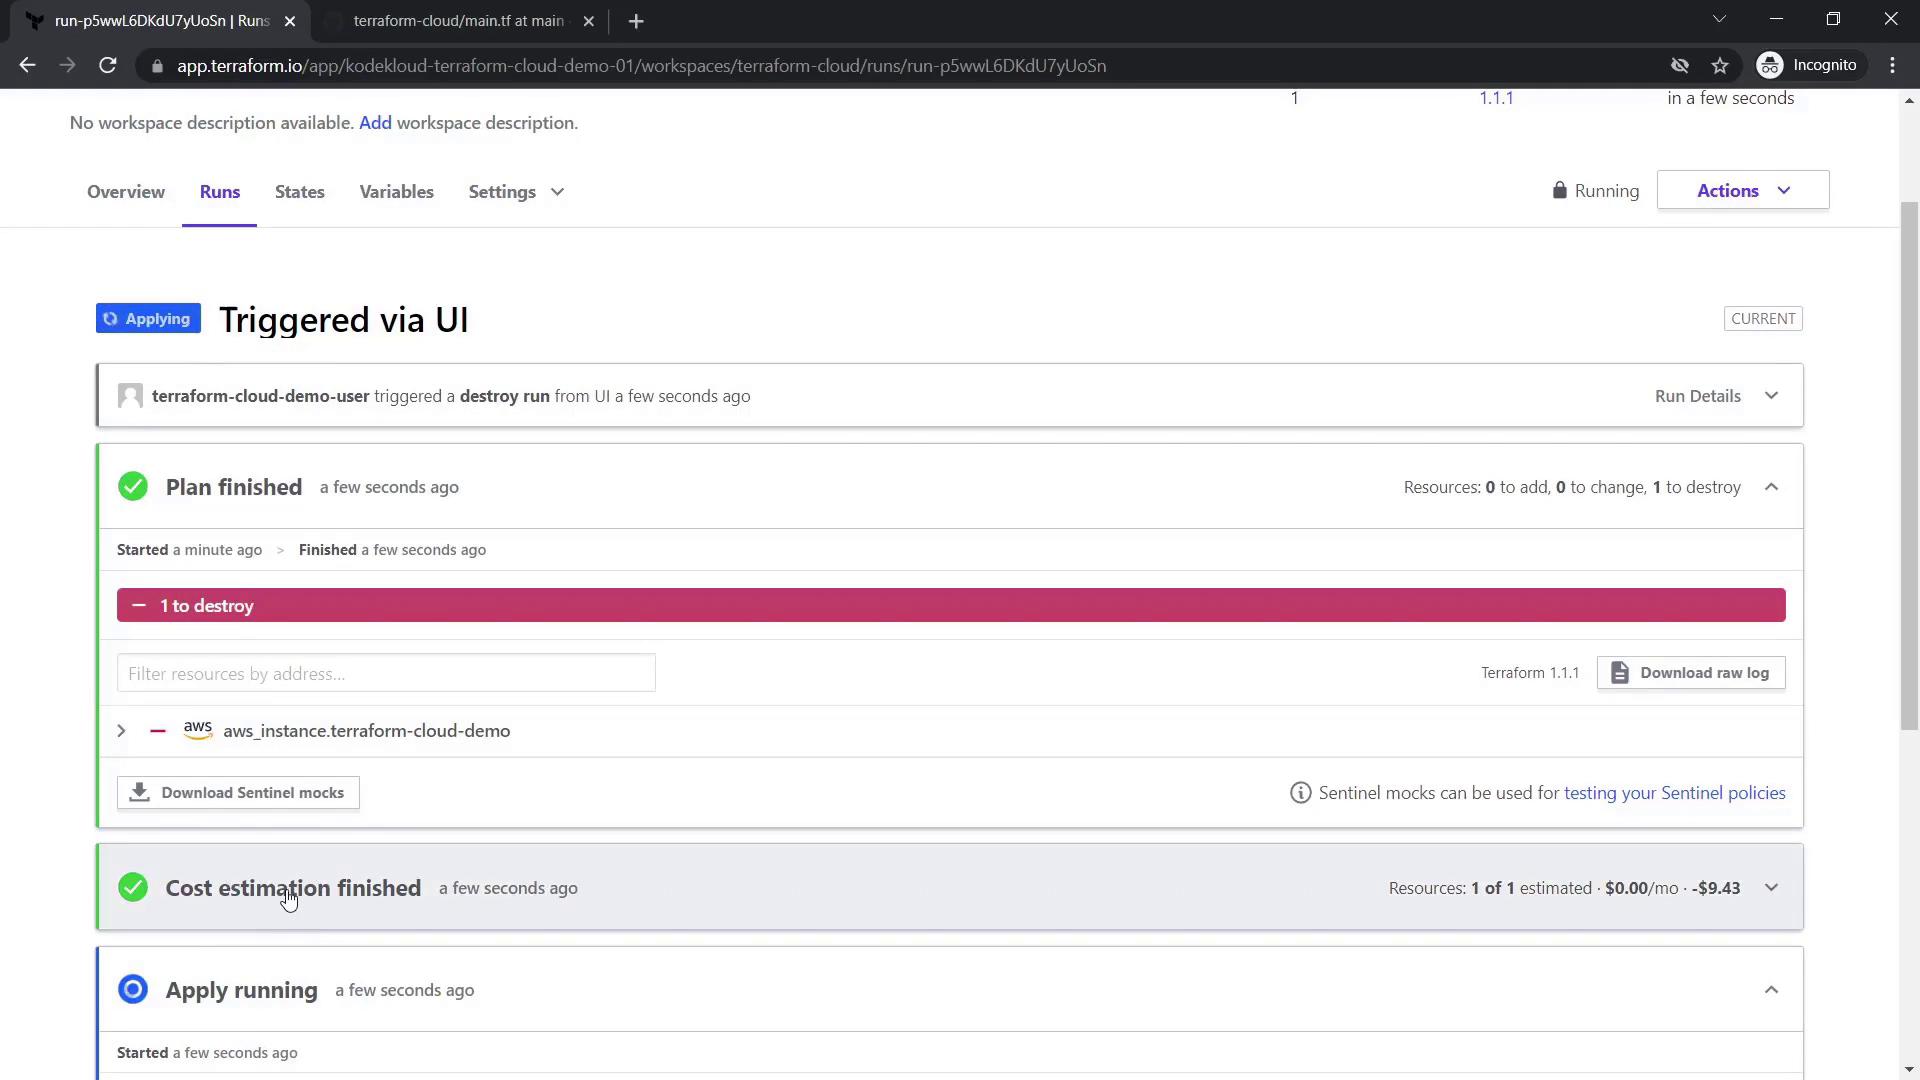
- Queue a destroy plan for the existing EC2 instance and confirm the action.
- During the destroy run, check the cost estimation tab, which might indicate savings (e.g., saving $9.43 by destroying the resource).
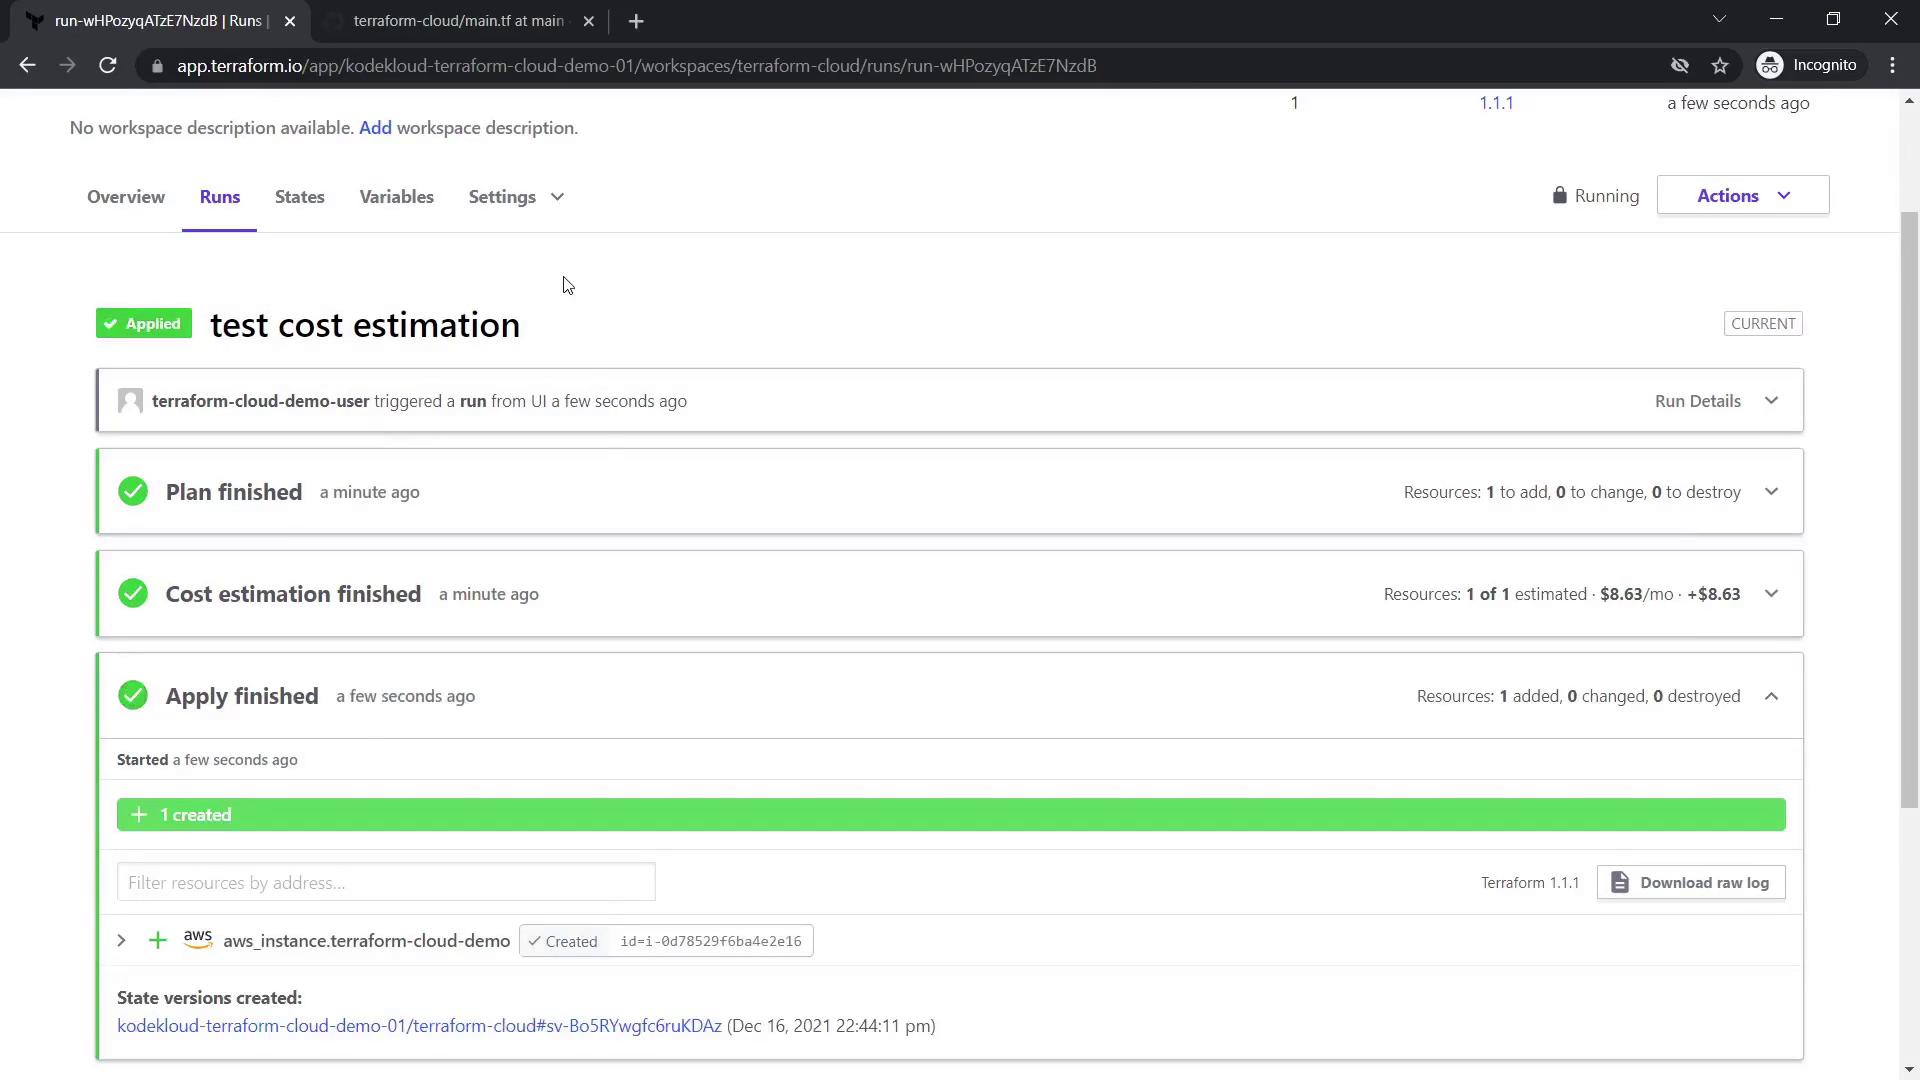
Once the resource is destroyed, create a new plan to provision the instance. The cost estimation stage will now display the estimated monthly cost (for example, $8.63).
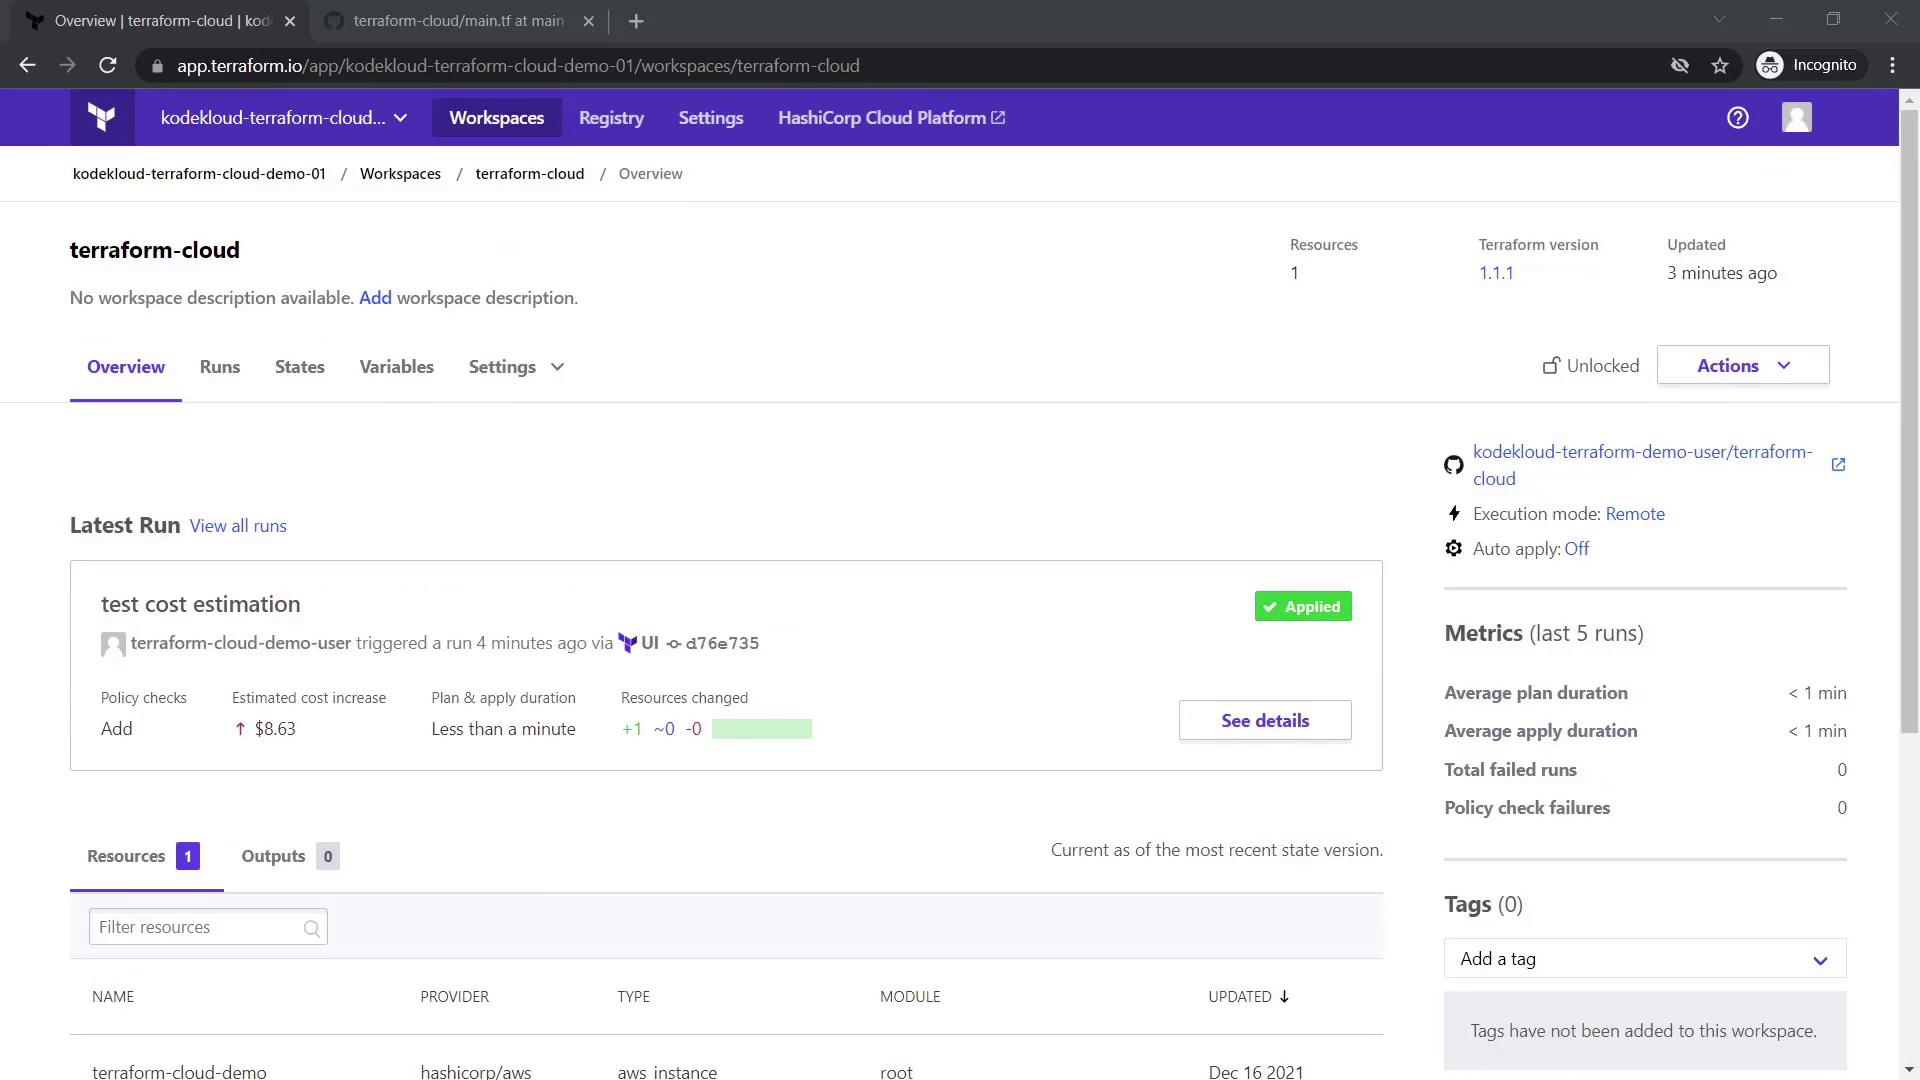
After confirming and applying the plan, the instance is created. The Overview tab will then display updated resource details, including cost estimations.
5.2 Enforcing Compliance with Sentinel Policies
Terraform Sentinel allows you to enforce compliance constraints as code. In this demo, we restrict the allowed EC2 instance type.
Follow these steps:
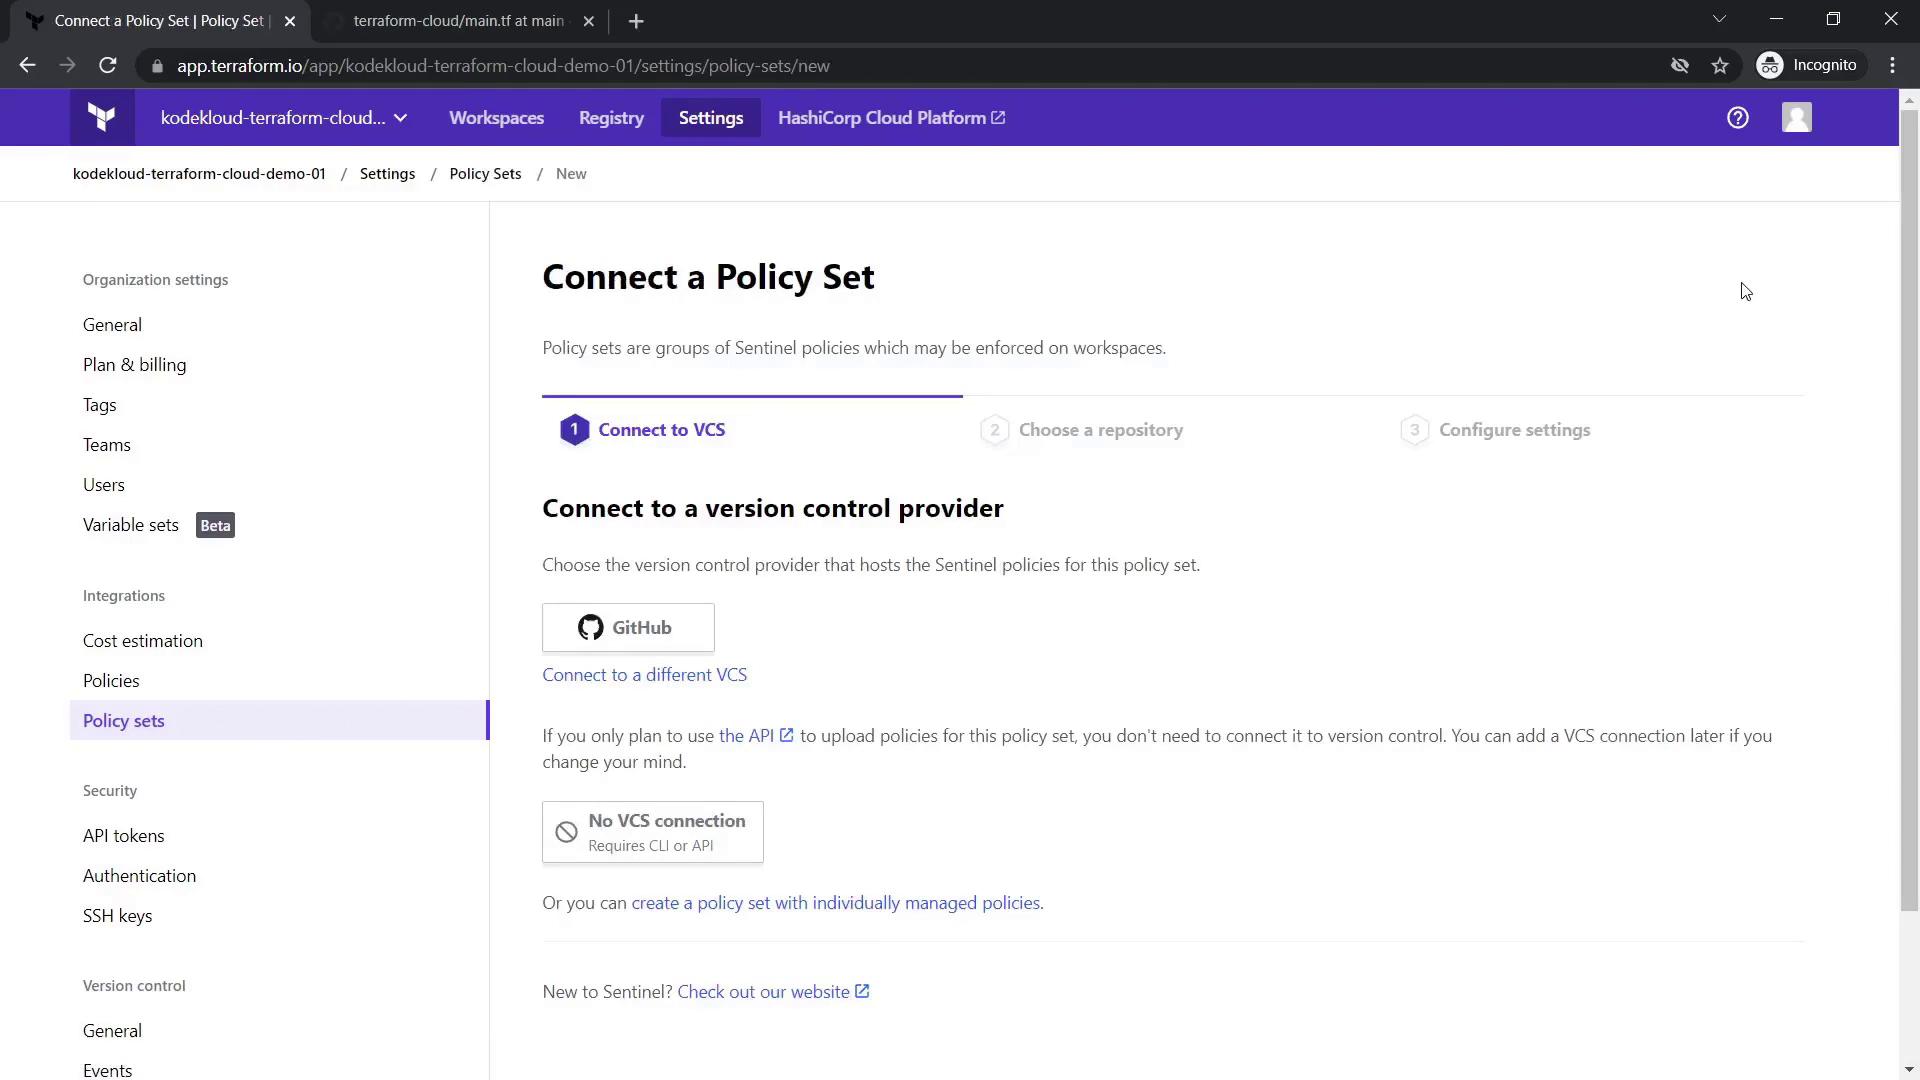
- Go to Settings in your workspace and select Policies and Policy Sets.
- Click Connect a New Policy Set.
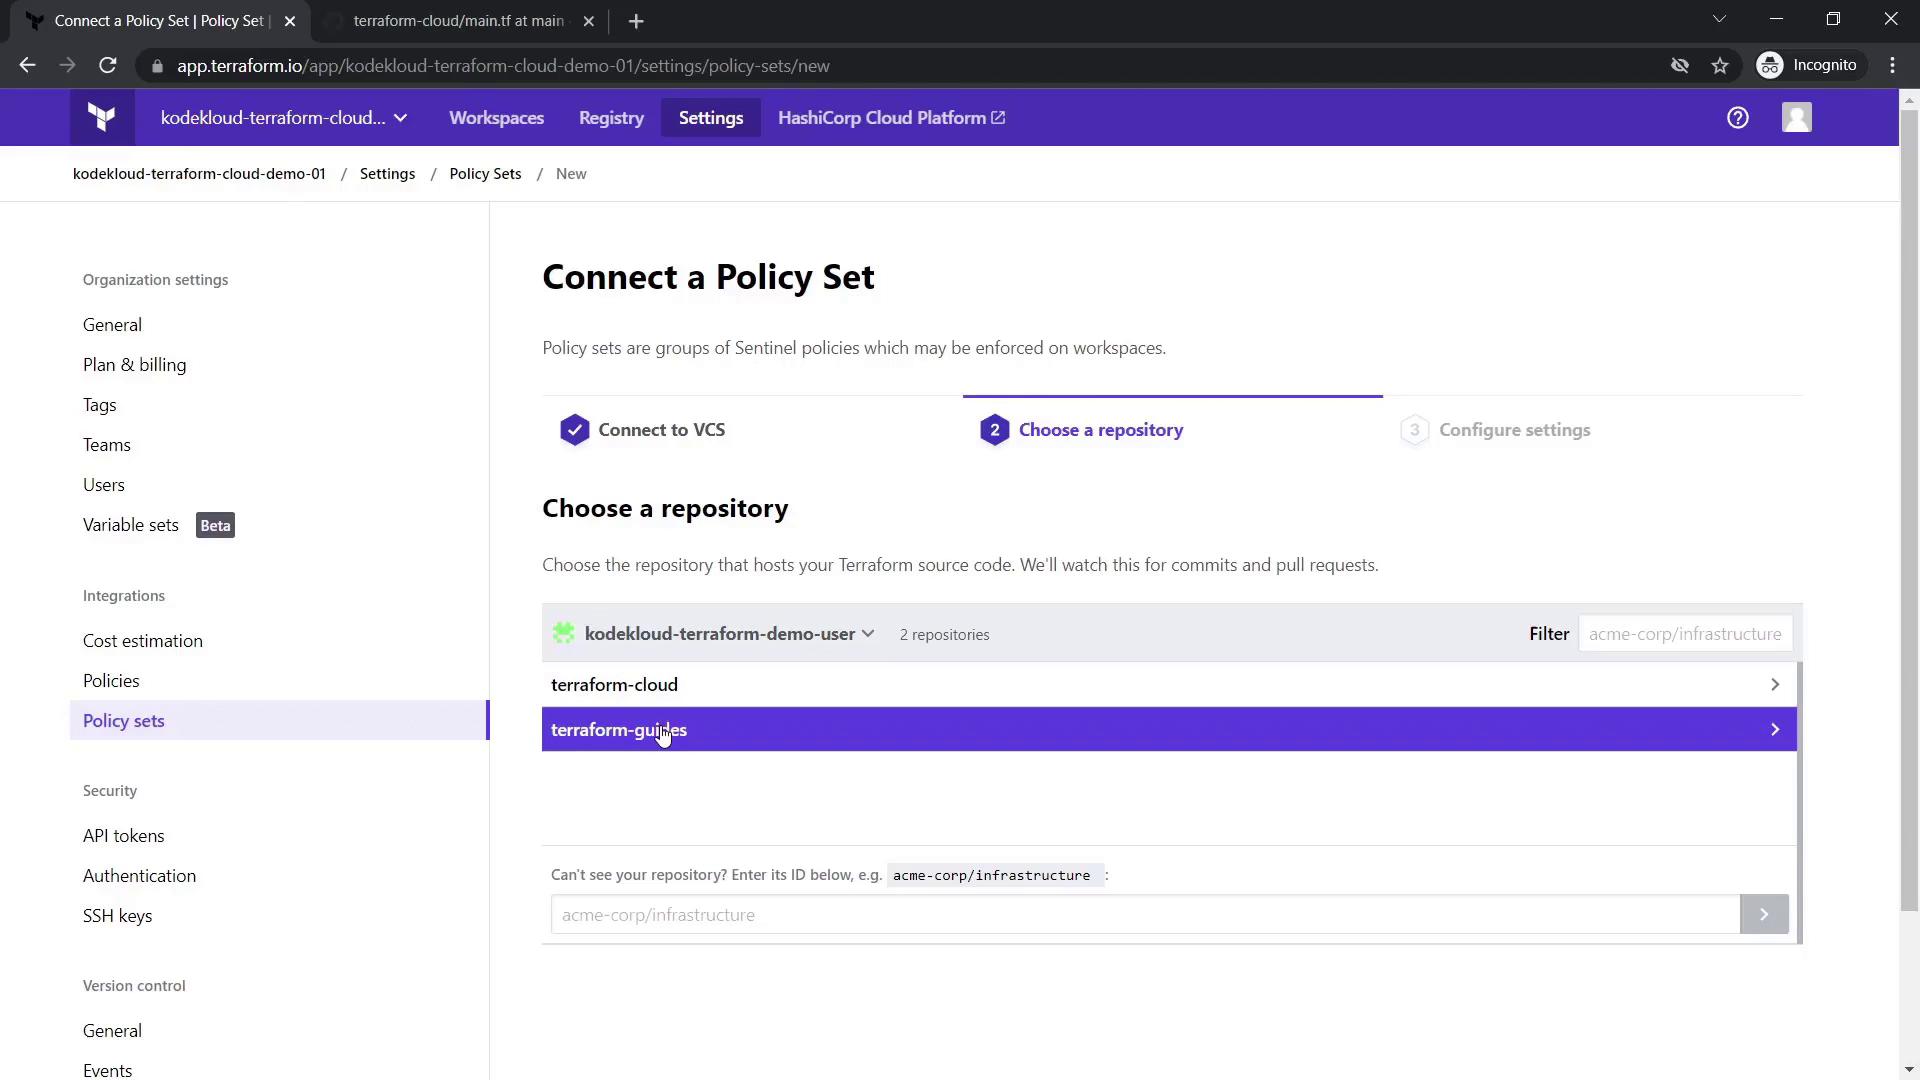
- Choose GitHub as your VCS provider and select the repository containing your Sentinel policy files (this example repository includes Terraform Sentinel policy examples for AWS).
After connecting, name your policy set (for example, "policy set one") and select your desired workspace scope (either all workspaces or selected ones).
Within your GitHub repository, create a Sentinel policy file (restrict-ec2-instance-type.sentinel) with the following content:
# This policy uses the Sentinel tfplan/v2 import to require that
import "tfplan-functions" as plan

# Allowed EC2 Instance Types
# Include "null" to allow missing or computed values
allowed_types = ["t2.micro"]

# Get all EC2 instances
allEC2Instances = plan.find_resources("aws_instance")

# Filter to EC2 instances with violations (prints warnings for violations)
violatingEC2Instances = plan.filter_attribute_not_in_list(allEC2Instances, "instance_type", allowed_types, true)

# Count violations
violations = length(violatingEC2Instances["messages"])

# Main rule: no violations allowed
main = rule {
    violations == 0
}
This policy permits only instances with the type t2.micro. The enforcement level is set to soft-mandatory, which informs you of policy violations while still allowing you to override them if necessary.
A typical Sentinel policy module configuration might look like:
module "tfplan-functions" {
  source = "../common-functions/tfplan-functions.sentinel"
}

module "tfstate-functions" {
  source = "../common-functions/tfstate-functions.sentinel"
}

module "tfconfig-functions" {
  source = "../common-functions/tfconfig-functions.sentinel"
}

module "aws-functions" {
  source = "./aws-functions/aws-functions.sentinel"
}

policy "restrict-ec2-instance-type.sentinel" {
  source            = "./restrict-ec2-instance-type.sentinel"
  enforcement_level = "soft-mandatory"
}
Update your policy set configuration with the correct custom paths for your policy definitions and click Update Policy Set.

To test policy enforcement, update your workspace's variable for instance_type from t2.micro to another value, such as m5.large, then run a new execution plan.
During the plan execution, Terraform Cloud will perform a policy check. Since m5.large is not allowed according to the Sentinel policy, the check will soft-fail and produce an error message similar to:
1 points evaluated.

## Policy 1: policyset1/restrict-ec2-instance-type.sentinel (soft-mandatory)

Result: false

Description:
This policy uses the Sentinel tfplan/v2 import to require that all EC2 instances have instance types from an allowed list

Print messages:
aws_instance.terraform-cloud-demo has instance_type with value m5.large that is not in the allowed list: [t2.micro]

./restrict-ec2-instance-type.sentinel:24:1 - Rule "main"
Description:
Main rule

Value:
false
Note
As the organization owner, you have the ability to override the policy error and proceed with the updated configuration.
Upon confirmation, the resource is recreated with the modified instance type, and the updated state is visible in the State tab.
6. Organization Settings and Final Thoughts
Review and update your organization settings by navigating to your organization page (e.g., KodeKloud-Terraform-Cloud-Demo01). Here, you can adjust details, manage teams, and view billing information.
This lesson provided a comprehensive walkthrough of using Terraform Cloud—from account creation to advanced policy enforcement with Sentinel. For further insights, explore the accompanying multiple-choice quiz to test your knowledge of Terraform Cloud features.
Happy provisioning!
Watch Video
Watch video content