This article explains how to create and connect to an Azure File Share for cloud file storage.
Azure File Share offers an enterprise-grade cloud file storage solution that can be accessed concurrently by multiple virtual machines, whether they are on Azure or not. This service supports Windows, Linux, and macOS operating systems and provides essential features such as backup, snapshots for data recovery, and compatibility with both SMB and NFS protocols. You can easily mount the file share on your system using script commands—just like an on-premises file share. Remember to ensure that port 445 is open for SMB traffic.
In this section, we detail how to create and connect to an Azure File Share using the Azure Portal.
Sign in to the Azure Portal and navigate to “File Shares.”
Click on “Add a File Share” and enter a name (e.g., “Files01”).
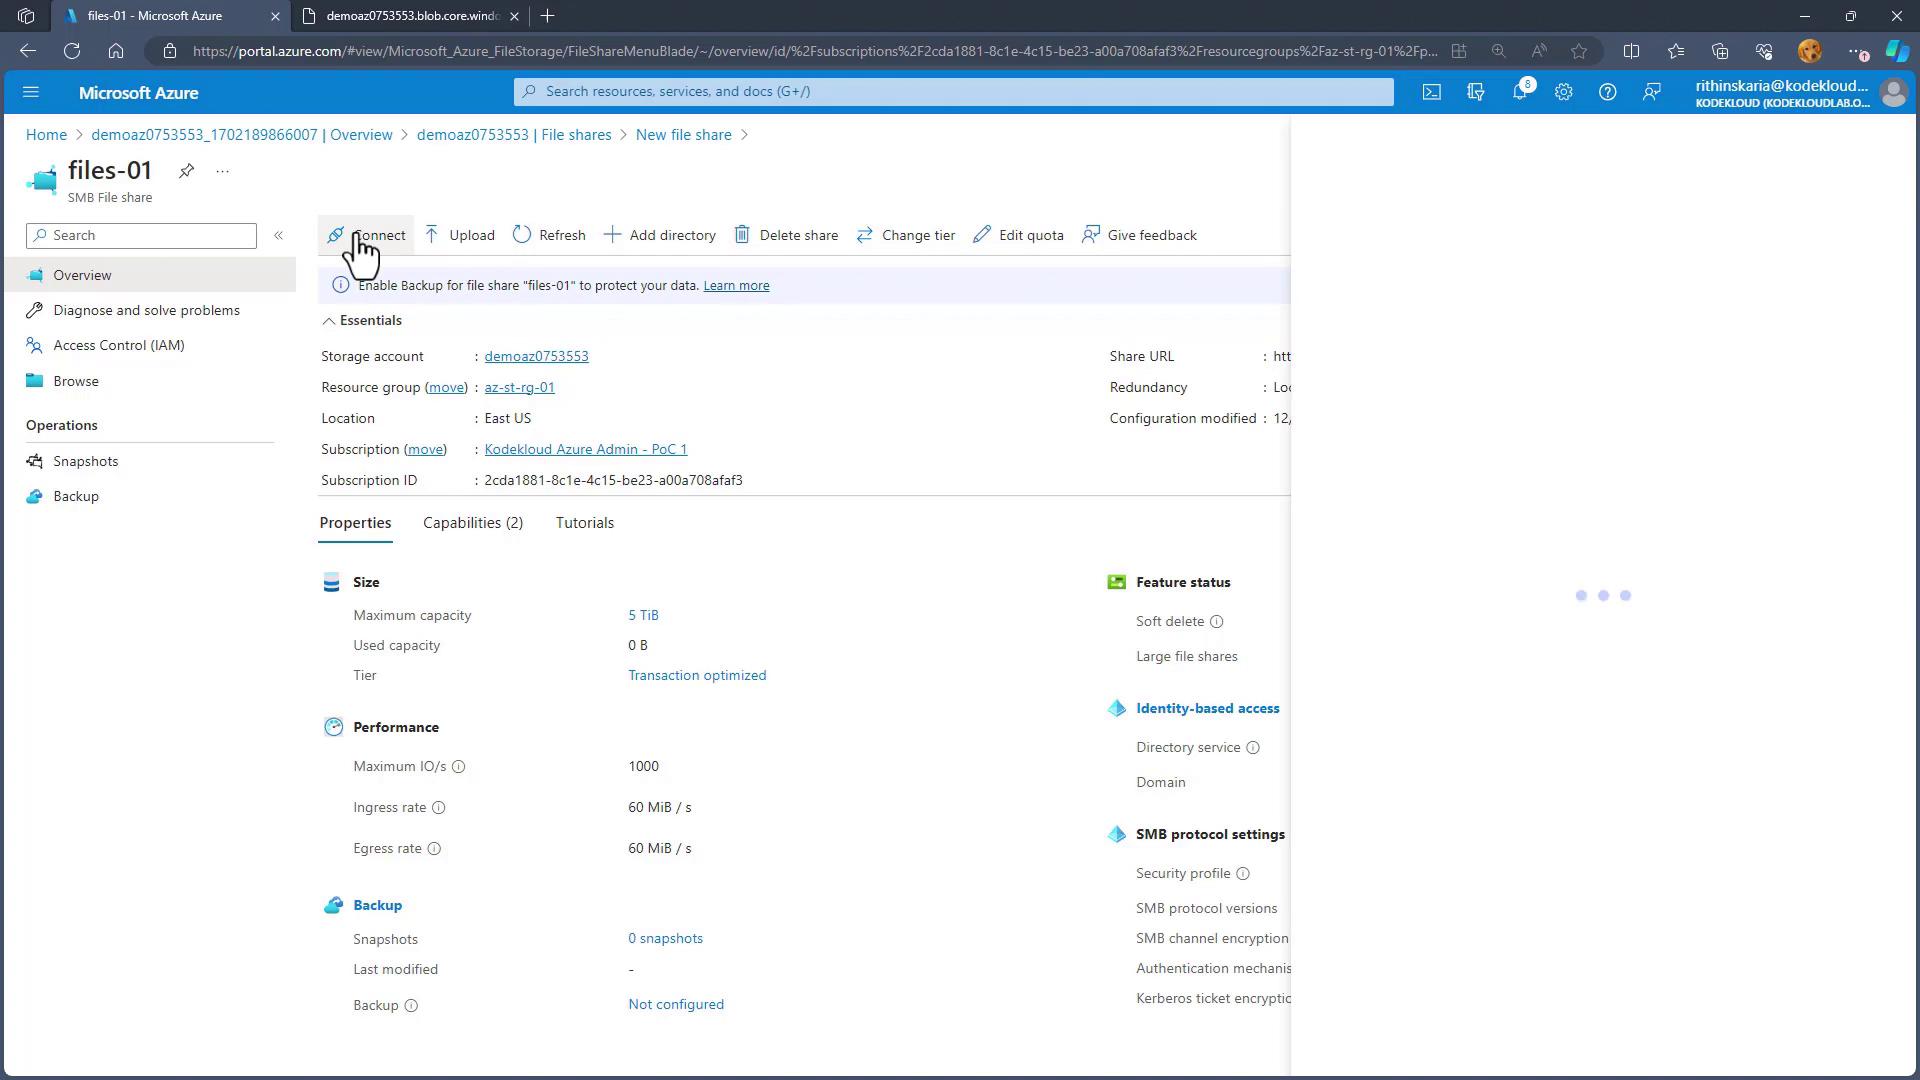
Select a performance tier that meets your requirements. Options include Transaction Optimized, Hot, and Cool—Transaction Optimized is optimal for applications requiring a reliable backend file store.
Set the maximum capacity (up to five terabytes) and click “Review and Create.” The portal will then generate a script that you can use to mount the file share by specifying the drive letter, storage account key, and your operating system.
After the file share has been created, click on “Connect” in the Azure Portal to view the mounting script tailored for your operating system. The portal will display different scripts for Windows, Linux, and macOS. Make sure your local network allows traffic through port 445 for SMB connections, as some Internet Service Providers might block this port.
When you click “Show Script,” the portal displays the relevant script for your operating system. Copy and execute the script on your system to mount the Azure File Share.
Run the following PowerShell script in your terminal:
Copy
$ErrorActionPreference = "Stop"$cmd = New-PSDrive -Name Z -PSProvider FileSystem -Root "\\demoaz0735533.file.core.windows.net\files-01" -Persistif ($cmd) { Write-Host "Drive Z successfully mapped."} else { Write-Error -Message "Unable to reach the Azure storage account via port 445. Check to make sure your organization or ISP is not blocking port 445, or use Azure P2S VPN, or ExpressRoute to tunnel SMB traffic over a different port."}
After running this script, a new drive (for example, drive Z) should appear on your system. To verify the connection, try creating a new text document on the mounted drive.For further configuration, you can save credential information and remount the file share using this script:
Copy
# Save Credential Informationcmd.exe /c "cmdkey /add:demooza0735533.file.core.windows.net /user:Azure\demooza0735533 /pass:YourPasswordHere"# Mount the File ShareNew-PSDrive -Name Z -PSProvider FileSystem -Root "\\demooza0735533.file.core.windows.net\files-01" -Persist
Once executed, you should observe the “demo” file or folder you created reflected in the Azure Portal.
Currently, the file share is accessible over the public internet. If you require enhanced security, Azure provides several options to restrict access. Consider using Azure P2S VPN or ExpressRoute to tunnel SMB traffic through an alternative port.
For improved security and compliance, always review and configure your storage account’s network settings according to your organization’s best practices.
This guide has demonstrated how to create an Azure File Share, mount it on your computer, and troubleshoot connectivity issues. Enjoy exploring the robust capabilities of Azure File Share and streamline your file storage solutions in the cloud!