Lifecycle management in Azure Storage optimizes costs by automatically transitioning data between access tiers based on usage patterns, reducing storage expenses without manual intervention.
Lifecycle management in Azure Storage optimizes costs by automatically transitioning data between different access tiers—such as hot, cool, cold, and archive—based on usage patterns. When data remains unmodified for a defined period, policies automatically move blobs between tiers, reducing storage expenses without manual intervention.This capability is available for Blob Storage and General Purpose v2 storage accounts only. If you’re still using a General Purpose v1 storage account, you’ll need to upgrade to General Purpose v2 to take advantage of lifecycle management.Lifecycle management is based on policy-driven transitions. You can configure policies to:
Automatically move blobs to cooler tiers based on their last modified date.
Delete blobs and snapshots that haven’t been modified after a specified number of days.
Filter policies to target specific file types (e.g., PDF or MP4 files).
Additionally, these policies support multiple blob types. Rules can be applied to Block Blobs, Append Blobs, and even target specific subtypes such as blob versions and snapshots.Below is an example of a JSON lifecycle policy definition. In this example:
Blobs not modified for 60 days are moved to the cool tier.
Blobs not modified for 180 days are moved to the archive tier.
The policy above illustrates how a blob transitions to the cool tier after 60 days, to the archive tier after 180 days, and is ultimately deleted after 365 days.
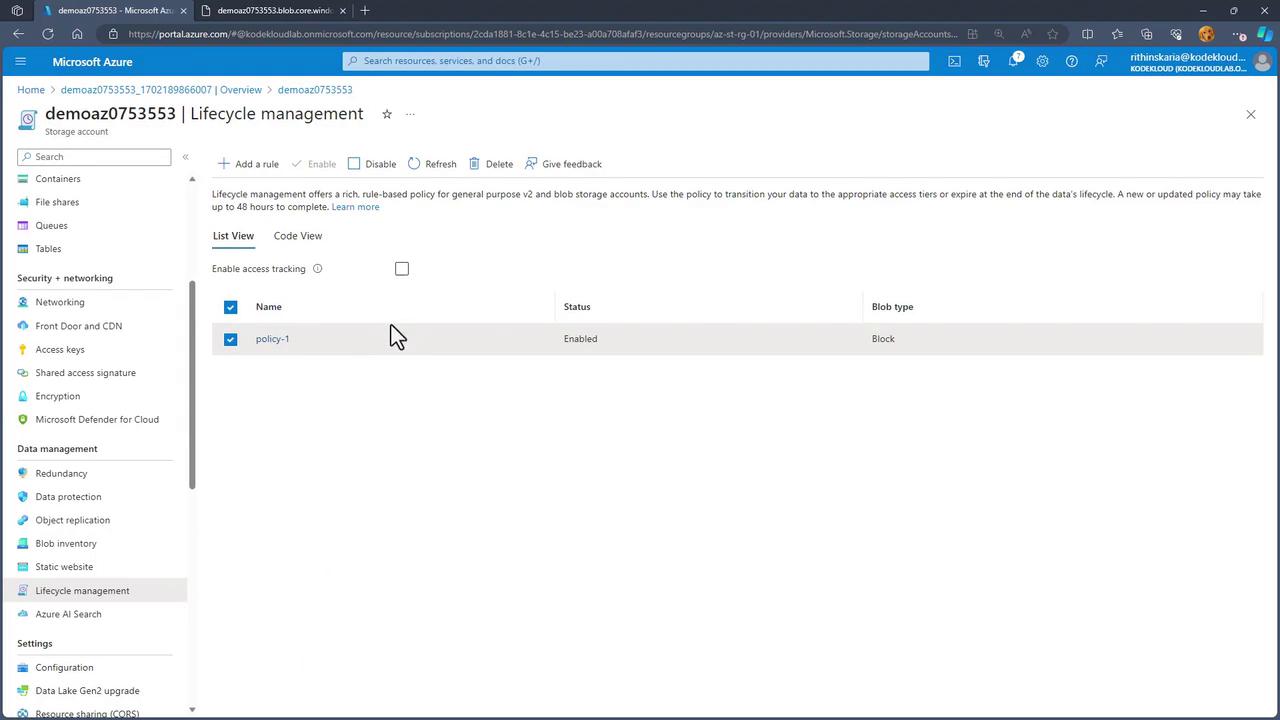
You do not need to write this JSON manually. The Azure portal offers a graphical interface to create these rules without any coding. Simply navigate to your storage account, select the Lifecycle Management option, and use the list view to add and configure your rule.
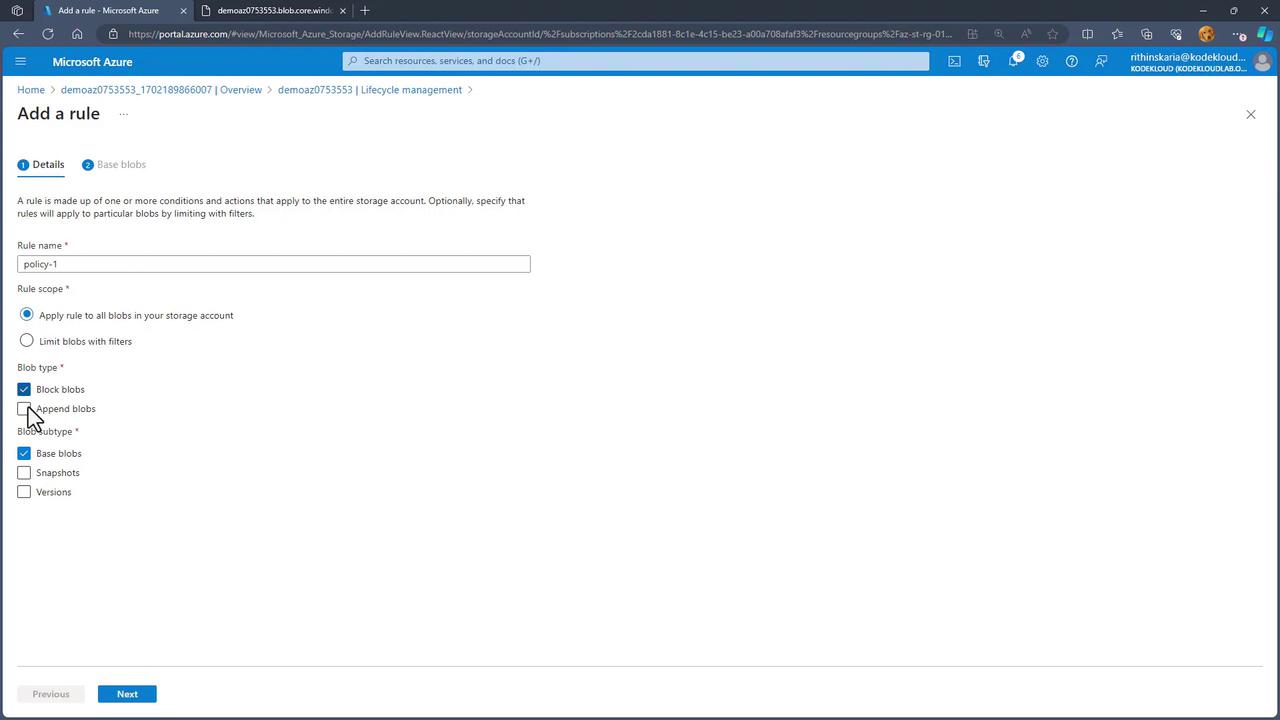
Returning to your storage account, select the Lifecycle Management option. Click “Add Rule” and enter a name (for example, “Policy 1”). Then you can set up filters to limit the policy to specific blob types—such as append blobs or block blobs—and even include snapshots and versions.
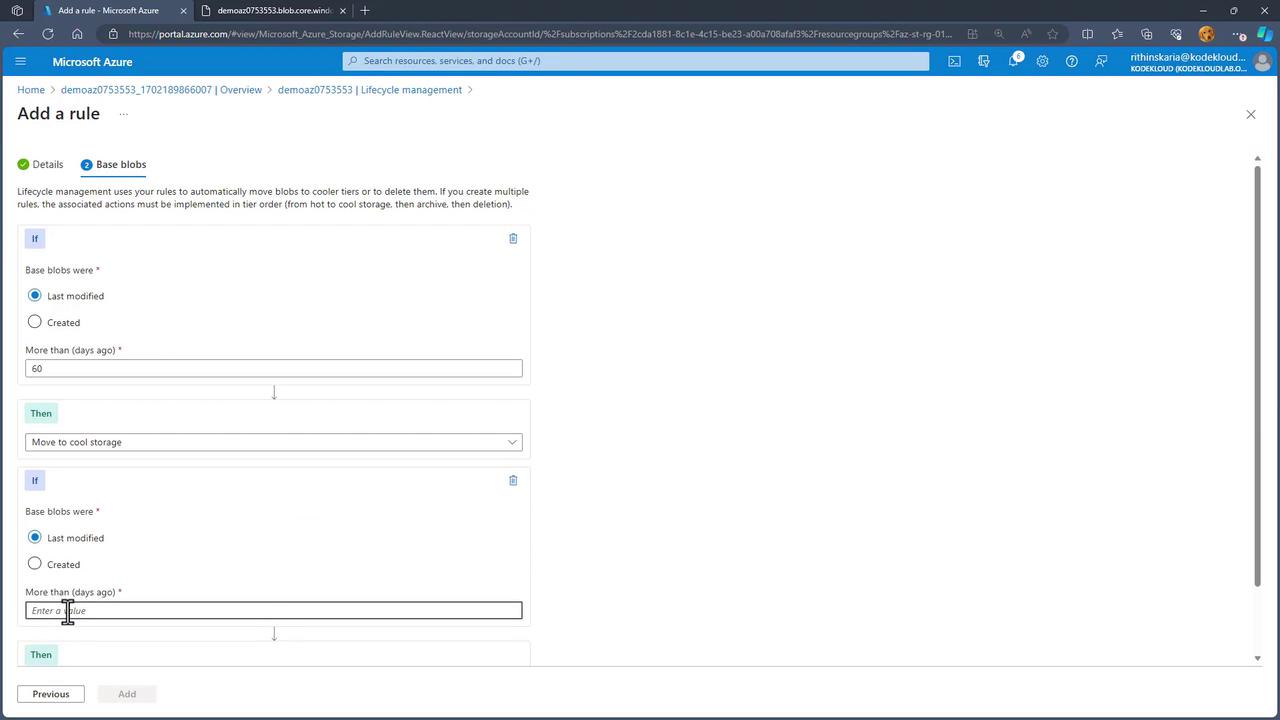
After naming the rule, click “Next” to define the policy conditions. For example:
If a blob was last modified more than 60 days ago, move it to the cool tier.
If it was last modified 90 days ago, move it to cold storage.
If modified over 180 days ago, move it to the archive tier, while skipping blobs that have been rehydrated in the last seven days.
Finally, delete the blob after 365 days.
Each condition can be added using the “Add” button. Once you have finalized these settings, the policy will be created, and you can review its JSON representation directly within the portal.
Below is another example JSON policy that demonstrates executing multiple actions within a single rule. In this scenario, besides the cool and archive transitions, there is also a transition to the cold tier: