VM Basics
Before you begin, you need to specify the following details:- Subscription Details & Resource Group: Define which subscription and resource group will host your VM.
- Region: Choose the regional data center where your VM will be deployed.
- VM Name & Image: Provide a unique name and select a VM image (operating system) to run.
- Size & Disk Configuration:
- The size should match your application’s performance and scalability requirements.
- Configure the disk settings to choose between SSDs or HDDs, set the desired disk size, and add additional data disks if necessary.
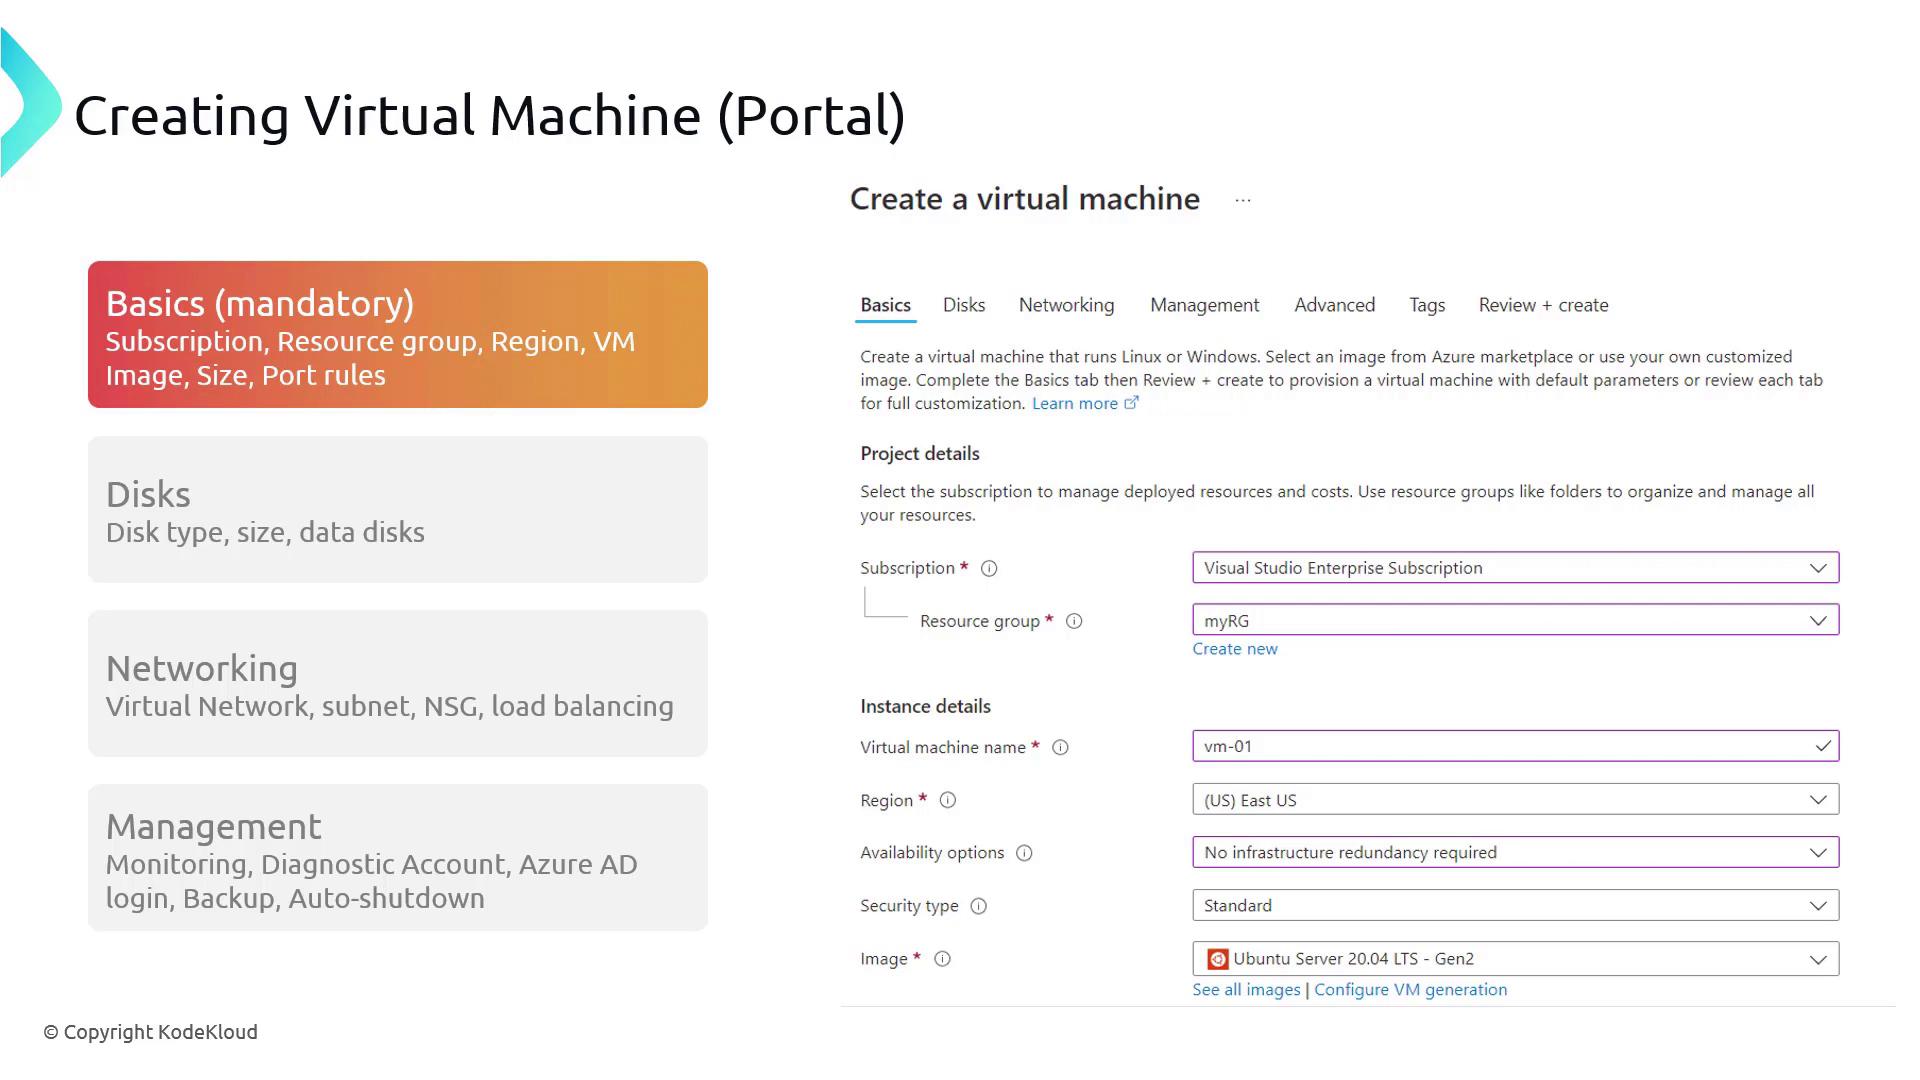
Networking Configuration
Within the networking section, you can:- Select your virtual network and the specific subnet for the VM.
- Configure associated network security groups (NSG), load balancers, and public IP settings.
Management Options
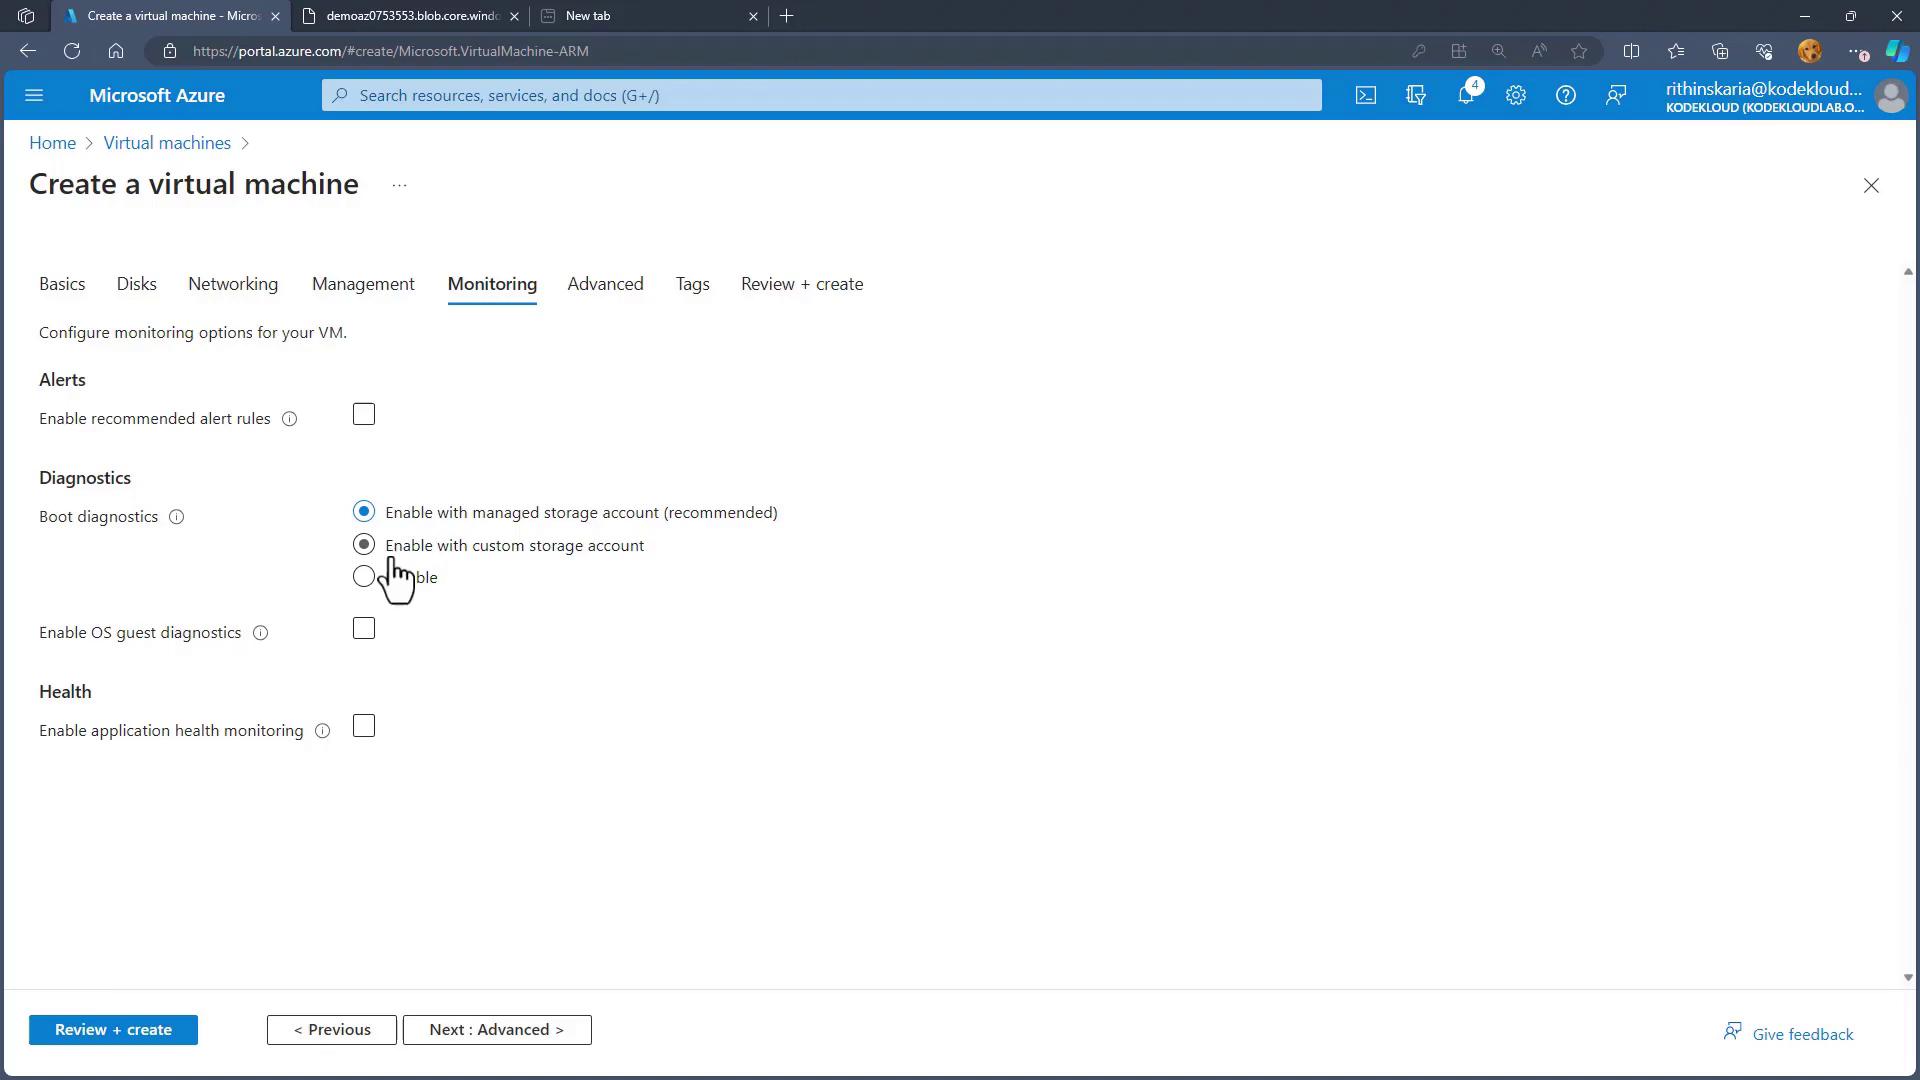
The management section offers additional configurations:- Monitoring: Set up monitoring to keep track of your VM’s performance.
- Diagnostics: Send diagnostics information to a storage account for analysis.
- Microsoft Entra ID (Azure AD): Integrate for streamlined login and identity management.
- Backup & Auto Shutdown: Configure backups and scheduled shutdowns to optimize cost control, especially useful during testing.
For optimal cost management, always review the auto shutdown and backup options when configuring your VM.
Creating VMs Using Command-Line Tools
You can create a VM using either Azure PowerShell or the Azure CLI. Both methods allow you to configure your resource details from scratch.Using Azure PowerShell
Run the following command to create a VM with the necessary resource parameters:Using Azure CLI
Alternatively, use the Azure CLI with this command:Deploying a VM via the Azure Portal
Follow these steps to deploy a VM using the Azure Portal:-
Navigate and Initiate Creation:
Open the “Virtual Machines” blade, click “Create,” and select “Azure Virtual Machine.” -
Set Up Basics:
- In the Basics tab, select your subscription and resource group (or create a new one, e.g., “azvm01rg”).
- Enter a VM name (e.g., “azvm01”) and choose the region.
- For availability, select “No infrastructure redundancy required” if applicable.
- Choose the security type as “Standard VMs” to avoid unnecessary configurations like trusted machines if not needed.
-
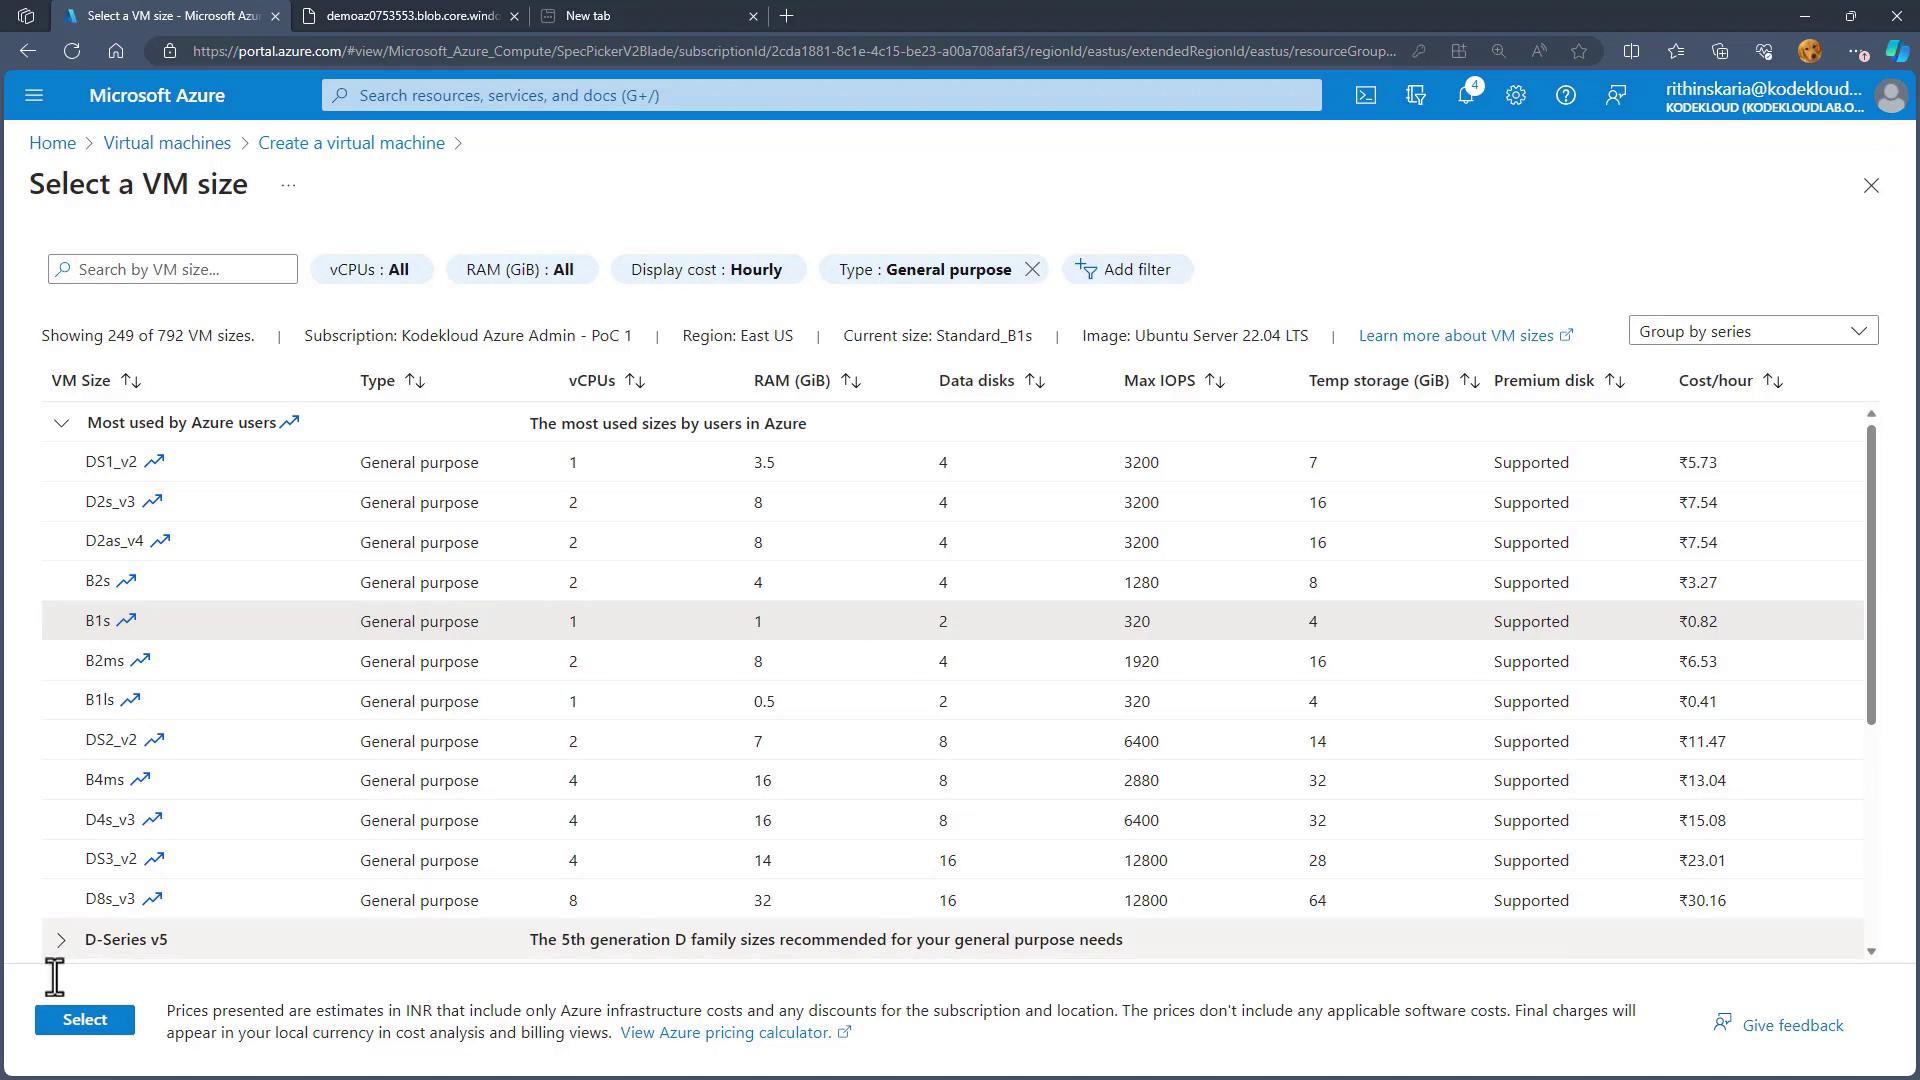
Select the OS Image and Size:
- Under the Image section, pick your preferred operating system (e.g., Ubuntu 22.04 for a Linux environment).
- Click “See all sizes” in the Size section. Use filters (e.g., general purpose) to choose an appropriate size, such as the B1S for a cost-effective instance.
-
Configure Authentication and Inbound Ports:
- Set the administrative credentials, choosing a robust password and username.
- Under the Inbound ports section, select the necessary ports (HTTP, HTTPS, or SSH) based on your requirements.
-
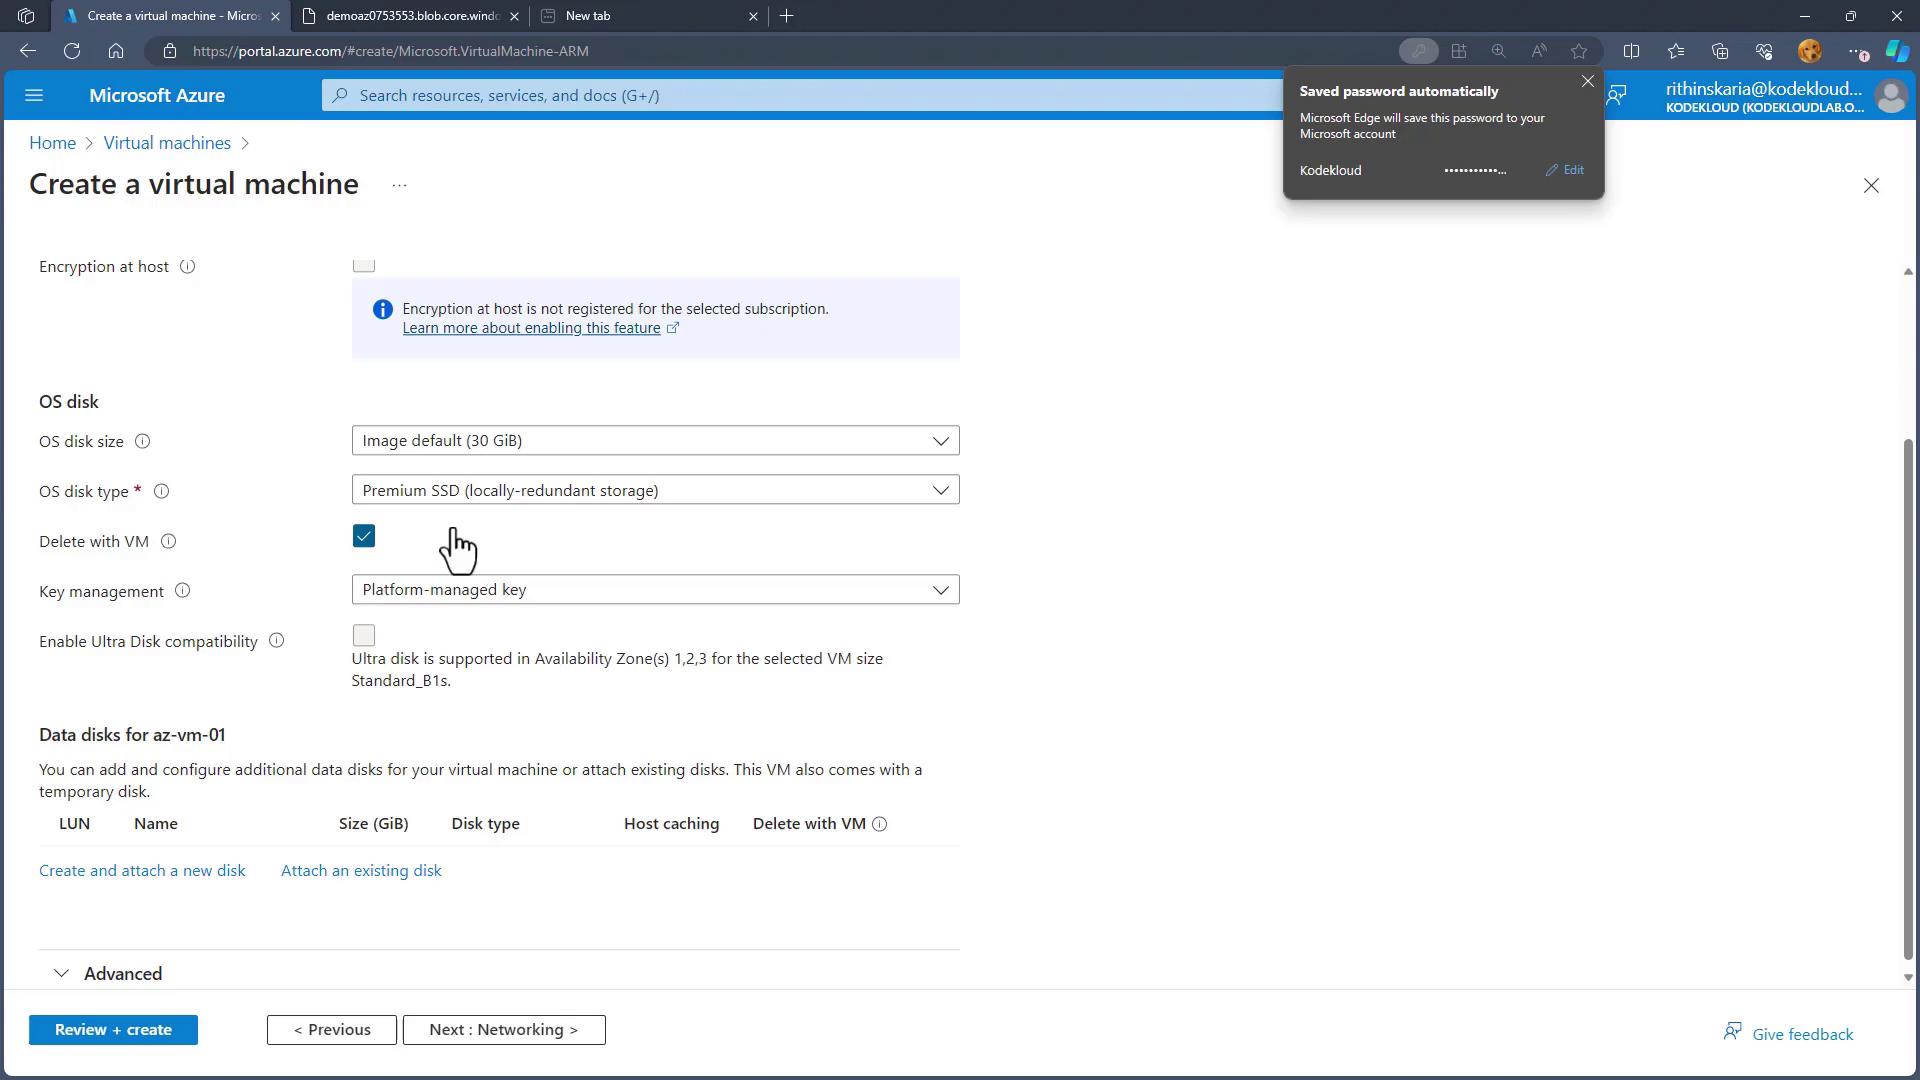
Disk Configuration:
- In the Disk tab, choose the disk type (e.g., Standard SSD) and specify the disk size (e.g., 30 GB).
- Optionally, add more data disks as needed.
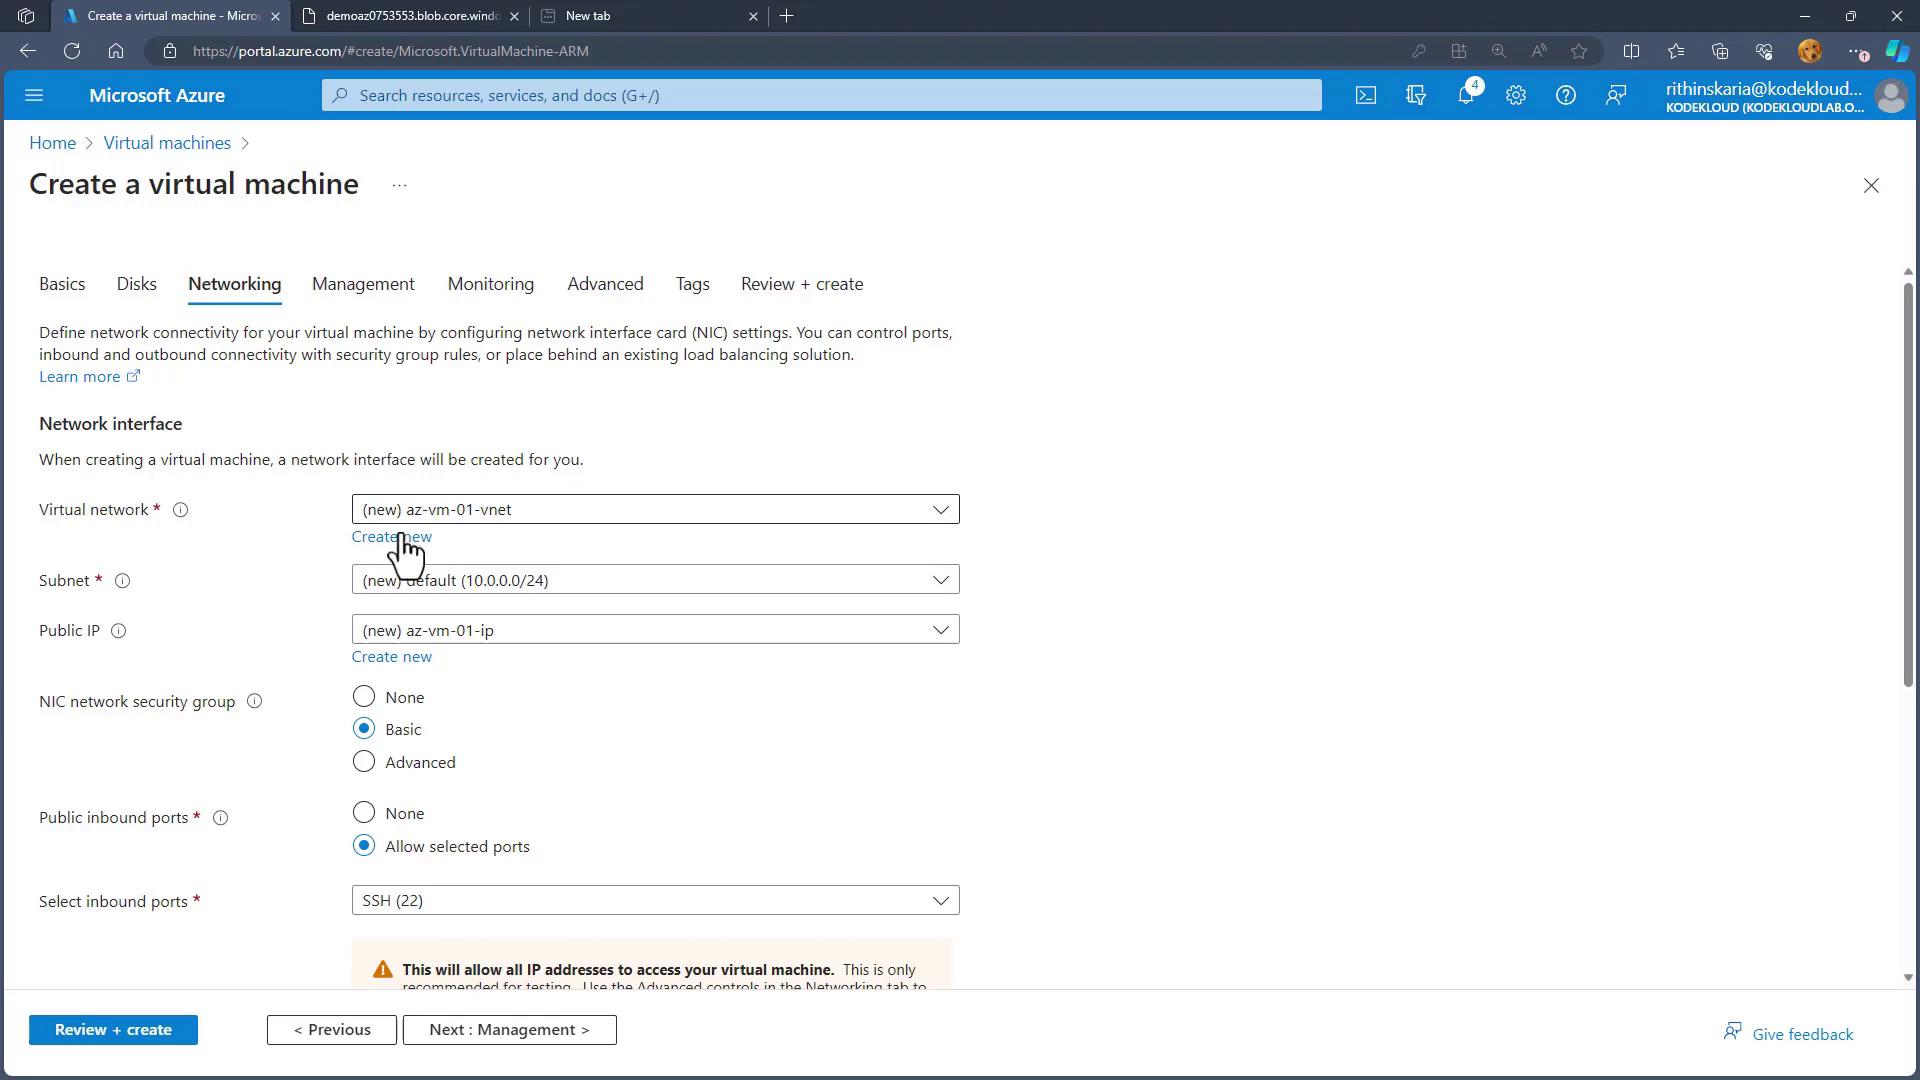
- Networking Configuration:
- Under the Networking tab, either select an existing virtual network or create a new one.
- Configure the public IP and associate a network security group (NSG) appropriately.
- Management Settings:
Configure options including Defender for Cloud, managed identities, Azure AD login, auto shutdown, backup, and monitoring (alerts, diagnostics, and health monitoring).
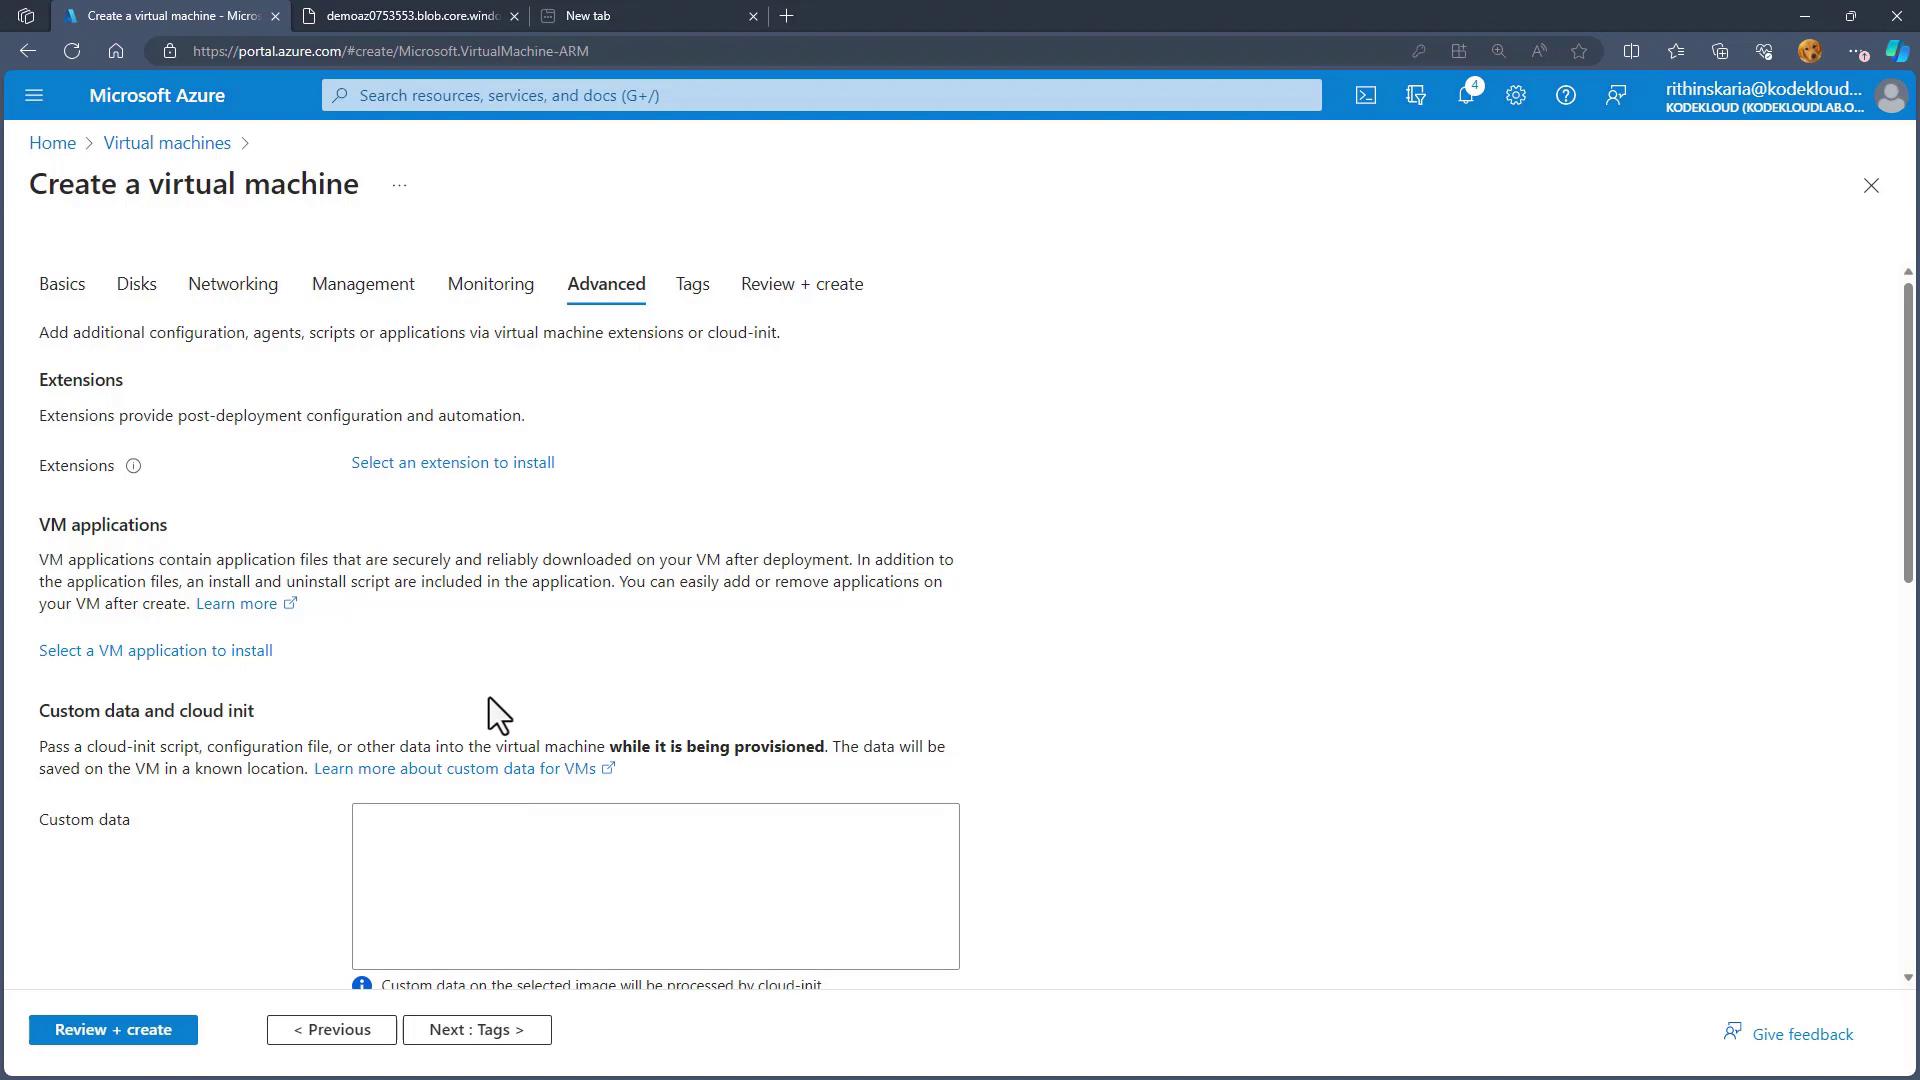
- Advanced Configuration:
Use the Advanced tab to set up extensions for post-deployment configuration and automation.
- Finalize and Create:
- Optionally, add tags to your VM for better organization.
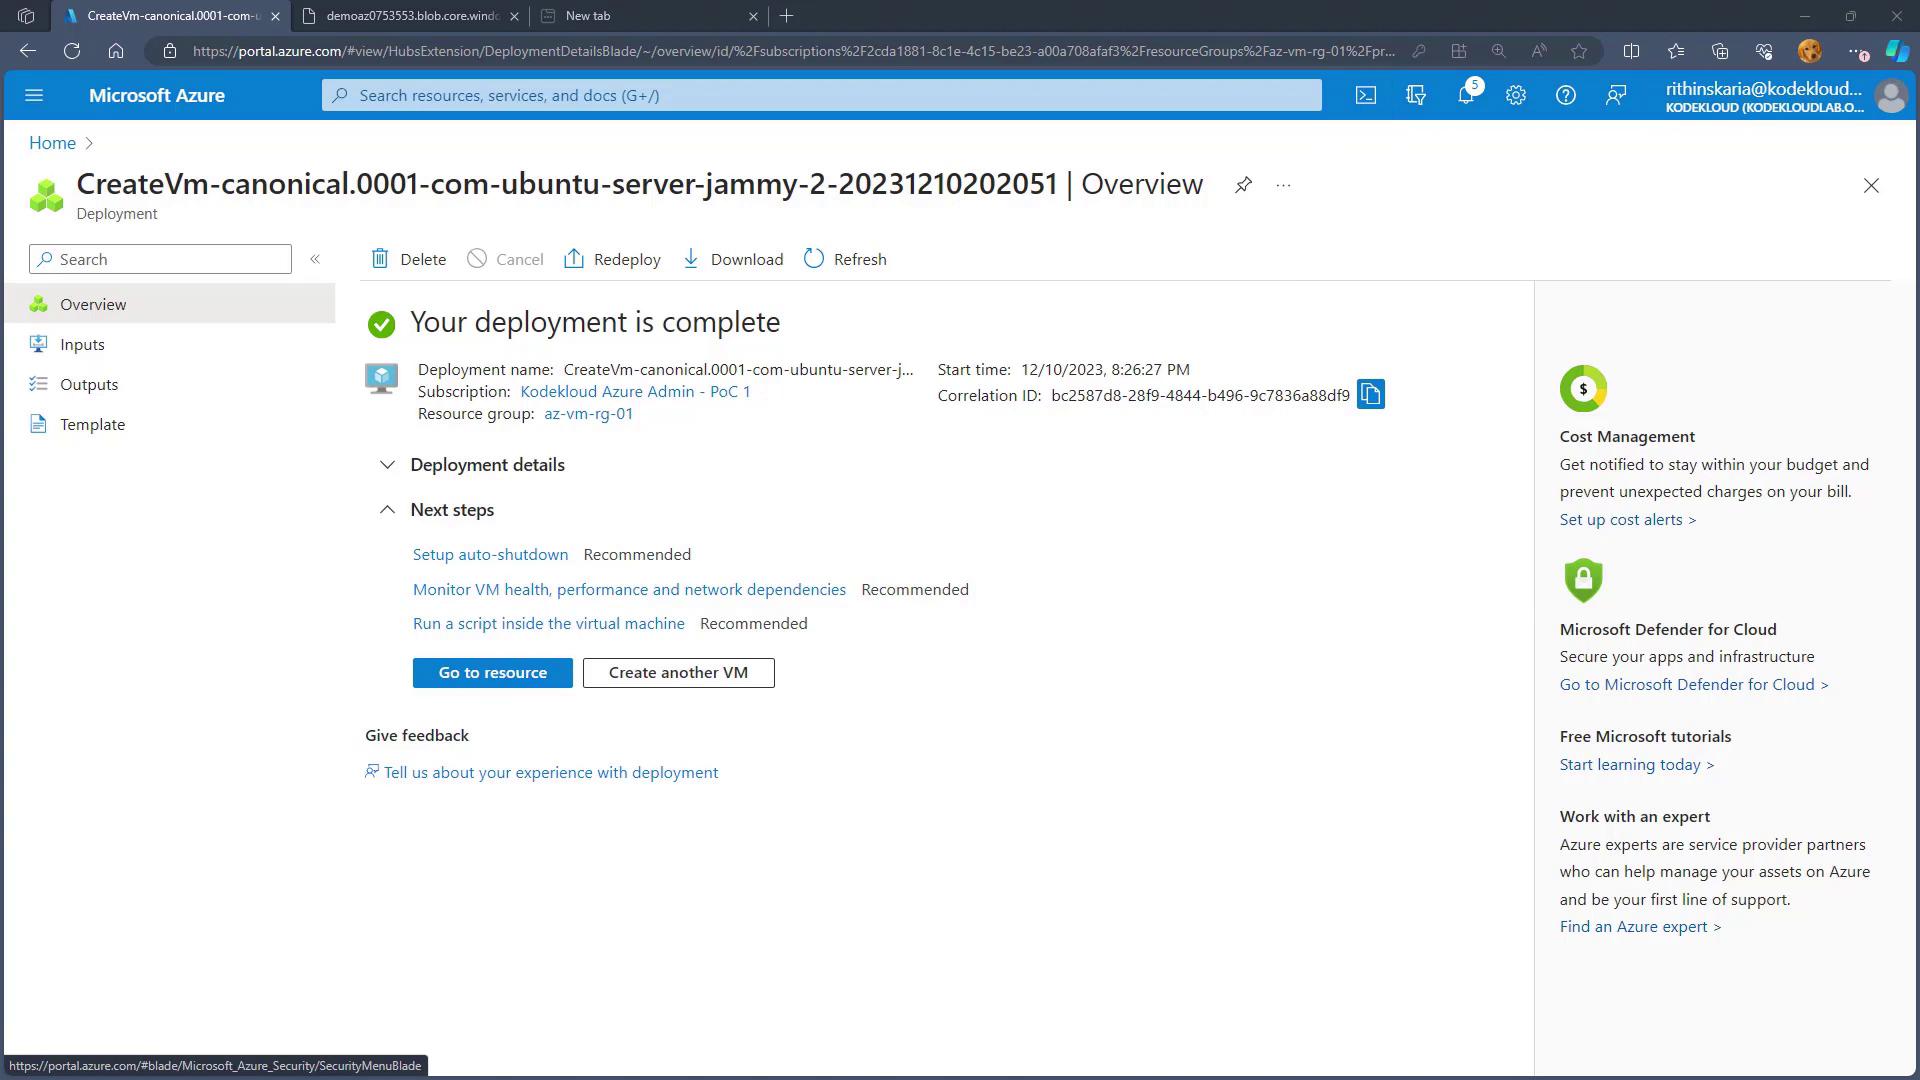
- Click “Review + create,” then “Create” once validation passes.
Connecting to Your Deployed VM
Once the VM is running, connect using your preferred remote access method:- Linux VMs: Typically accessed via SSH.
- Windows VMs: Access using Remote Desktop Protocol (RDP).
Remember to update your firewall rules or NSG configurations to allow the required inbound connections.