Scaling in Azure
Azure supports two primary scaling strategies: • Vertical scaling involves adjusting the capacity of an individual resource. For example, you might upgrade a virtual machine (VM) to a more powerful configuration (scale up) or downgrade it (scale down). Note that vertical scaling is subject to the maximum instance sizes available (hypothetically 96 vCPUs and 96 GB of RAM) and may require downtime during resizing. • Horizontal scaling means adding or removing instances rather than modifying individual resource capacity. Adding instances is known as scale out, while removing instances is called scale in.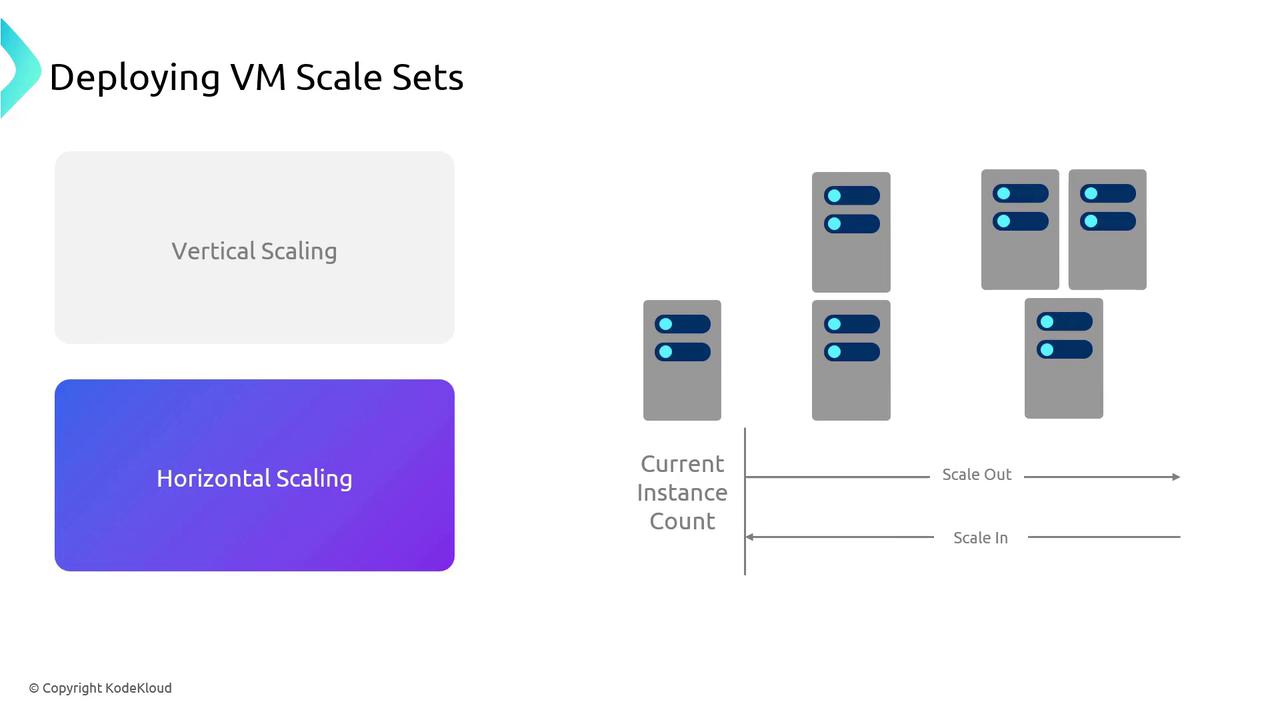
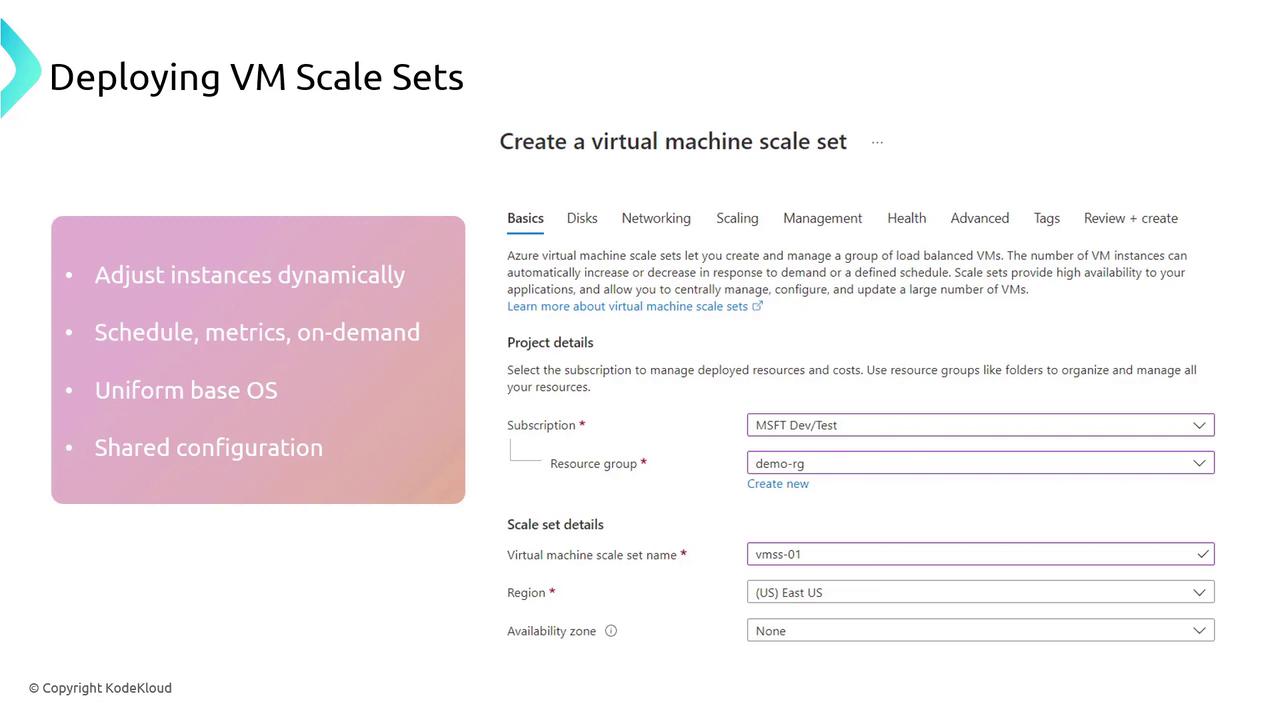
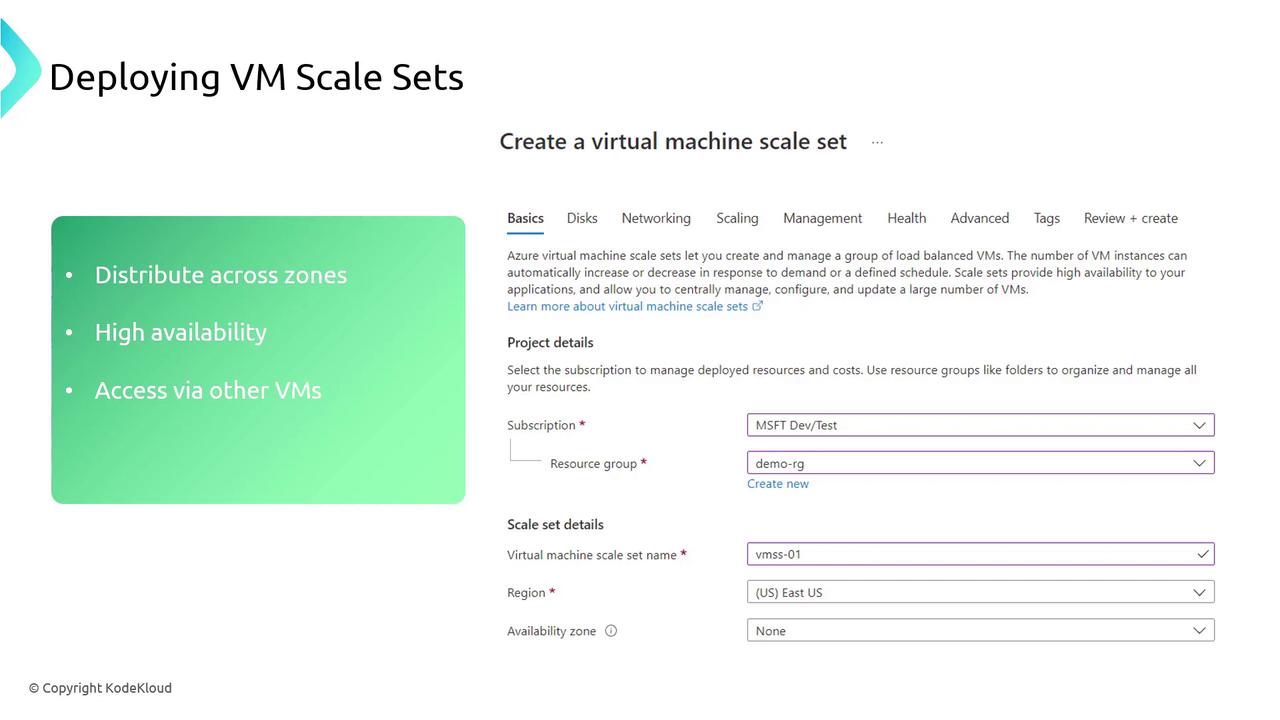
Overview of Virtual Machine Scale Sets
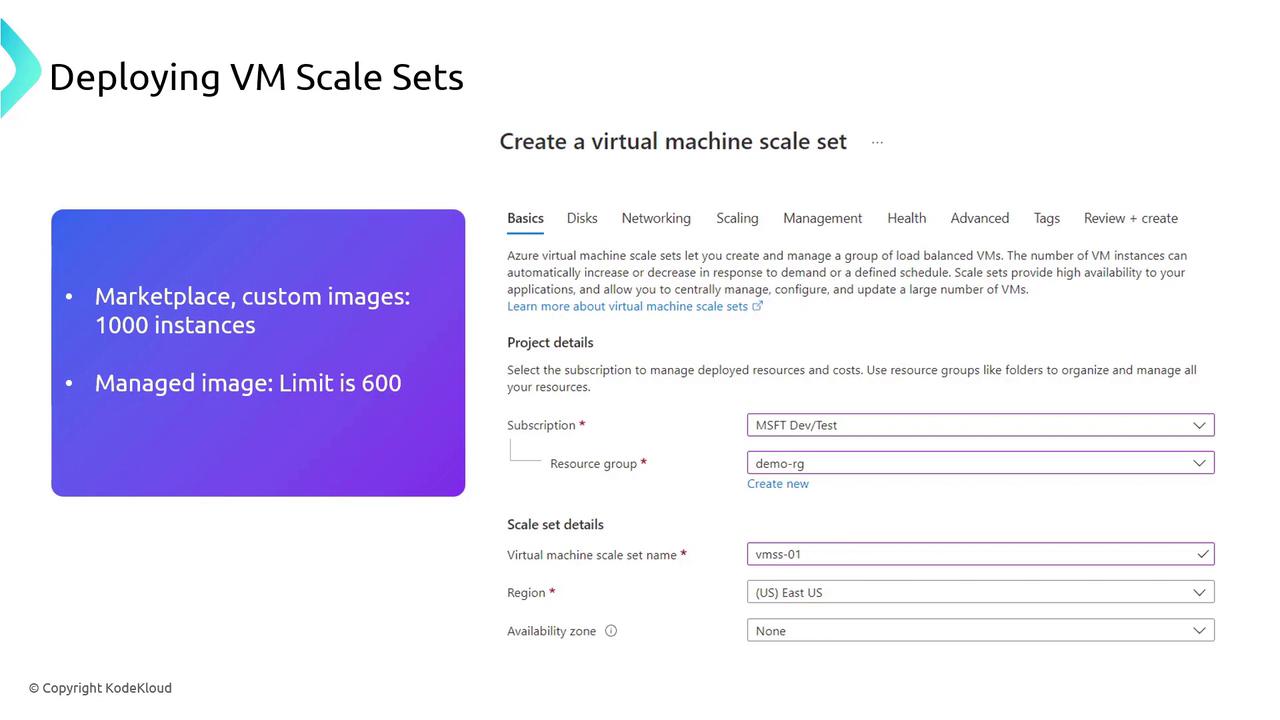
Azure Virtual Machine Scale Sets (VMSS) enable you to create and manage a group of load-balanced VMs with identical configurations or, with recent updates, mixed OS images. VMSS supports scaling based on schedules, performance metrics, or on-demand requirements. Additionally, by distributing instances across availability zones, VMSS ensures high availability. Key details about VMSS:- Up to 1,000 instances can be deployed using marketplace or custom images.
- The limit is 600 instances when deploying with a managed image.
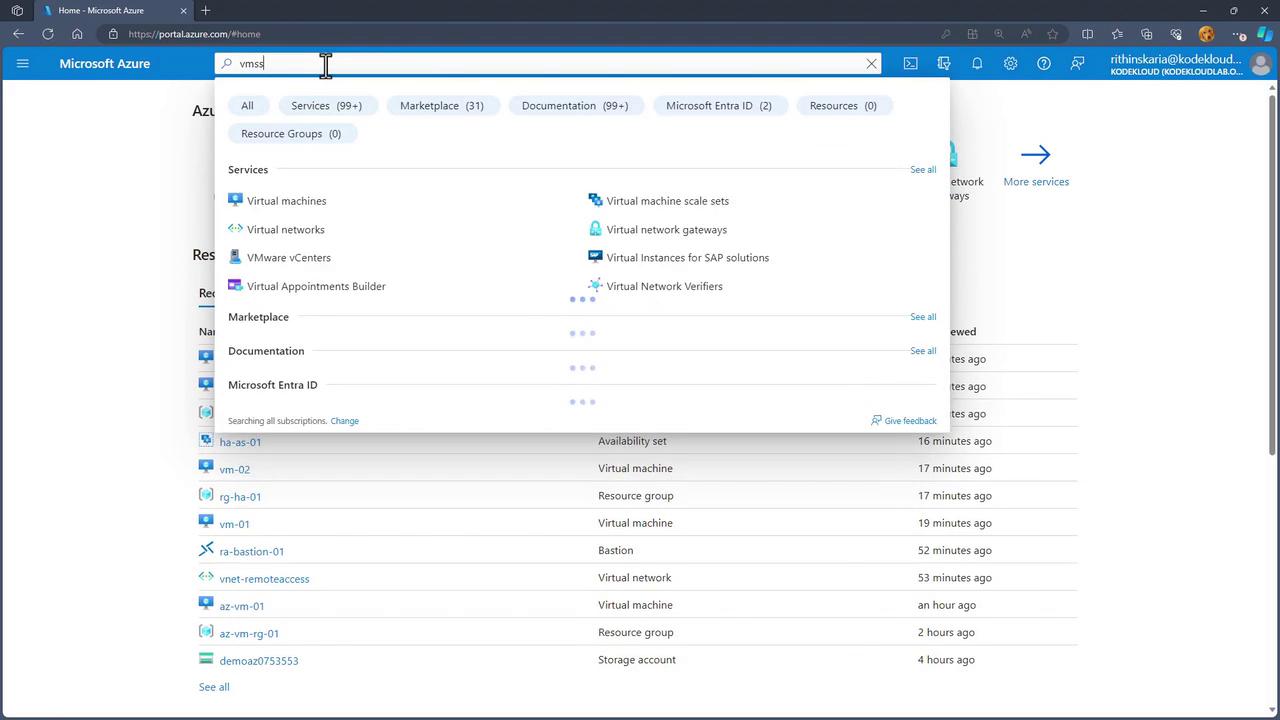
Deploying a Virtual Machine Scale Set via the Azure Portal
Deploying a VMSS resembles deploying a single VM, with additional scaling-specific options. Follow these steps:- In the Azure portal, search for “VMSS” or “Virtual Machine Scale Set” and select it.
- Click on the option to create a new Virtual Machine Scale Set. For instance, you might choose a resource group named “RGHA” and name your scale set “VMSS HA01”. When configuring, select the availability zones to ensure that instances are spread across different zones.
-
Choose an orchestration mode based on your needs:
- Select Flexible if you need to run varied VM types or mix configurations.
- Select Uniform if you prefer all instances to be identical.
- Set your admin credentials and configure network options. You can also configure settings related to scaling. For load balancing, you may opt for the Azure Load Balancer or Application Gateway. In our demonstration, we choose not to use either option.

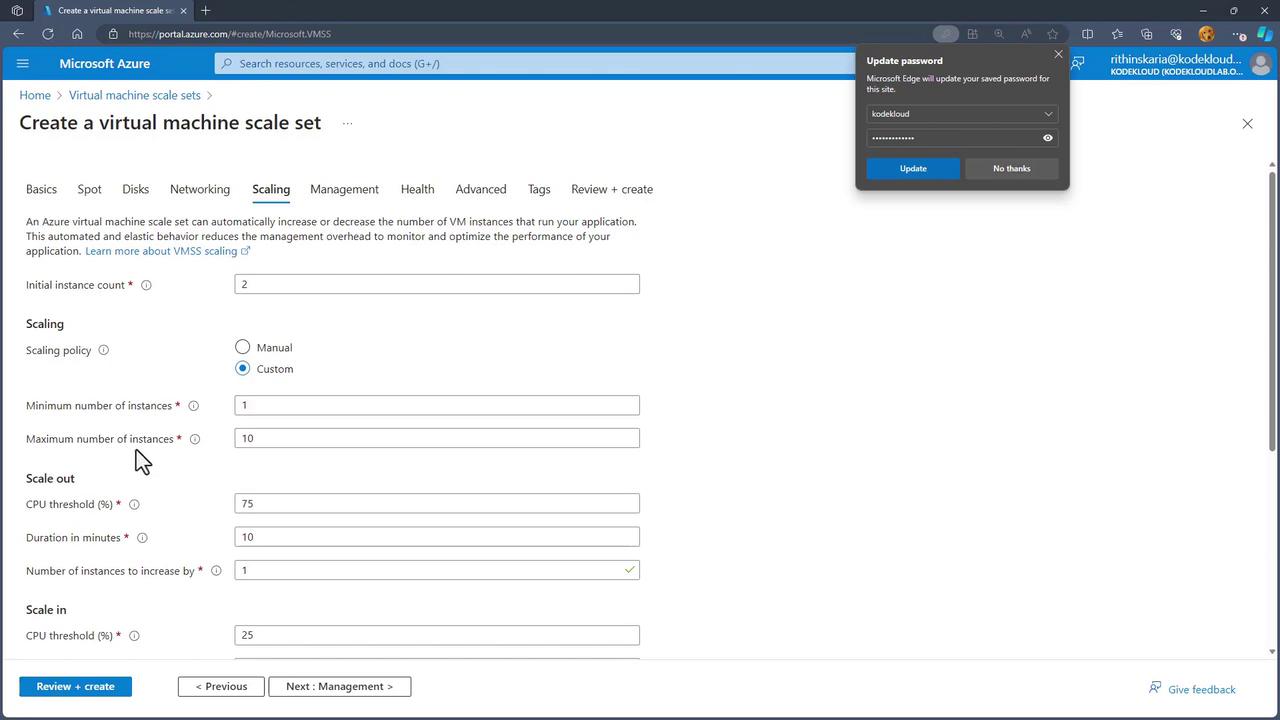
- Configure the scaling settings:
- Set the initial number of instances.
- Define the scaling policy by specifying the minimum and maximum instance counts.
- Configure thresholds; for example, add one instance (scale out) if CPU utilization exceeds 75% for 10 minutes, or remove one instance (scale in) if it drops to 25% after a cooldown period.
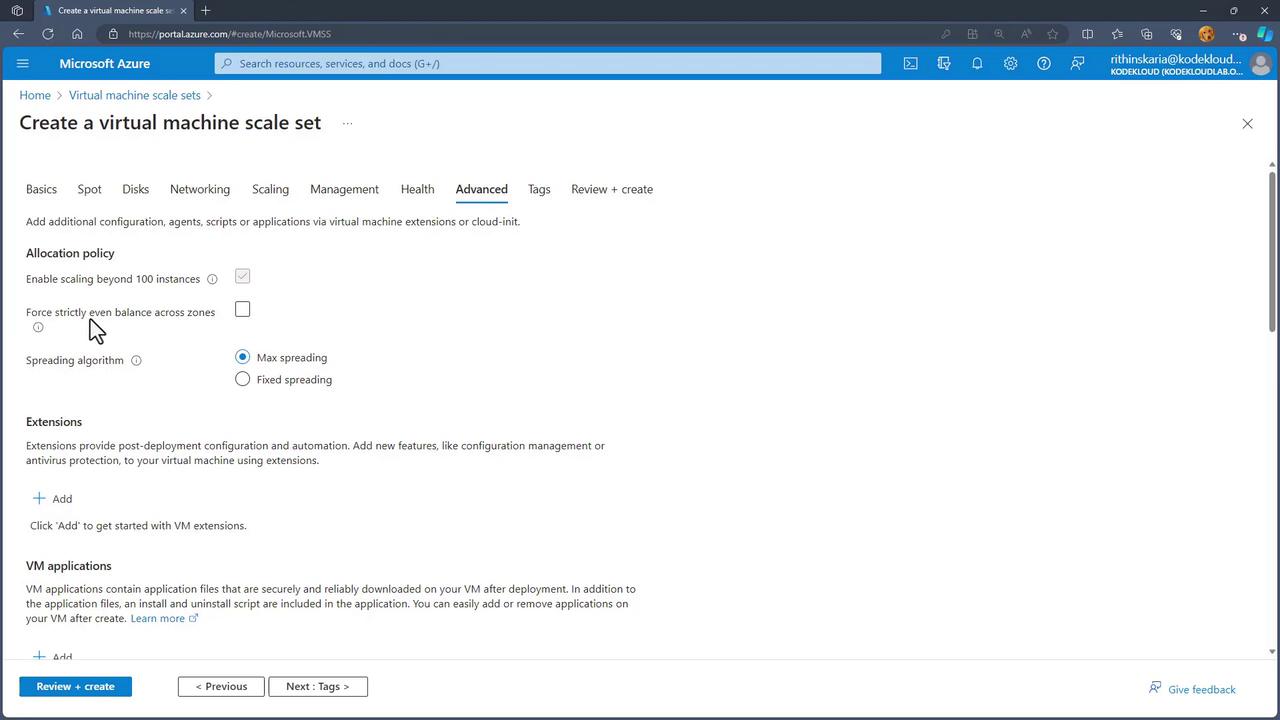
- On the Management tab, review the default settings for health monitoring and additional options. In the Advanced tab, you can enable the option to scale beyond 100 instances and enforce an even distribution of instances across availability zones.
- Finally, click Review and Create to deploy your scale set.
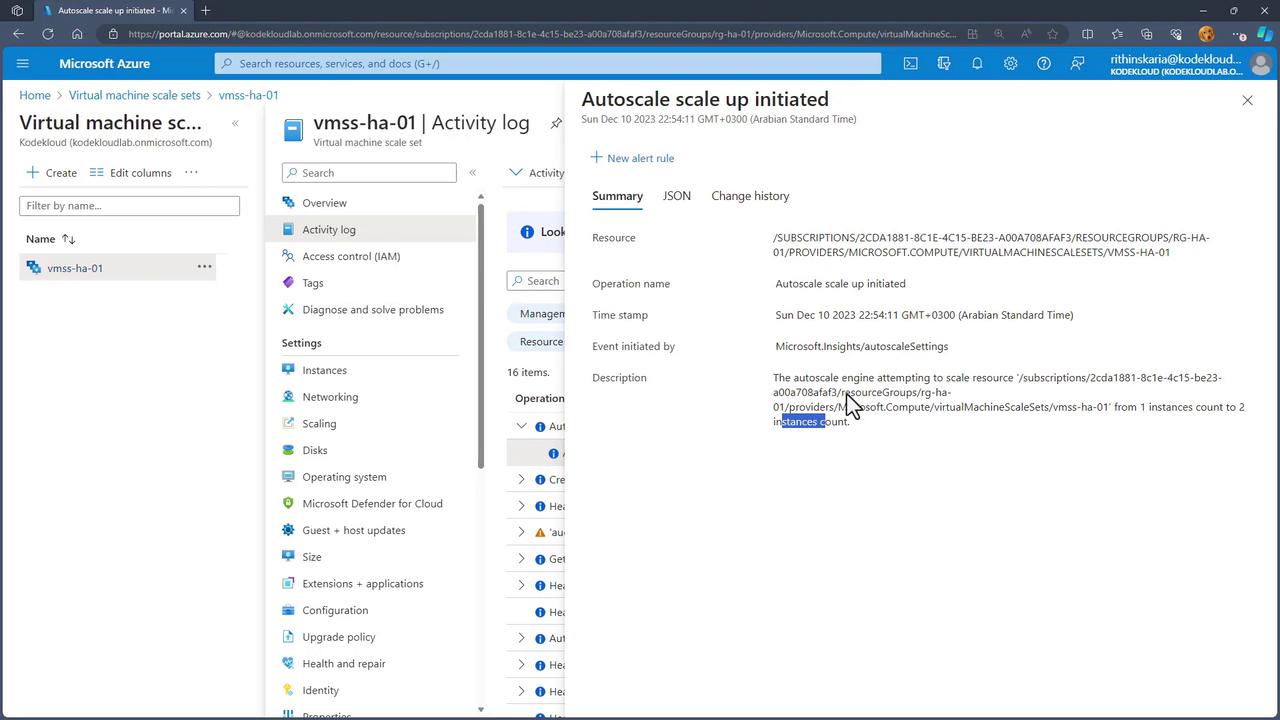
Verifying the Deployment and Testing Autoscaling
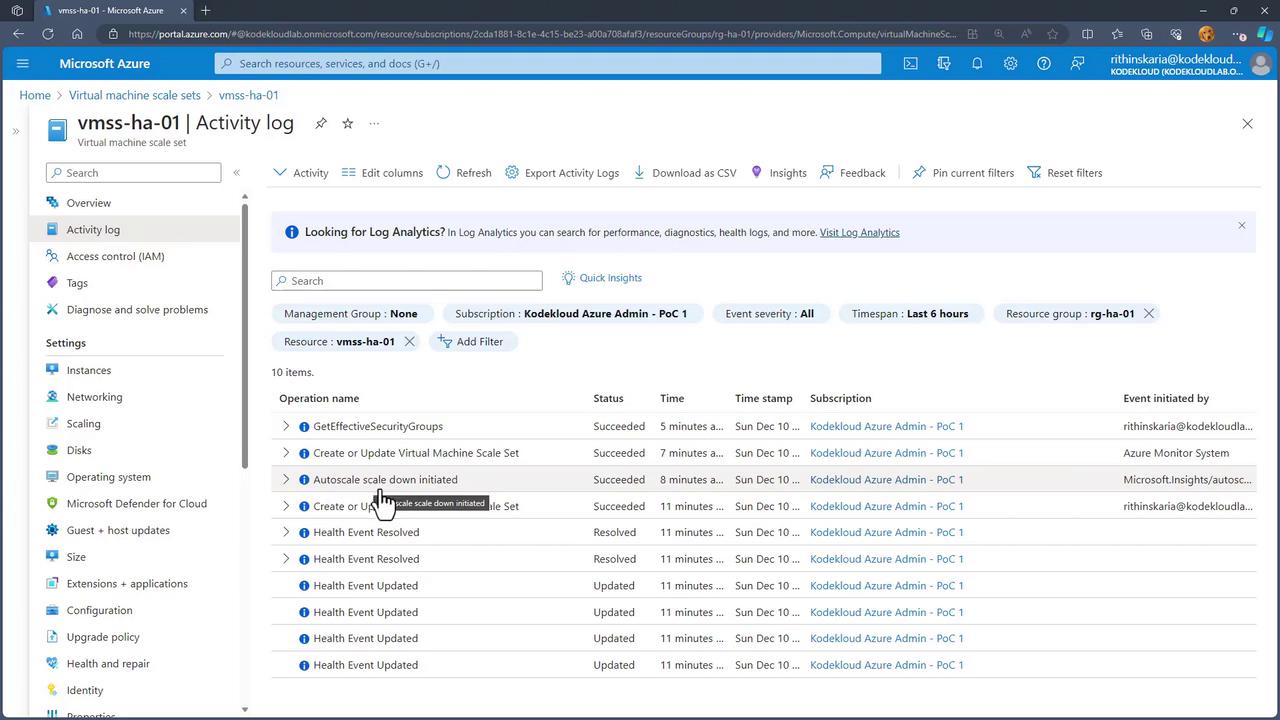
After deployment, navigate to the VMSS resource page and verify the running instances. Depending on your configuration, you might initially see one or two instances. The activity log can also provide details about scaling operations, such as scaling down from two instances to one.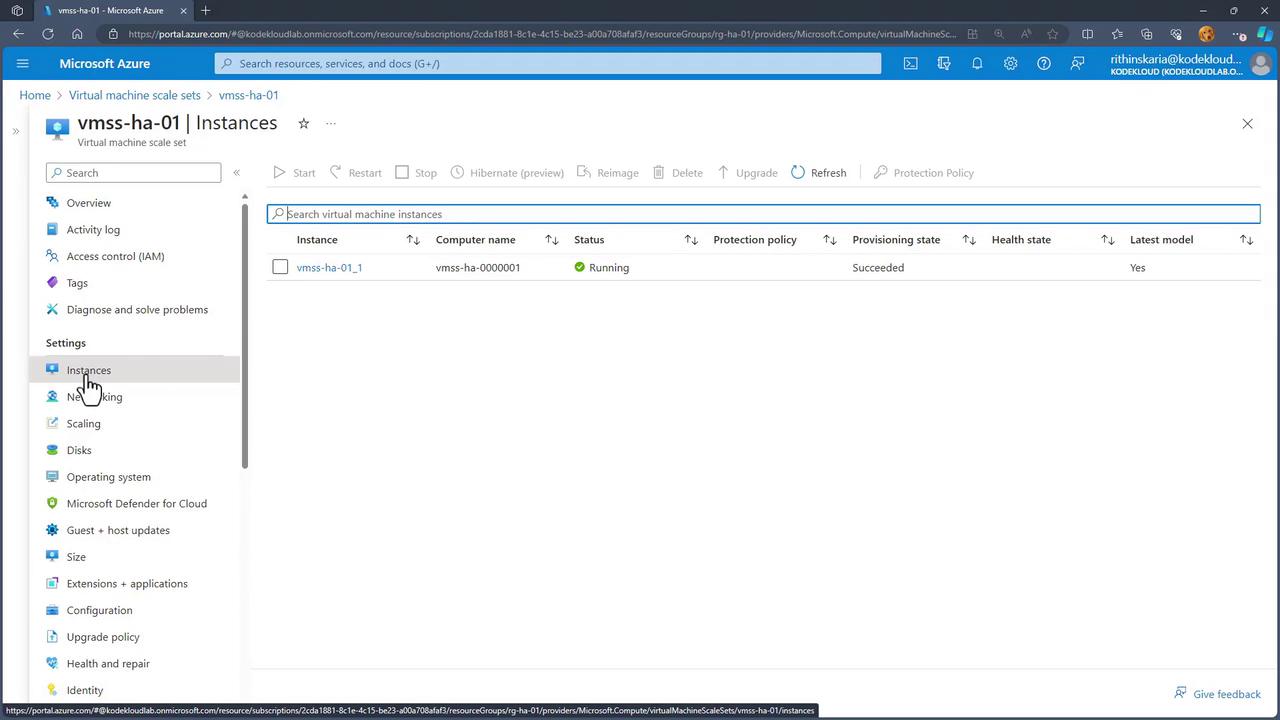
Connecting to an Instance for Stress Testing
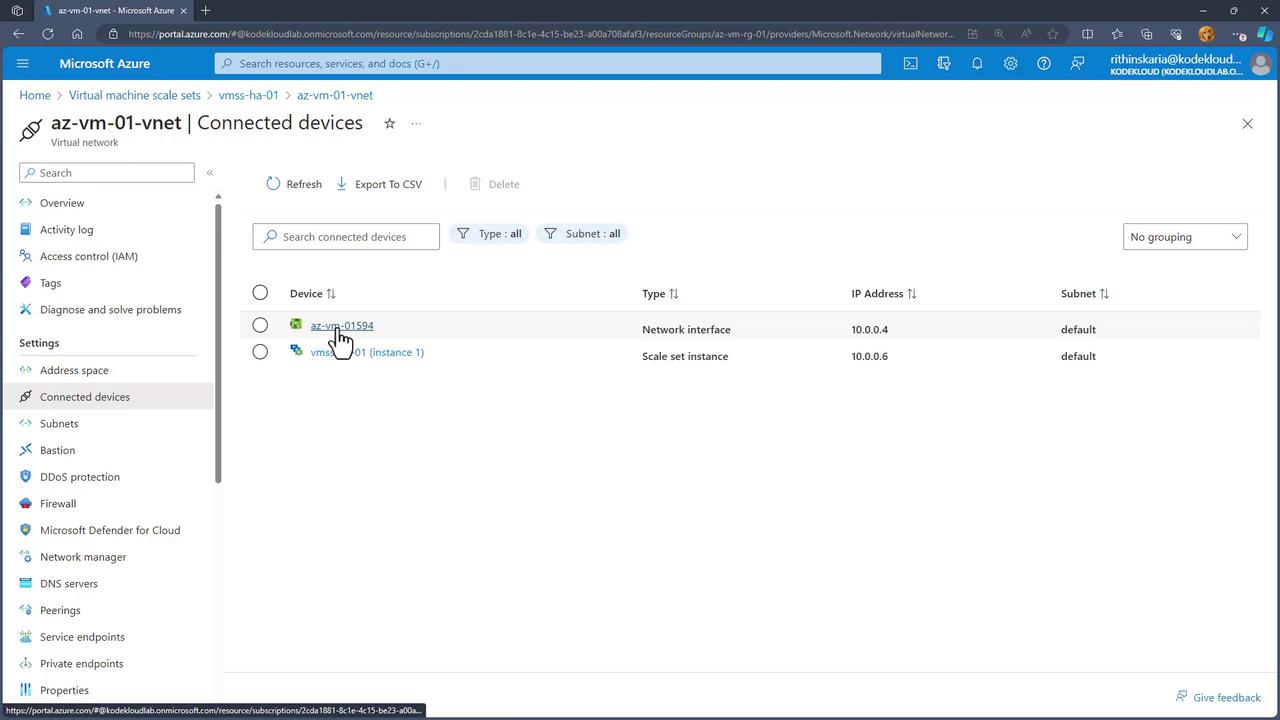
Since scale set instances do not receive public IP addresses by default, a jumpbox—a VM within the same virtual network that has a public IP—is required to connect to them.- Identify a jumpbox VM from the list of connected devices within your virtual network.
-
Connect to the jumpbox VM via SSH using its public IP address. For example, in your terminal:
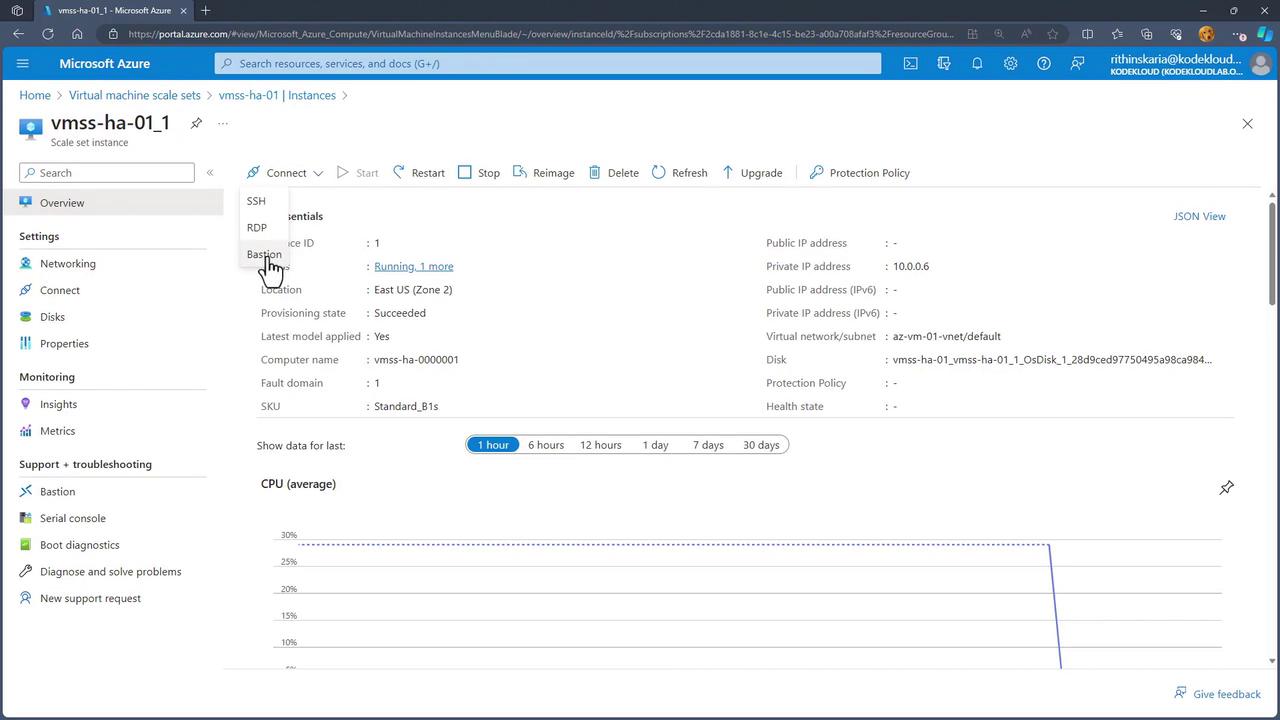
After entering the password and being authenticated, use this jumpbox to connect to your scale set instance. Identify the internal IP of the scale set instance (e.g., 10.0.0.6) and connect via SSH or Bastion.
Installing and Running Stress on the Instance
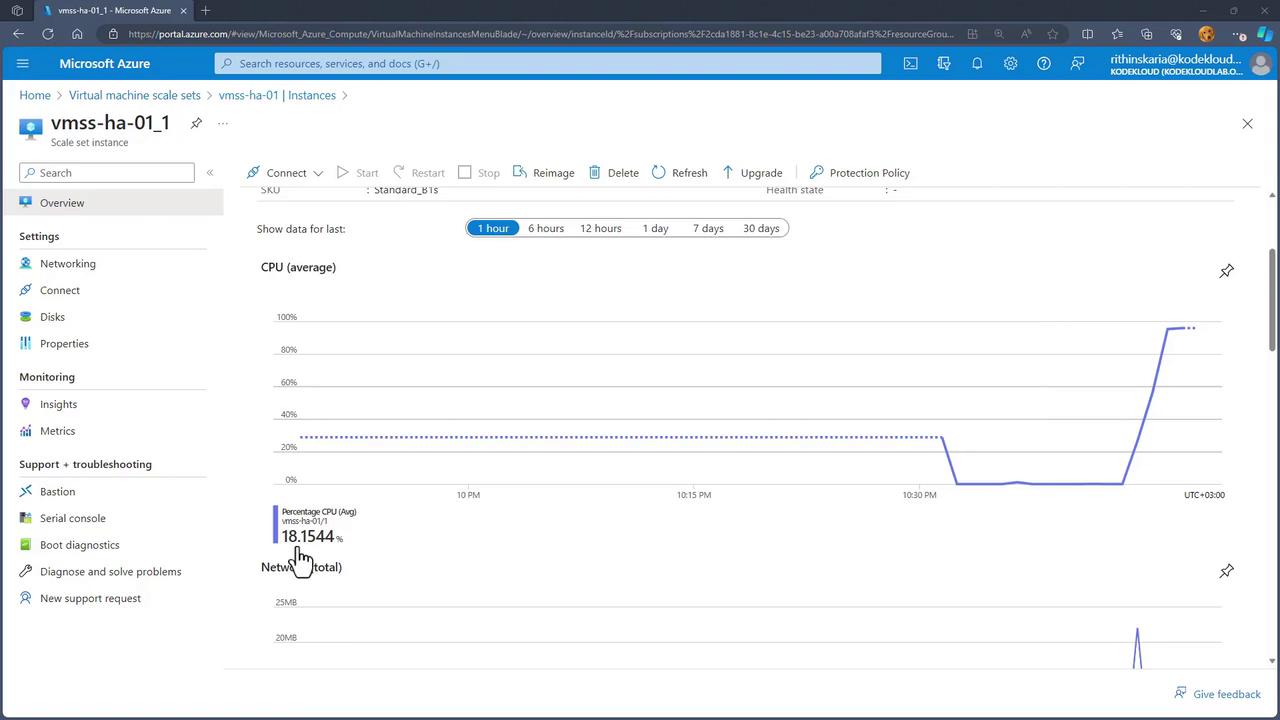
Once connected to your scale set instance, update the package list and install the stress testing tool:-c 2spawns two CPU stress workers.-t 600sets the test duration to 600 seconds.-venables verbose output.
Conclusion
In this article, you learned how to deploy and configure Virtual Machine Scale Sets in Azure. By leveraging VMSS with a load balancer, your application can automatically scale based on CPU utilization thresholds, ensuring resources are dynamically allocated to meet demand.Autoscaling is a powerful feature of Azure that helps maintain performance and availability under varying load conditions. Always monitor the resource usage and adjust your scaling rules as needed.