Overview
Azure Backup offers native integration with Azure Files for seamless file share protection. For on-premises Windows servers, the Microsoft Azure Recovery Services (MARS) Agent is required to replicate your data to the Recovery Services Vault. The guide is divided into two main sections:- Backing up Azure File Shares using the Azure portal
- Backing up on-premises files and folders using the MARS Agent on a Hyper-V machine
Setting Up Azure File Share Backup
Creating a Storage Account and File Share
- In the Azure portal, navigate to Storage Accounts and create a new account. Select your subscription and create a new resource group.
- Provide a distinctive name for the storage account (for example, “RSV Demo”), and choose the appropriate options (e.g., Standard, LRS advanced). Click Review + Create and proceed after validation.
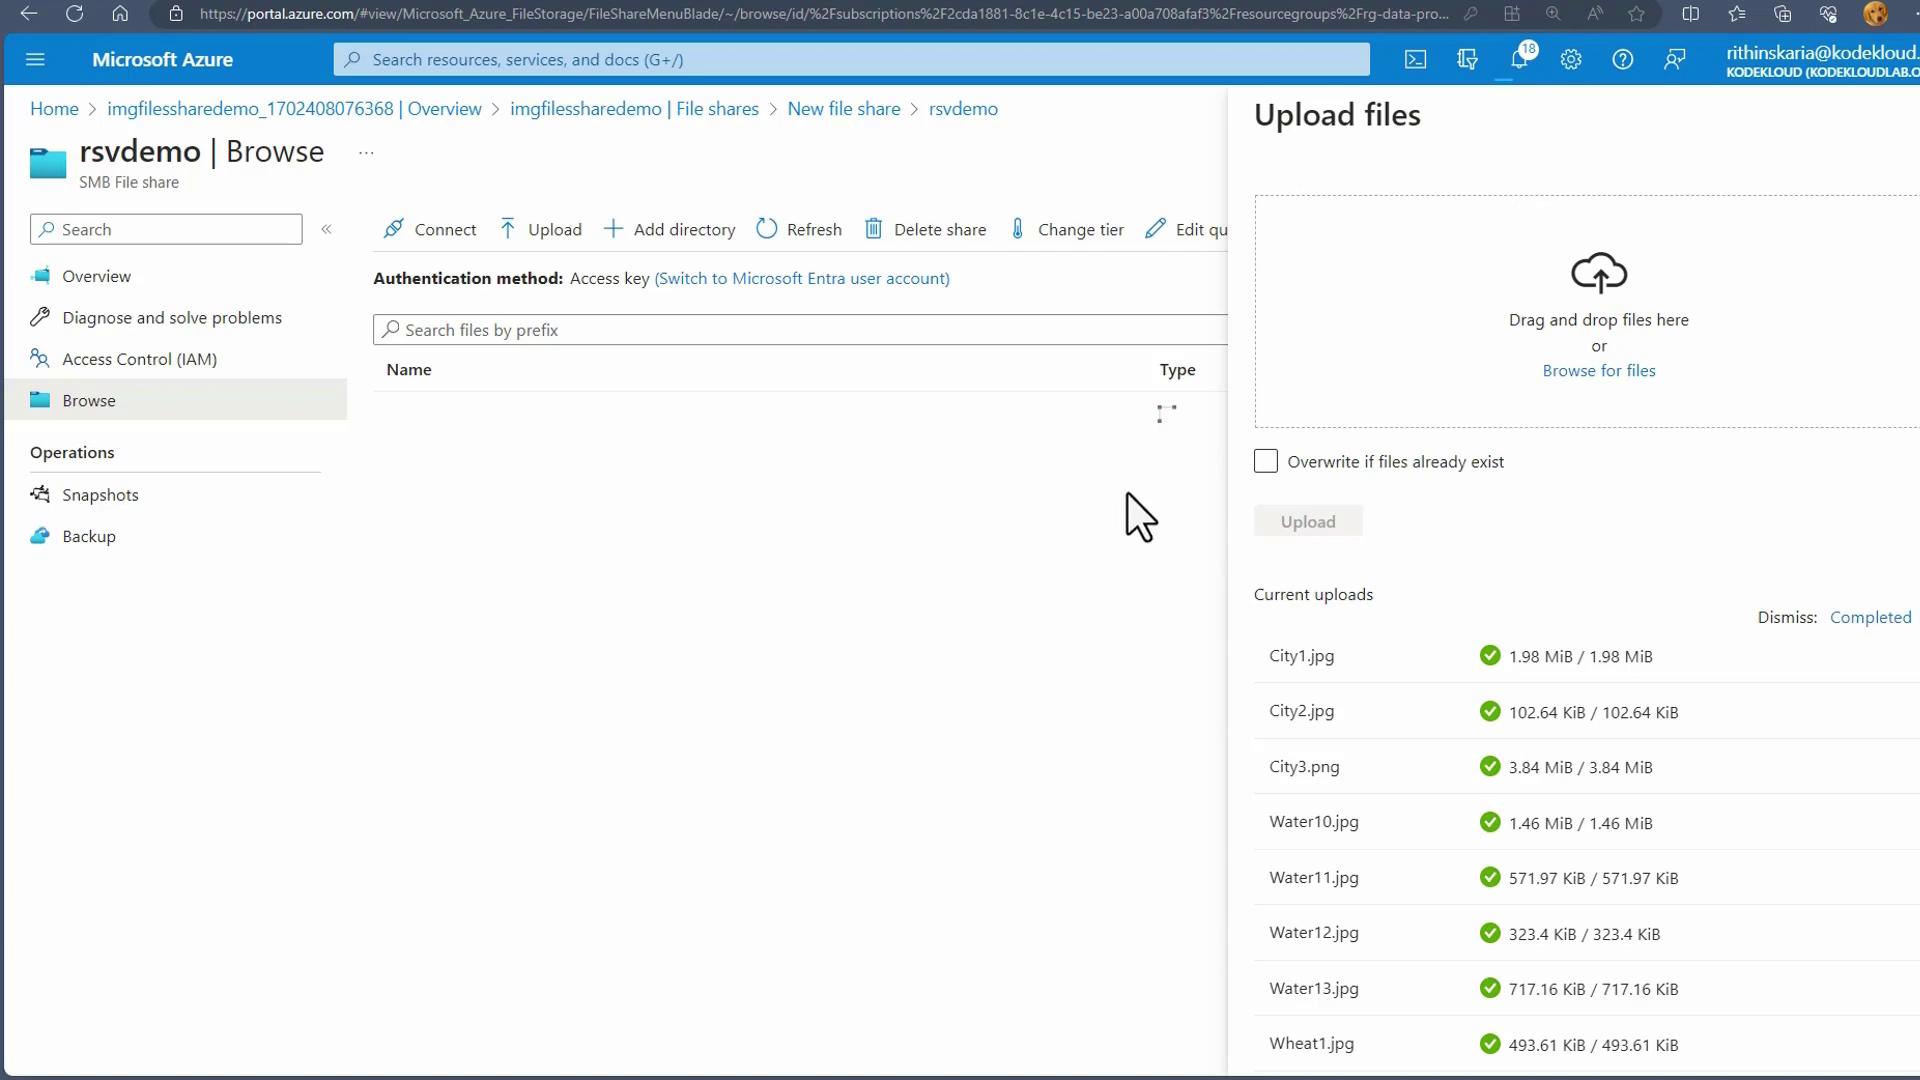
- After the storage account is deployed, configure a file share within it.
- Image:
- Image:
Configuring the Recovery Services Vault
-
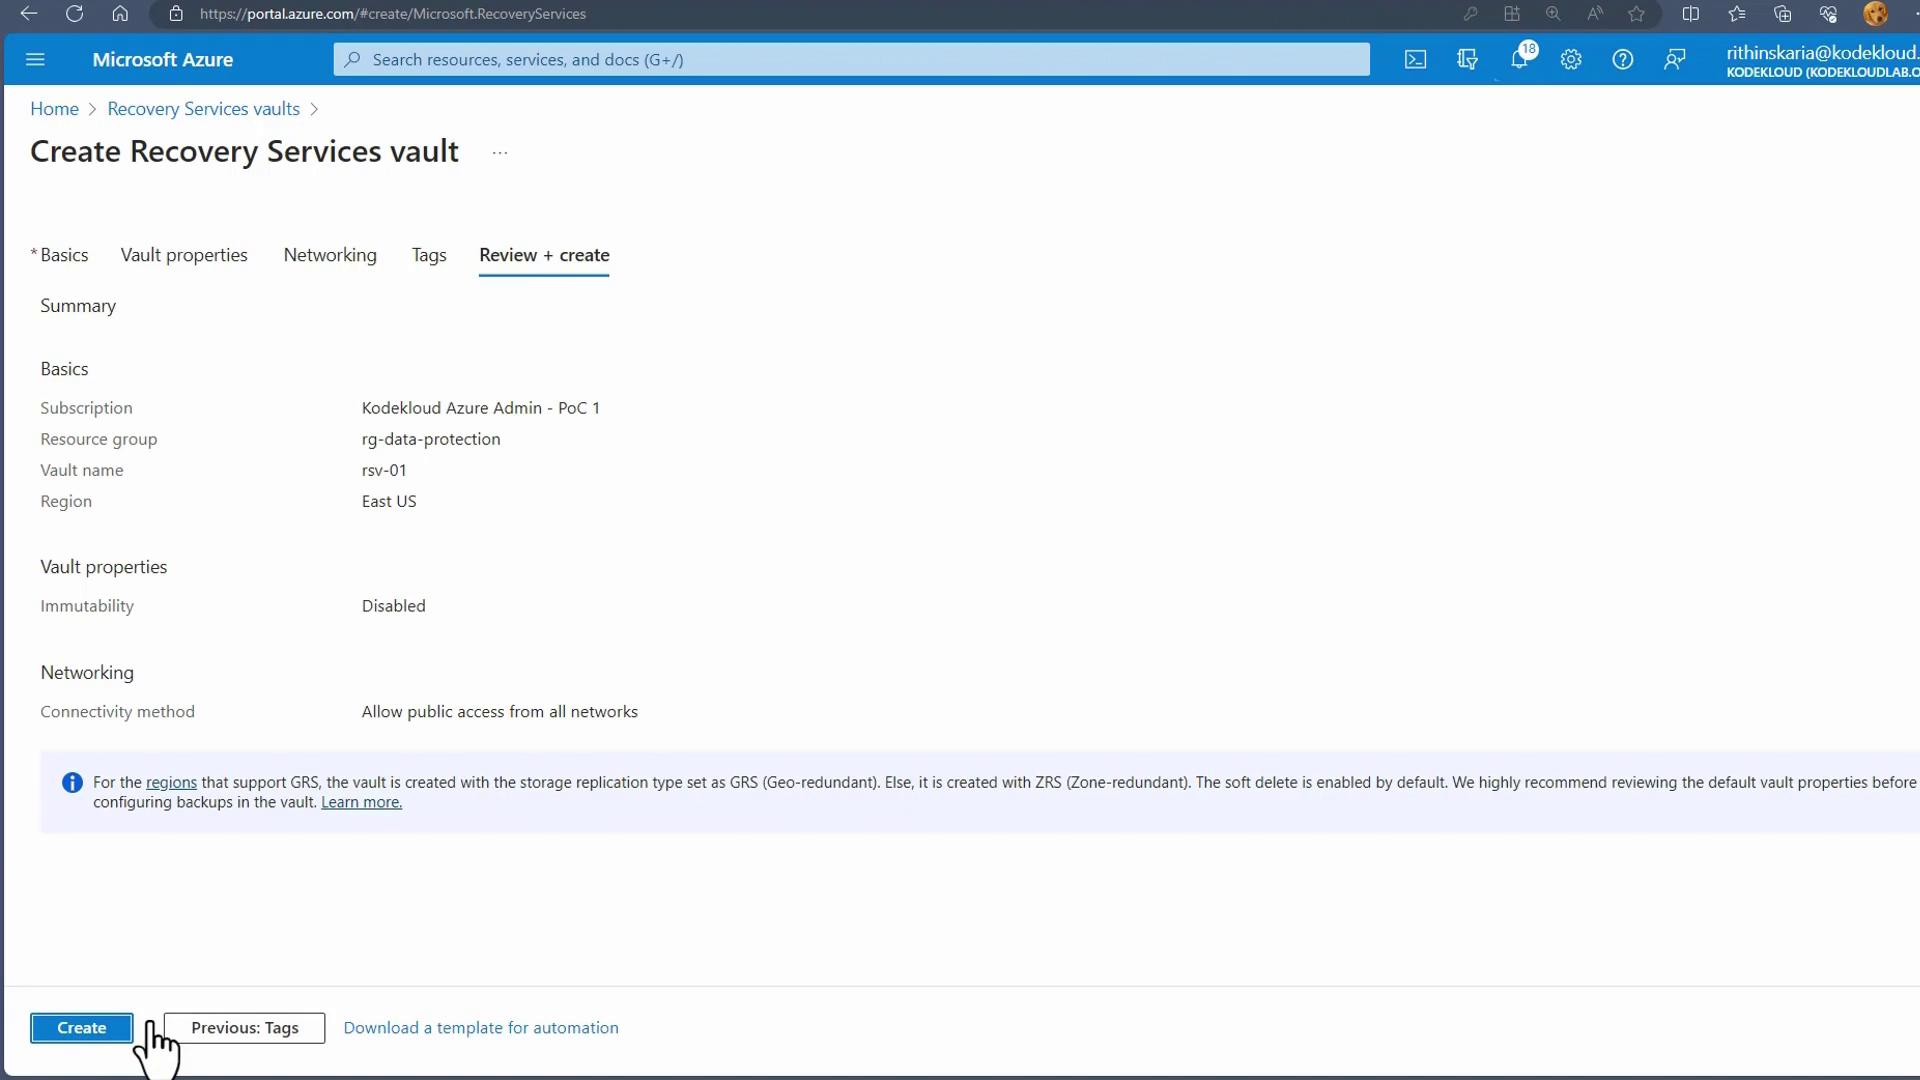
In the Azure portal, go to Recovery Services Vaults and create a new vault. Use an existing resource group or create a new one (for example, RG Data Protection), assign a name such as “RSV01”, and select your preferred region (e.g., East US).
- Image:
-
If a private endpoint is not required, skip its configuration by clicking Review endpoint and then Review and Create.
- Image:
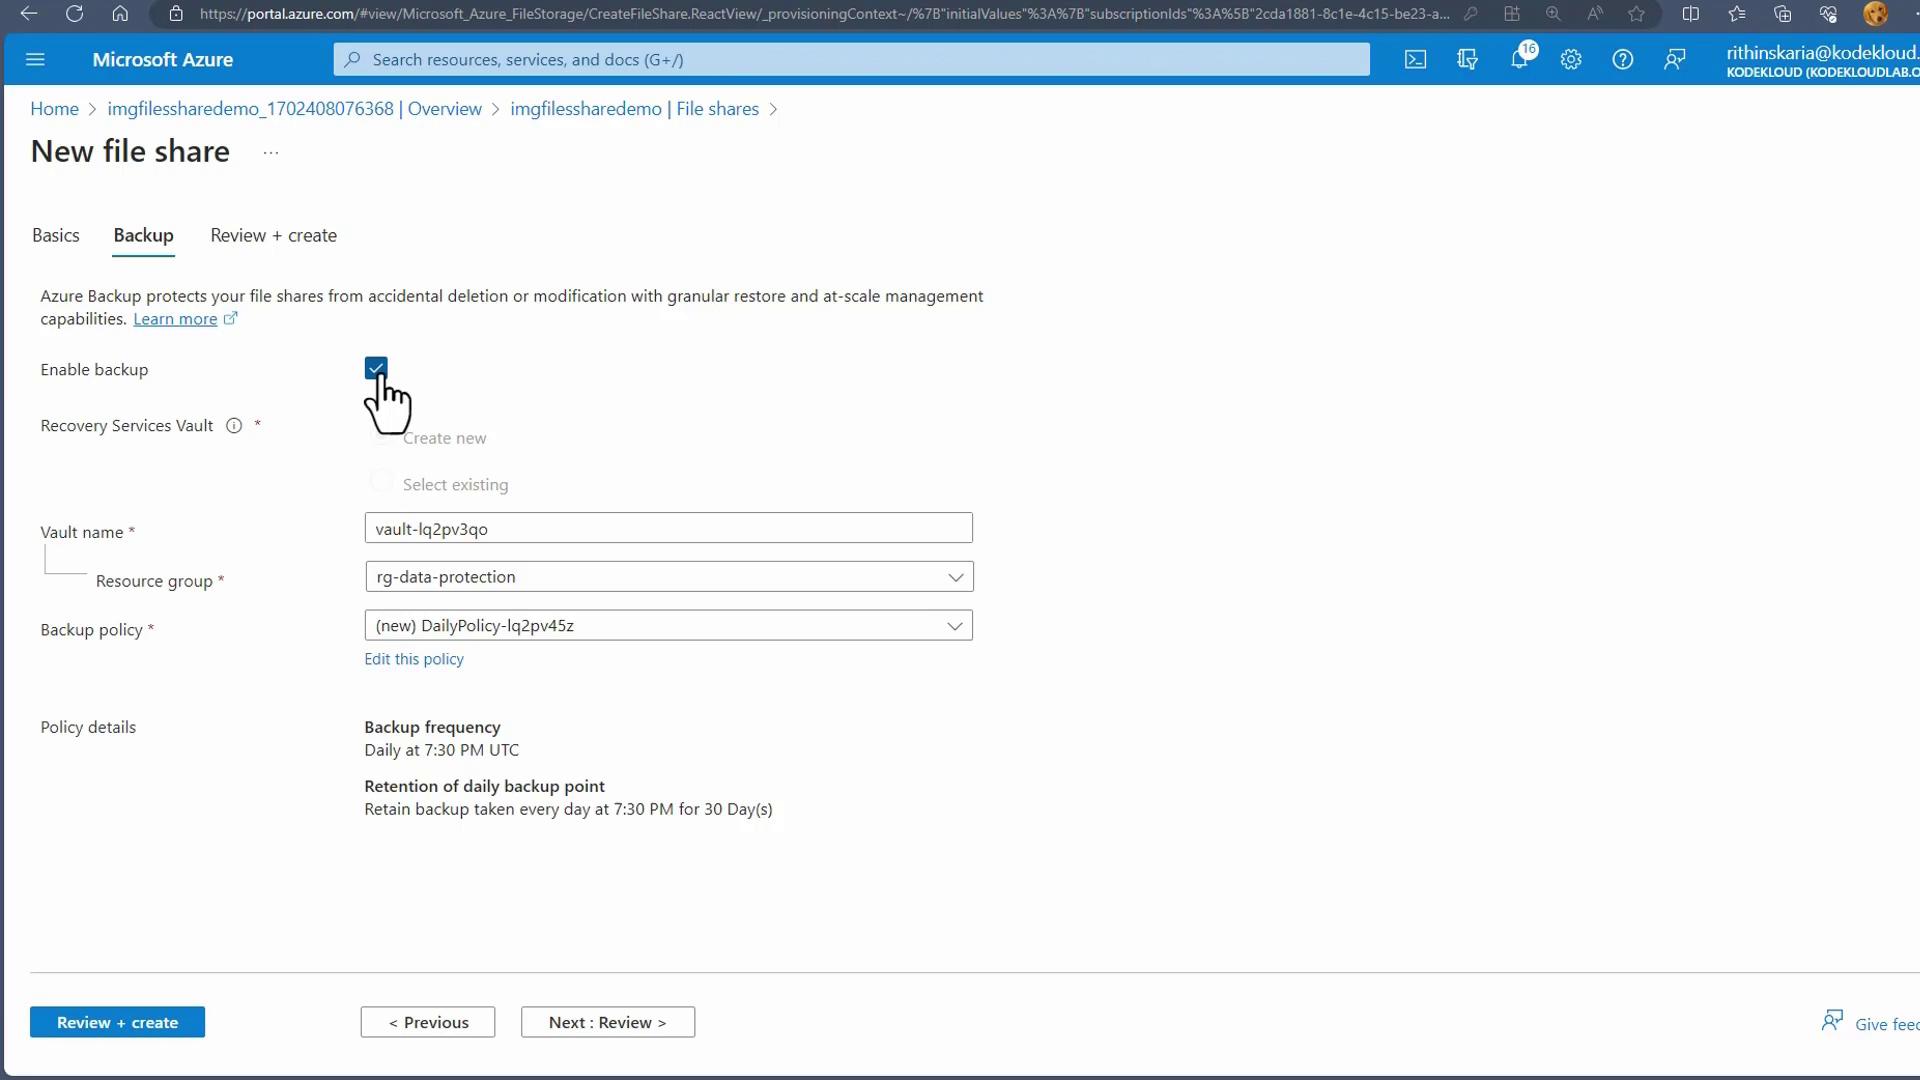
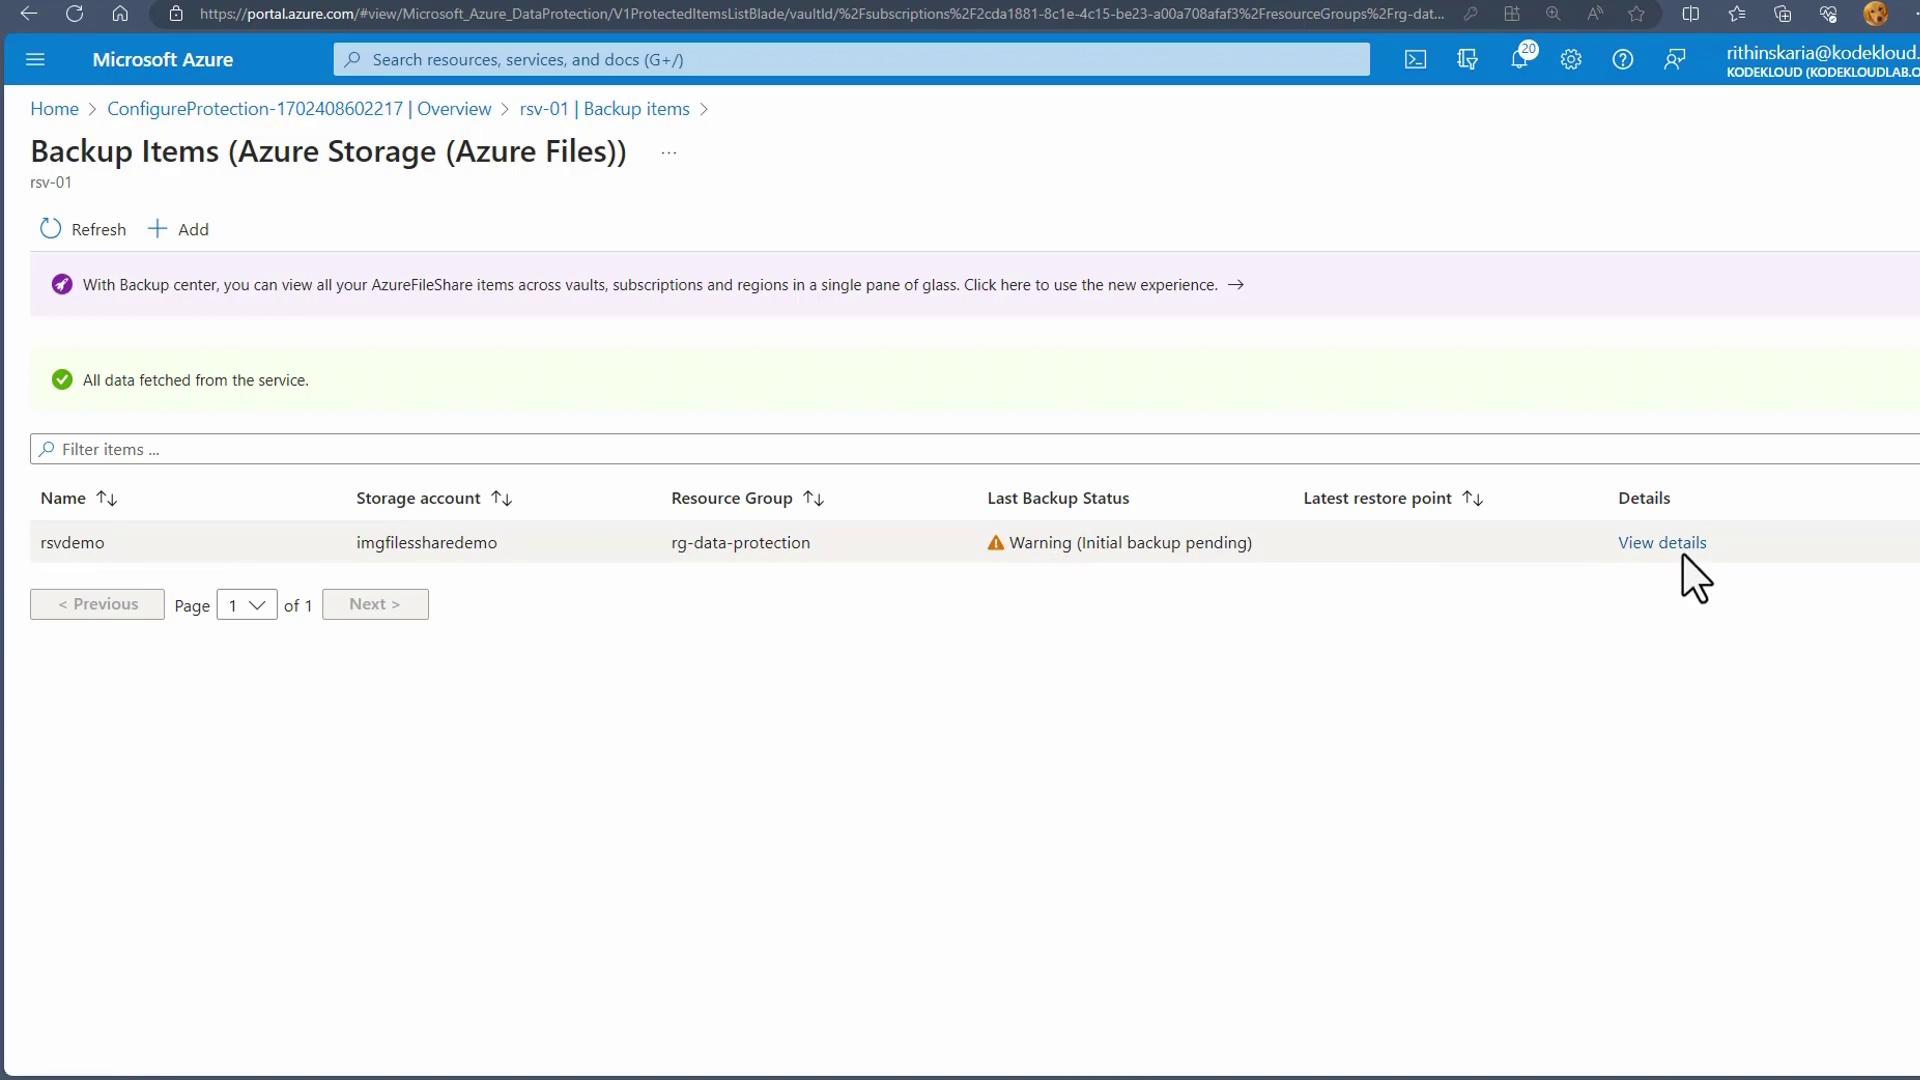
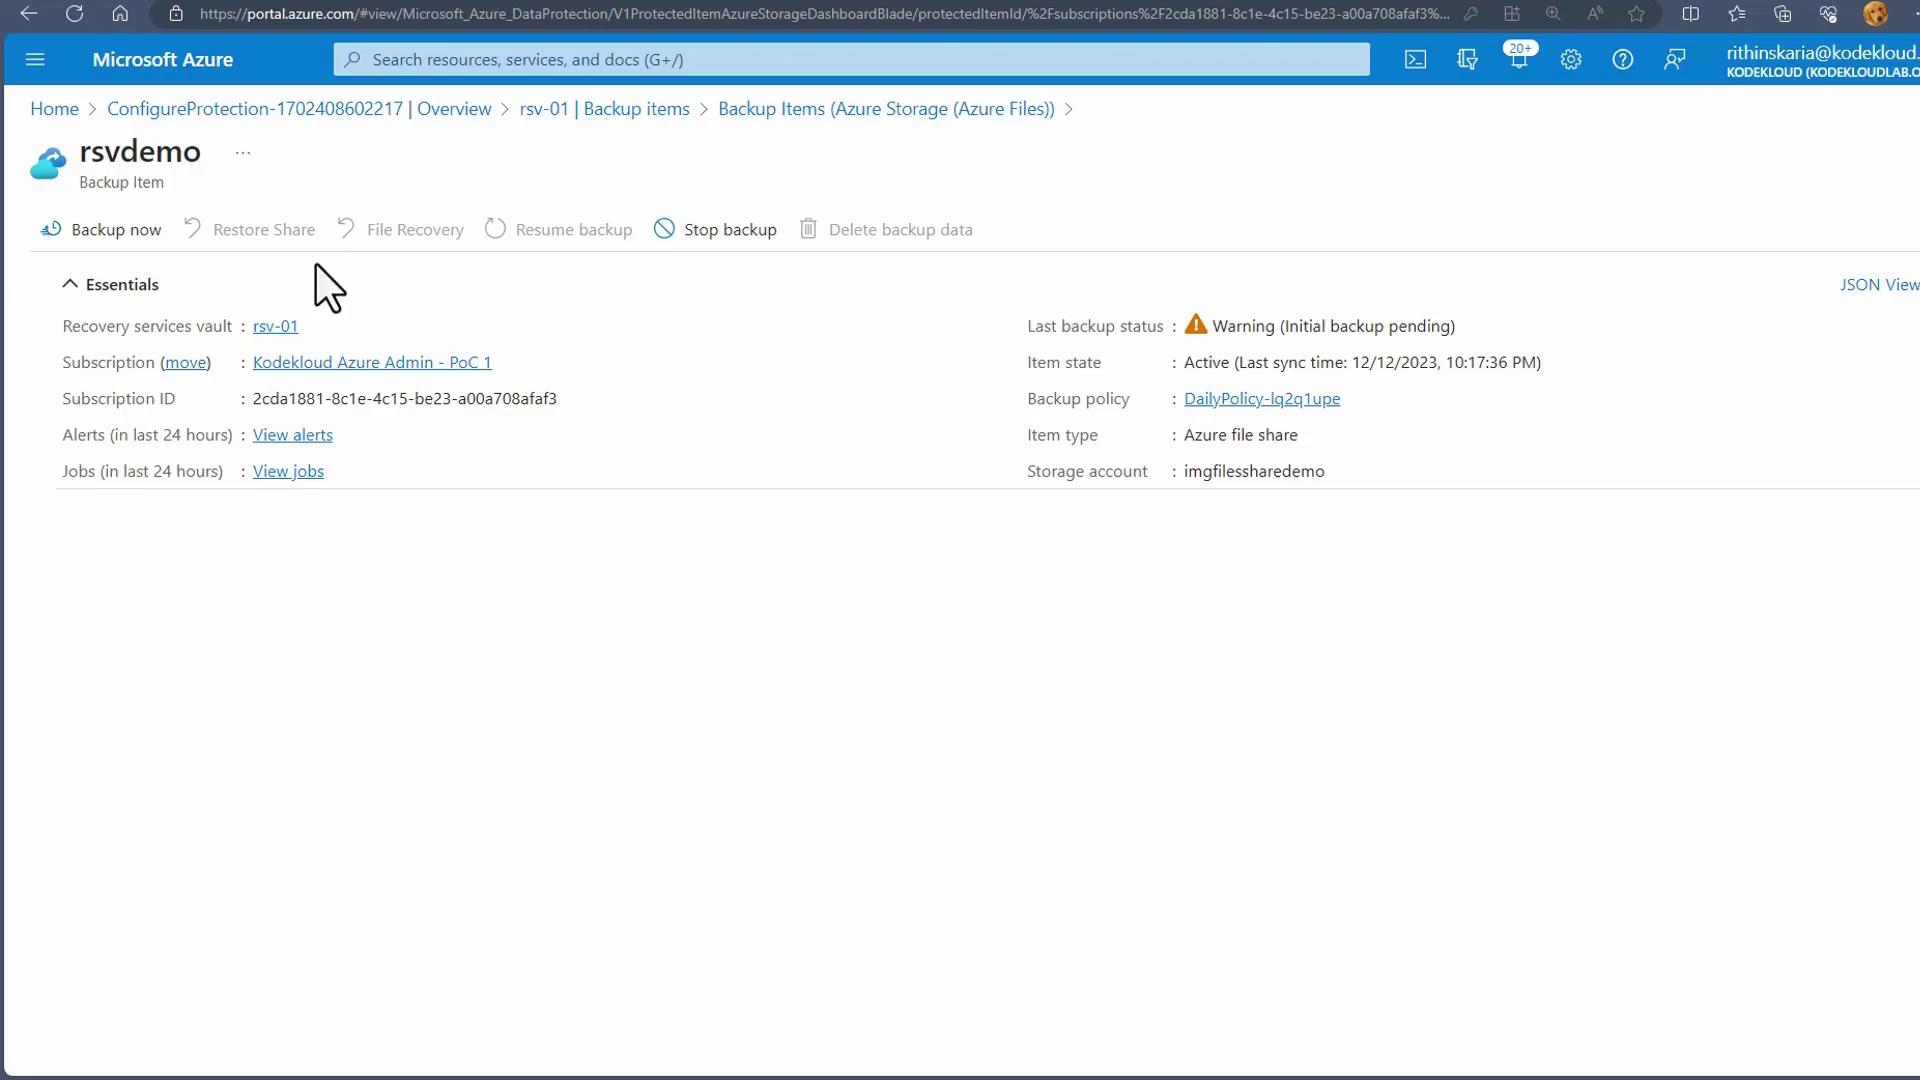
- In the Recovery Services Vault, select Backup, specify that your workload runs in Azure, and choose File Share as the backup option.
- Select the target storage account and file share from the list. Optionally, you can enable a lock on the storage account to prevent accidental deletion.
-
Complete the registration process by setting your backup policy details such as frequency and retention period.
- Image:
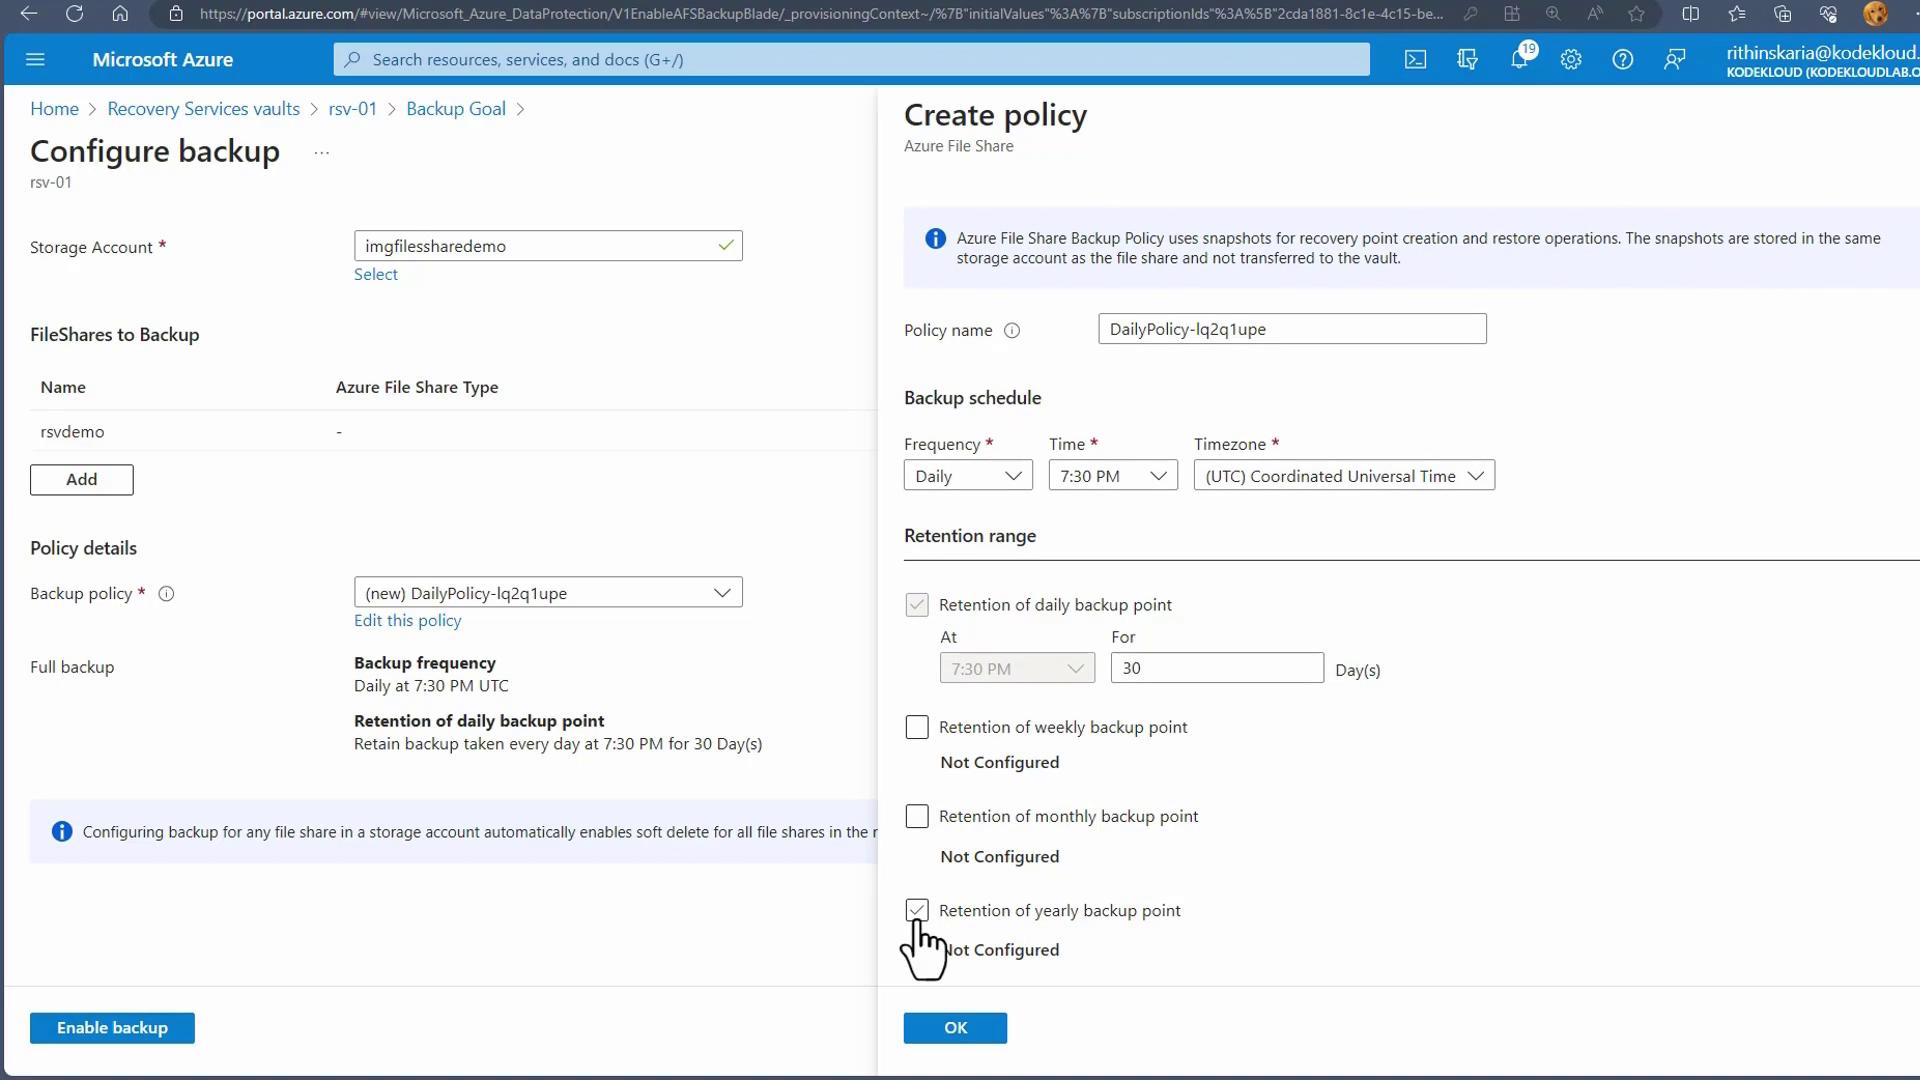
- Image:

- Image:
- Image:
- Image:
On-Premises Files and Folders Backup
To back up on-premises files and folders, you need to install the MARS Agent. This section explains how to configure your on-premises environment and register it with the Recovery Services Vault.Preparing the Infrastructure
-
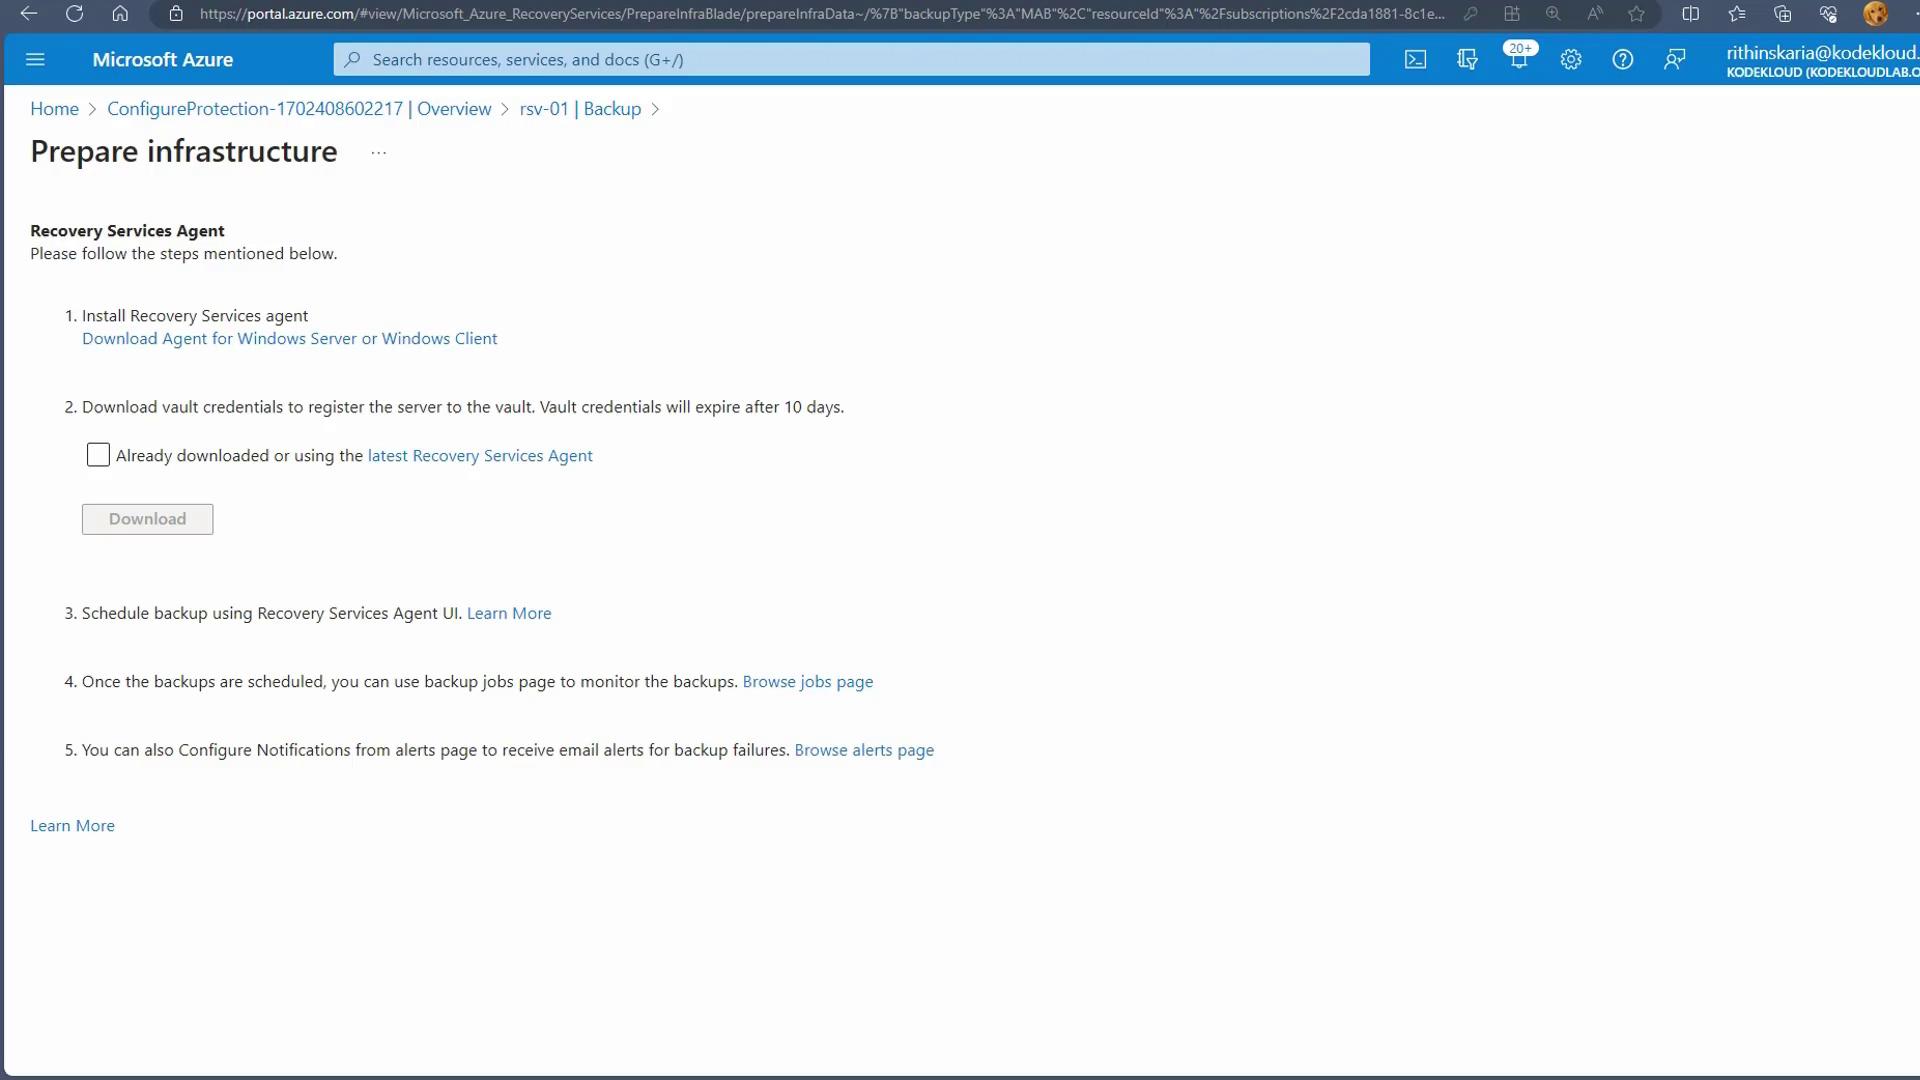
In the Azure portal under the backup section for on-premises, select Files and Folders and click Prepare Infrastructure. This action provides download links for the MARS Agent and the vault credentials.
- Image:
-
Download both the MARS Agent installer and the vault credentials file (an XML text file) and copy them to your on-premises Windows Server or Hyper-V machine.
- Image:

Installing and Registering the MARS Agent
-
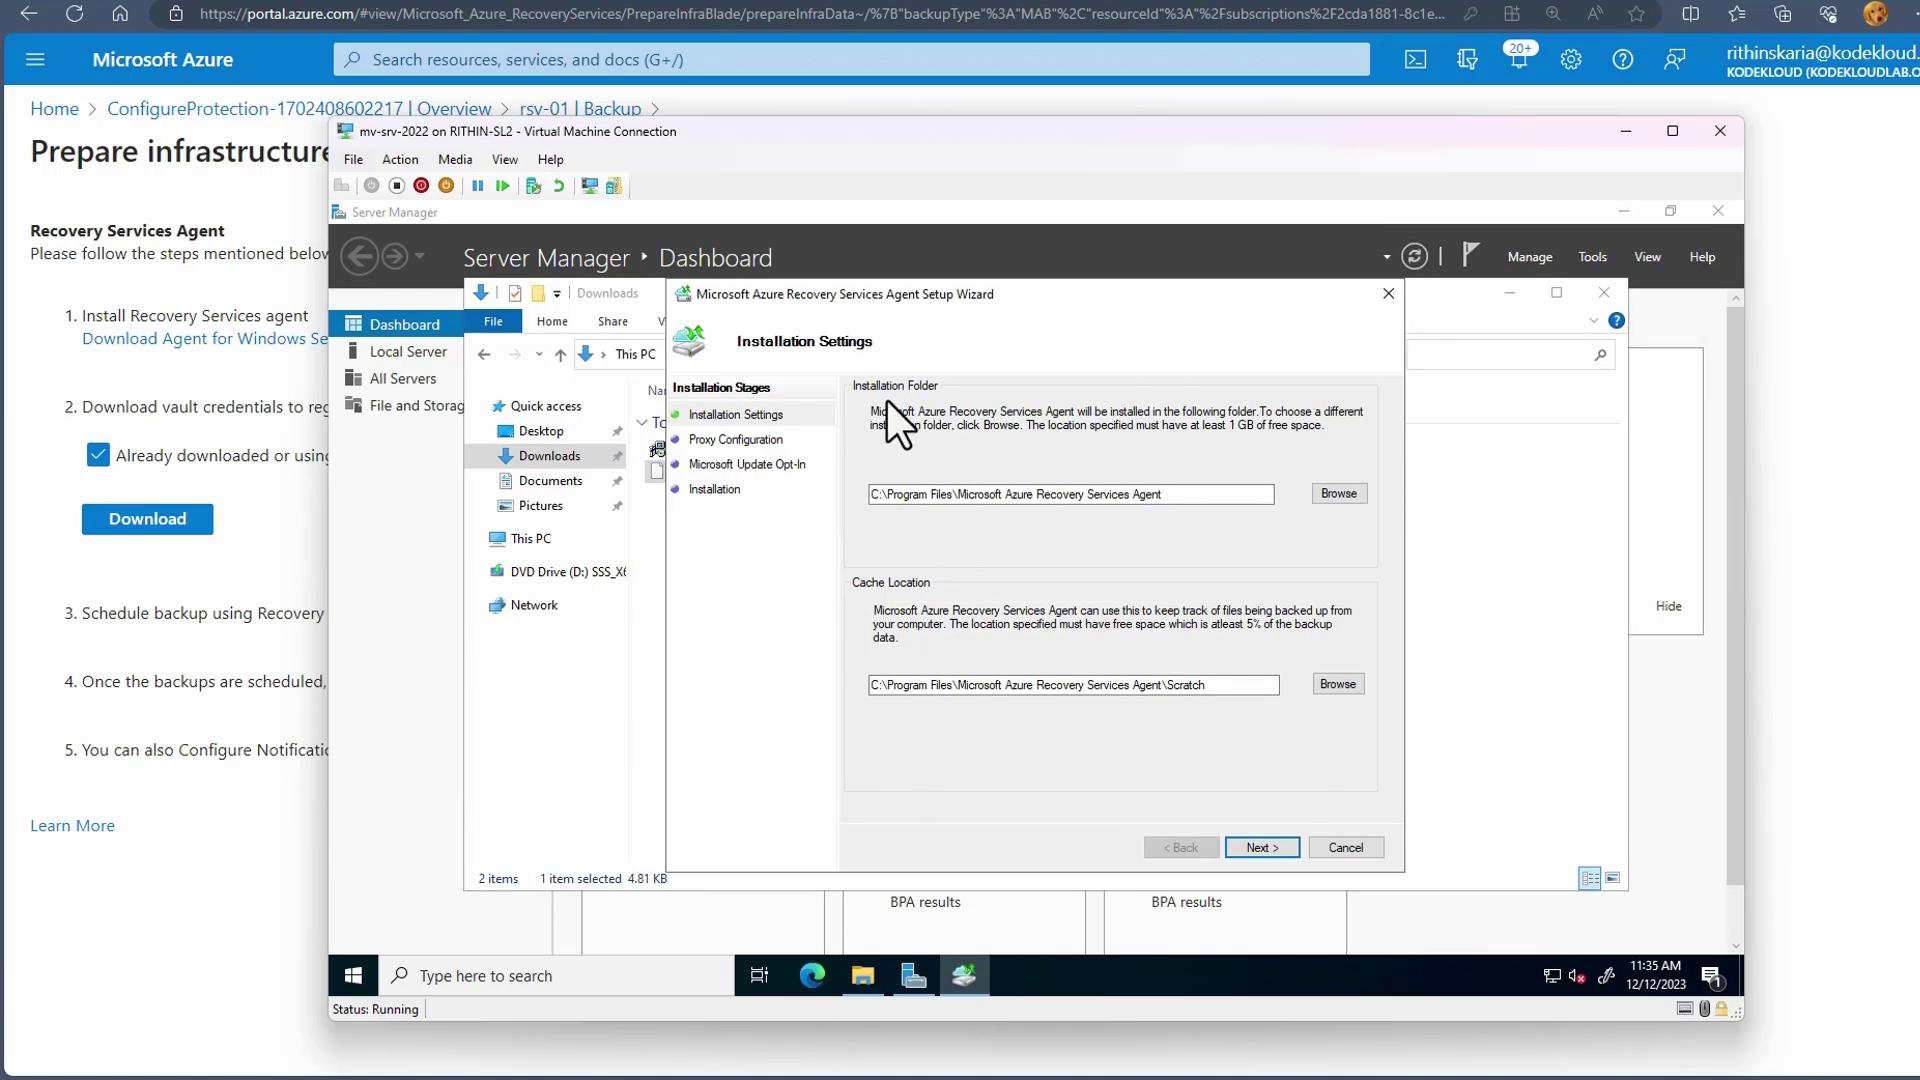
Execute the MARS Agent installer on your server. During installation, configure the cache location and any necessary proxy settings if using a private network connection.
- Image:
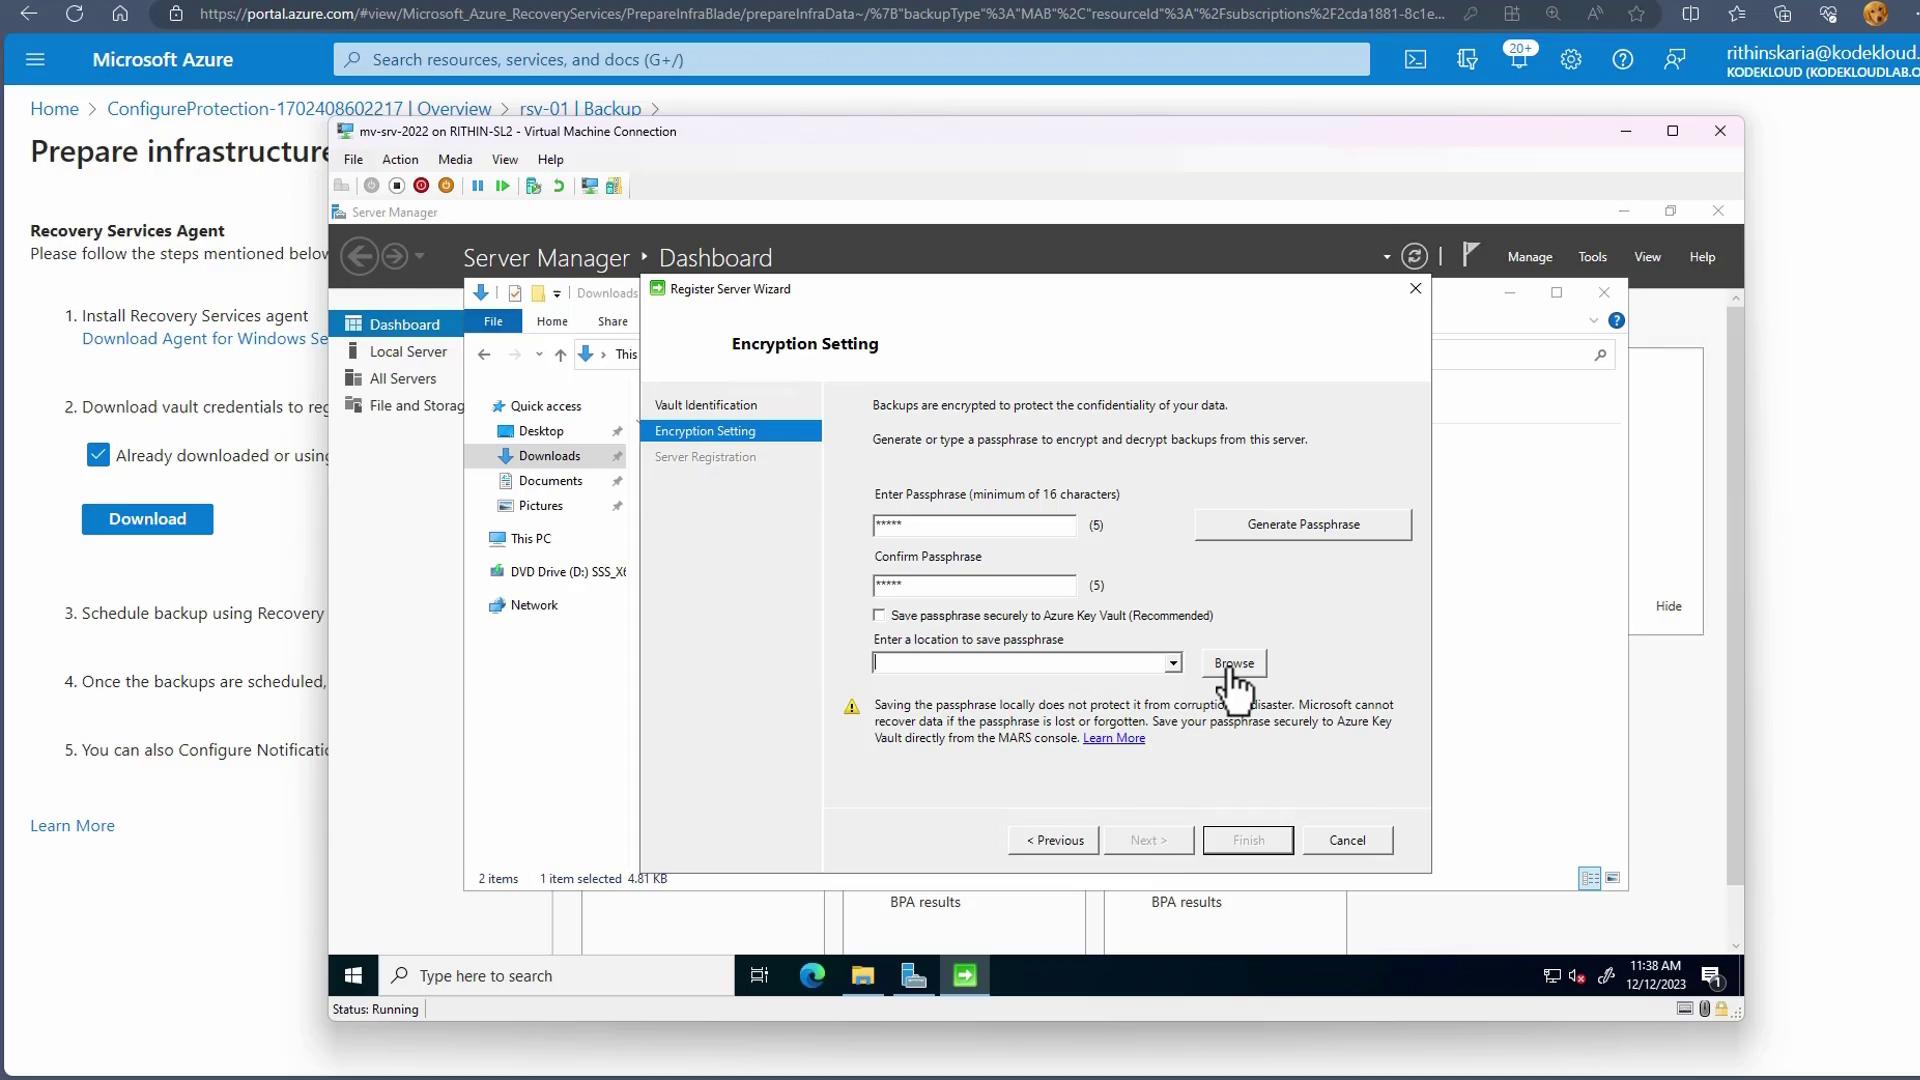
- When prompted, load the downloaded vault credentials file. This file links your server to the Recovery Services Vault. An example vault credentials file is shown below:
-
The wizard will then request you to input a password for backup encryption (a minimum of 16 characters). It is recommended to store this password securely for recovery purposes.
- Image:
Scheduling and Running Backups
-
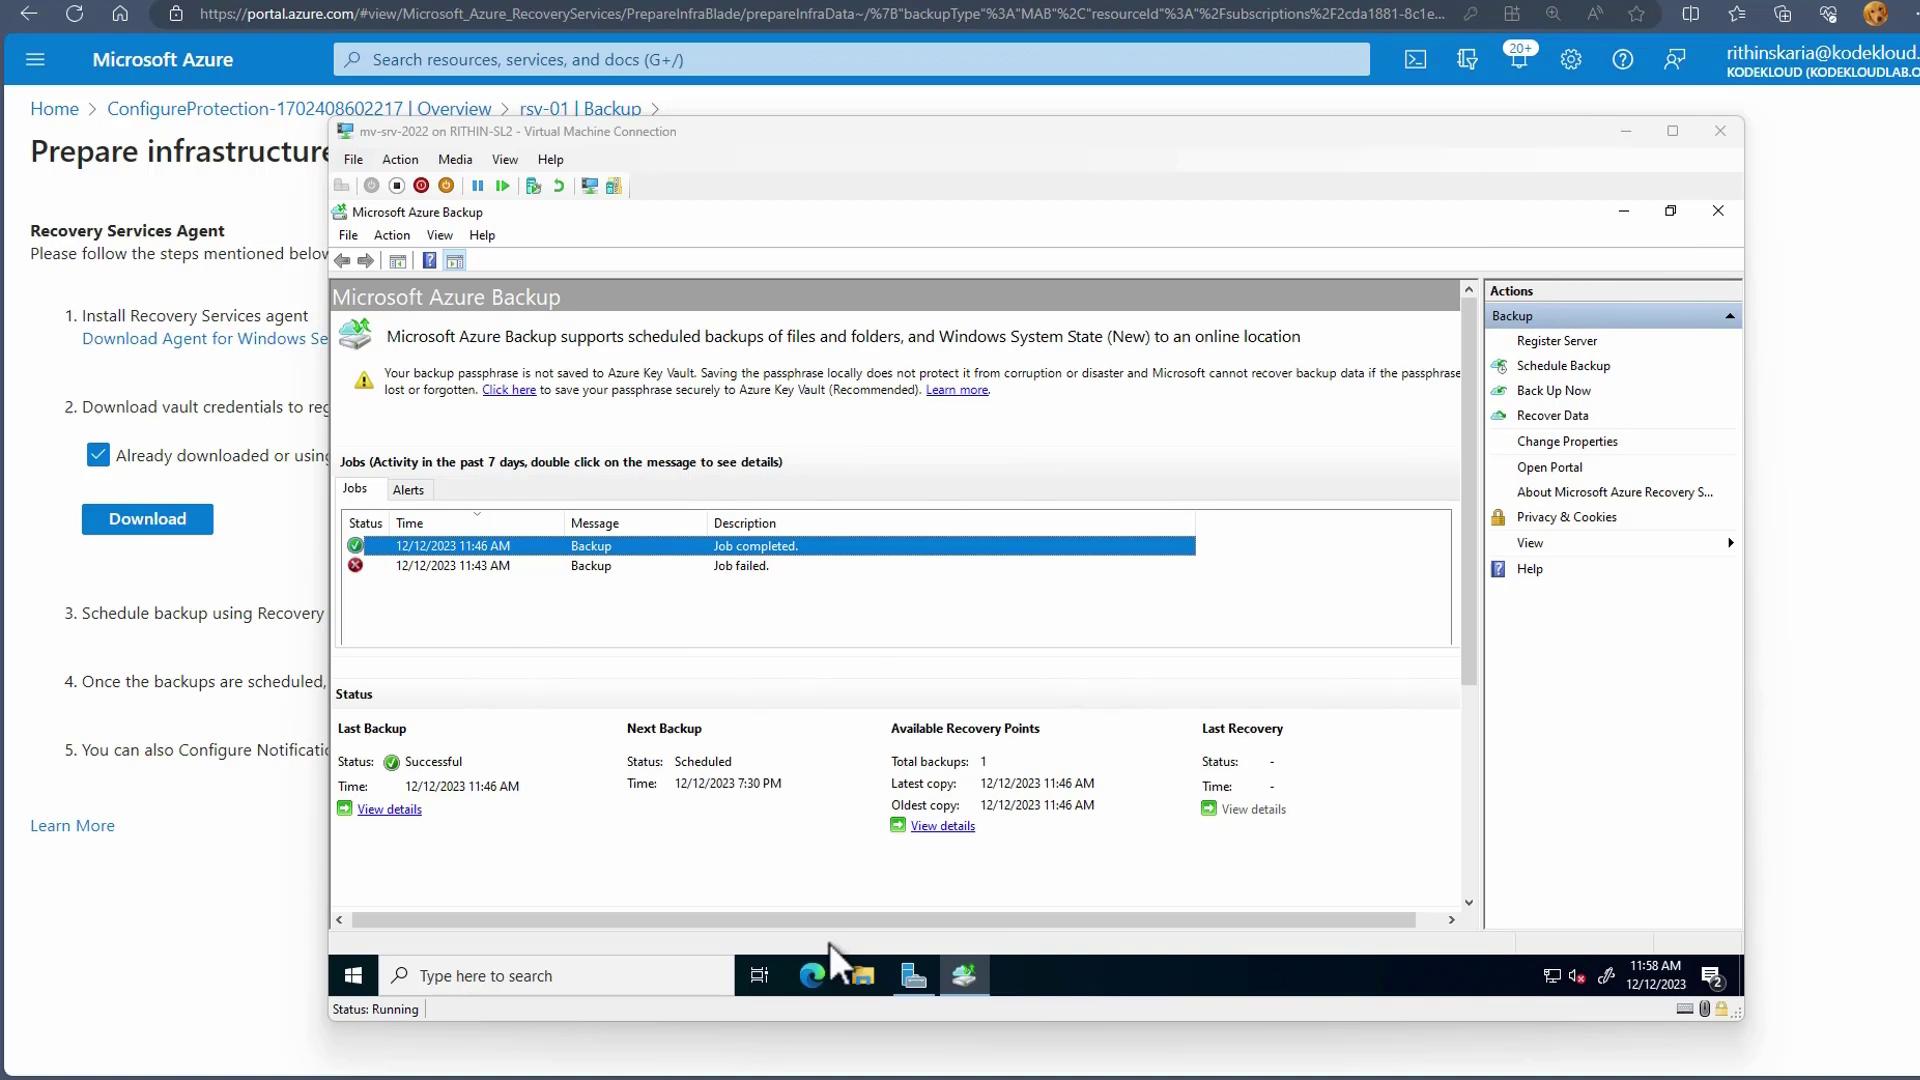
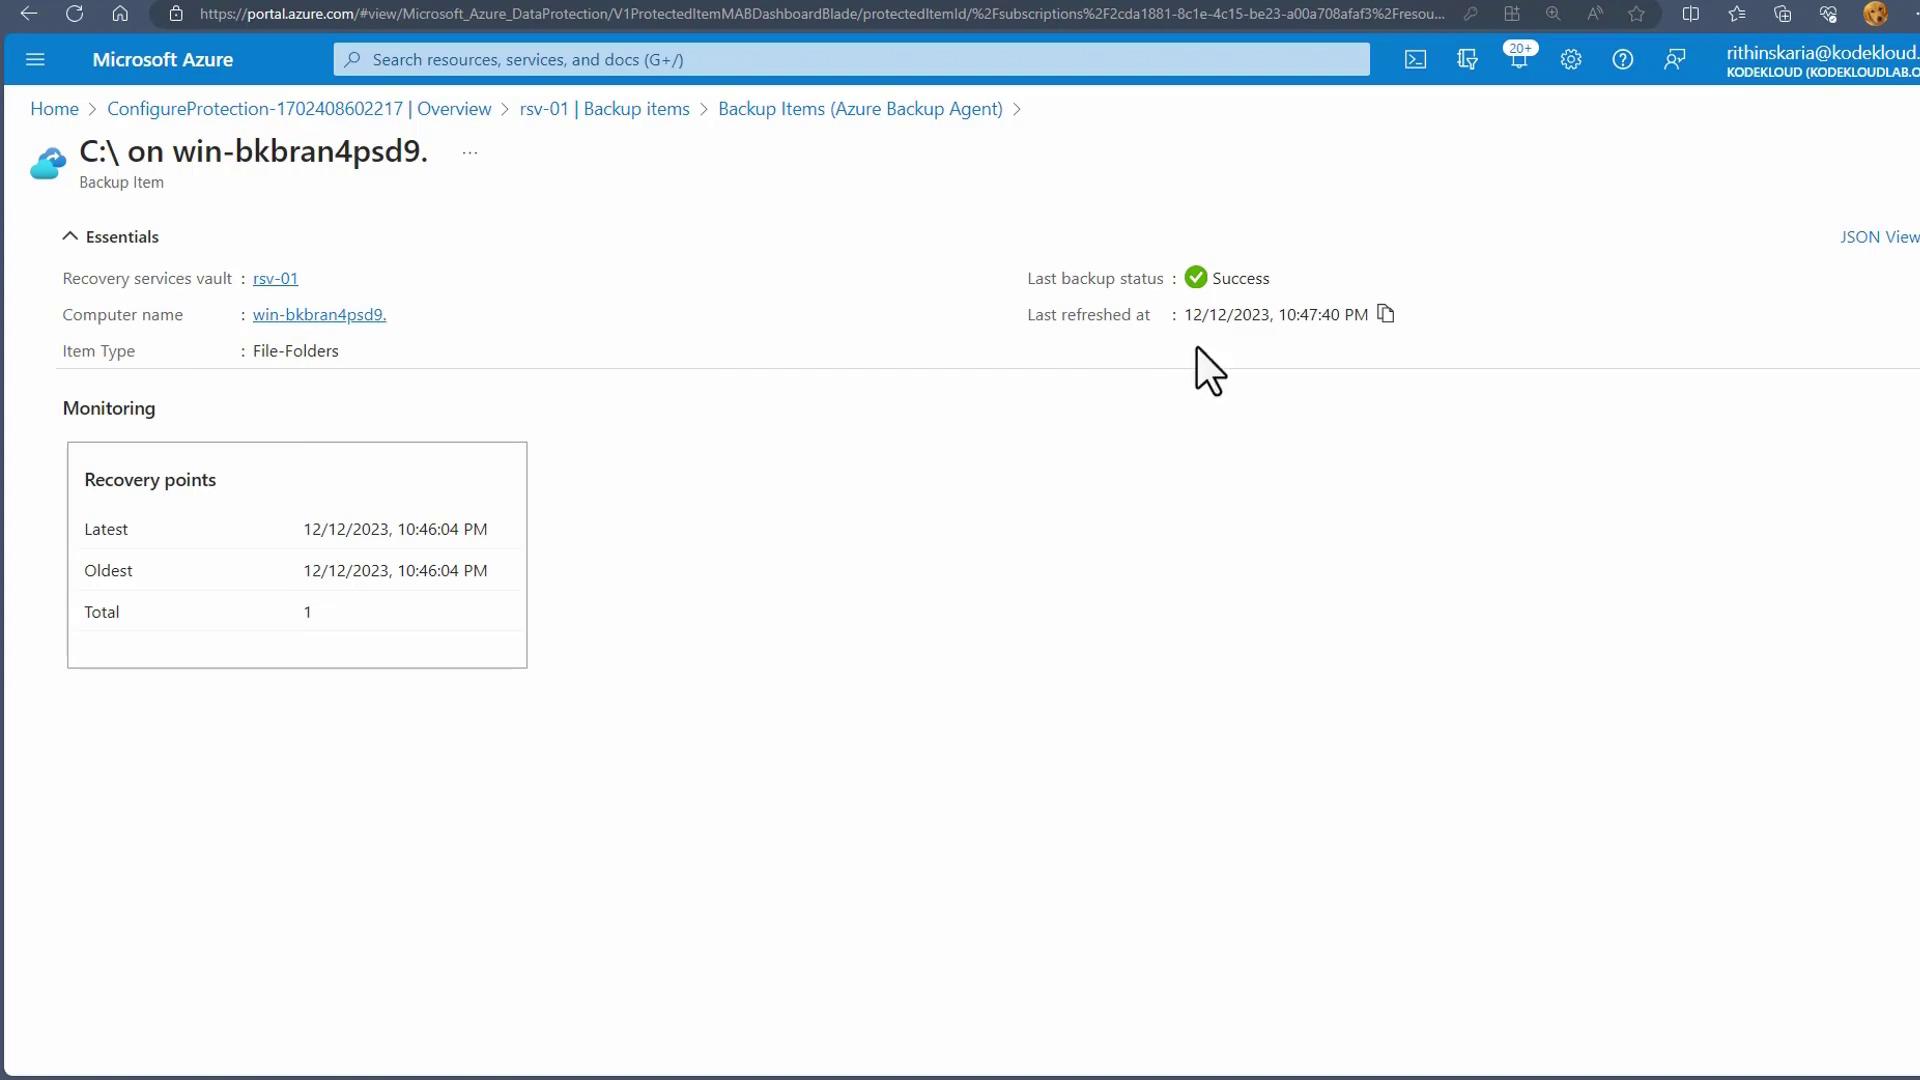
Open the Azure Backup console on your server and choose the files and folders you wish to protect. For example, you might want to back up data from
C:\Users\Administrator\Documents. -
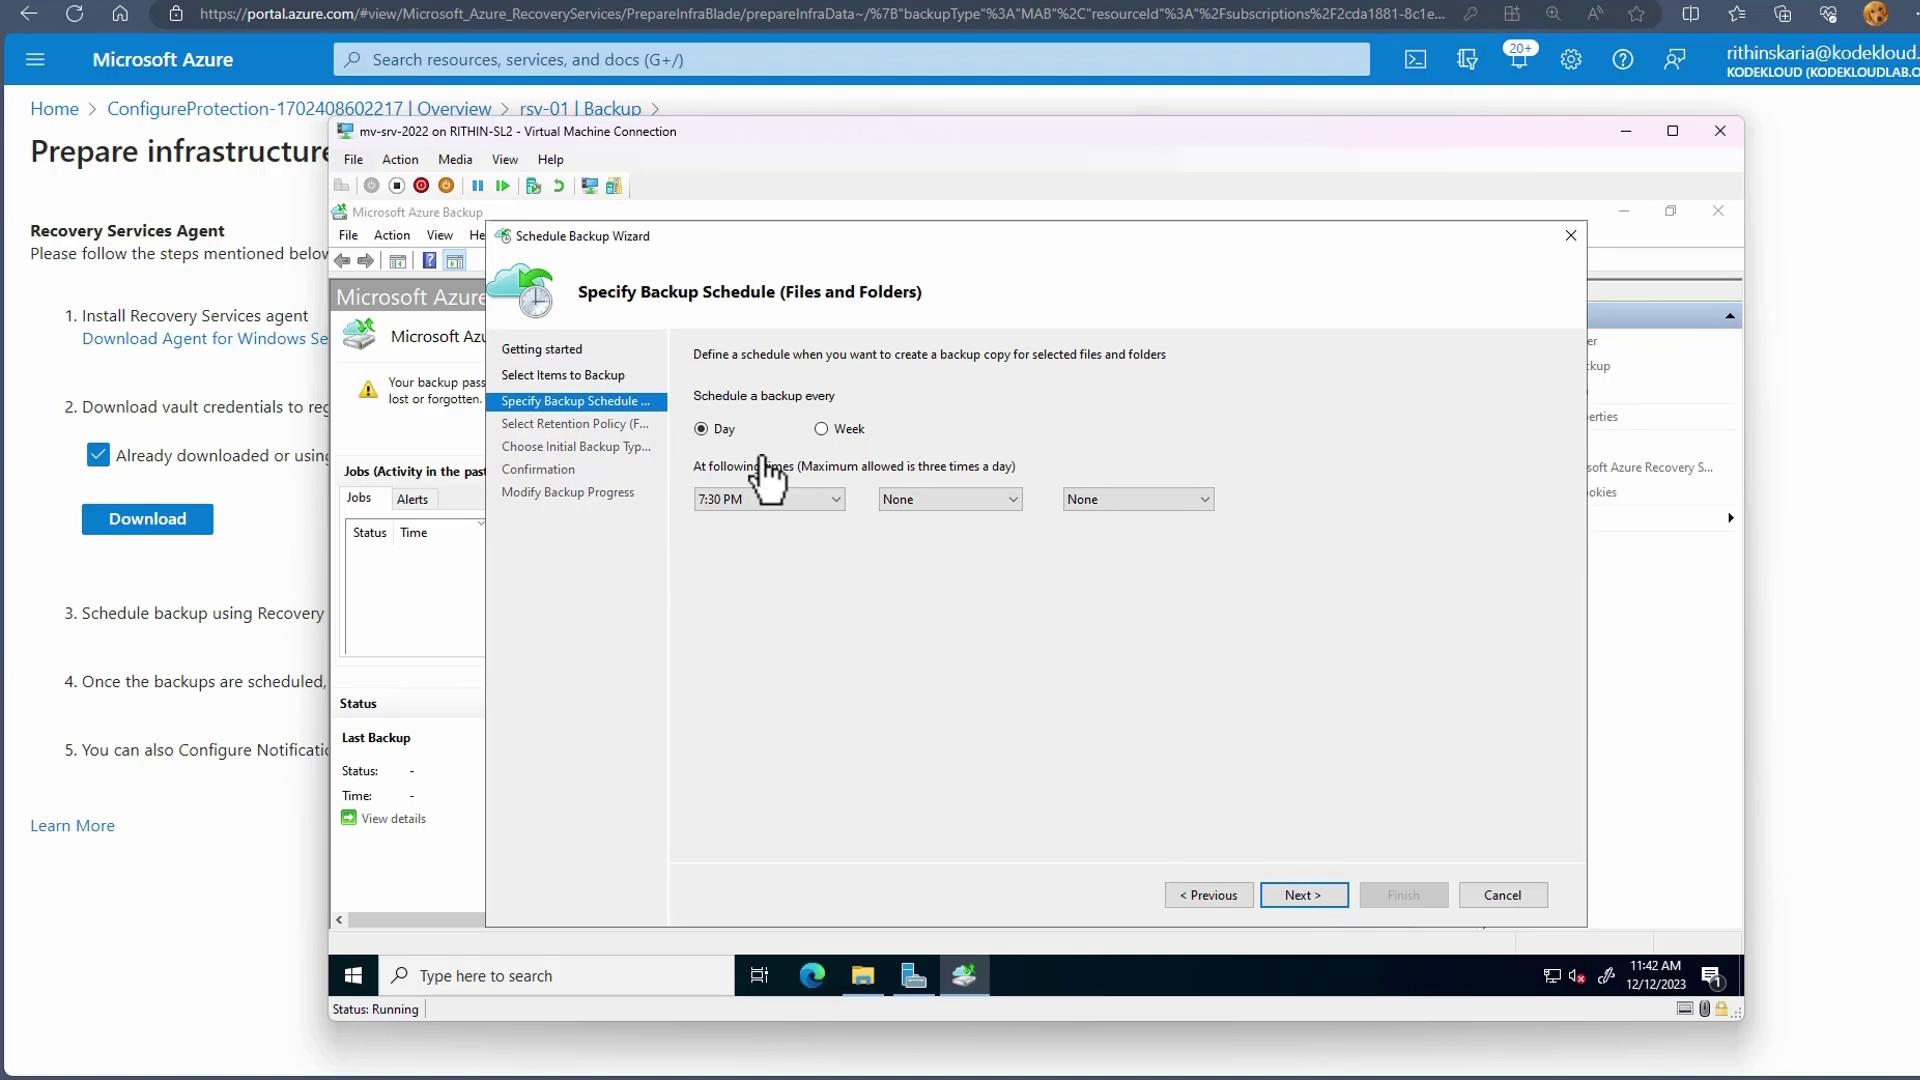
Configure your preferred backup schedule (up to three times per day) and define the retention period.
- Image:
-
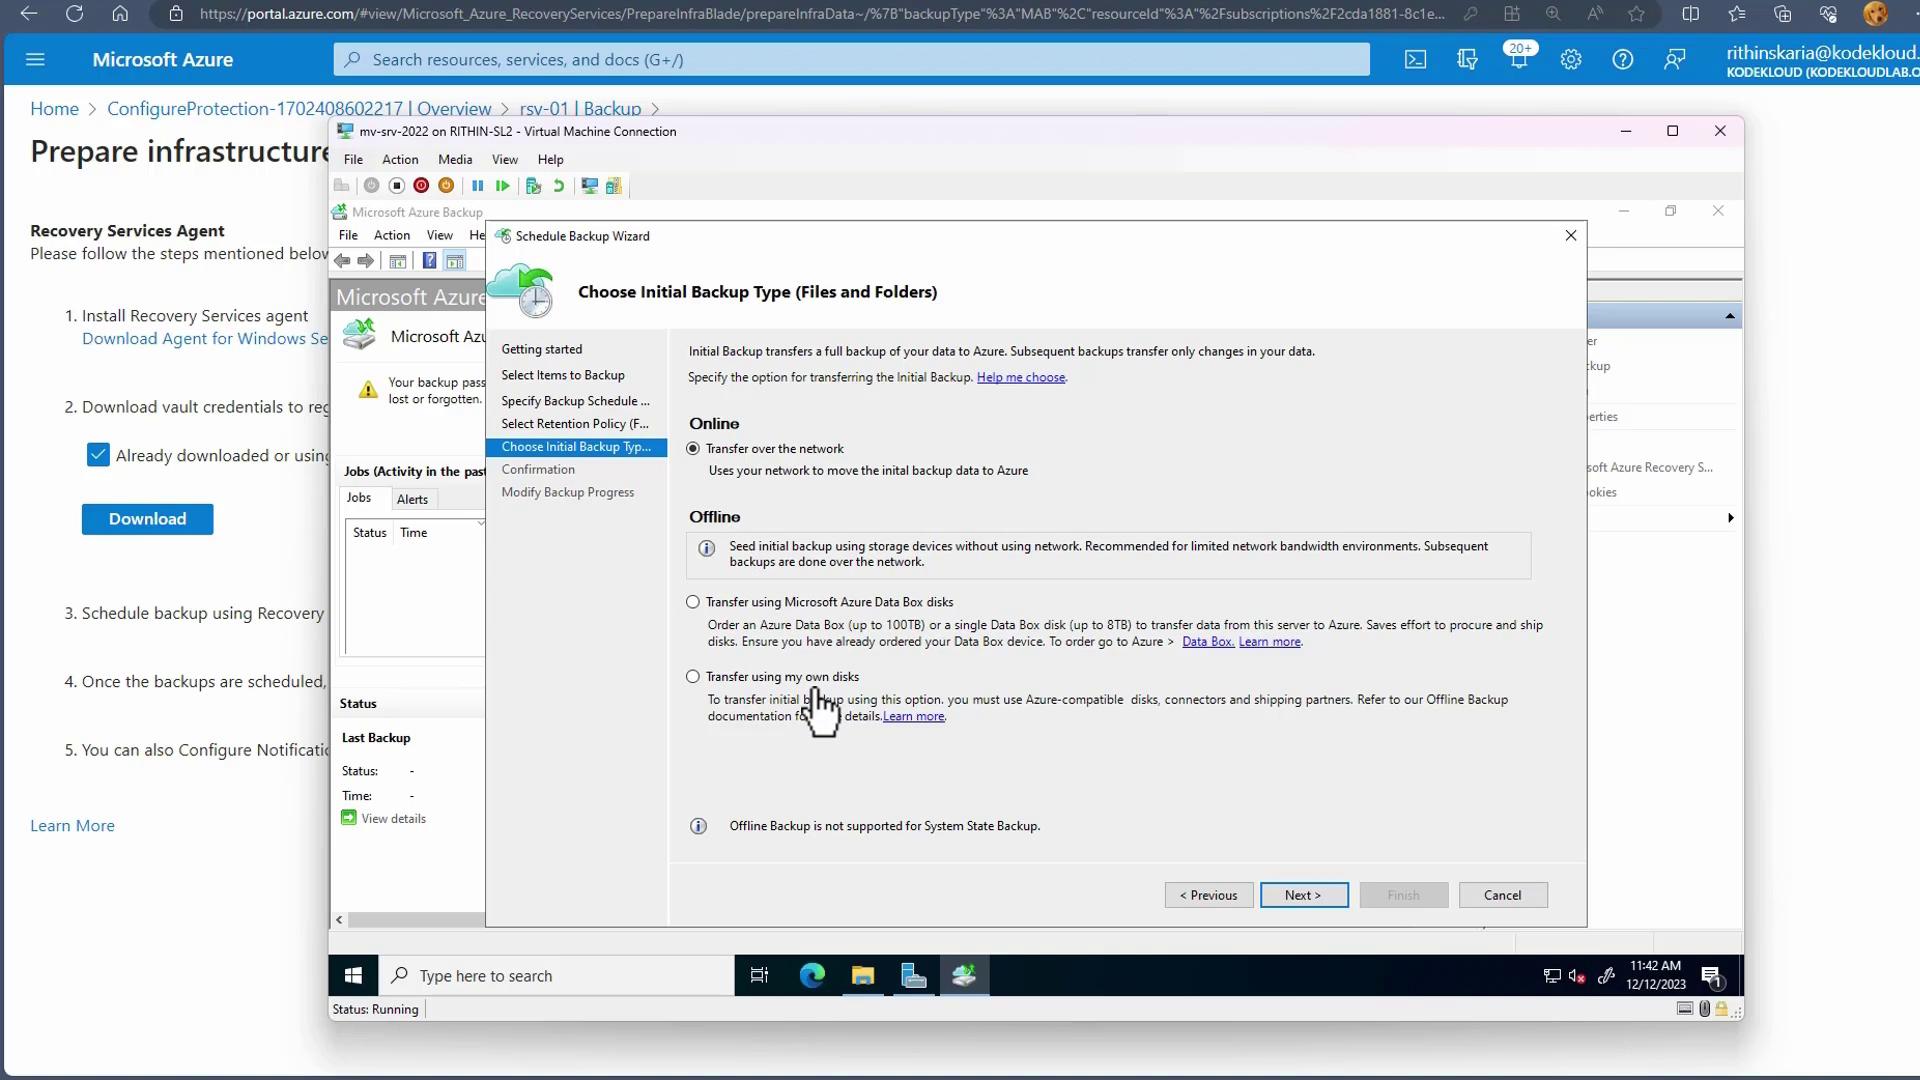
For the initial backup, select whether to transfer data online or offline. For larger datasets, options such as using a Data Box or physical disk are available, whereas online transfers are typically sufficient for smaller volumes.
- Image:
- Image:
Restoring Files and Folders from an On-Premises Backup
-
Open the Azure Backup console and select Recover Data.
- Image:
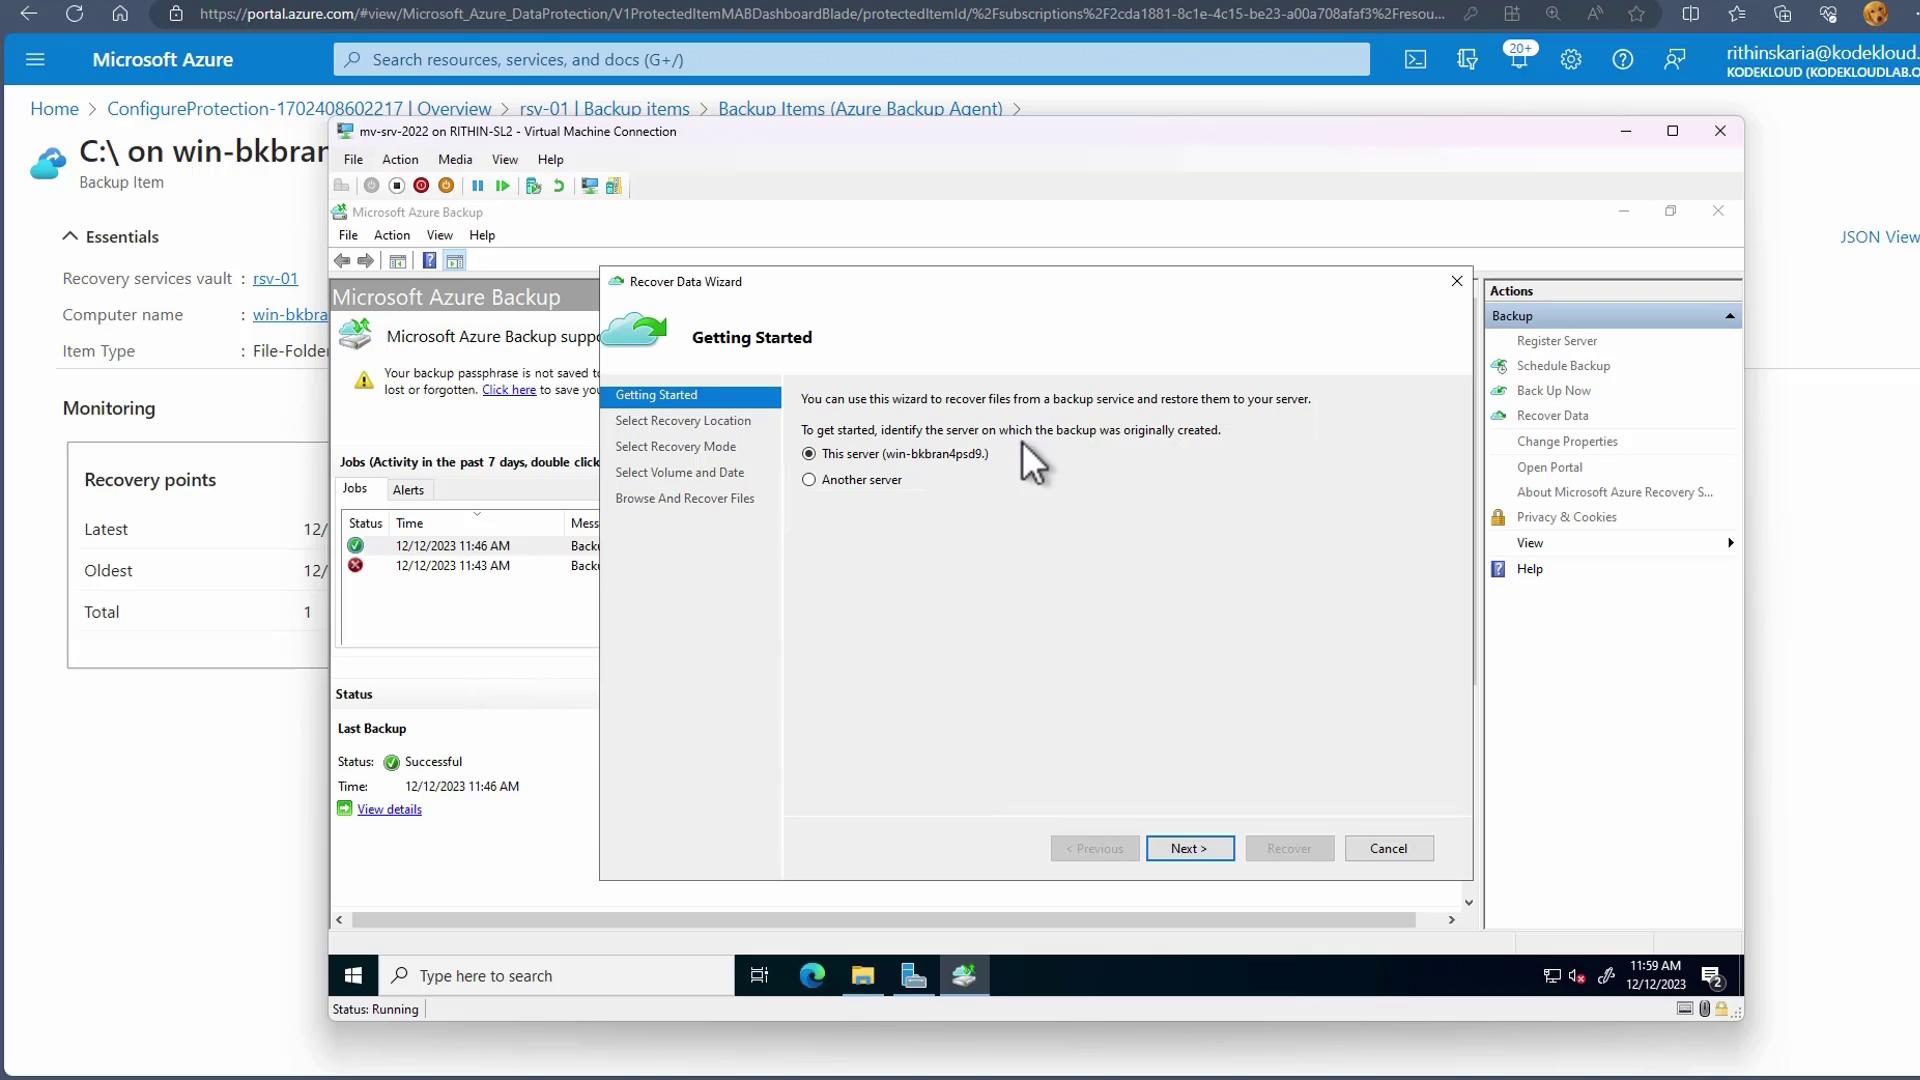
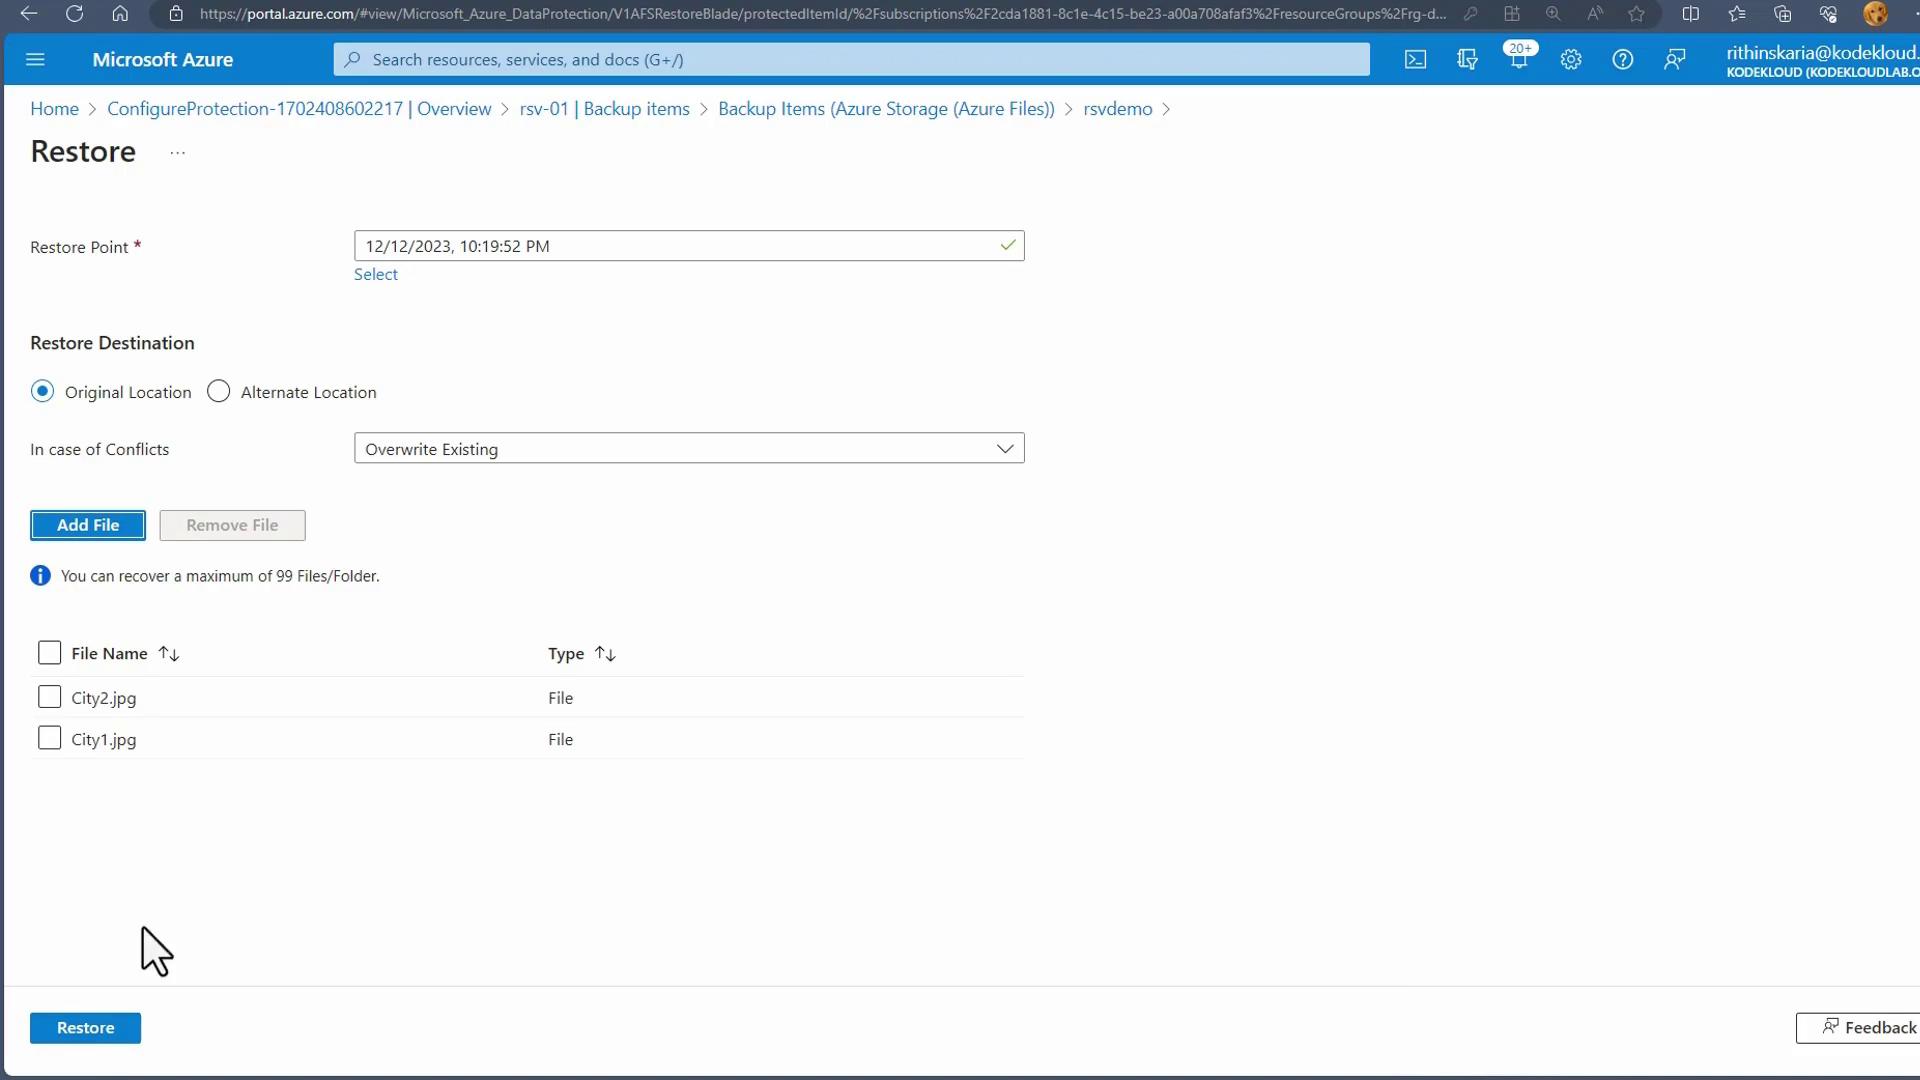
- Choose the server and specify the recovery location (typically the primary region). Select your desired recovery mode (individual files and folders, volume, or system state), then choose the appropriate volume (e.g., C:) and the date that corresponds to the desired recovery point.
-
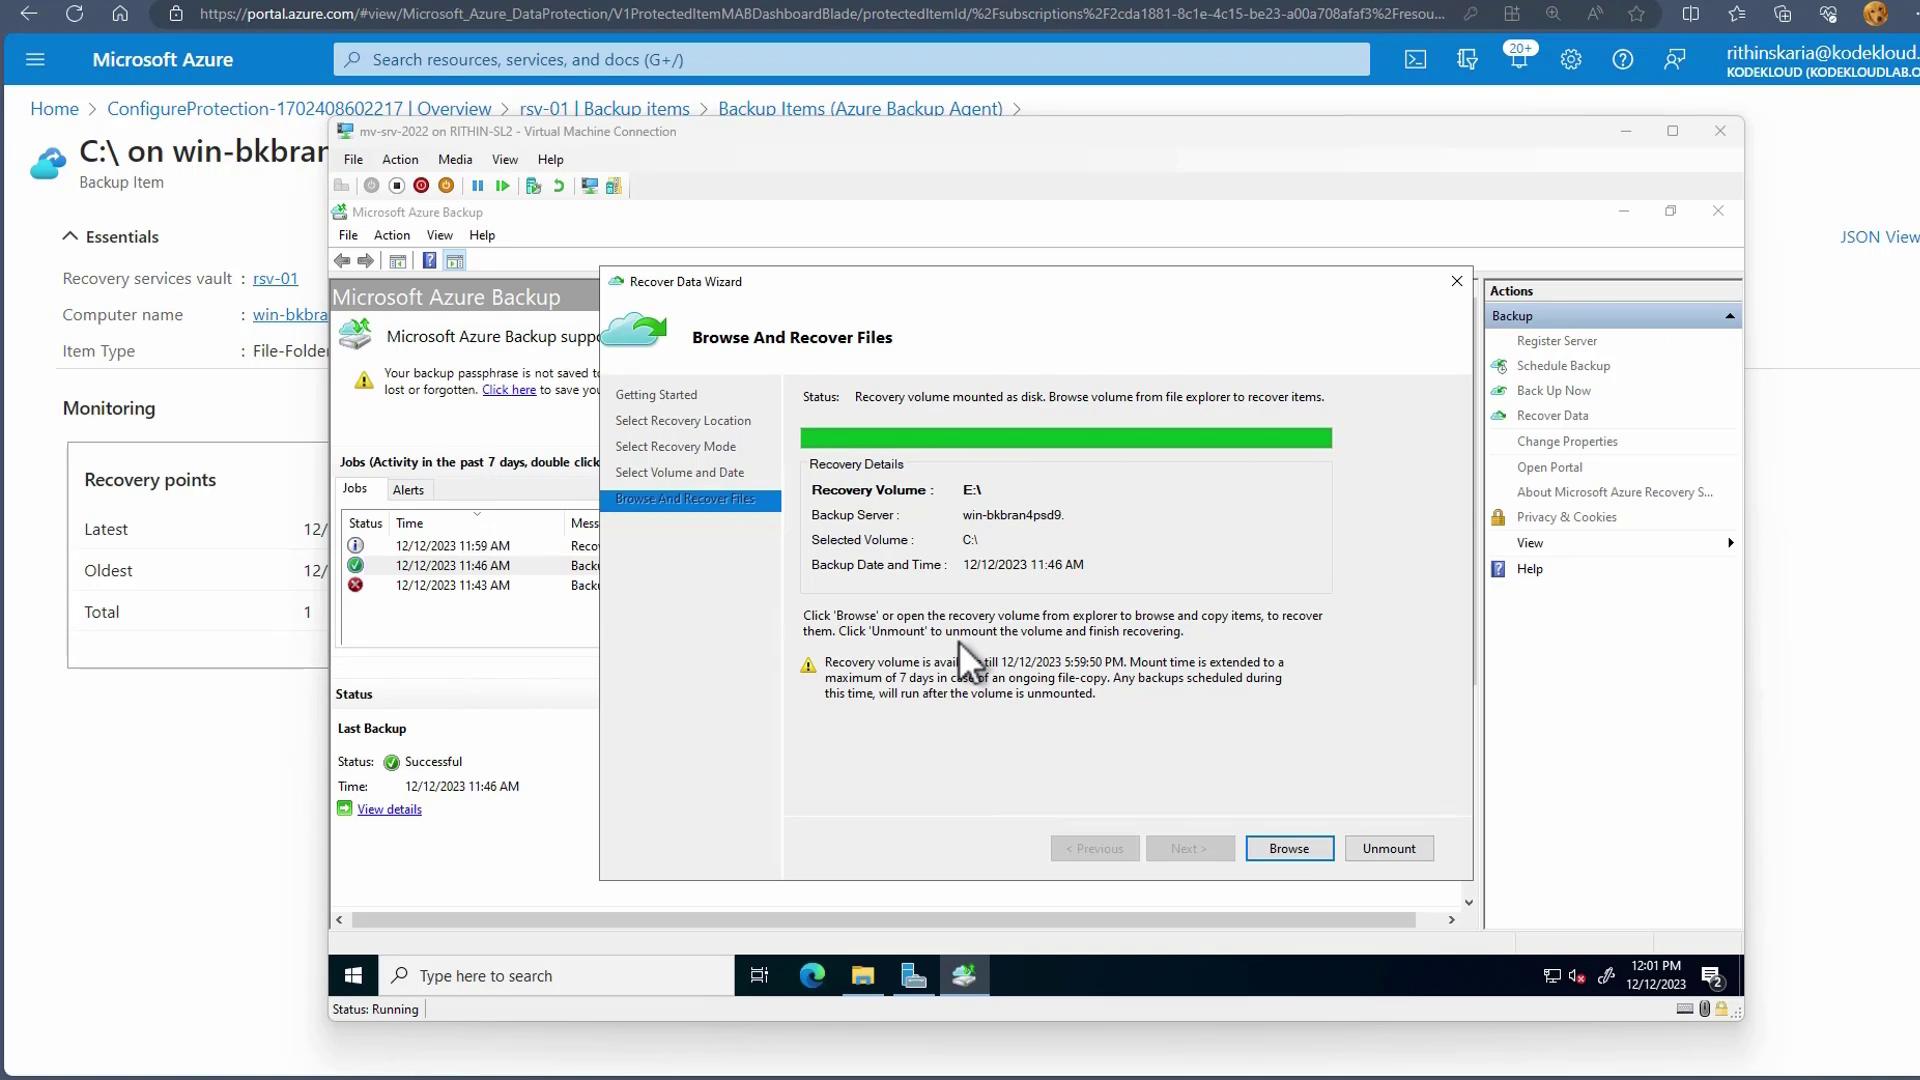
Mount the recovery point. It will appear as a temporary drive on your system, allowing you up to six hours (extendable up to seven days if necessary) to copy the data back to its original location.
- Image:
- Image:
Conclusion
In this article, we demonstrated how to protect your data using Azure Backup for both Azure File Shares and on-premises files and folders. By setting up a Recovery Services Vault and configuring appropriate backup policies, you can ensure your critical data is securely stored and can be restored when needed.Azure Backup not only handles files and folders but can also be applied to virtual machines, making it an essential component in a comprehensive data protection strategy.