Group Types
Security Groups
Security groups let you manage member permissions for accessing resources. For example, you might create a security group named “Azure Administrators” to grant specific administrative privileges on Azure services to its members.Microsoft 365 Groups
Microsoft 365 Groups are built for collaboration. They integrate seamlessly with Microsoft 365 services such as Outlook, Teams, and SharePoint by offering a shared workspace. For instance, a “Finance” group can provide its members with a shared mailbox, document library, and OneNote notebook, enhancing team productivity.Assignment Types
Assigned Groups
Assigned groups require that members be added manually. For example, if an employee needs access to HR-related Azure resources, an Azure Administrator would manually add them to the HR group. This traditional method offers straightforward and direct control over group membership.Dynamic User Groups
Dynamic user groups use attribute-based rules to automatically update membership. For example, you can define a rule that adds users to the HR group if their job title contains “HR”. This approach minimizes manual intervention while ensuring membership remains current.Dynamic Device Groups
Dynamic device groups apply only to security groups and function in a similar way as dynamic user groups, but they rely on device attributes. For example, you could set a rule to automatically include all devices running a specific operating system, enabling targeted software updates.Using dynamic groups can improve security and administrative efficiency by automating membership based on up-to-date user or device attributes.
Working with Groups in Microsoft Entra ID via the Azure Portal
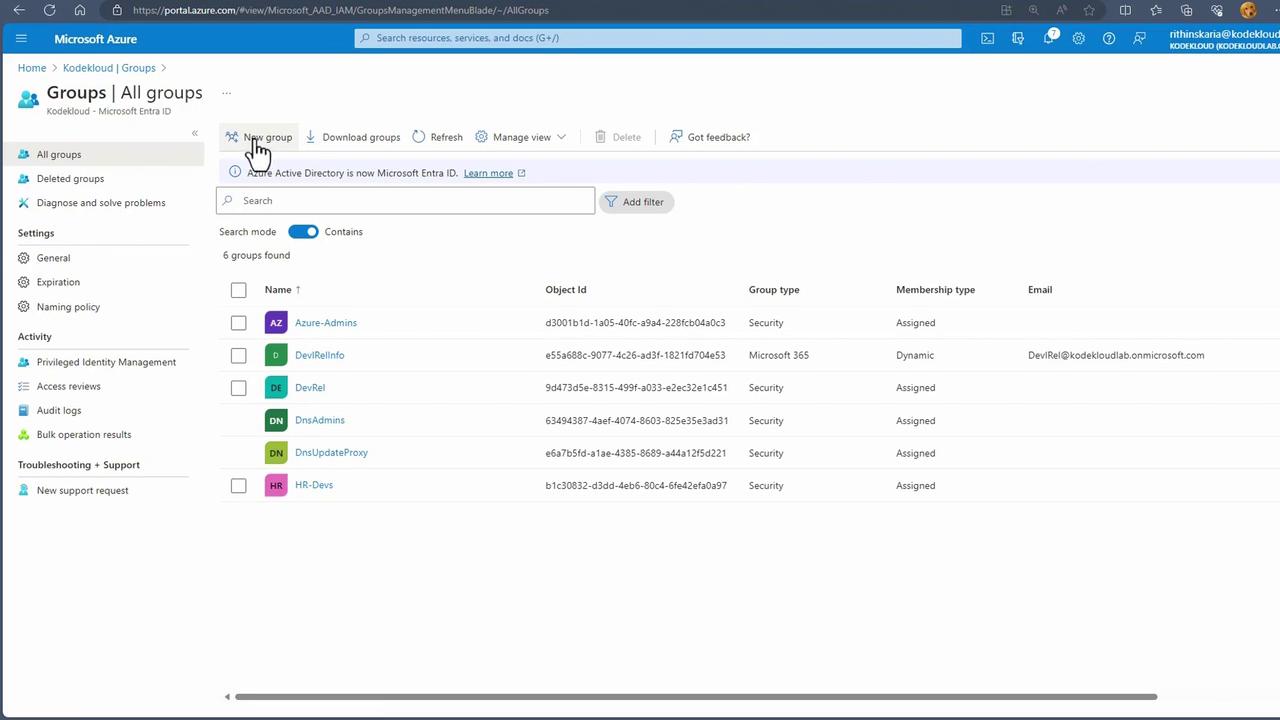
To manage groups, log in to the Azure Portal, navigate to Microsoft Entra ID, and then select Groups. This section of the portal is where you create, update, and review your groups.Creating a Security Group
- Click the “New Group” button.
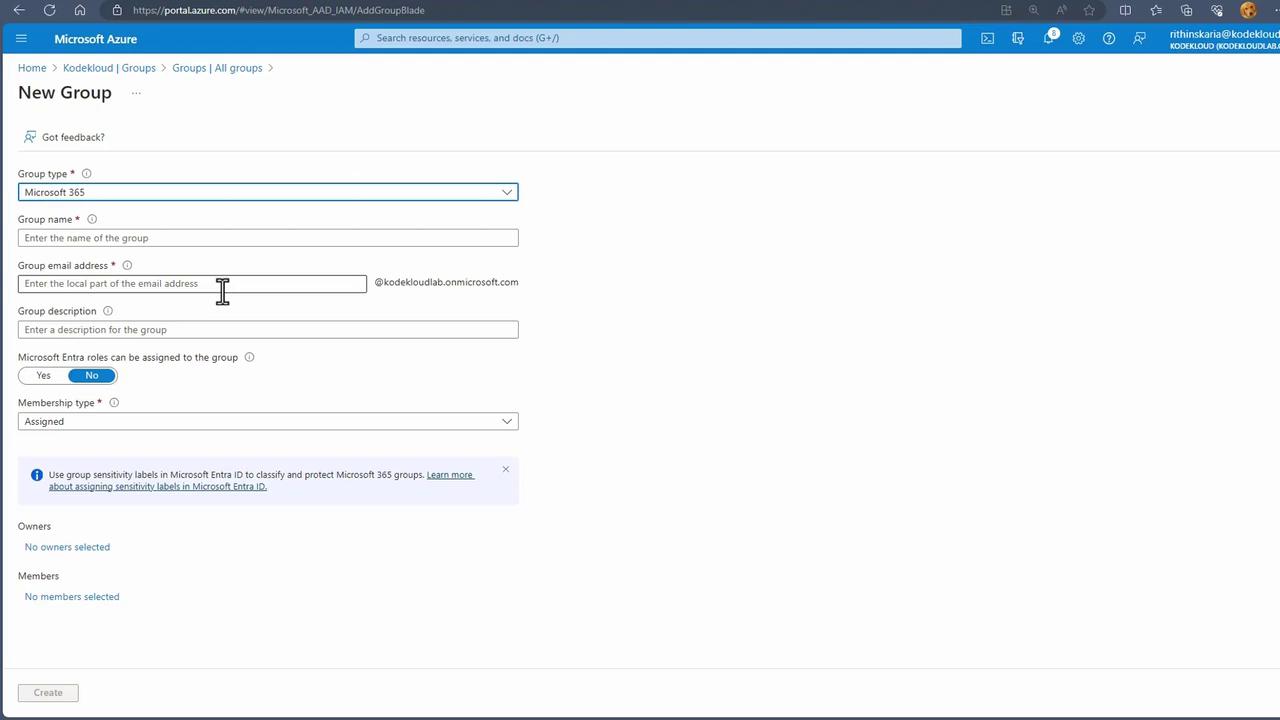
- Select the appropriate group type—choose “Security Group” for this example—and name it “Hiring Managers”.
- Optionally, add a description.
- If you plan to assign Azure AD or Microsoft Entra ID roles to the group, change this setting to “Yes” (the default is “No”).
Detailed role assignments are available in courses such as Microsoft Azure Security Technologies (AZ-500).
- Set the membership type to “Assigned” to manage users manually.
- By default, the group creator becomes the owner. You can add more owners during or after the creation process.
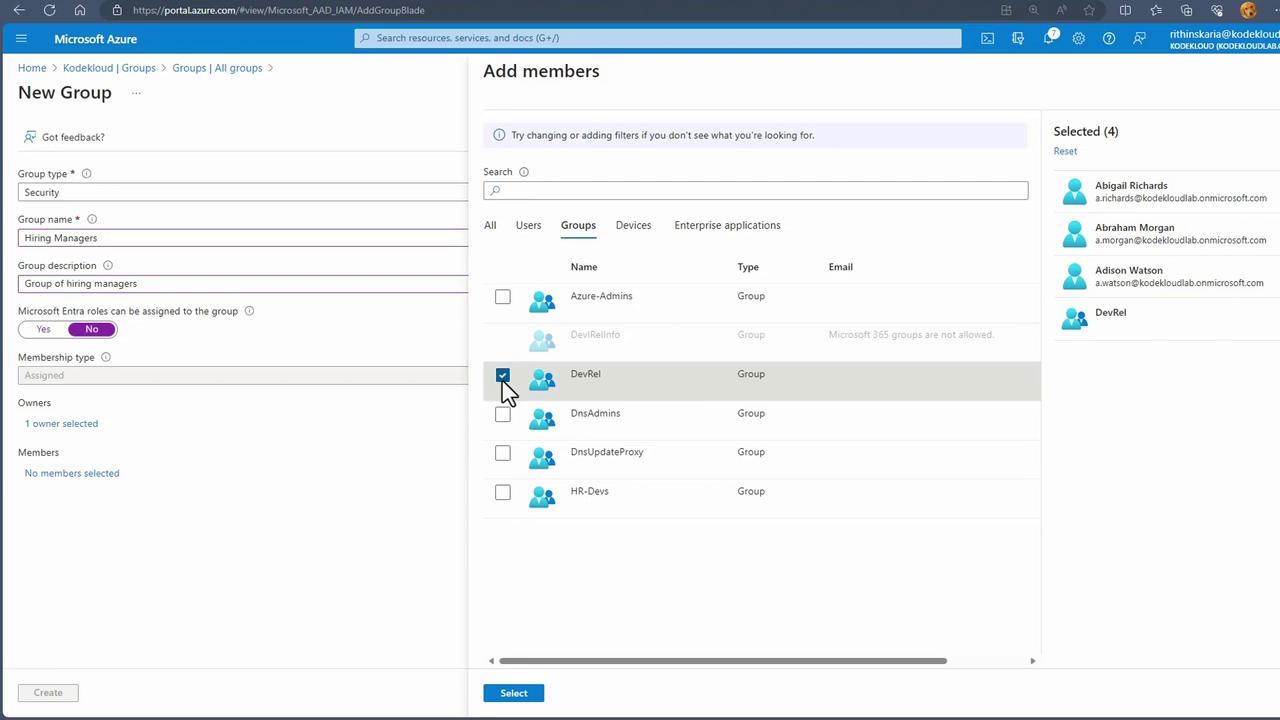
- Under the Members section, add users—or even another group (e.g., DevRel) to form nested groups.
- Click “Create” to finalize the group.
Creating a Microsoft 365 Group
To create a Microsoft 365 group:- Click on “New Group” and select “Microsoft 365.”
- Fill in the group settings. Besides the common settings, you must specify a group email address, which will be used to create a shared mailbox (ensure you have an Exchange license).
Bulk Operations and Dynamic Group Membership
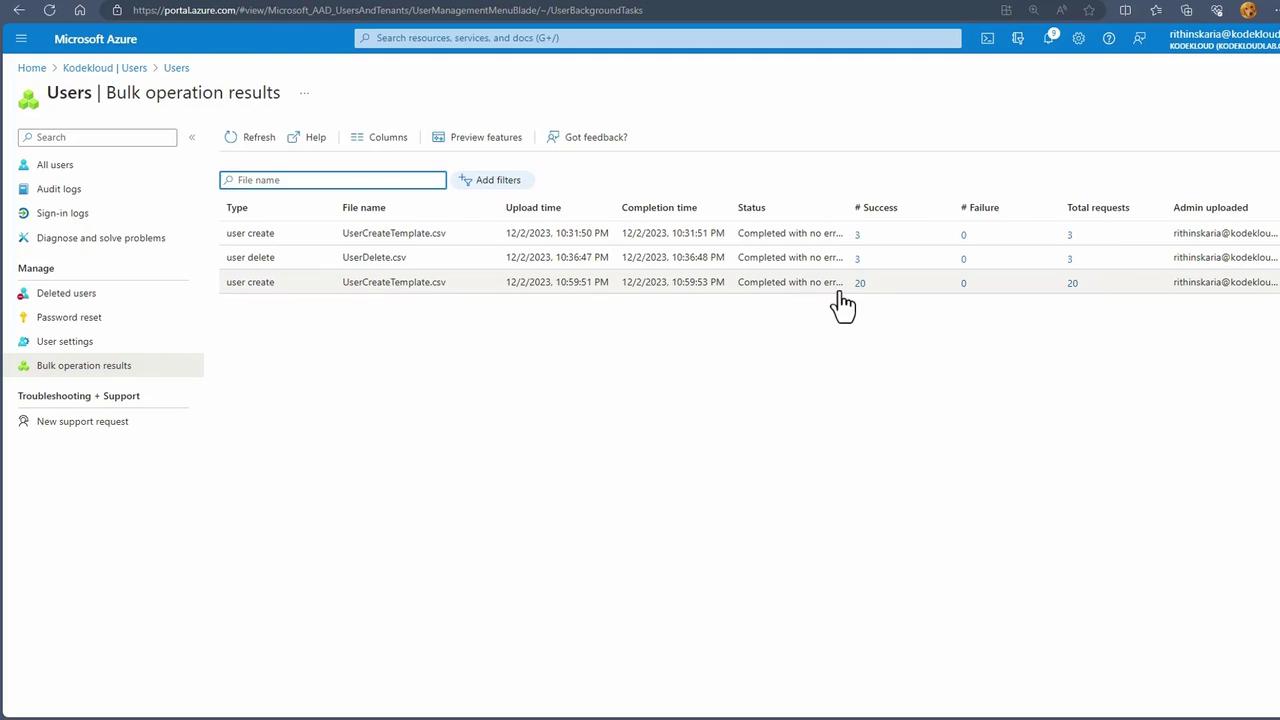
Using bulk operations can streamline the management of group memberships, particularly when dealing with a large number of users.Bulk User Creation
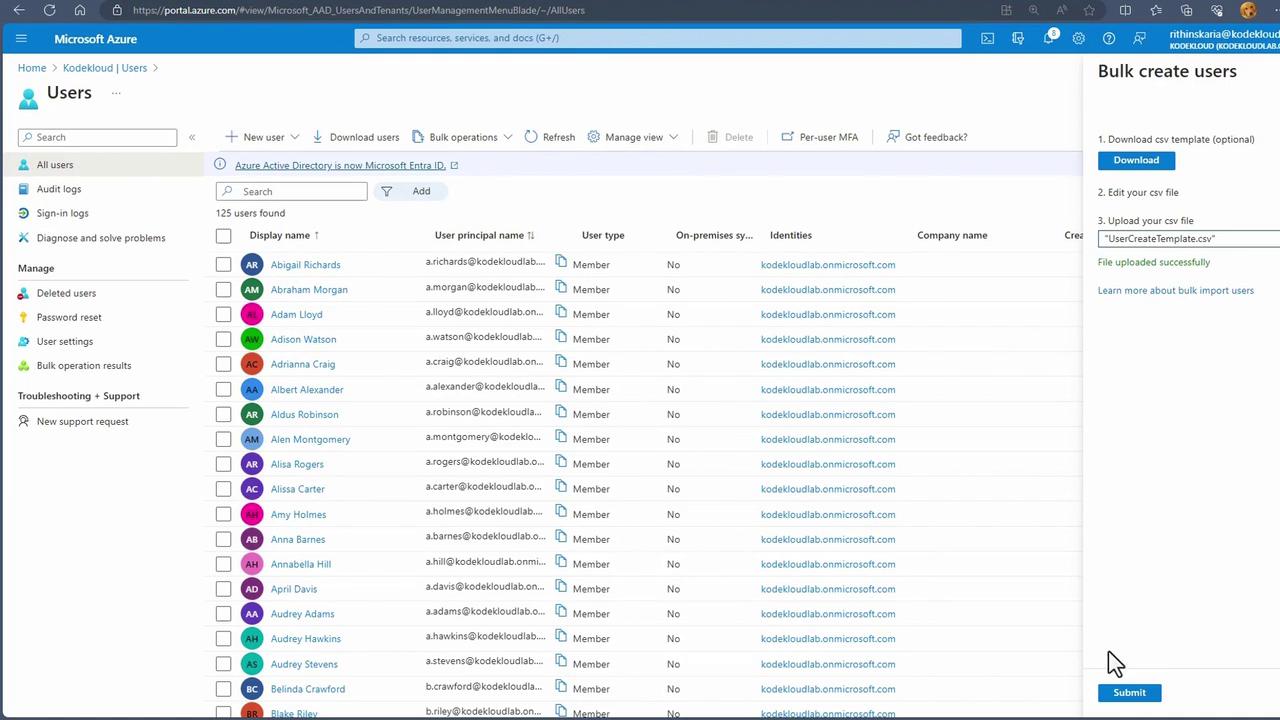
Bulk user creation is an efficient way to prepare for dynamic memberships. For example, you might use a CSV file containing details such as department and usage location for multiple users.- Navigate to Bulk Operations under the Users section.
- Select “Bulk Create” and upload your CSV template.
- Click “Submit” to process the creation of users.
- Wait for the operation to complete. The CSV file settings will later help define dynamic group membership.
Creating a Dynamic User Group
Dynamic user groups update automatically based on your defined criteria:- In Microsoft Entra ID, select Groups and click on “New Group.”
- Name the group (for example, “Avengers”) and choose “Dynamic User” as the membership type.
-
Enter a dynamic query to define membership criteria. For example, to include users from the “Avengers” department, use:
To further refine the criteria (e.g., including only users in the US), modify the query as follows:
- Save the rule. The system will automatically add users who meet the criteria and adjust membership if user attributes change.
- Use the “Validate Rules” option to troubleshoot dynamic membership issues. For example, if a user like Gamora is missing from the “Avengers” group, the tool can help highlight that, despite matching one condition (e.g., usage location), the department attribute does not match.
Creating a Dynamic Device Group
Dynamic device groups, available exclusively for security groups, rely on device properties (such as operating system or vendor):- Create a new group in Microsoft Entra ID, selecting “Dynamic Device” as the membership type.
- Construct a dynamic query to include devices based on properties (for example, devices where the operating system is Windows).
- Follow similar steps as for dynamic user groups, but base your query on device attributes.
Ensure that device attribute data is accurate and up-to-date, as this directly affects dynamic group membership and subsequent policy applications.
Additional Group Settings
Microsoft Entra ID provides several advanced settings for group management, including:- Deleted Groups (acting as a recycle bin)
- Group Expiration Policies
- Naming Policies to restrict certain words
This guide has provided a comprehensive overview of creating and managing different group types in Microsoft Entra ID, with a focus on both manual and dynamic membership methods. Next, we will explore one of the self-service features: Self-Service Password Reset (SSPR). Thank you.