Custom domains are supported on the Basic plan and higher. The free and shared tiers do not support custom domains.
Validating Domain Ownership
Before mapping your custom domain, you need to prove ownership by adding a TXT record at your DNS provider. Once this TXT record is successfully added, you can choose to create an A record or a CNAME record to point your custom domain to the App Service.Step-by-Step Process
In this example, we will map the custom domain “furbish.com” using the CNAME method. Follow these steps in the Azure portal:-
Access the Custom Domains Section
Navigate to your App Service and select the Custom domains section. -
Add a Custom Domain
Click on Add custom domain. You can either use a domain you already own or purchase an App Service domain directly from Azure, which collaborates with GoDaddy. For this example, enter “www.furbish.com”. -
Choose the CNAME Method
Select the CNAME option. Azure will display the required DNS records needed for the configuration. Copy the provided TXT record value as it will be used to validate domain ownership. -
Update Your DNS Records
In your DNS management system (such as Azure DNS), add the TXT record with the specified value. Then, add the CNAME record following Azure’s instructions.

-
Validate DNS Propagation
After saving your DNS records, allow some time for propagation. Once your DNS changes are effective, click on Validate in the Azure portal. Azure will query your DNS zone to confirm the existence of the records. -
Complete the Custom Domain Setup
When validation is successful, click on Add to associate the custom domain with your App Service. Initially, you might see a binding error due to the absence of an SSL certificate. This error is temporary and will be resolved once an SSL certificate is added to secure your connection.
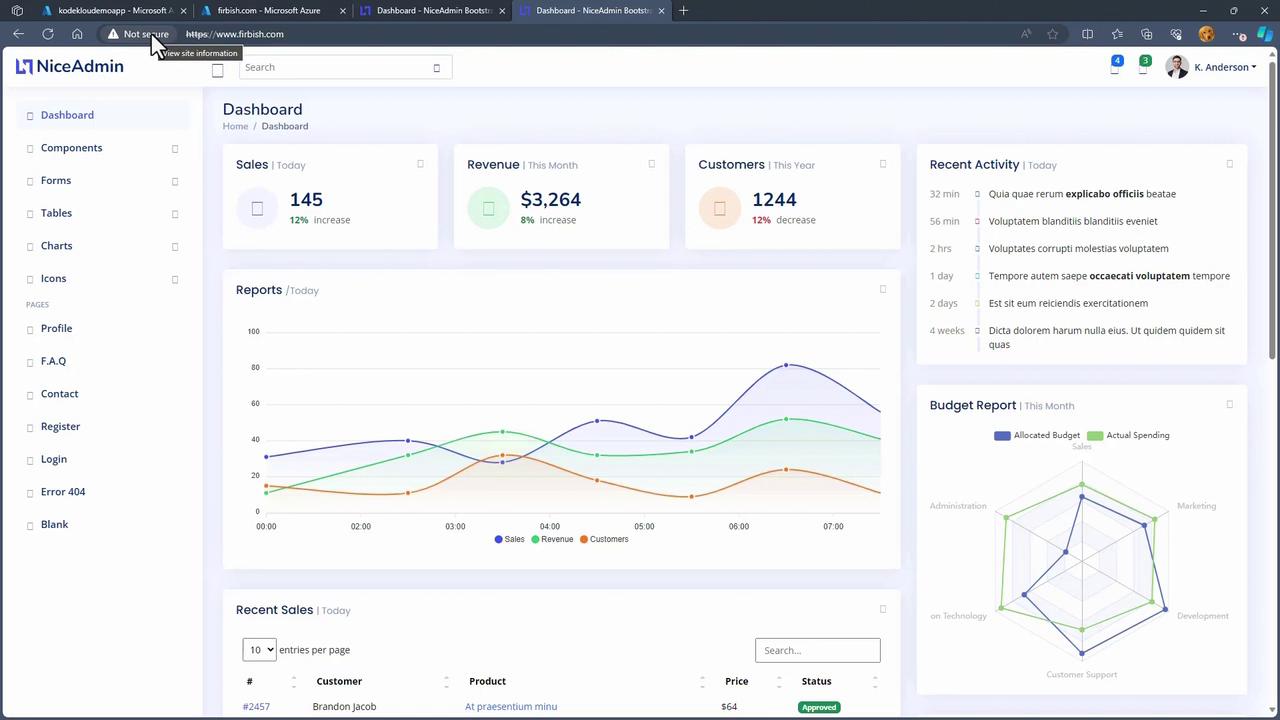
Until an SSL certificate is applied, your web app may display a “Not Secure” message.
Next Steps
In the following section, we will cover the backup process for your App Service. Before moving on, take a look at the dashboard view from a web application interface, which illustrates sales, revenue, and customer statistics: