DNS Zone Naming Convention
The zone name must be unique within a Resource Group; however, you can have the same zone name in different resource groups. In such cases, each instance of the DNS zone will have its own set of name servers.Delegation
Most organizations purchase domains from registrars like Cloudflare, GoDaddy, etc. For example, if you purchase a domain from GoDaddy, it comes with GoDaddy’s default name servers. To use Azure DNS for your domain, delegate DNS queries to the Azure DNS name servers by following these steps:- Log in to your domain registrar’s portal (e.g., GoDaddy).
- Update the name server settings to the provided Azure DNS name servers.
- Save your configuration.
Record Sets in Azure DNS
Azure DNS supports various types of record sets. Records with the same name and type are grouped into a record set, and every record within the set must be unique. Note that a record set can contain a maximum of 20 records.How Azure DNS Works
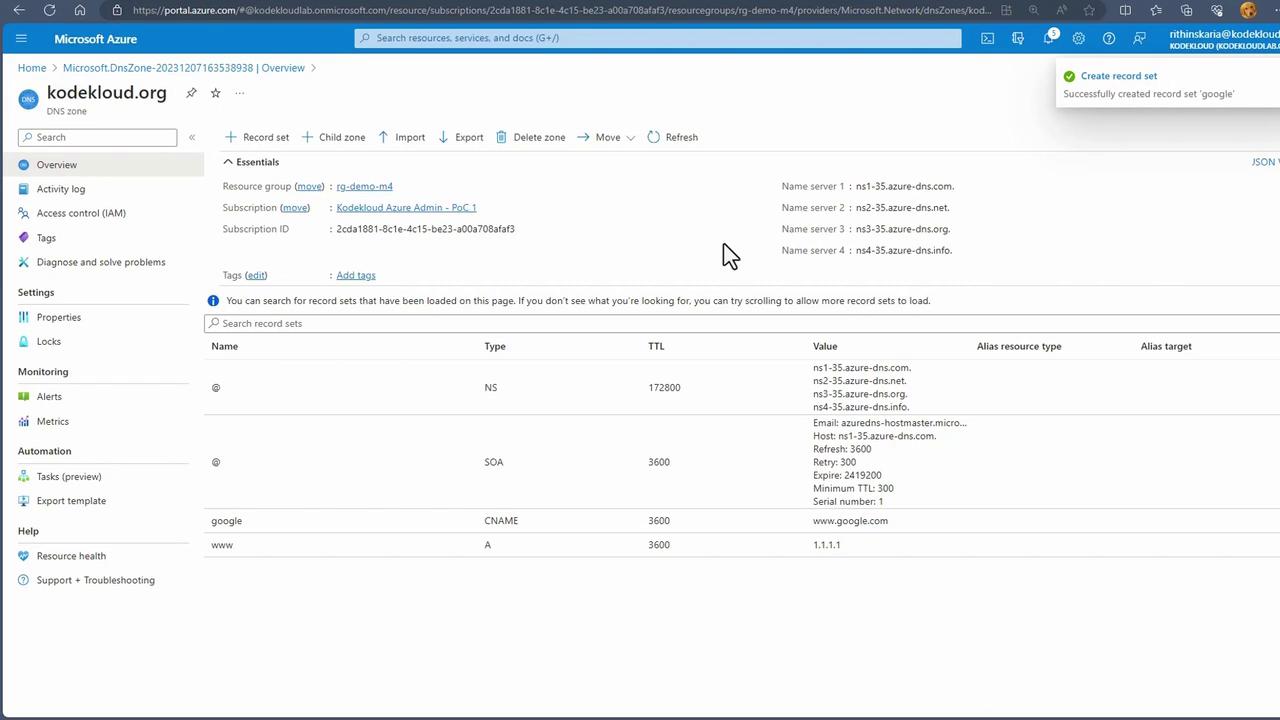
For instance, in one subscription I manage, there is a DNS zone called KodeKloud.org that is assigned dedicated name servers provided by Microsoft Azure. Within this zone, various DNS records are created, such as an A record for Azure and a CNAME record for Microsoft. In a typical scenario, you might have an on-premises DNS server with a zone delegated to the Azure DNS name servers. When a client sends a DNS query (using tools like dig or nslookup), the on-premises server forwards the request to the Azure DNS name servers, which then return the necessary DNS response.Example Using Dig
If your domain registrar manages your DNS, update the domain’s name server settings to point to the Azure DNS servers. Otherwise, you might need to manually specify the Azure name servers when performing DNS lookups, or consider purchasing domains directly from Azure for seamless integration.
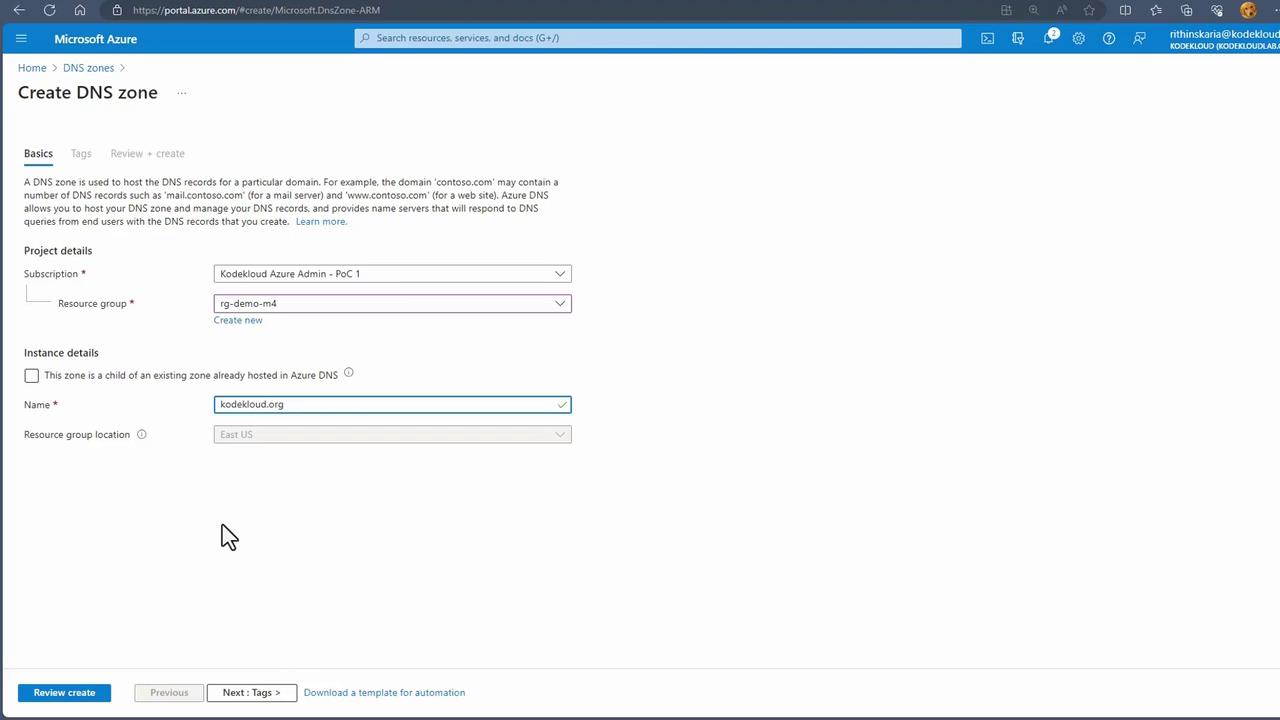
Creating a DNS Zone in the Azure Portal
Follow these steps to create a DNS zone in the Azure Portal:- Log in to the Azure Portal.
- Search for “DNS zones” and select the option to create a new zone.
- Specify your desired resource group (e.g., “demo M4”) and provide a zone name (e.g., corecloud.org).

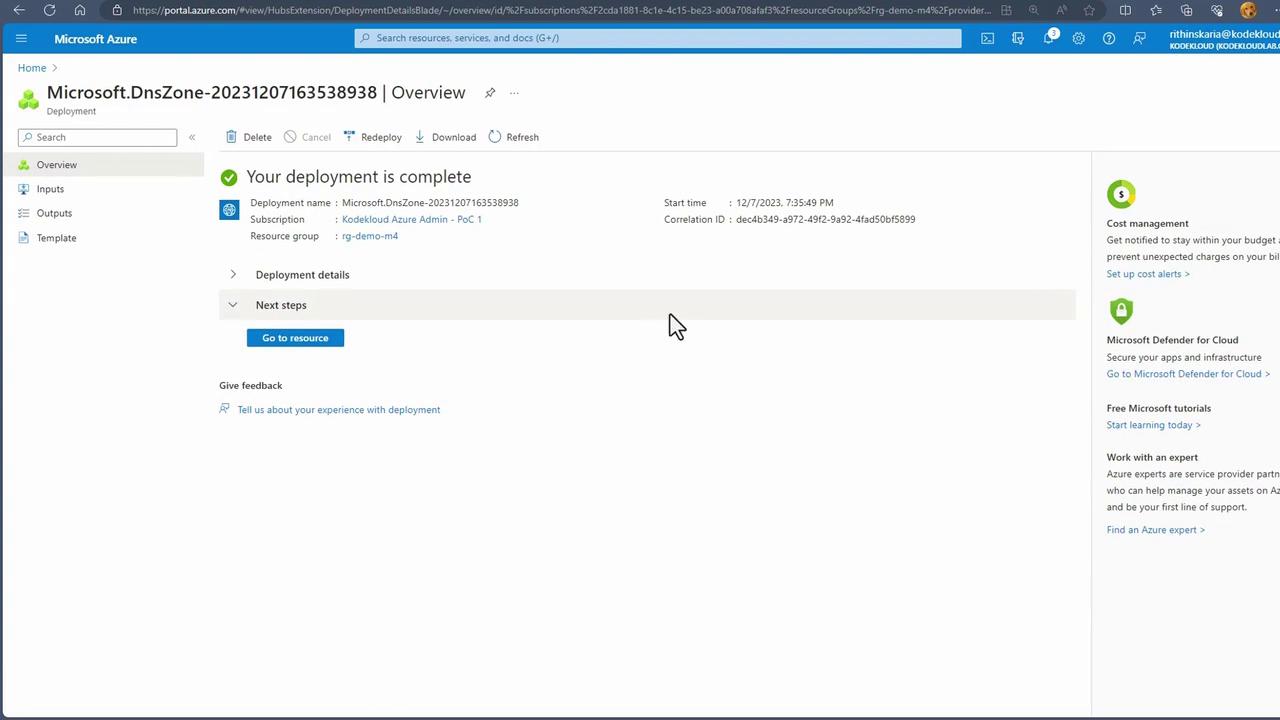
Managing DNS Records
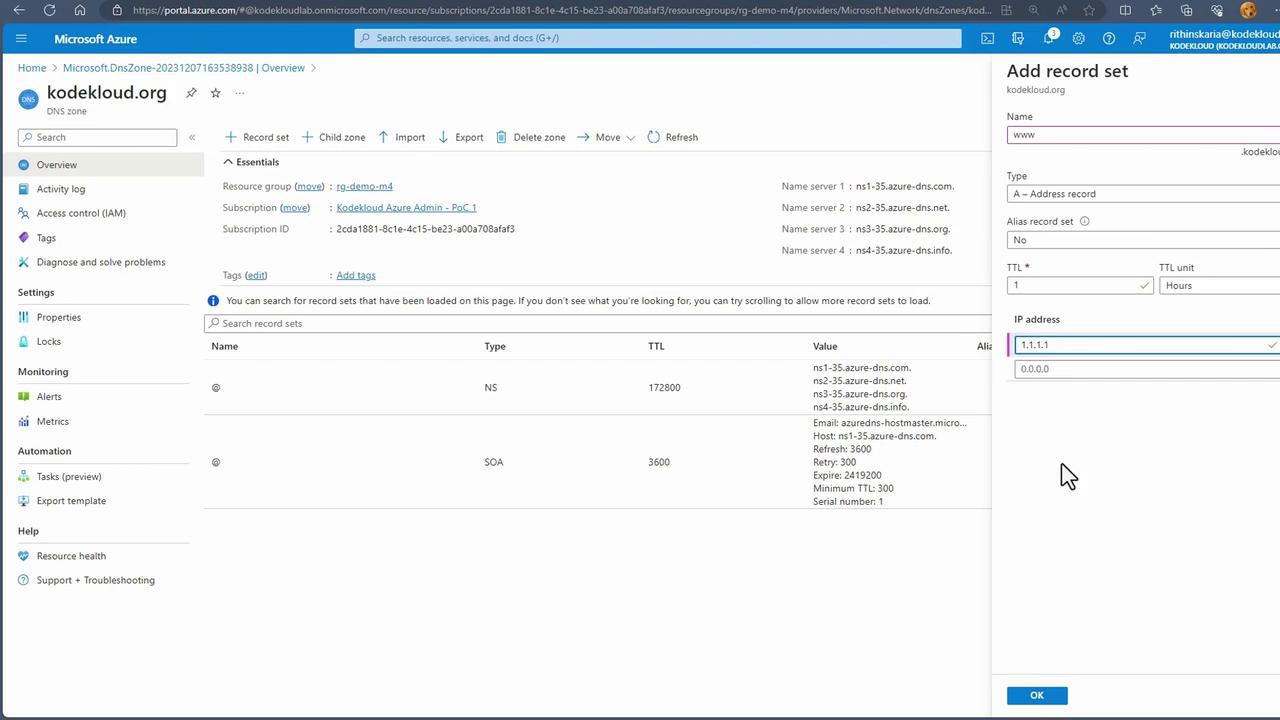
After creating your DNS zone, navigate to its resources. You will notice that default records such as SOA and NS are automatically created. You have the option to manually add additional record sets. For example, to add an A record for www.corecloud.org with IP address 1.1.1.1:- Click on “Add record set”.
- Enter the record name (e.g., www.corecloud.org).
- Set the record type to A and specify the IP address.
- Confirm by clicking “OK”.
Testing DNS Resolution
To validate your DNS configuration, you can use tools like nslookup. Follow these steps:- Open your terminal and run the nslookup command. By default, nslookup might target your localhost DNS server.
- Use the command prompt to switch to one of the Azure DNS name servers using the “server” directive.
- Query a DNS record, such as www.corecloud.org:
Private DNS Zones
While this guide focuses on public-facing DNS zones, there are situations where a Private DNS zone is required for internal name resolution. Private DNS zones enable you to resolve the names of internal resources, like virtual machines, to their private IP addresses without exposing those records to the internet.For detailed guidance on configuring and using Private DNS zones, refer to the related documentation and best practices for network security.