This article provides a beginner-friendly guide to installing and
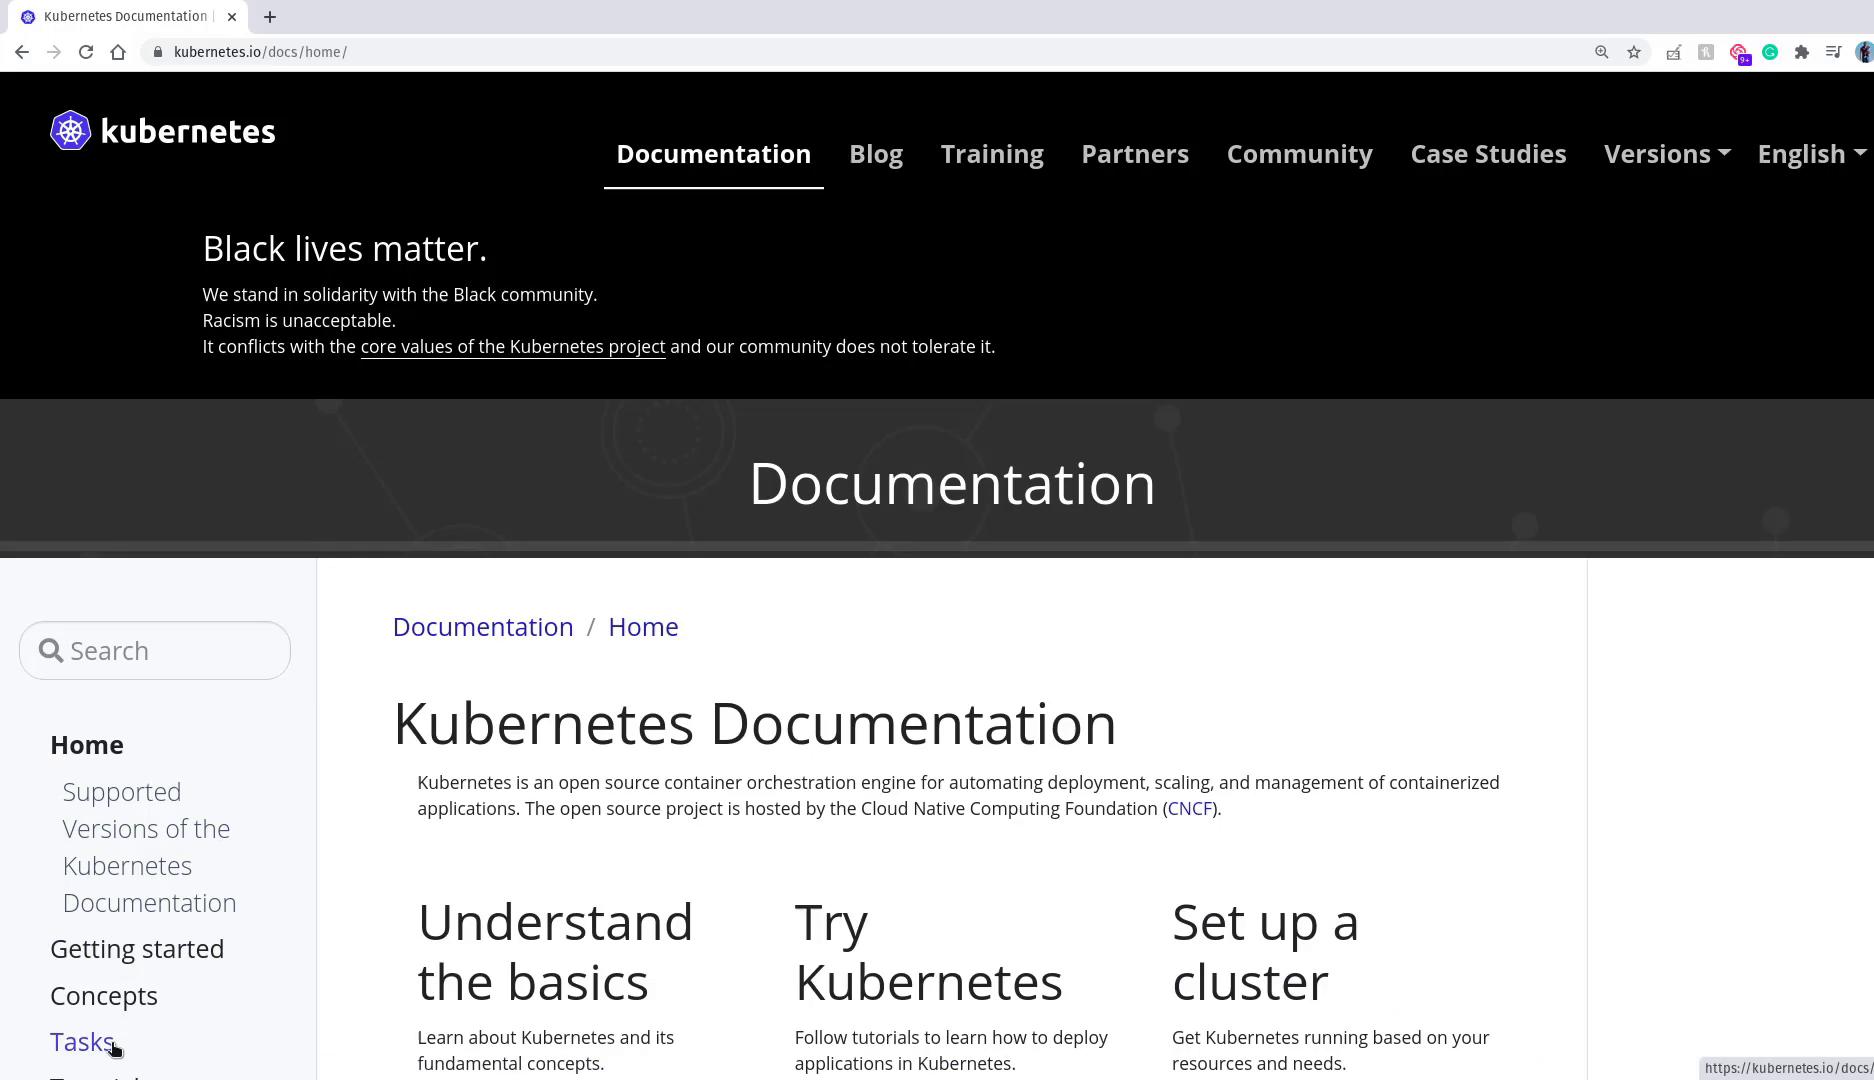
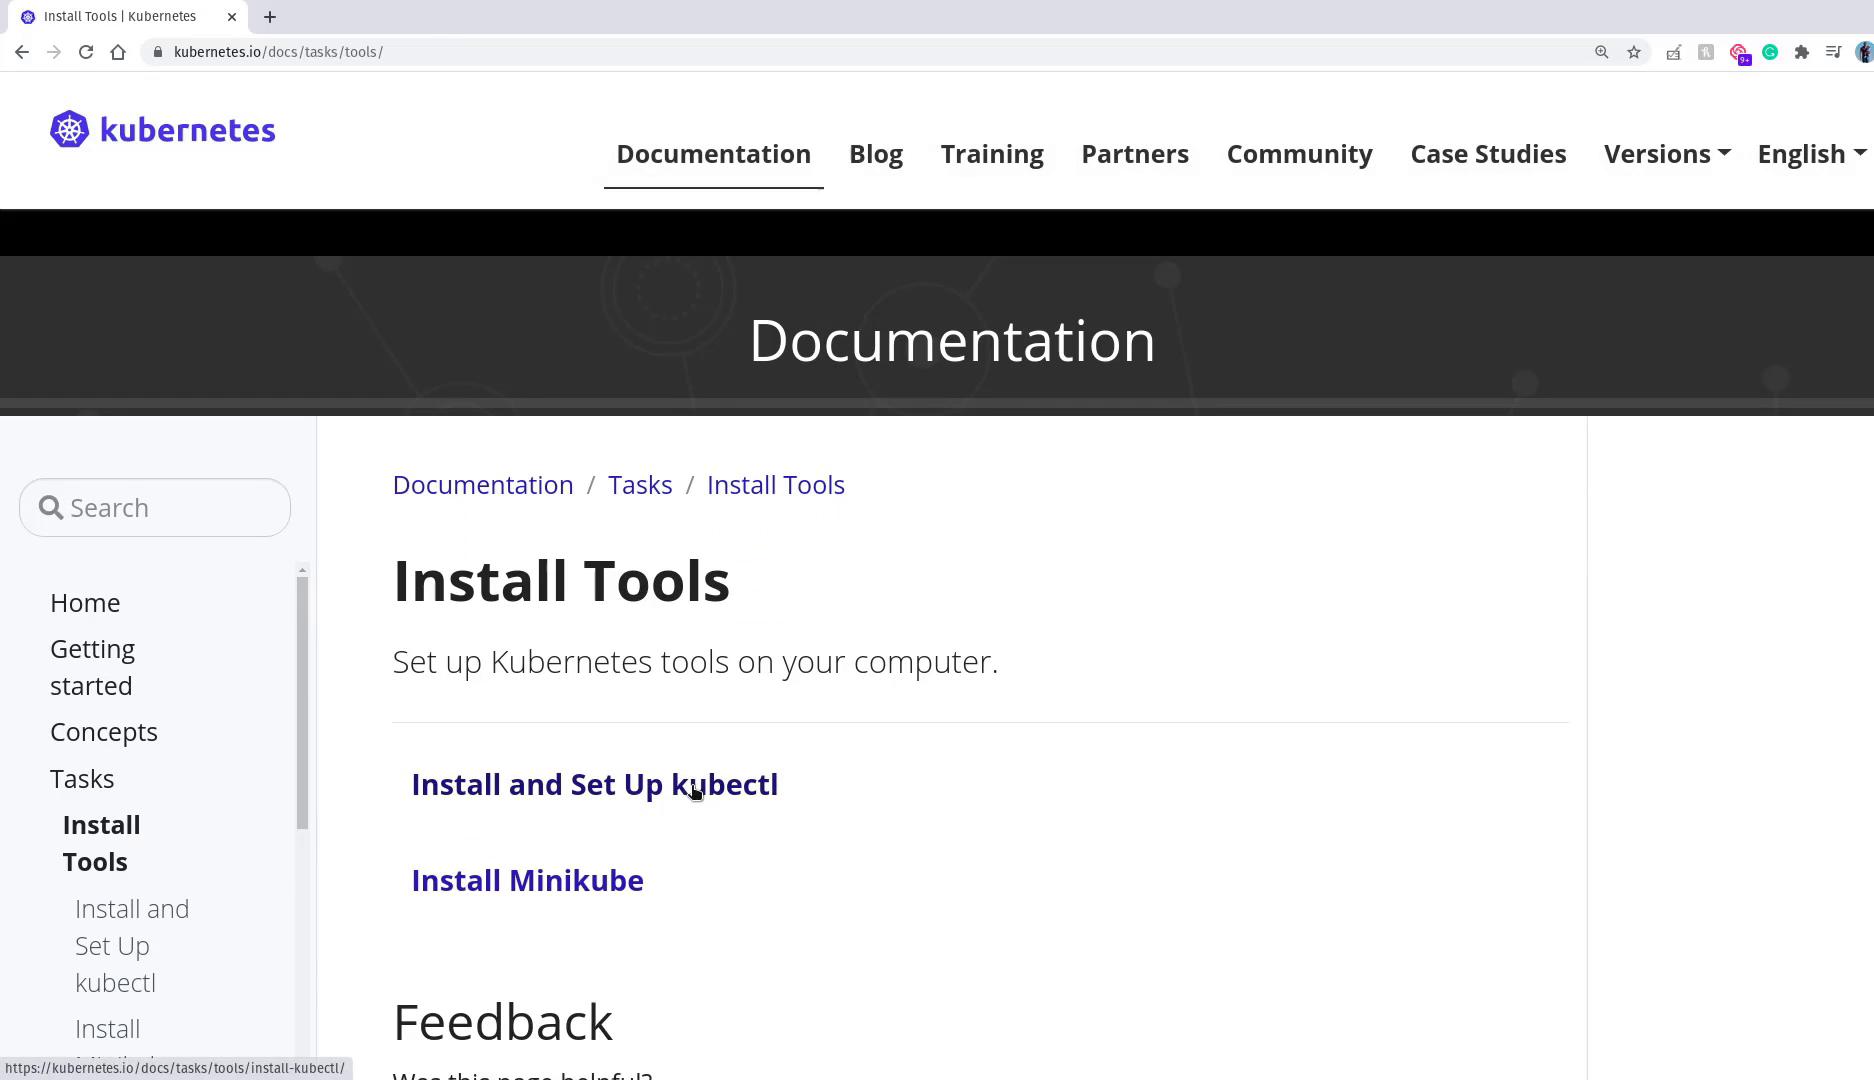
In this lesson, we install a basic Kubernetes cluster using the Minikube utility. This beginner-friendly guide focuses on the core installation and configuration steps. For more advanced provisioning options such as using kubeadm, please refer to the CKA Certification Course - Certified Kubernetes Administrator.We start by visiting the official Kubernetes website. Navigate to the Documentation section, then proceed to the Tasks and Install Tools area.
Before installing Minikube, it is essential to install the kubectl command-line tool. Kubectl manages your Kubernetes resources and interacts with your cluster once it is set up via Minikube. Installing kubectl first enables Minikube to configure it correctly during provisioning.
While you might see various ways of fine-tuning its name, they all refer to this single utility.To download the latest stable version of kubectl, run:
Verify the installation by checking the client version. Note that until a cluster is running, you might encounter a message about the connection being refused:
Copy
kubectl version
Example output:
Copy
Client Version: version.Info{Major:"1", Minor:"18", GitVersion:"v1.18.5", GitCommit:"6503f8d8f769ace2f338794c914a96fc335df0f", GitTreeState:"clean", BuildDate:"2020-06-26T03:47:41Z", GoVersion:"go1.13.9", Compiler:"gc", Platform:"linux/amd64"}The connection to the server localhost:8080 was refused - did you specify the right host or port?
Other installation methods are available in the Kubernetes documentation. For example, on Ubuntu you might use:
Before installing Minikube, ensure virtualization is enabled on your machine. This check is essential regardless of whether you are on Linux, Windows, or macOS. On Linux, you can check for the necessary virtualization flags (vmx for Intel or svm for AMD) with the following command:
Copy
grep -E --color 'vmx|svm' /proc/cpuinfo
If no output is returned from the command above, virtualization may be disabled in your BIOS settings. Consult your laptop’s manual or search online using your specific model to enable virtualization.
After installing kubectl and verifying that virtualization is enabled, the next step is to install Minikube. On Linux, you typically choose between two hypervisors: VirtualBox or KVM. In this lesson, VirtualBox is the chosen hypervisor because of its cross-platform availability (Linux, Windows, and macOS) and ease of resetting via snapshots.If VirtualBox is not installed on your system, download the appropriate package from the VirtualBox website. For systems using yum (such as CentOS or RHEL), install VirtualBox with:
Copy
yum install VirtualBox-6.1
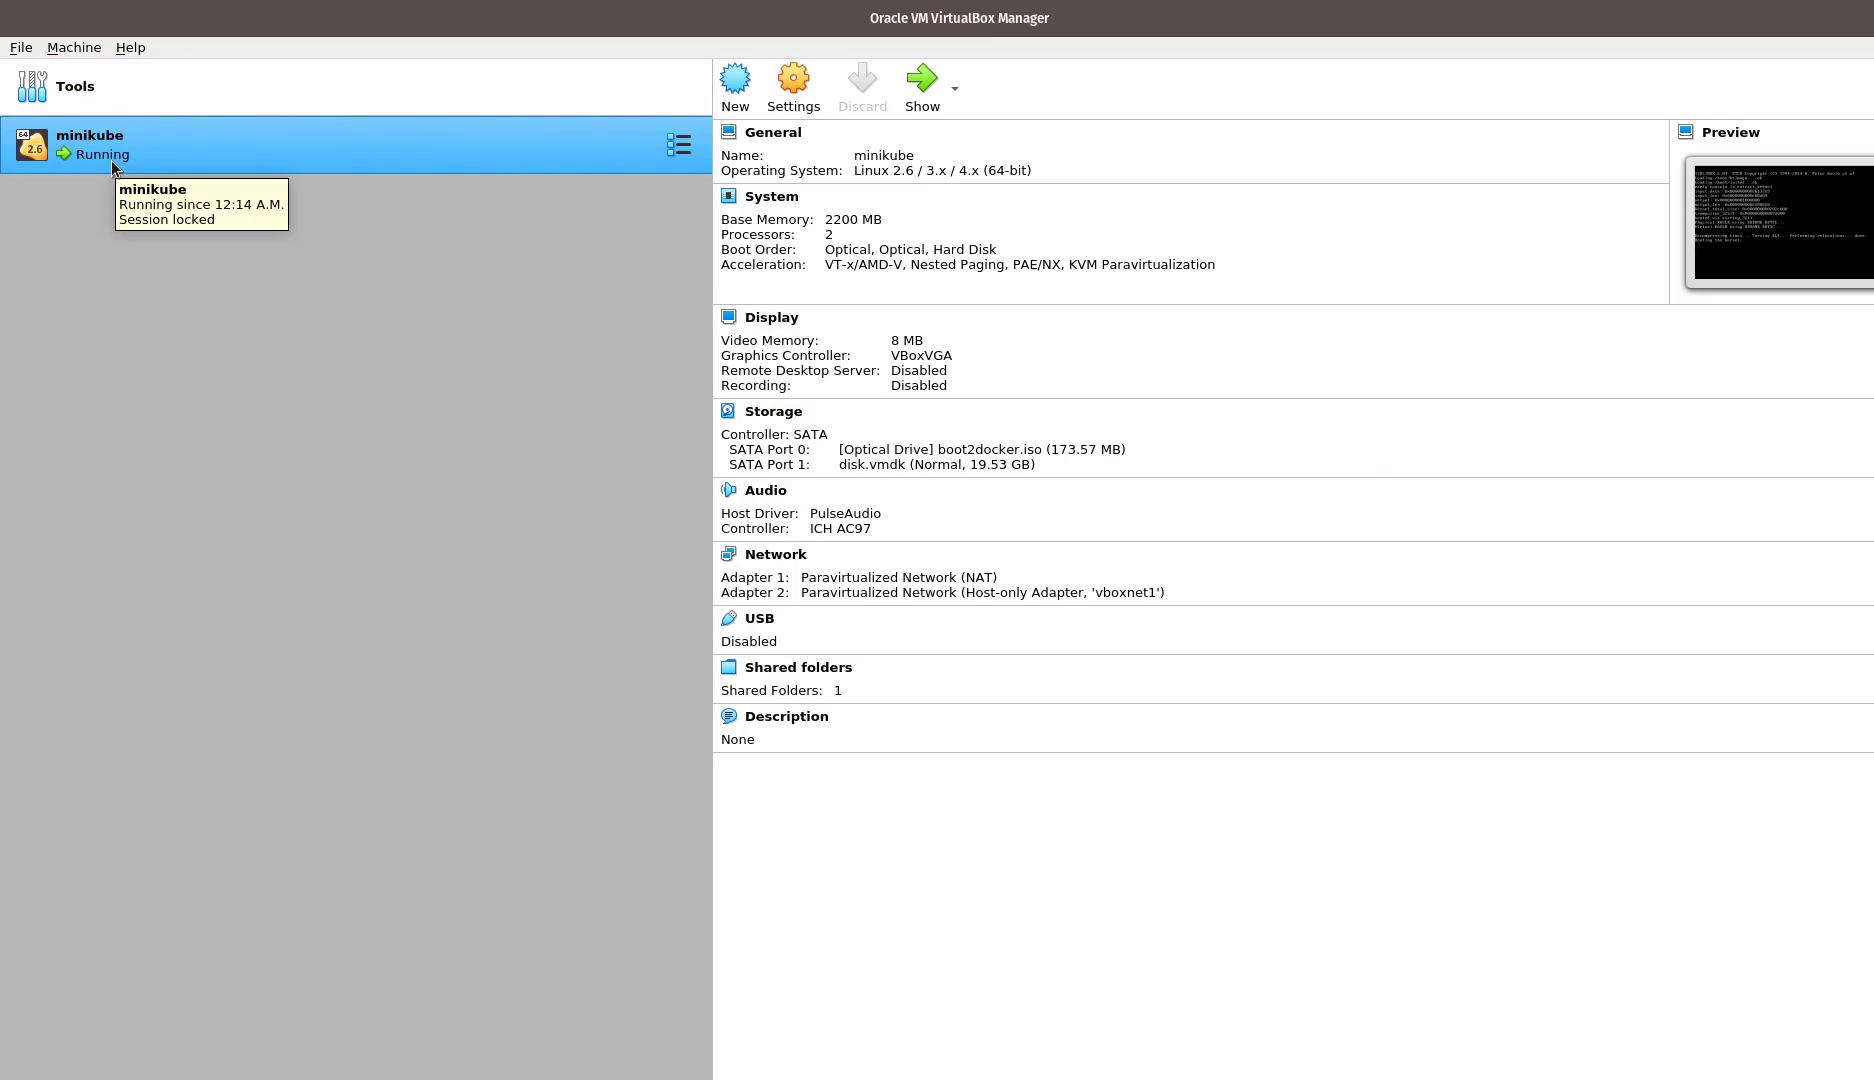
Once VirtualBox is installed, launch it to see its interface. The image below shows VirtualBox with no running virtual machines—a new one will appear when Minikube starts the cluster.
With both kubectl and Minikube now installed, you can start your local Kubernetes cluster. Specify the virtualization driver—in this example, VirtualBox—with the following command:
Copy
minikube start --driver=virtualbox
Minikube will download the necessary ISO image and Kubernetes binaries (for example, Kubernetes v1.18.3) to set up your cluster. You will notice a new virtual machine named “minikube” appear in VirtualBox once the provisioning process begins.Example session output:
Copy
admin@ubuntu-server kubernetes-for-beginners # curl -Lo minikube https://storage.googleapis.com/minikube/releases/latest/minikube-linux-amd64 && chmod +x minikubeadmin@ubuntu-server kubernetes-for-beginners # ls -ld /usr/local/bin/drwxr-xr-x 2 root root 4096 Jul 11 00:03 /usr/local/bin/admin@ubuntu-server kubernetes-for-beginners # sudo install minikube /usr/local/bin/admin@ubuntu-server kubernetes-for-beginners # minikube start --driver=virtualboxminikube v1.12.0 on Debian bullseye/sidUsing the virtualbox driver based on user configurationDownloading VM boot image ...> minikube-v1.12.0.iso.sha256: 65 B / 65 B [--------------] 100.00%> minikube-v1.12.0.iso: 173.57 MiB / 173.57 MiB [--------------] 100.00%Starting control plane node minikube in cluster minikubeDownloading Kubernetes v1.18.3 preload ...> preloaded-images-k8s-v4-v1.18.3-docker-overlay2-amd64.tar.lz4: 176.78 MiB
In the VirtualBox Manager, you will see the “minikube” virtual machine running with 2 CPUs and 2 GB of RAM.
After the setup completes, kubectl is automatically configured to use the new Kubernetes cluster.
Your Minikube-based Kubernetes cluster is now operational, and you have successfully deployed and exposed a sample application. This setup forms a solid foundation for upcoming lessons where more complex deployments and Kubernetes concepts will be explored.Happy learning, and see you in the next lesson!
Consider exploring additional Kubernetes resources such as the Kubernetes Documentation and tutorials to deepen your understanding of cluster management and container orchestration.