Use this file to discover all available pages before exploring further.
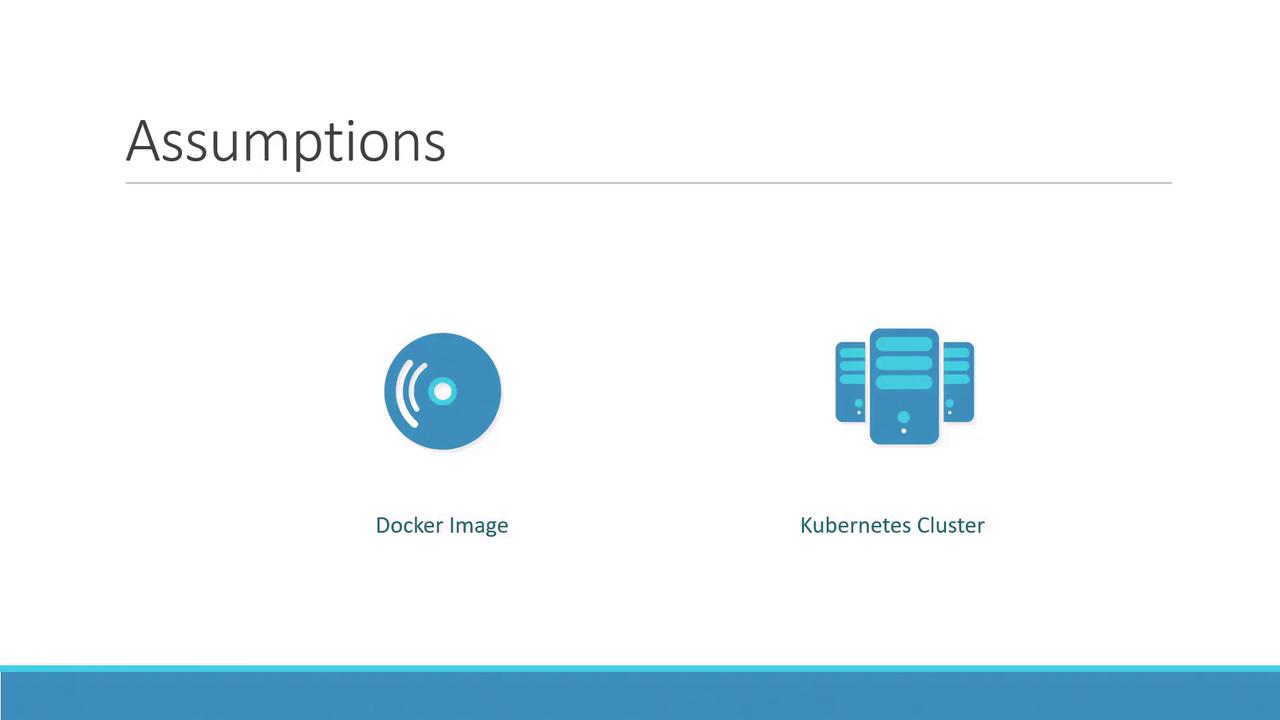
Hello, and welcome to this in-depth lesson on Kubernetes Pods. In this guide, we will explore how pods encapsulate your application containers, simplify scalability, and improve overall management. Before diving deep, let’s clarify a few key assumptions:• Your application has already been developed and packaged as Docker images.
• These Docker images are stored in a repository, such as Docker Hub, so Kubernetes can pull them as needed.
• Your Kubernetes cluster is set up and running, whether on a single node or across multiple nodes, with all services operational.
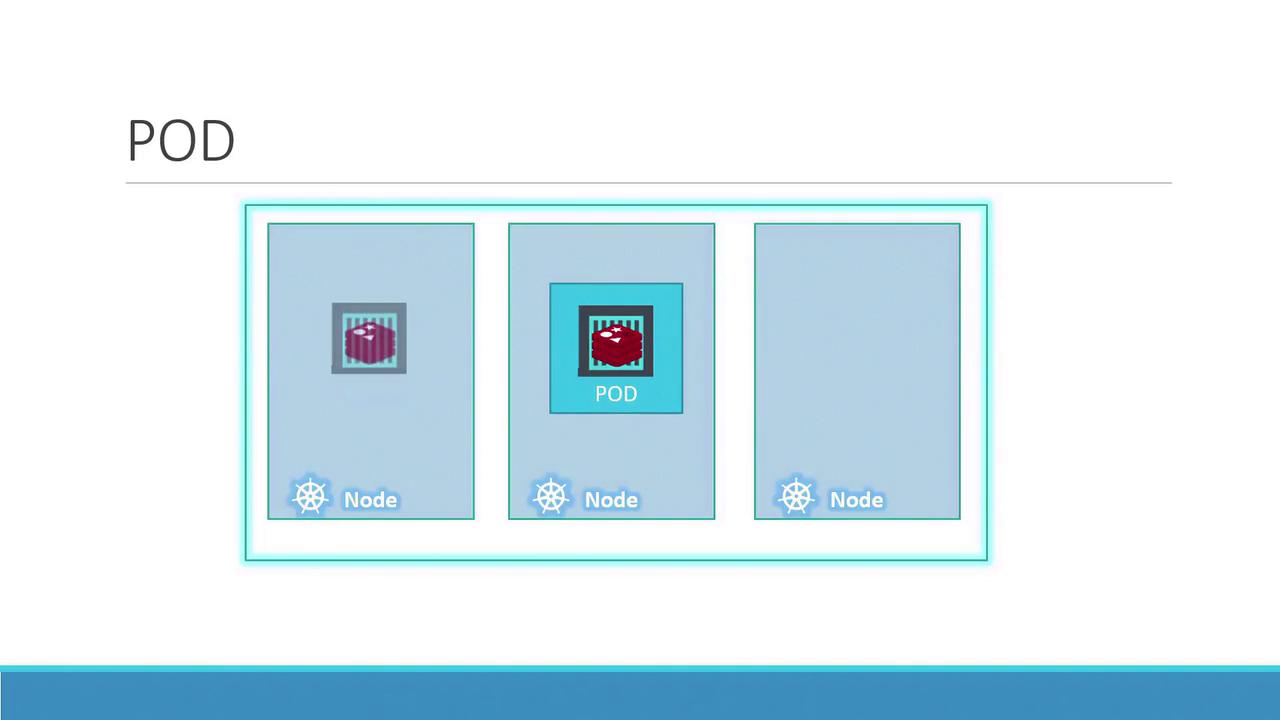
Kubernetes deploys your application by encapsulating containers inside a fundamental unit called a pod. A pod represents a single instance of your application and is the smallest deployable object in Kubernetes. In a basic setup, running one instance of your application in a pod on a single-node cluster is common.
As your user base increases, scaling becomes necessary. Instead of increasing the number of containers within the same pod, you create additional pods—each running an instance of your application. This approach allows Kubernetes to manage these instances independently, whether they reside on the same node or are distributed across multiple nodes.
If your current node cannot handle the load, Kubernetes can schedule more pods on new nodes, thereby expanding your cluster’s capacity.
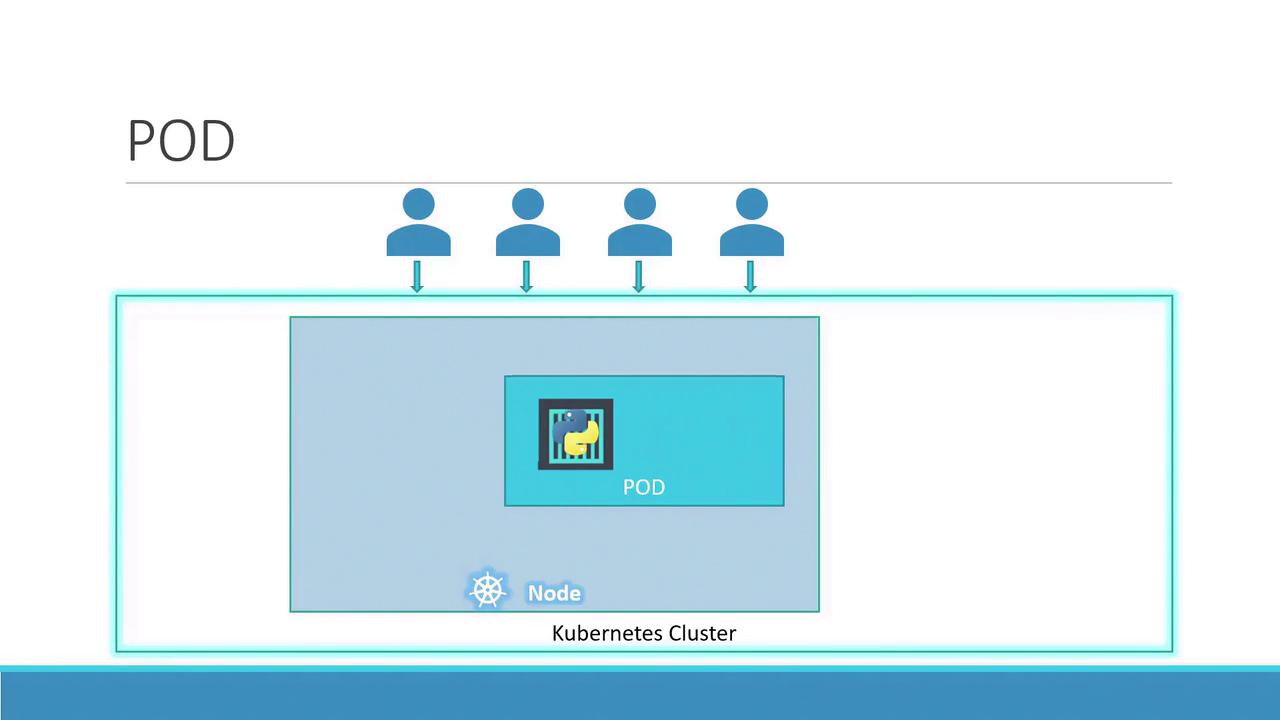
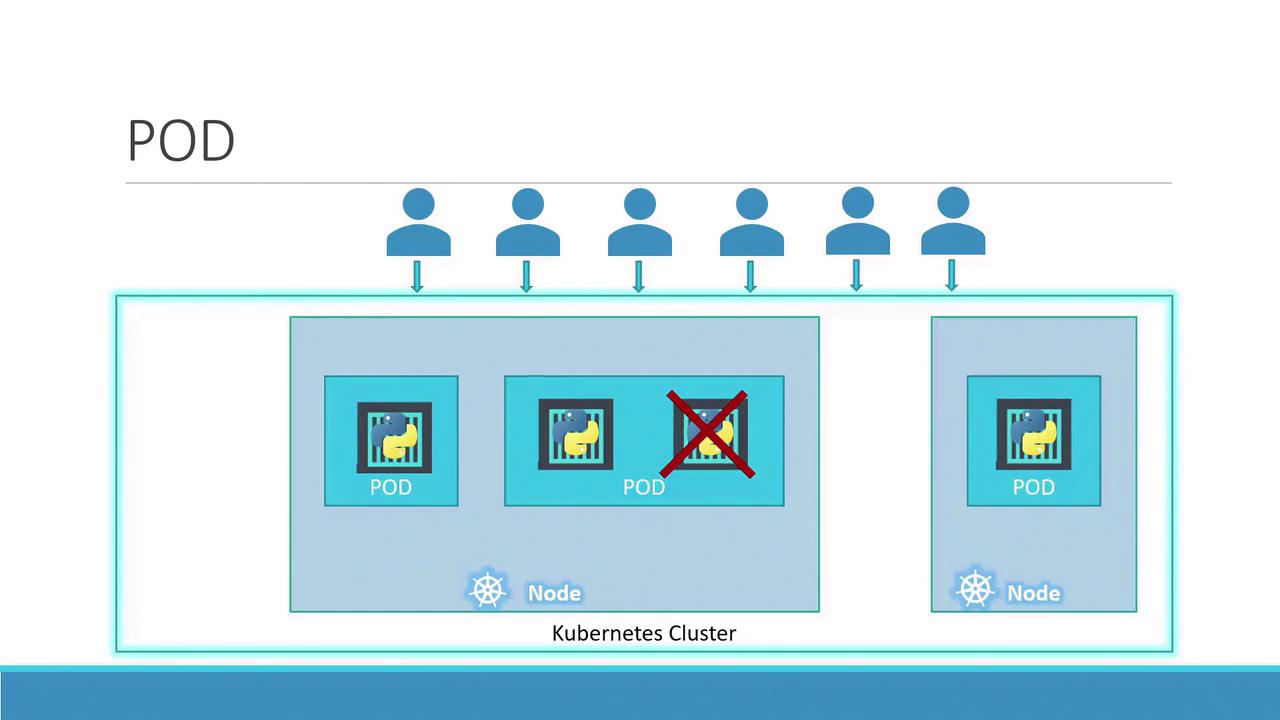
• Pods typically maintain a one-to-one relationship with the containers running your application.
• To scale up, create new pods.
• To scale down, remove pods rather than packing more containers into an existing pod.
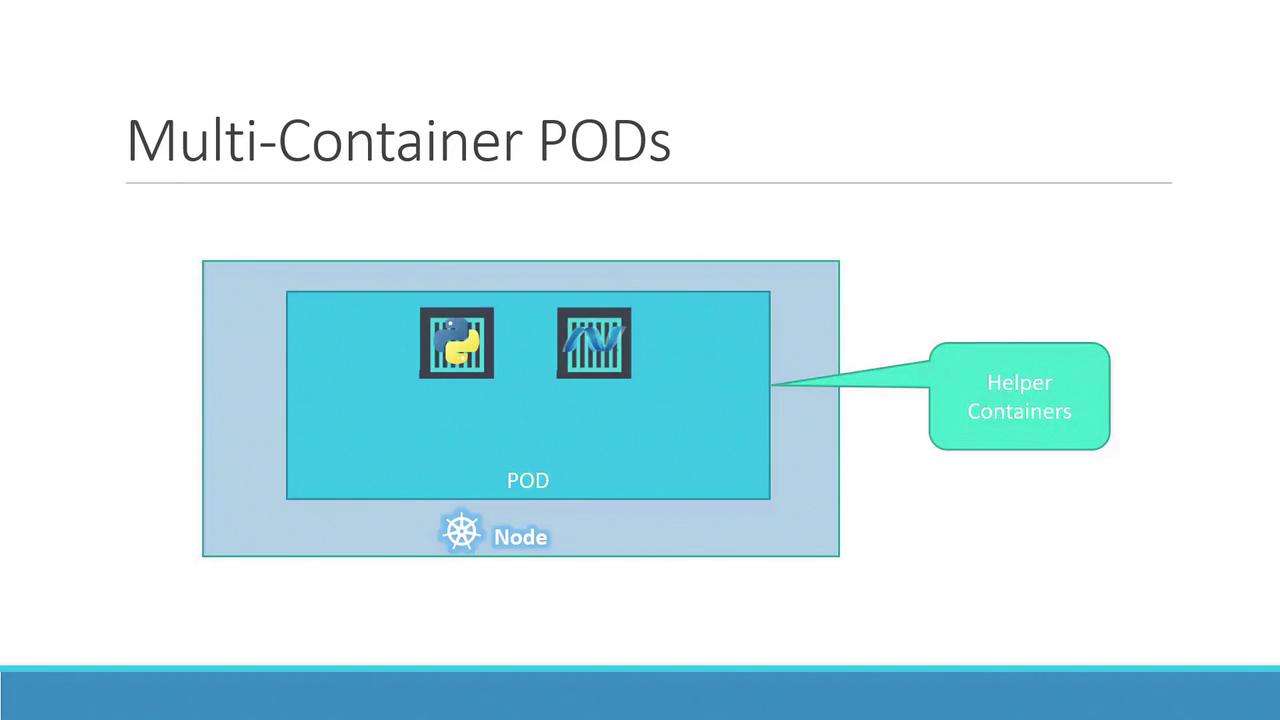
You might wonder if pods are limited to a single container. In fact, a pod can host multiple containers. These containers typically work in tandem—for instance, a main application container paired with a helper container that processes data or uploads files. When a pod is created, every container within it starts simultaneously, sharing the same network and storage spaces. They communicate via localhost and are terminated together when the pod is deleted.
Additionally, containers within the same pod can seamlessly share storage resources, which enhances inter-container communication and ensures smooth cooperation.
To understand the benefits of pods, consider how you might initially deploy your application using Docker containers. For example, you might run your application with:
docker run python-app
When load increases, you might manually start more instances:
docker run python-appdocker run python-appdocker run python-app
If your application now requires a helper container for data processing or retrieval, you would manually ensure connectivity between the application and its helper containers:
docker run python-appdocker run python-appdocker run python-appdocker run python-appdocker run helper --link app1docker run helper --link app2docker run helper --link app3docker run helper --link app4
This manual process requires constant monitoring, where stopping an application container necessitates manually stopping its corresponding helper container. This leads to increased complexity as the application scales.Kubernetes addresses these challenges by allowing you to define all containers within a pod. The containers share the same network namespace and storage, and they are managed as a single unit—created and destroyed together. Even for simple applications, running them inside pods sets the stage for future scalability and architectural enhancements, although most often a pod contains only one container.
Let’s explore how to deploy a pod using Kubernetes. The kubectl run command is one of the simplest ways to start a pod. For example:
kubectl run nginx --image nginx
This command creates a pod running an instance of the nginx Docker image, pulling the image from Docker Hub or another configured repository. To view the status of your pod, use:
kubectl get pods
Initially, you might see output indicating the pod is in a “ContainerCreating” state:
C:\Kubernetes>kubectl get podsNAME READY STATUS RESTARTS AGEnginx-8586cf59-whssr 0/1 ContainerCreating 0 3s
After a short period, the status transitions to “Running”:
C:\Kubernetes>kubectl get podsNAME READY STATUS RESTARTS AGEnginx-8586cf59-whssr 1/1 Running 0 8s
At this point, the nginx web server is operational within your cluster. However, note that it is not yet exposed to external users. In future lessons, we’ll delve into Kubernetes networking and services to explain how you can expose your application to the outside world.
This lesson covered the fundamentals of pods. Next, you’ll get hands-on with pod deployment in the demo session. Stay tuned for more insights in the upcoming lessons.