Avoid leaving resources running unnecessarily. Be especially cautious with services that incur hourly charges (such as NAT gateways, virtual machines, and network firewalls). When a service is no longer needed, stop or remove it to prevent unexpected costs.
Step 1: Visit the AWS Free Tier Page
Begin by visiting the AWS website and clicking the “Sign Up for a Free AWS Account” button. This page showcases the AWS Free Tier offerings.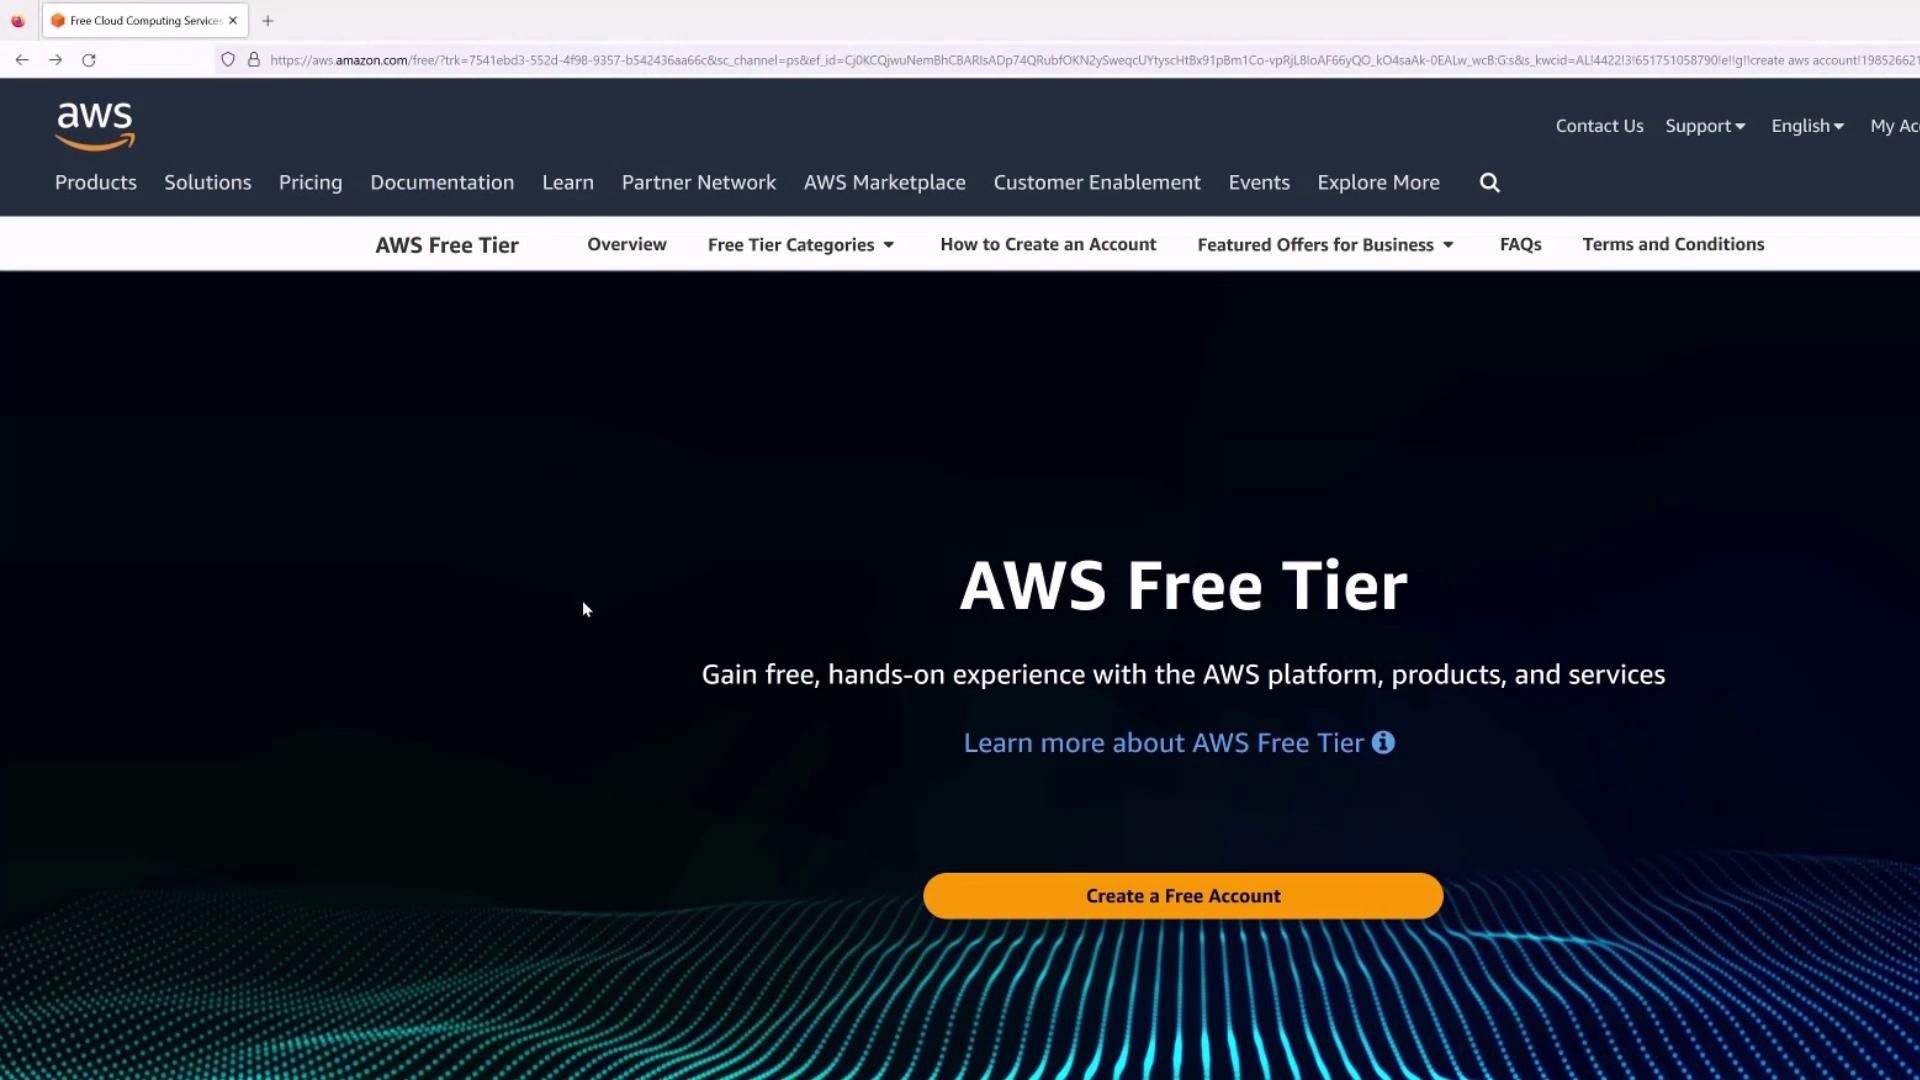
Step 2: Start the Signup Process
After clicking the signup button, you will be prompted to enter your email address and choose an account name. For instance, if you use Gmail, Yahoo, or Live (MSN, Office 365), add a plus sign to your email (e.g., yourname+aws@gmail.com) to create a unique address for AWS while still delivering emails to your primary inbox.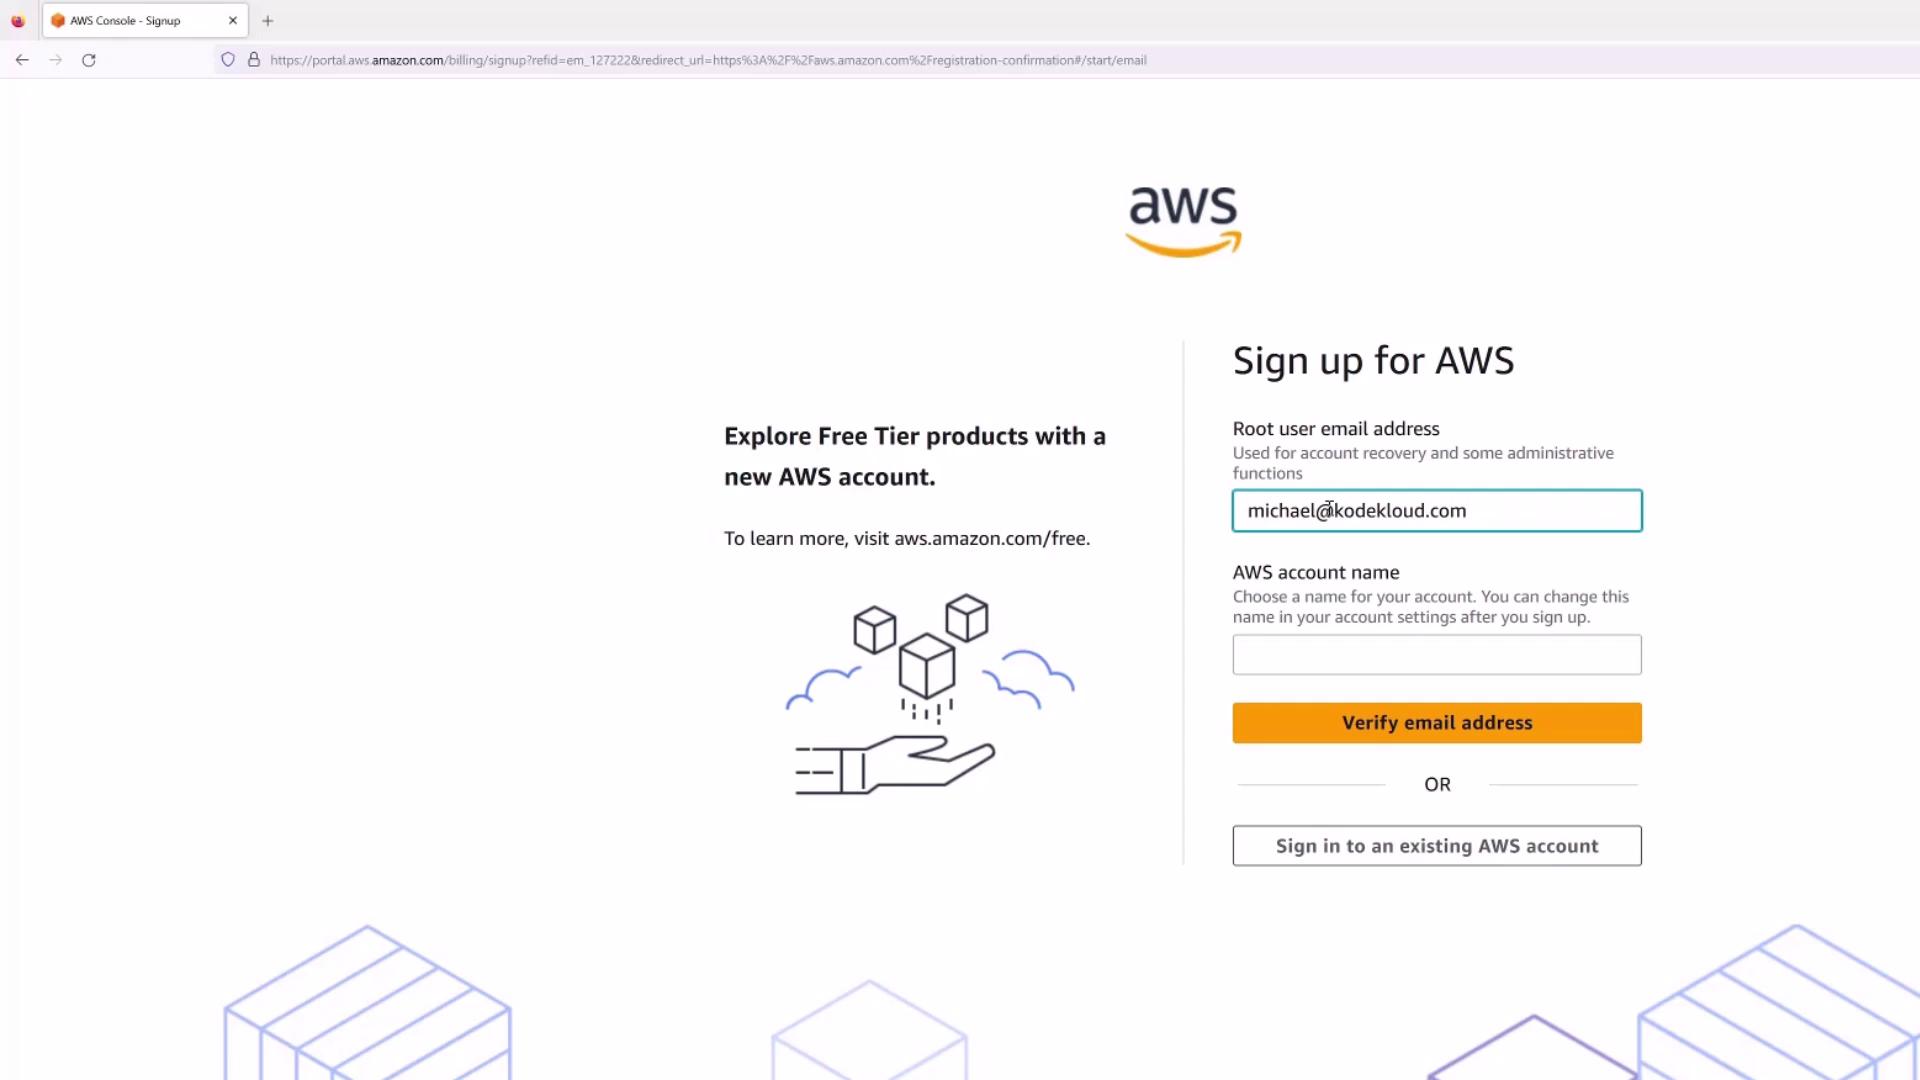
Step 3: Create a Root User Password
Once your email is verified, you must create a password for the root user. Ensure that the password is memorable, unique, and meets AWS’s complexity requirements.
Step 4: Enter Billing Information
Provide your credit card details for verification. Although your credit card is required for identity verification, it will not be charged for signing up for the Free Tier.Step 5: Complete Identity Verification
After submitting your billing information, AWS verifies your identity by sending a code to your phone. Enter the code and complete the simple challenge to proceed.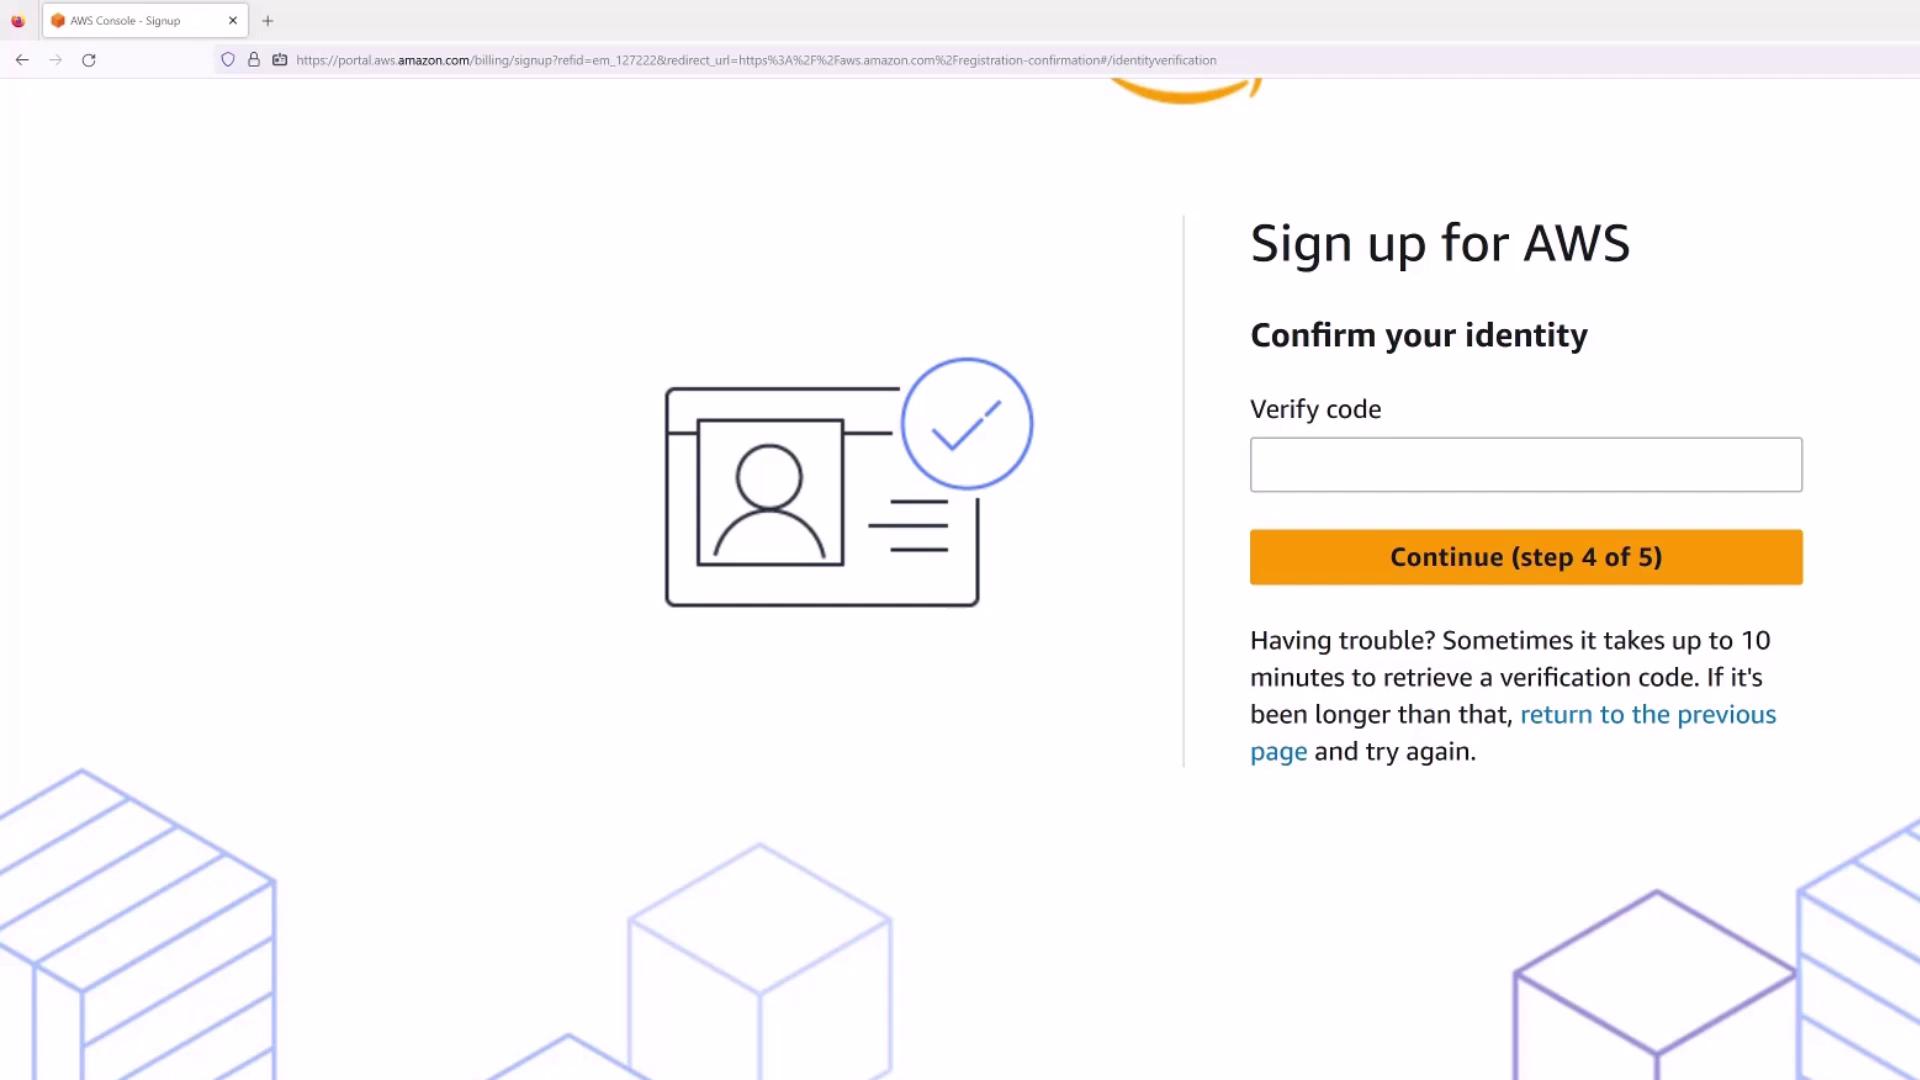
Step 6: Choose a Support Plan
For most new AWS users, the free Basic support plan is sufficient. There is no need to upgrade to Developer or Business support plans unless you plan extensive use of AWS services.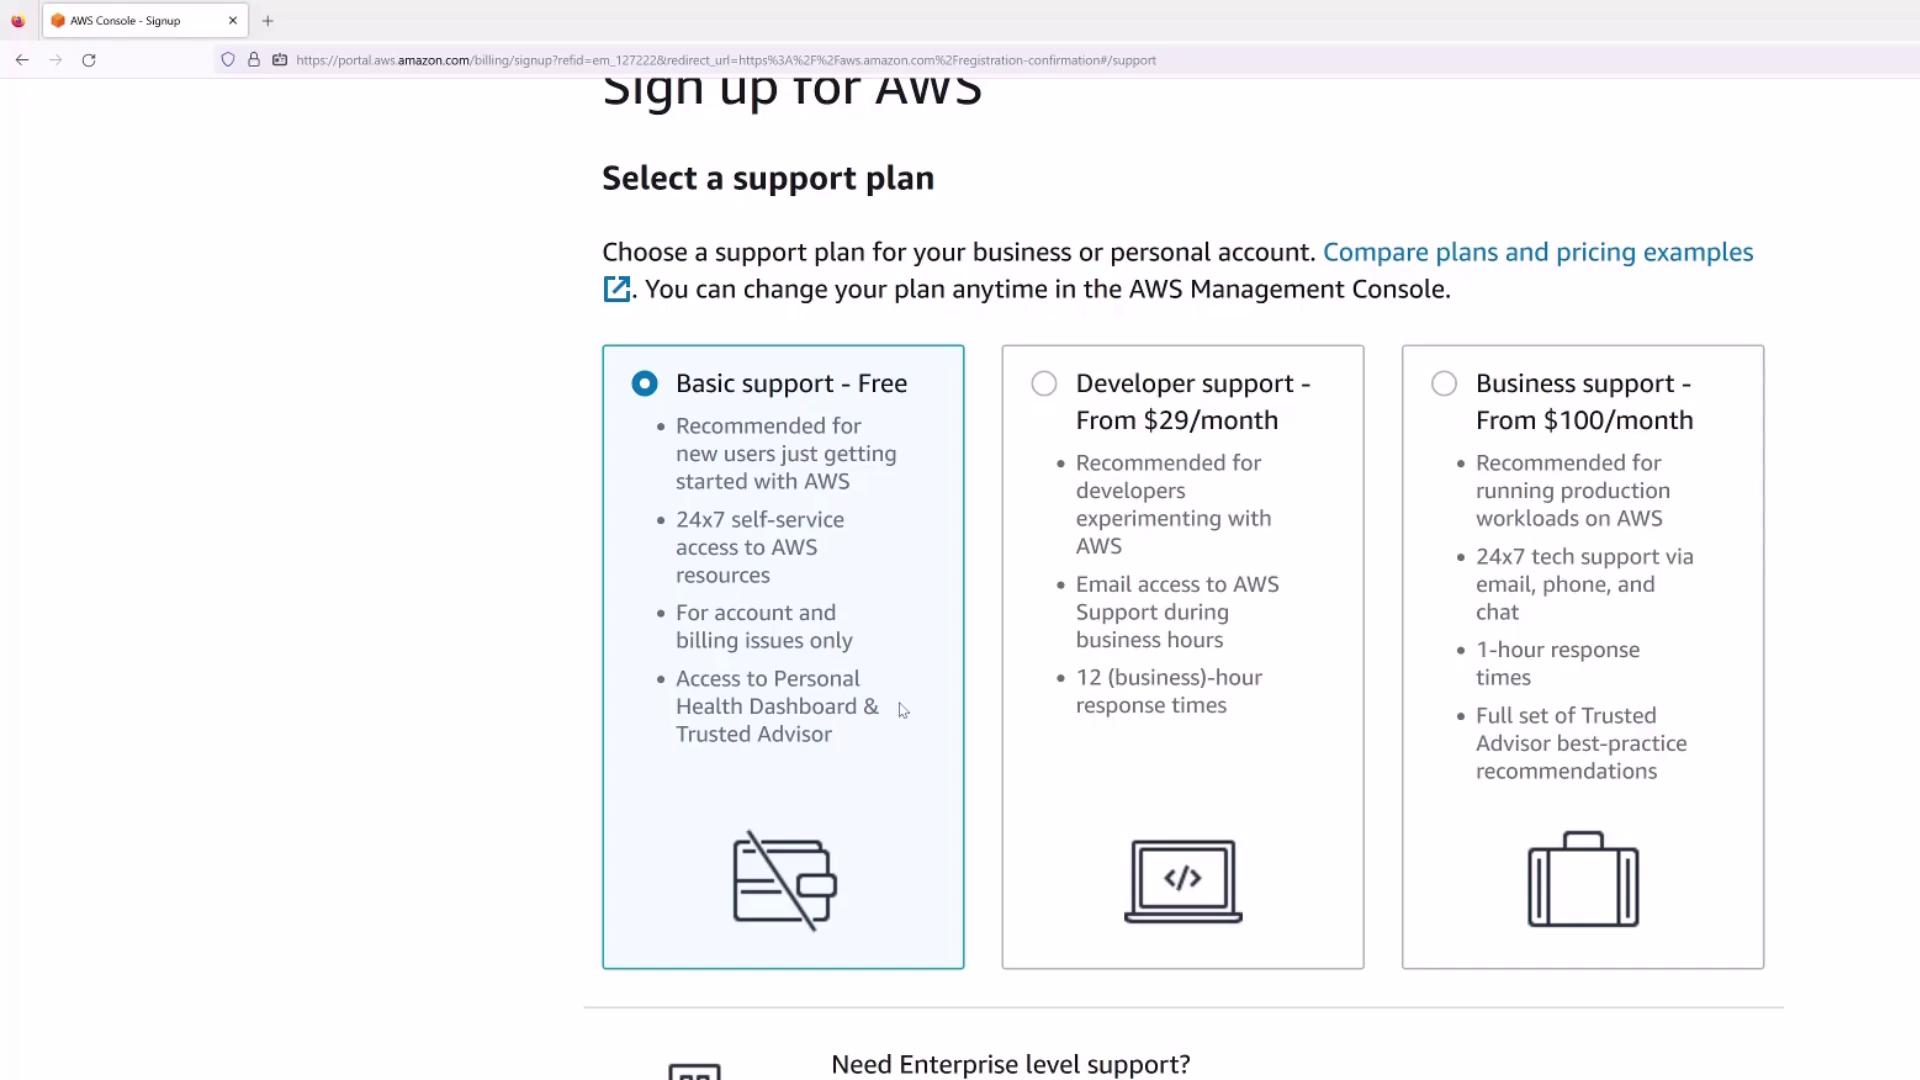
Step 7: Final Confirmation and Account Activation
After completing the signup process, you will receive a confirmation that your AWS account is being activated. This process can take up to 24 hours. You will receive an email once your account is ready. In the meantime, feel free to explore the AWS Management Console.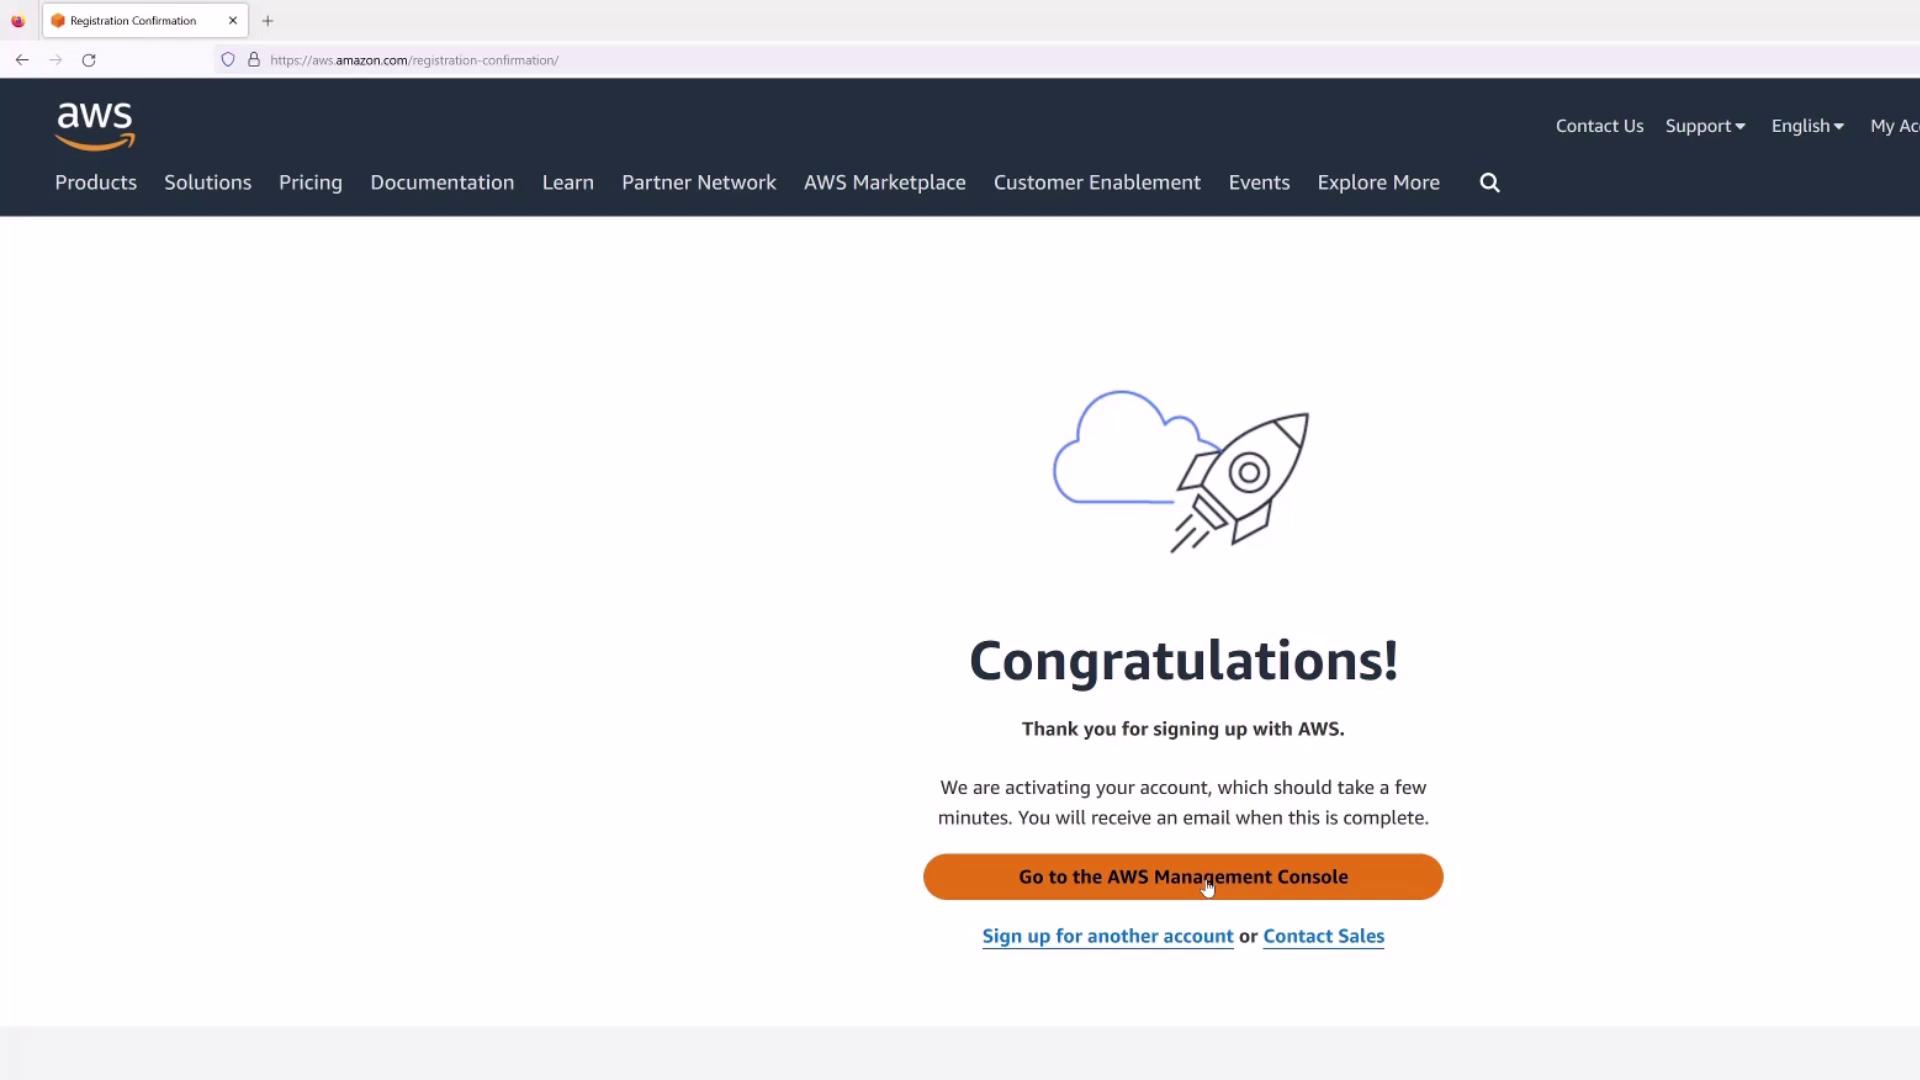
Step 8: Sign In to the AWS Management Console
Once your account is activated, log in using your root user credentials (for example, Michael+AWSone@KodeKloud.com). Enter your password, and you will be redirected to the AWS Management Console where your demo account details are displayed (e.g., Michael Forrester’s KodeKloud Demo).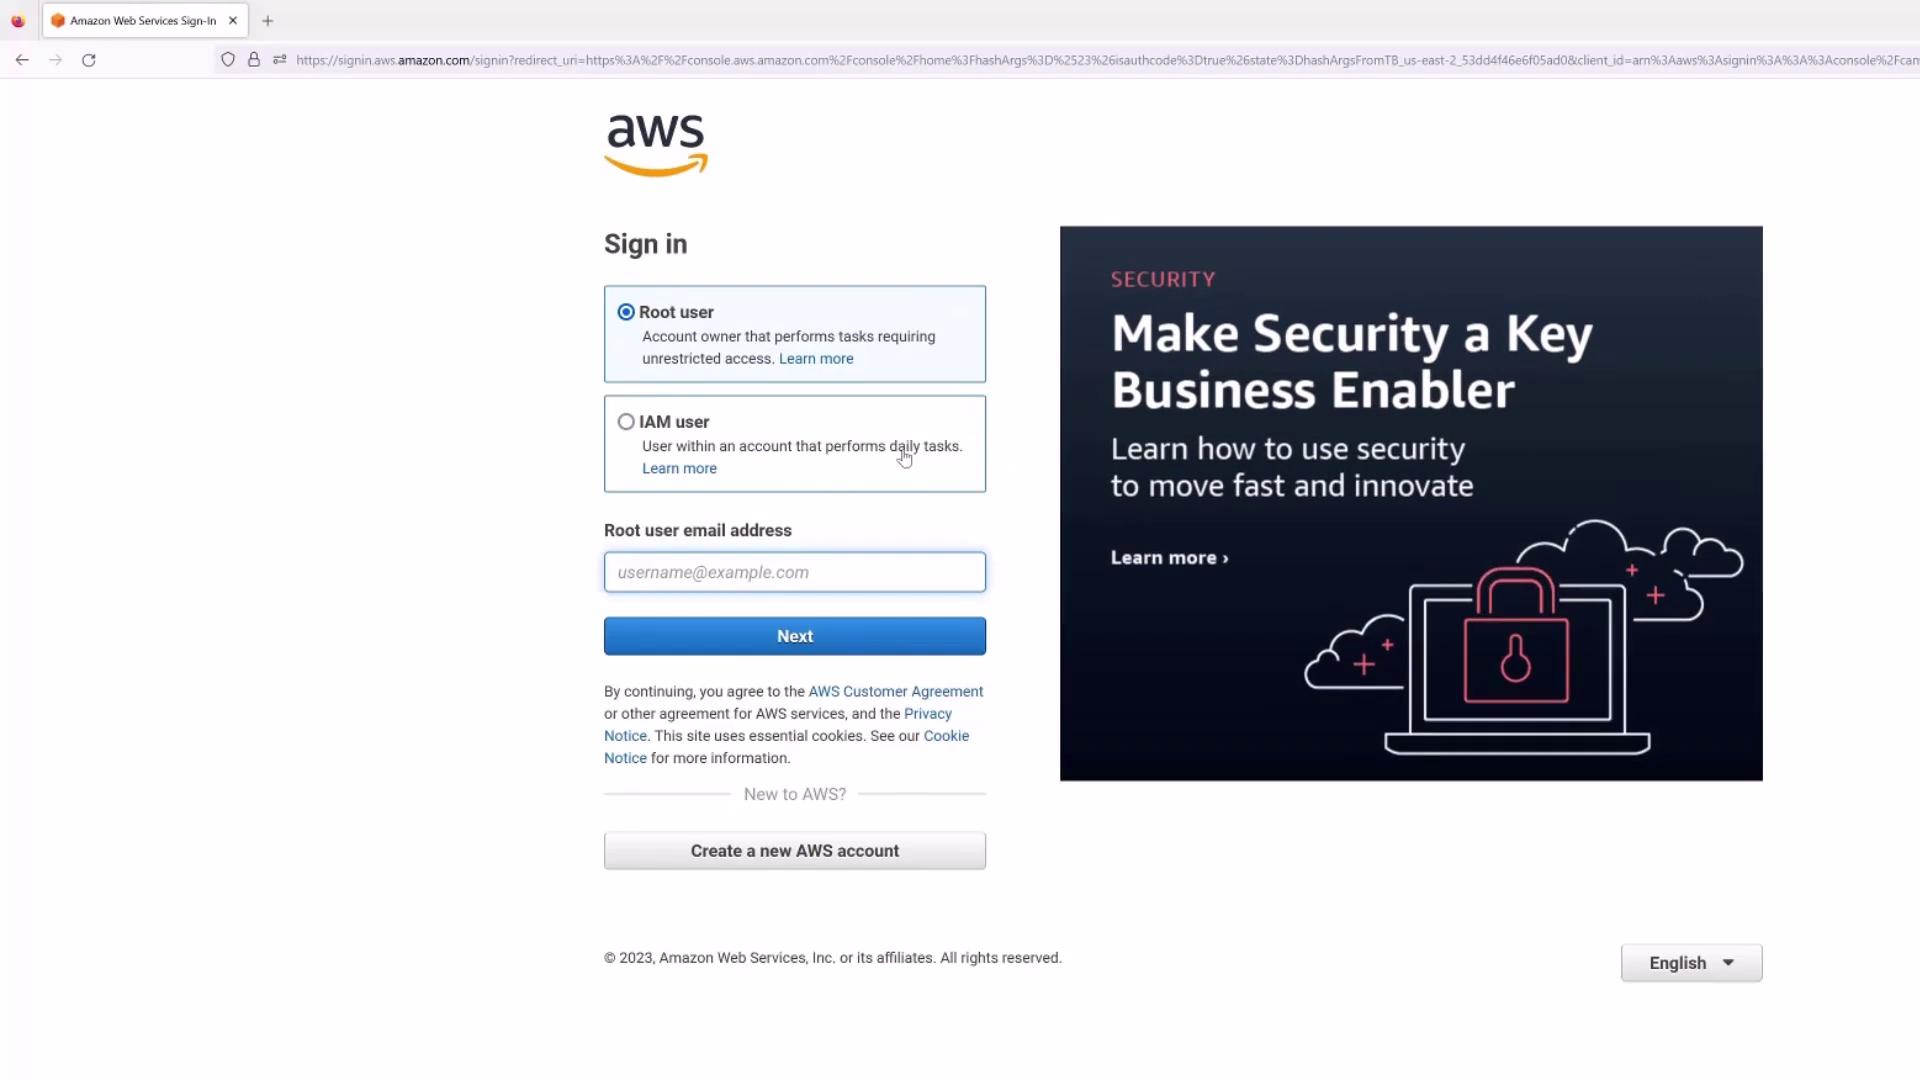
Final Recommendations
- Create an IAM user for everyday activities instead of using the root user for greater security.
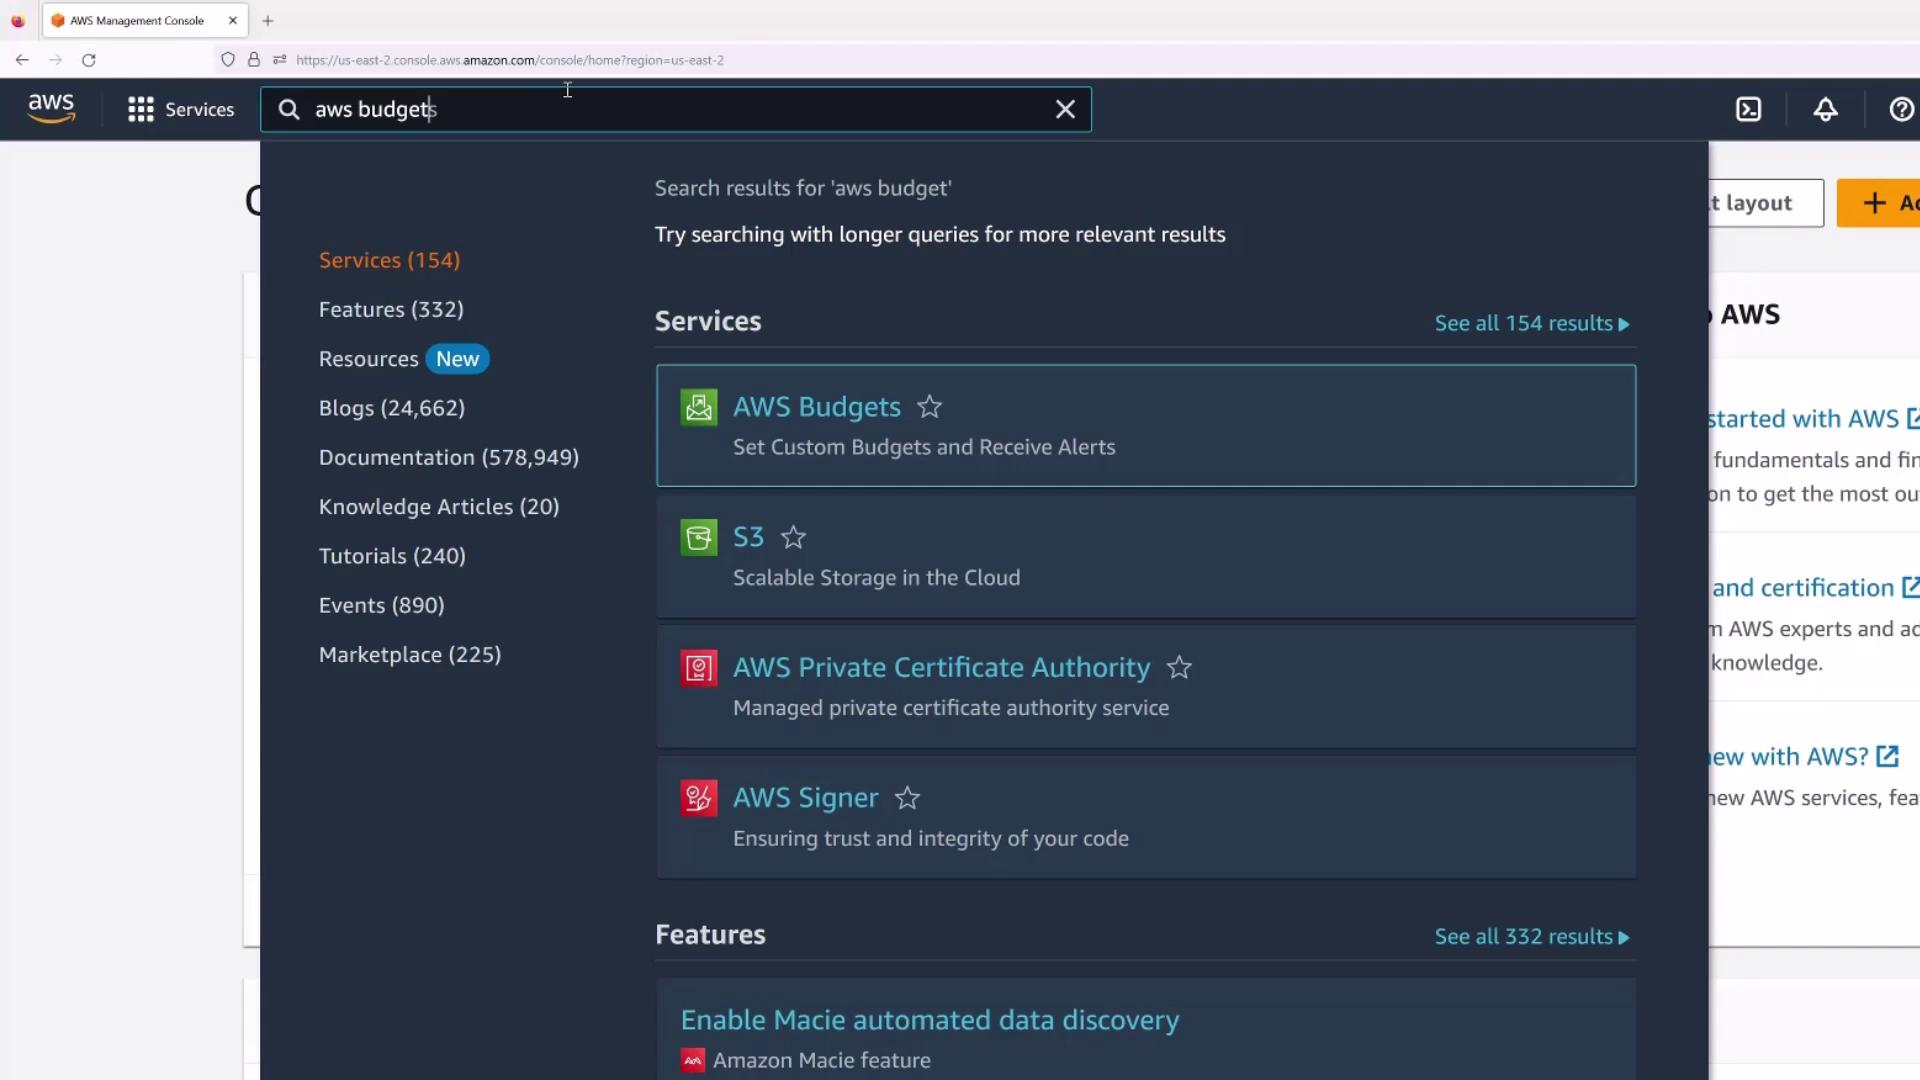
- Configure AWS Budgets to monitor your spending. For example, setting low thresholds such as 10 can help alert you if expenses exceed your expectations.
Thank you for reading this guide. You have now successfully created your own AWS account. Enjoy exploring AWS and manage your resources deliberately to keep your costs under control. I’ll catch you in the next article. — Michael Forrester