AWS Certified Developer - Associate
Serverless
Lambda Versions Aliases Demo
In this guide, we'll explore how to work with AWS Lambda versions and aliases. You'll learn how to create a new Lambda function, update its code to generate multiple versions, and use aliases to manage traffic between these versions effectively.
Creating the Initial Lambda Function (Version 1)
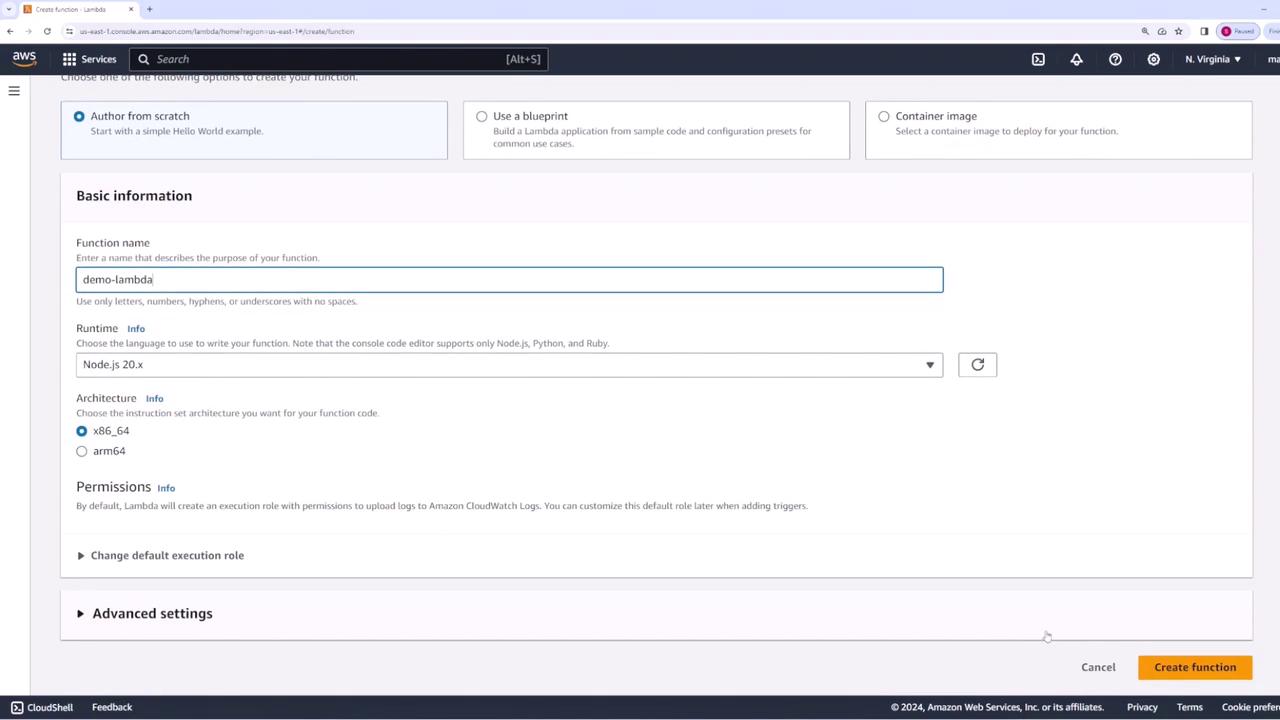
Begin by creating a new Lambda function. For this demonstration, the function is named "demo Lambda." Once you access the AWS Lambda function creation page, you'll see a setup screen similar to the one below:
Next, update the function code to indicate that this is the first version of your code:
export const handler = async (event) => {
    // TODO: implement
    const response = {
        statusCode: 200,
        body: JSON.stringify('This is V1'),
    };
    return response;
};
Deploy the function and run a test. The test output should confirm that version one is active, displaying a response similar to:
{
  "statusCode": 200,
  "body": "This is v1"
}
START RequestId: 524d5615-d8ec-4287-aab8-66910483d1a4 Version: $LATEST
END RequestId: 524d5615-d8ec-4287-aab8-66910483d1a4
REPORT RequestId: 524d5615-d8ec-4287-aab8-66910483d1a4 Duration: 13.21 ms Billed Duration: 14 ms Memory Size: 128 MB Max Memory used: 64 MB Init Duration: 138.81 ms
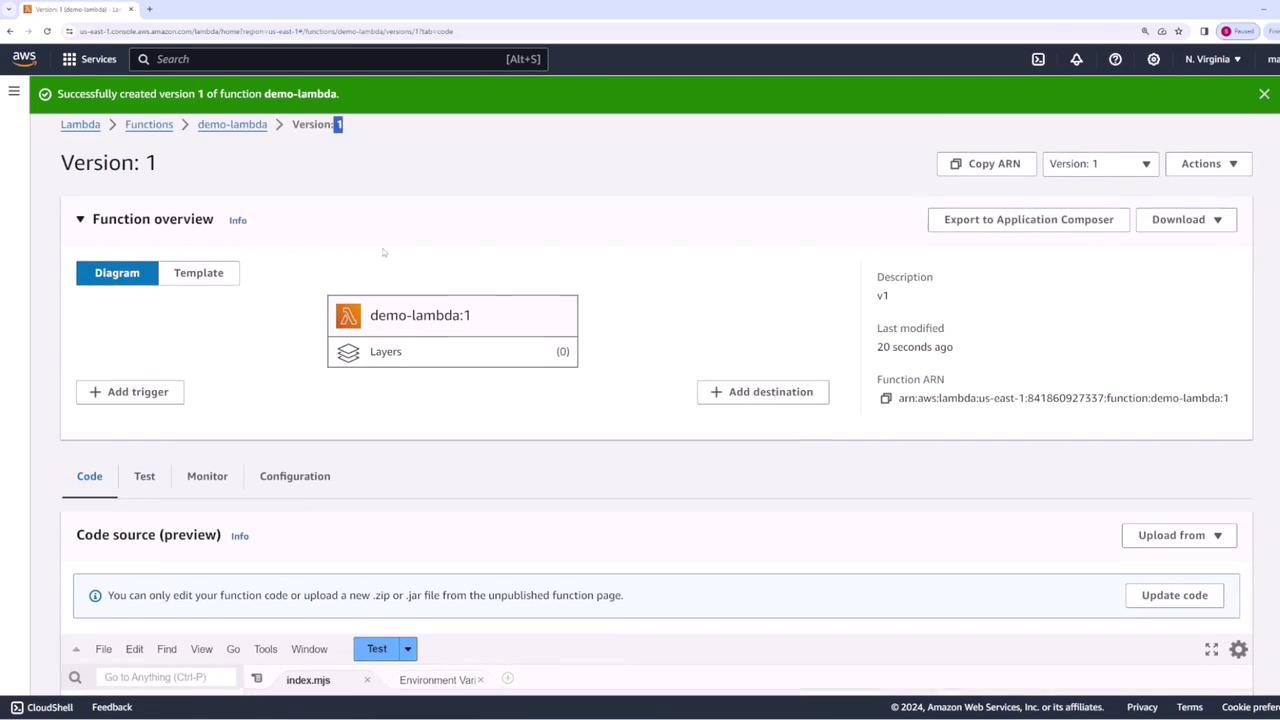
When satisfied with version one, publish it by selecting "Publish new version" from the Actions menu. Use a description such as "This is v1" when prompted. AWS Lambda will then assign this as version 1 and redirect you to a page with the version details.
Important
When viewing a specific version, note that the function code is read-only. To modify the code, return to the main Lambda page.
Updating the Lambda Function (Creating Version 2 and Version 3)
Return to the main Lambda page to update the function code and create new versions.
Creating Version 2
For version two, update the code—even if it appears the same during testing—and deploy the changes:
export const handler = async (event) => {
    // TODO: implement
    const response = {
        statusCode: 200,
        body: JSON.stringify('This is v1'),
    };
    return response;
};
After testing and verifying the output, publish these changes as a new version with a description like "version two." This action creates version two, which remains immutable from that point onward.
Creating Version 3
Next, modify the code again to craft version three:
export const handler = async (event) => {
    // TODO: implement
    const response = {
        statusCode: 200,
        body: JSON.stringify('This is v2'),
    };
    return response;
};
Deploy and publish this update as version three. Once complete, the main Lambda page will display all three available versions.
Creating and Managing Aliases
Aliases simplify the integration of Lambda functions with services such as API Gateway by abstracting specific version numbers.
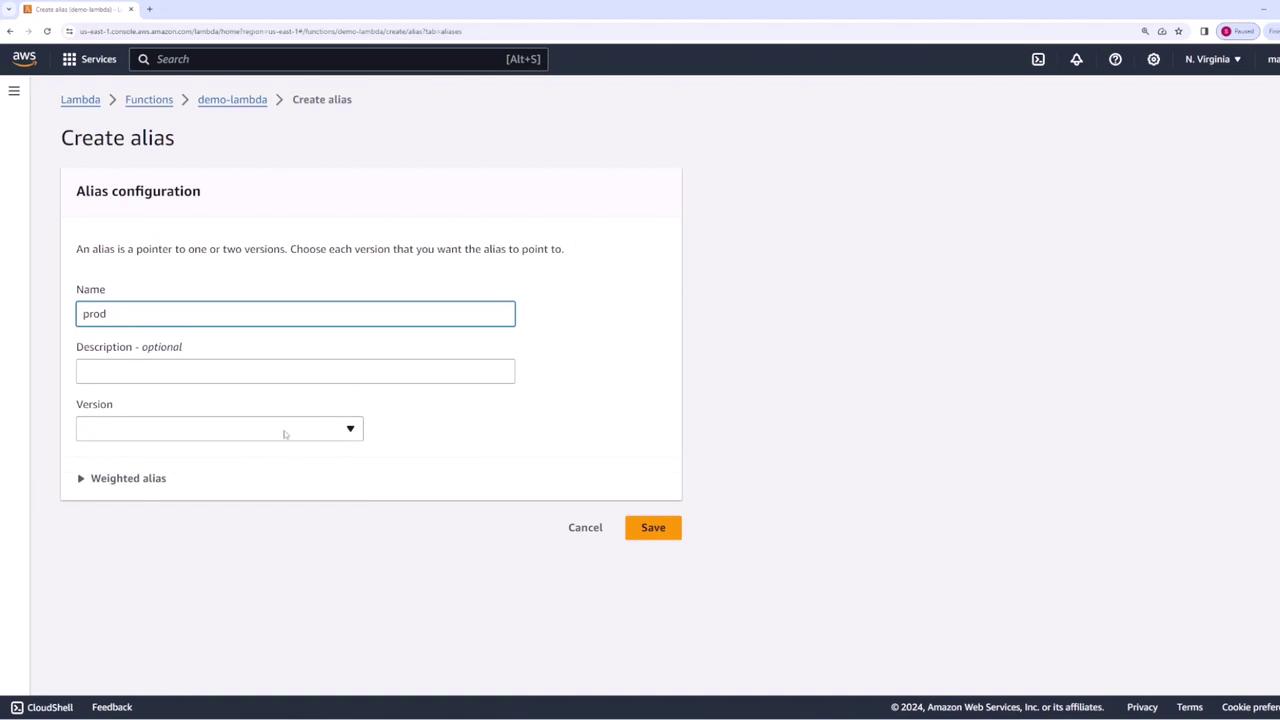
1. Creating the "prod" Alias
Create an alias named "prod" to signify the production environment. Assign version one to the "prod" alias. The alias creation interface appears as follows:
Once saved, running a test should confirm the alias invokes version one.
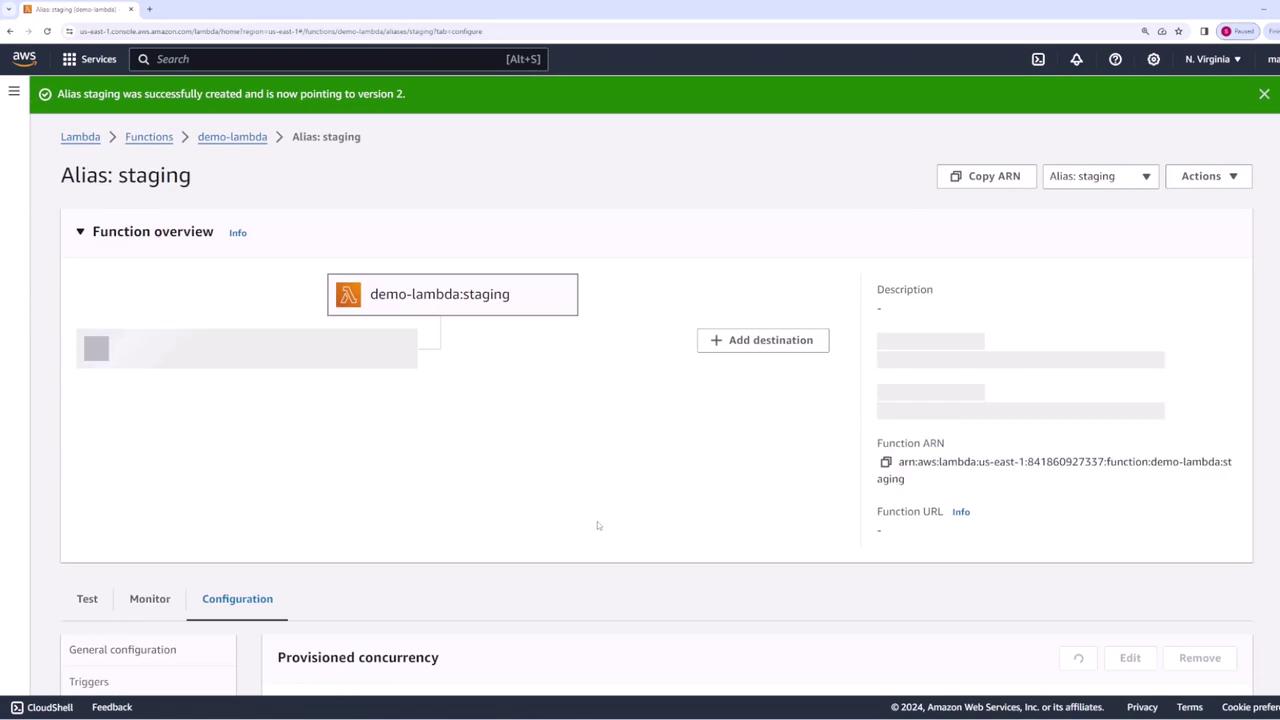
2. Creating the "staging" Alias
Next, create an alias named "staging" and point it to version two. After creation, the Lambda console will show the alias:
Testing verifies that the "staging" alias correctly invokes version two.
3. Creating the "dev" Alias
Similarly, set up a "dev" alias and assign it to version three. Tests should confirm that the "dev" alias invokes version three.
4. Creating a "playground" Alias for the Latest Code
If you haven’t published your latest changes, the main Lambda page shows the most recent code as "$LATEST." You can create an alias—for example, "playground"—to point to this version.
Before testing the "playground" alias, update the code to represent a new iteration:
export const handler = async (event) => {
    // TODO: implement
    const response = {
        statusCode: 200,
        body: JSON.stringify('This is a brand new version'),
    };
    return response;
};
Deploy these changes. Running tests on the "playground" alias should now display the new output.
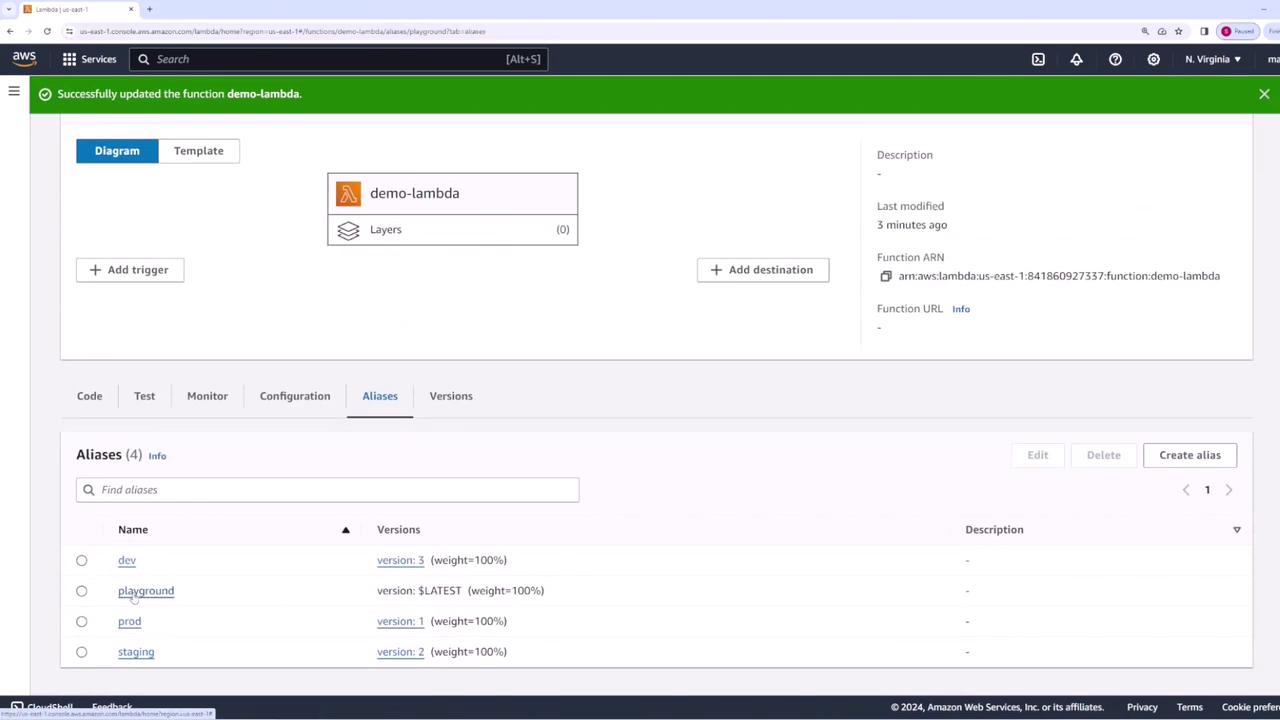
The AWS Lambda console showing multiple aliases looks like this:
Implementing Weighted Aliases
Weighted aliases enable you to gradually shift traffic between different function versions. For example, to roll out version two in production, you can allocate a specific percentage of traffic to it while maintaining the remaining traffic on version one.
Follow these steps to set up weighted aliases:
- Navigate to the "prod" alias and click on “Edit.”
- Enable the weighted alias option. Add version two as an additional target and set the weight to 50% (in practice, you could start with a smaller percentage, such as 5-10%, for initial testing).
The traffic distribution interface appears as follows:
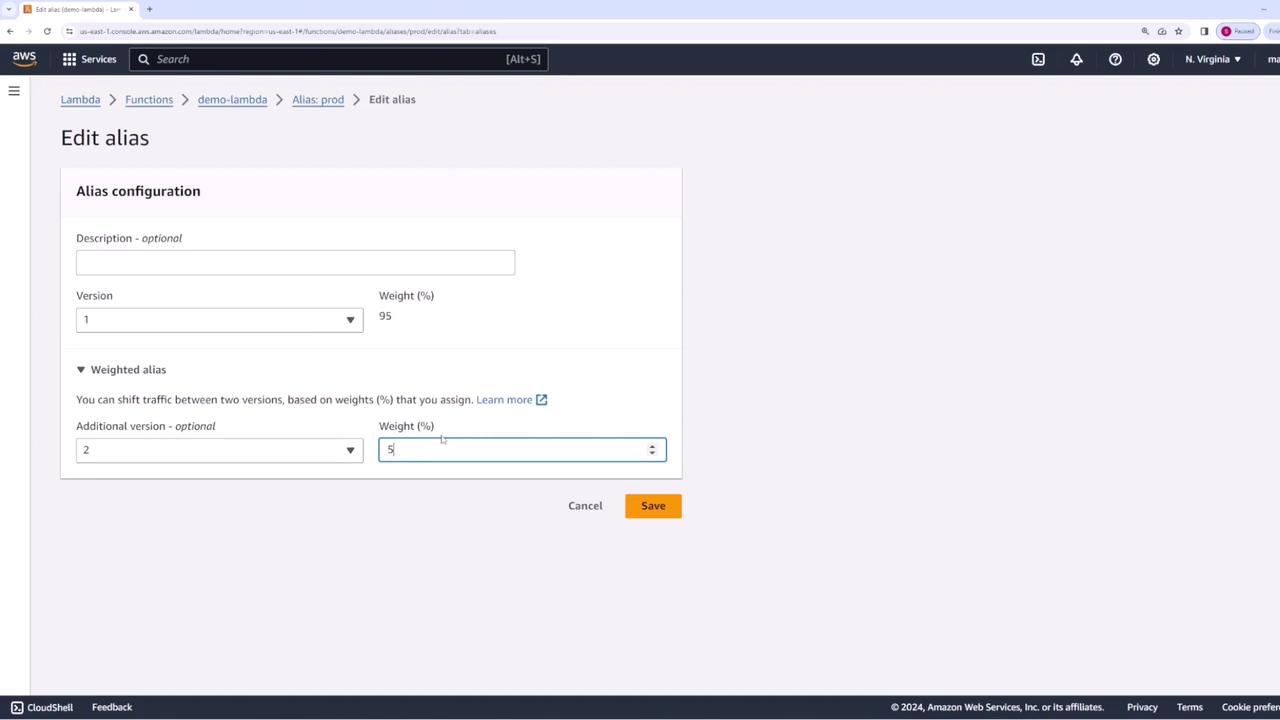
After saving, the "prod" alias will route 50% of the traffic to version one and the other 50% to version two. Repeated tests should yield alternating outputs; for instance:
{
  "statusCode": 200,
  "body": "\"this is v2\""
}
This behavior indicates that half of the requests are handled by version two while the rest remain on version one.
Conclusion
In this guide, we've detailed how to create multiple versions of an AWS Lambda function and manage them using aliases. By leveraging aliases and weighted traffic distribution, you can integrate your Lambda functions seamlessly with services like API Gateway and roll out new versions without causing production disruptions.
Happy coding!
Watch Video
Watch video content