This article demonstrates using a CloudFormation template to create and execute automation runbooks for managing EC2 instances with SSM.
Welcome to our SSM Automation tutorial. In this lesson, Michael Forrester demonstrates how to use a CloudFormation template to launch a T2 micro EC2 instance and configure SSM automation documents. These documents later create snapshots and restart the instance. Follow along as we explore the details of the CloudFormation template, IAM role configuration, and runbook creation.
The CloudFormation template provisions several key resources, including the EC2 instance, the instance profile, and the necessary IAM roles. The instance is configured to run the latest Amazon Linux 2 AMI and ensures that the SSM agent is properly installed and running.
Below is an excerpt of the CloudFormation template:
Copy
Type: StringDefault: t2.microDescription: EC2 instance typeAllowedValues: - t2.small - t3.micro - t3.smallResources: DemoEC2Instance: Type: AWS::EC2::Instance Properties: ImageId: '{{resolve:ssm:/aws/service/ami-amazon-linux-latest/amzn2-ami-hvm-x86_64-gp2}}' InstanceType: !Ref InstanceType IamInstanceProfile: !Ref DemoInstanceProfile UserData: Fn::Base64: | #!/bin/bash # Ensure the SSM agent is installed and running sudo systemctl status amazon-ssm-agent if [ $? -ne 0 ]; then sudo yum install -y amazon-ssm-agent sudo systemctl enable amazon-ssm-agent sudo systemctl start amazon-ssm-agent fi # Log installation status for verification echo "SSM Agent installation status:" > /tmp/ssm-install-log.txt sudo systemctl status amazon-ssm-agent >> /tmp/ssm-install-log.txtTags: - Key: Name Value: SSM-Automation-Demo-InstanceDemoInstanceProfile: Type: AWS::IAM::InstanceProfile Properties: Roles: !Ref DemoEC2Role
The template includes a user data script to validate that the SSM agent is running on the instance, ensuring seamless automation execution.
The template defines two critical IAM roles. One is for the EC2 instance (DemoEC2Role) to enable SSM managed instance functionality, and the other is the Automation Service Role, which allows the automation document to perform a series of EC2 actions.
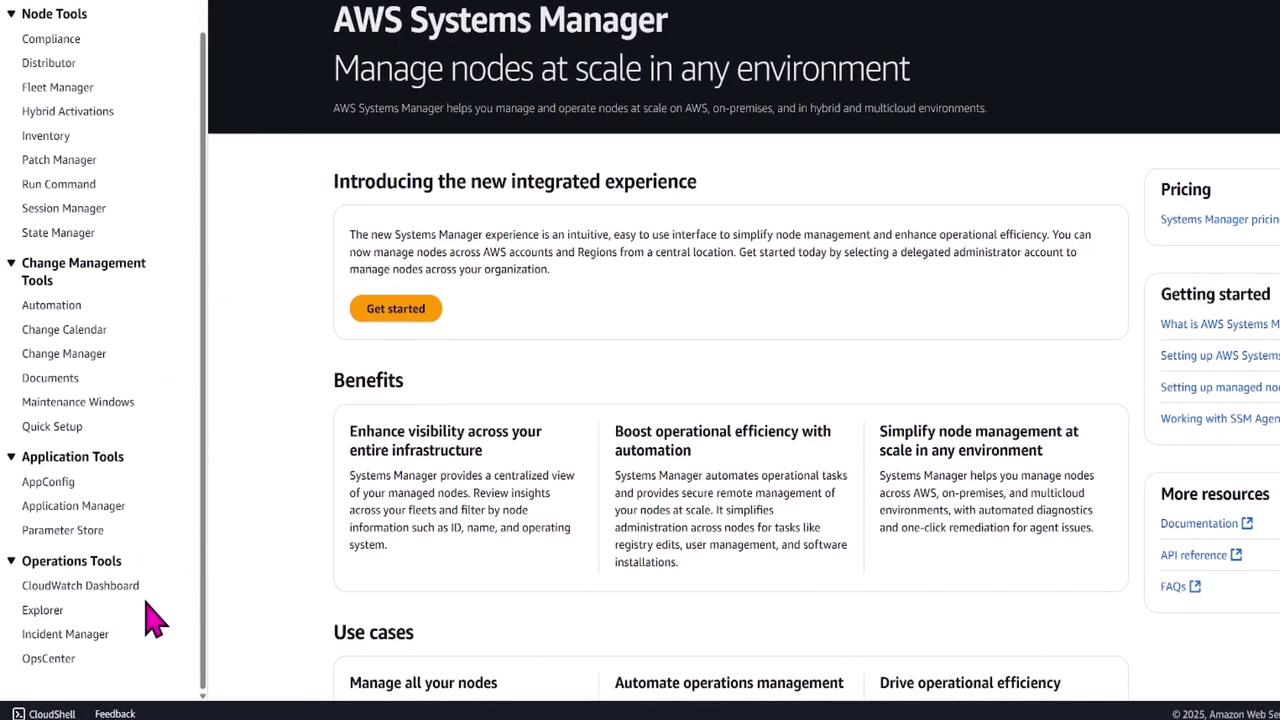
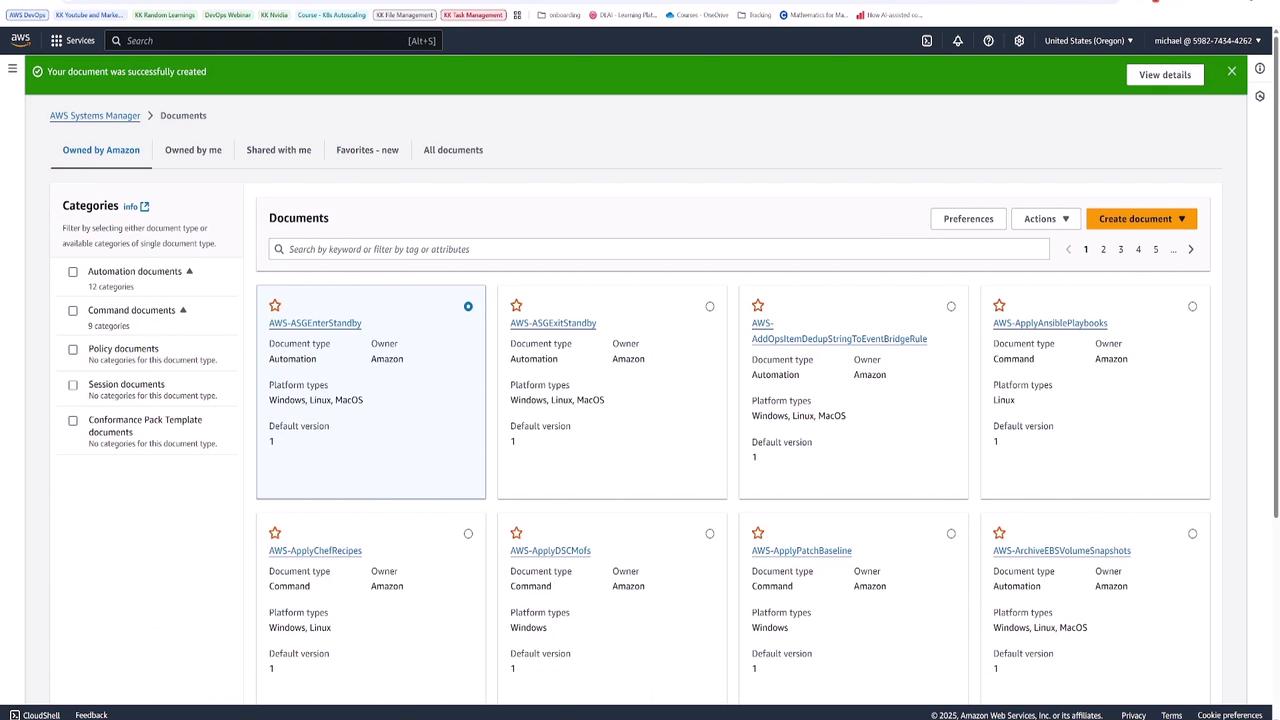
Once the instance and IAM roles are provisioned through CloudFormation, the next step is to work within AWS Systems Manager. Navigate to the Documents section under Change Management Tools to create a custom automation document.
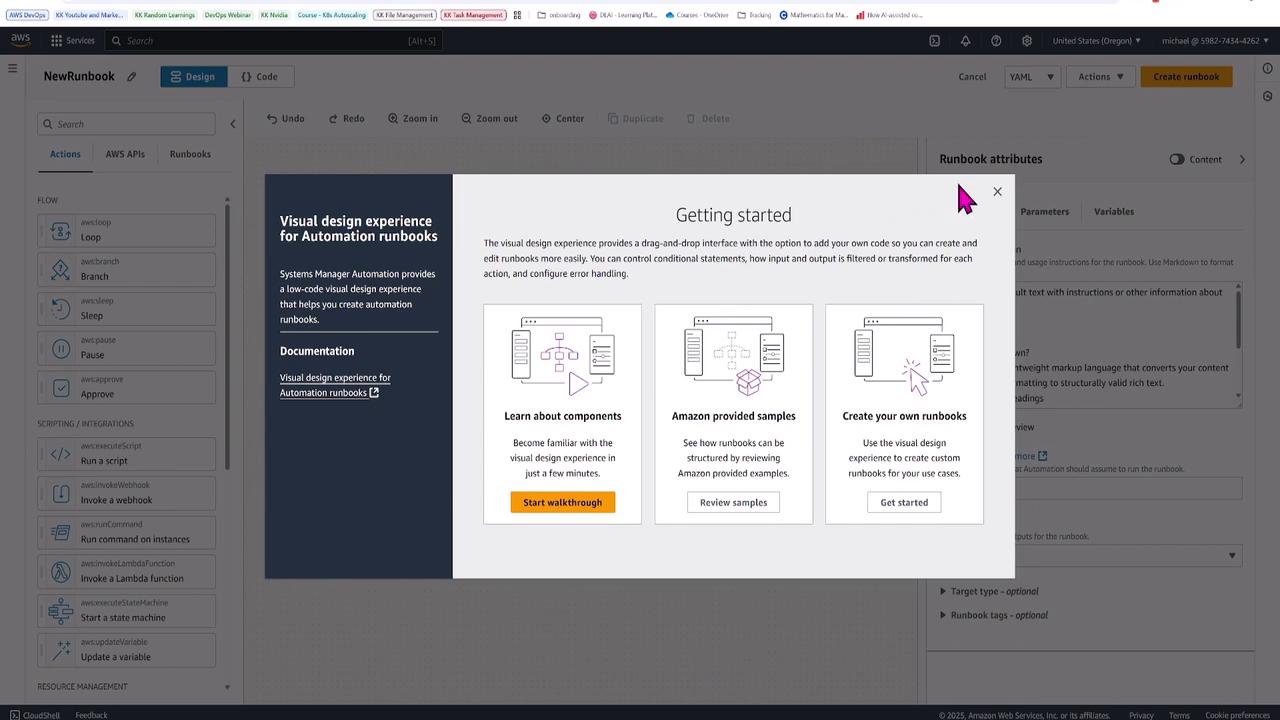
Click on Documents and choose to create a new document with the Automation type. Follow the on-screen guide to start with automation runbooks.
For this runbook, name it StopSnapshotStartEC2Instance. This document performs the following tasks:
Stops the EC2 instance.
Creates a snapshot of its root volume.
Starts the instance.
Verifies that the instance is in a running state.
The automation flow is visually represented using a flowchart interface.
Switch to the code view to review and customize the runbook. A pre-configured runbook using schema version 3 is provided:
Copy
schemaVersion: '0.3'description: | *Replace this default text with instructions or other information about your runbook.*----### What is Markdown?Markdown is a lightweight markup language that converts your content with plain text formatting to structure.## You can add headingsYou can add *italics* or make the font **bold**1. Create numbered lists2. Add bullet points * Indent code samplesYou can create a [link to another webpage](https://aws.amazon.com),
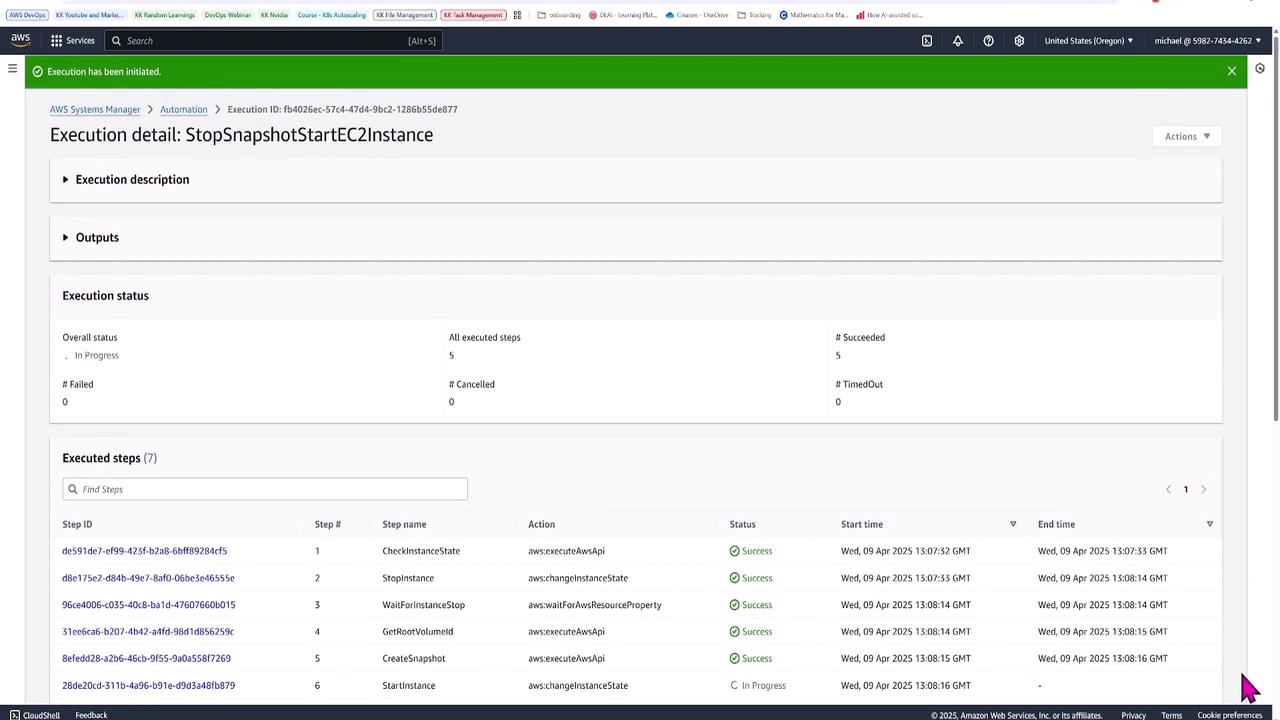
To execute the runbook, select Execute Automation. When prompted, provide the instance ID for the automation demo instance. The execution process includes:
Verifying the current instance state.
Stopping the instance.
Waiting for the stop confirmation.
Retrieving the root volume ID.
Creating the snapshot.
Restarting and verifying the instance.
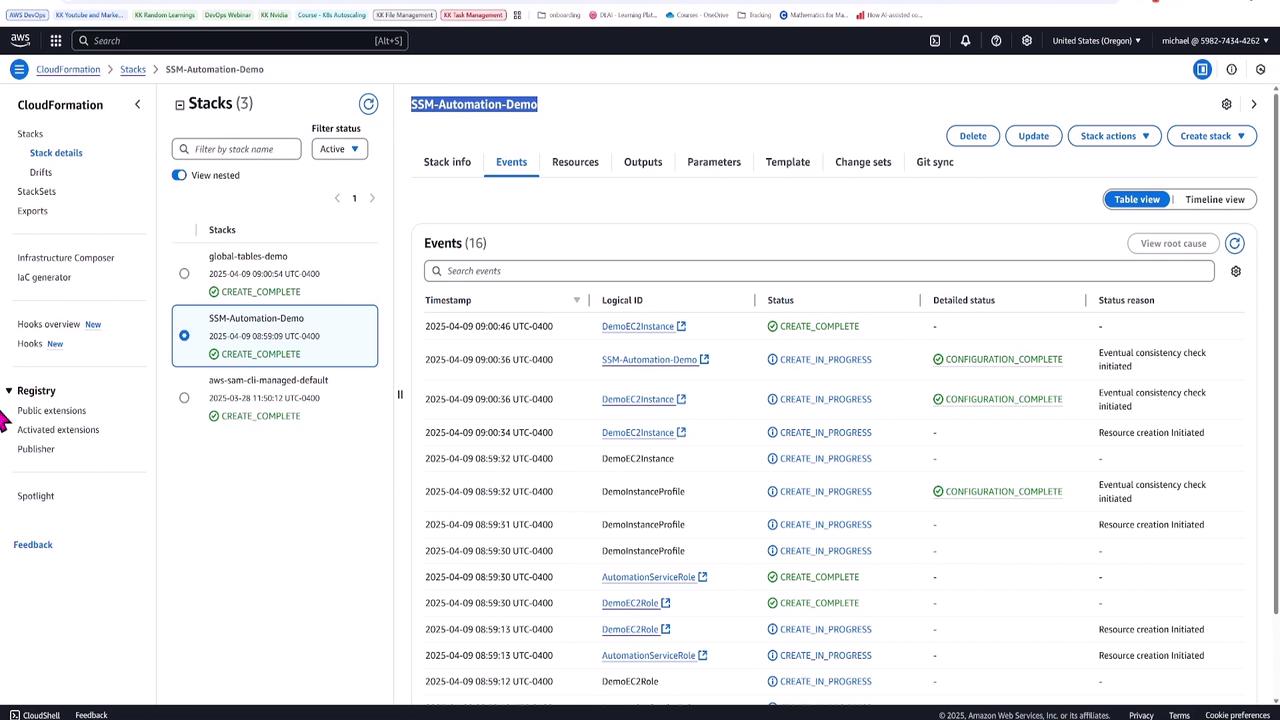
Monitor the automation’s progress through the execution detail page:
This automation document showcases how to chain multiple steps—even calling additional documents—to efficiently manage EC2 instances. For complex workflows, advanced features like concurrency control and input parameter variations are available.
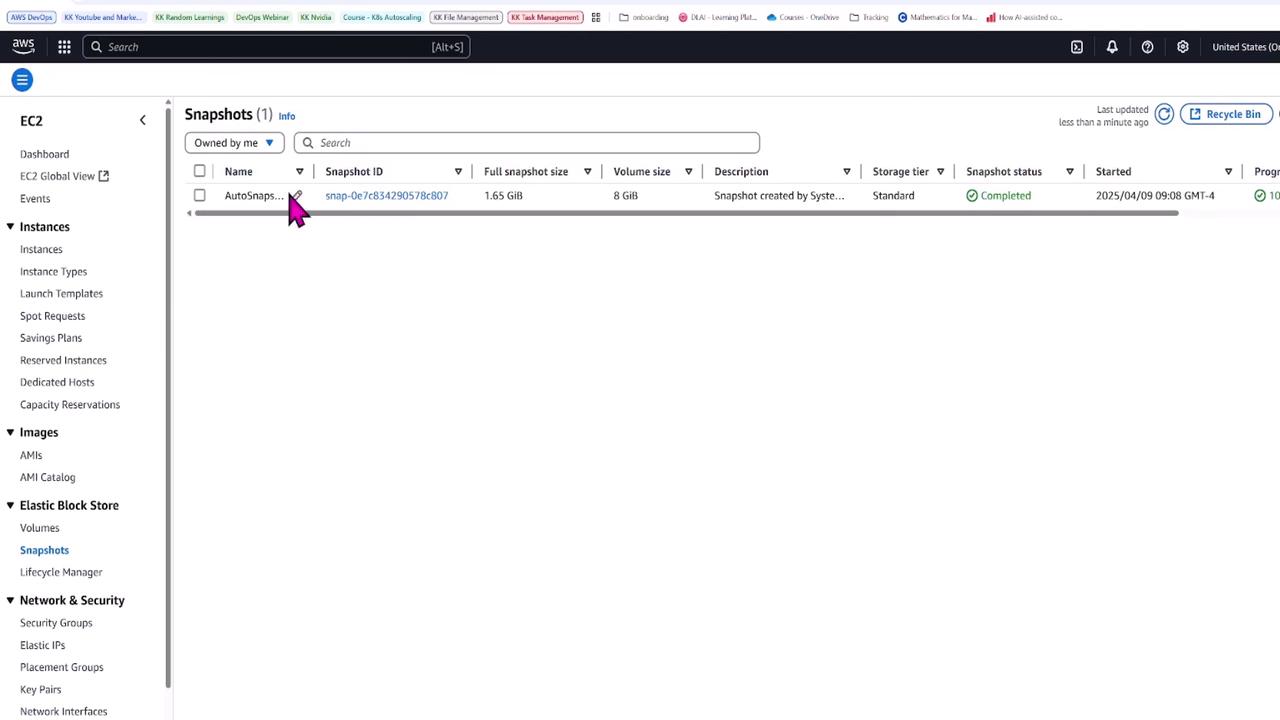
After successful execution, you can verify that the instance is running and a snapshot has been created for the EC2 root volume. In this demo, the snapshot for the 8 GB volume is approximately 1.65 GB and shows a completed status.
Below is the full YAML version of the automation document used in this lesson:
Copy
description: Stop an EC2 instance, create a snapshot, and start it againschemaVersion: '0.3'assumeRole: '{{AutomationAssumeRole}}'parameters: instanceId: type: String description: The ID of the EC2 instance default: 'i-0a1b2c3d4e5f6g7h8' snapshotDescription: type: String description: A description for the snapshot default: ''mainSteps: - action: CheckInstanceState name: CheckInstanceState inputs: InstanceId: '{{instanceId}}' Api: DescribeInstanceStatus IncludeAllInstances: true - action: StopInstance name: StopInstance inputs: InstanceId: '{{instanceId}}' - action: CreateSnapshot name: CreateSnapshot inputs: InstanceId: '{{instanceId}}' Description: '{{snapshotDescription}}' - action: WaitForInstanceStop name: WaitForInstanceStop inputs: InstanceId: '{{instanceId}}'
This lesson provides a detailed overview of using SSM Automation to manage EC2 configurations and snapshots. Though simple in this demo, automation documents can be extended to handle far more intricate scenarios.Happy automating, and stay tuned for more lessons on advanced AWS management techniques!