Creating an Auto Scaling Group
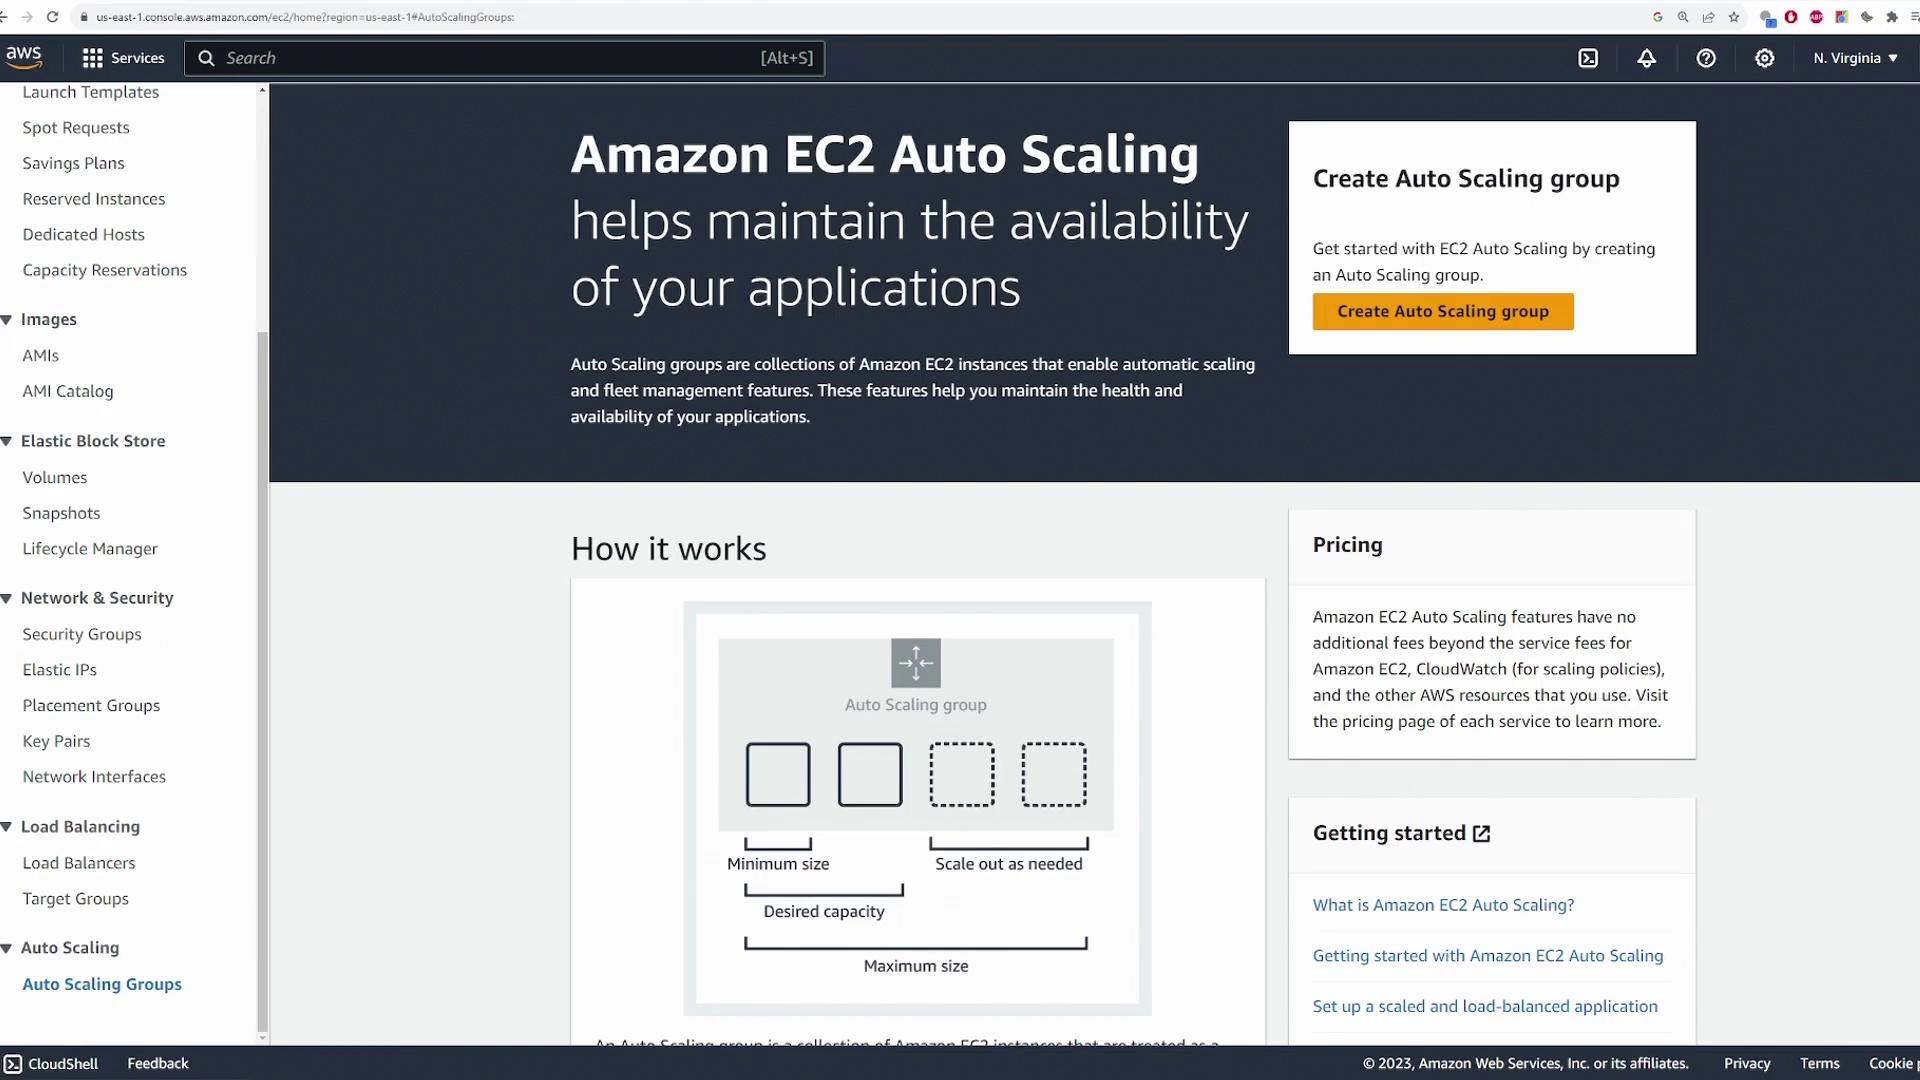
- Log in to the AWS Management Console and navigate to the EC2 service. Scroll down to the “Auto Scaling Groups” section.
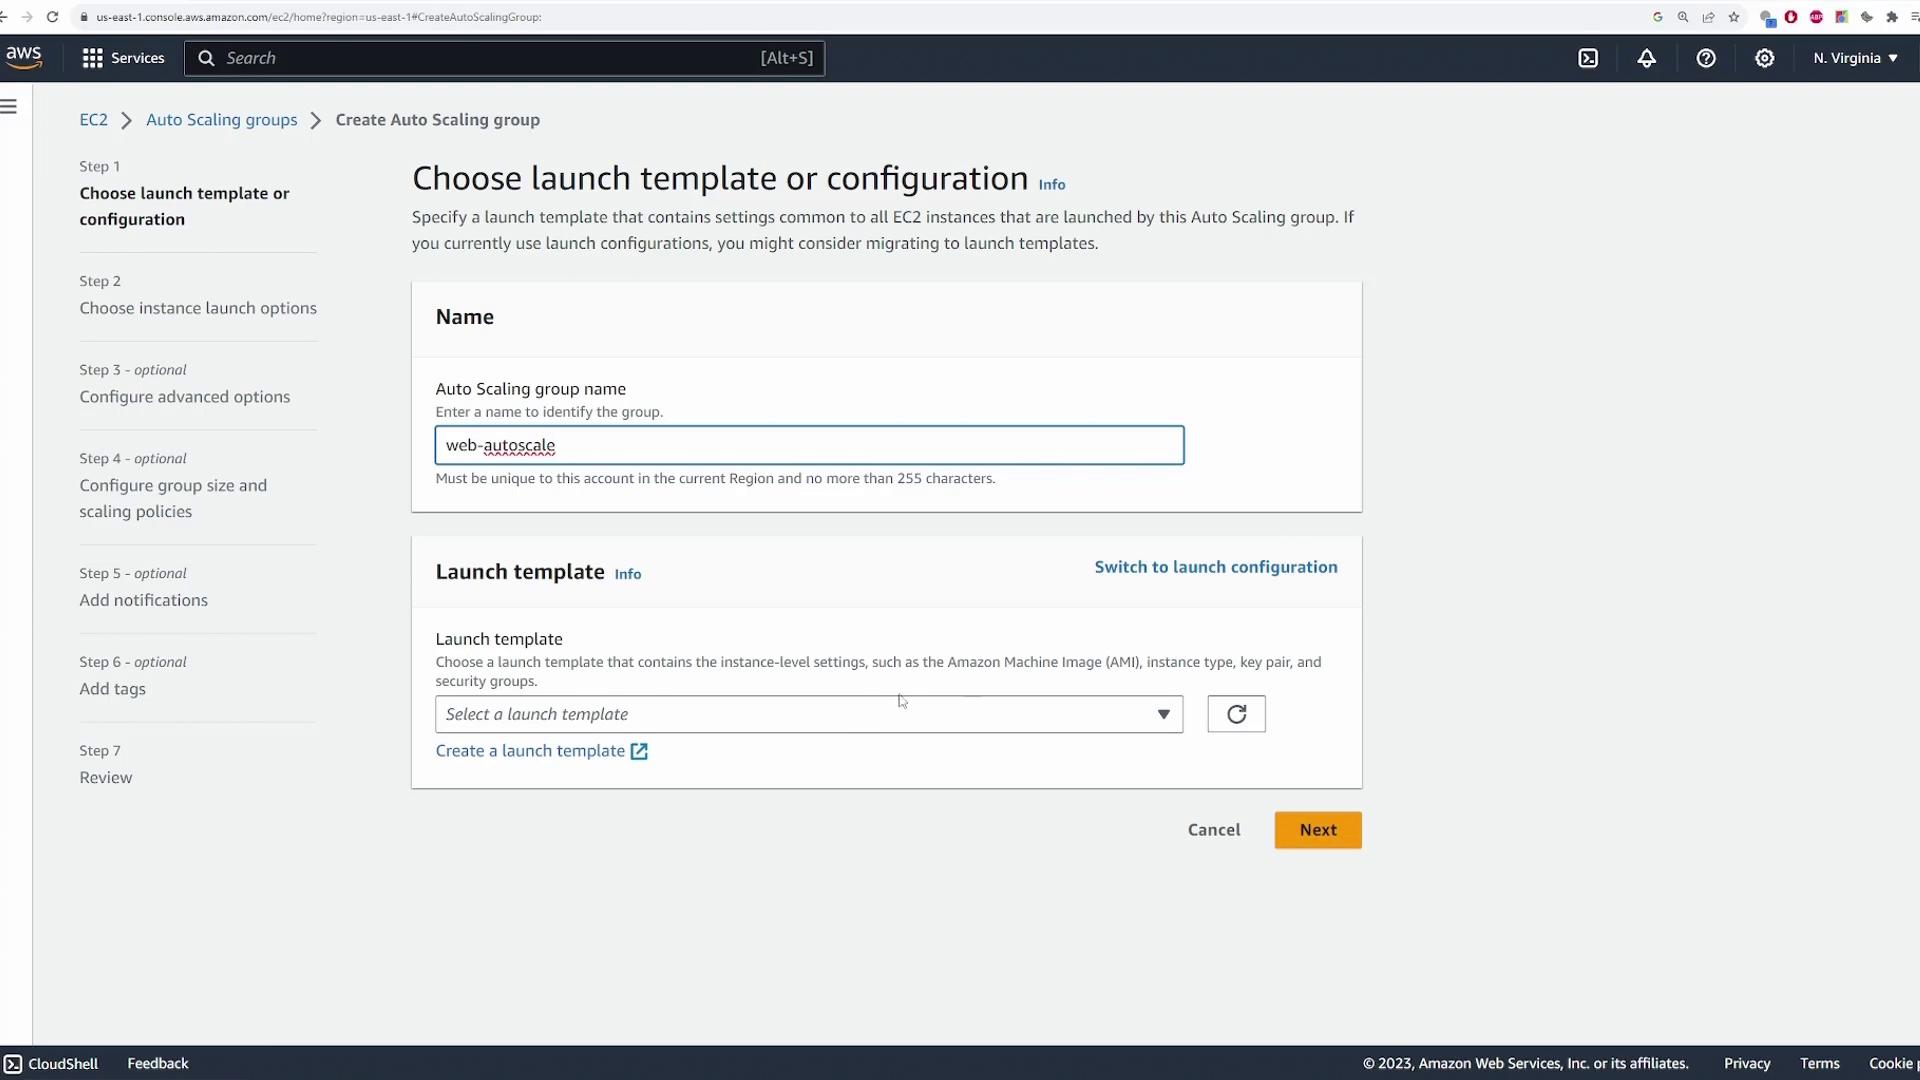
- Click to create a new Auto Scaling Group and assign it a unique name.
- When prompted, choose a launch template or launch configuration. A launch template provides enhanced customization options such as specifying the AMI, instance type, key pair, and security groups. Since no launch template exists yet, opt to create one; this action will open a new tab.
Creating the Launch Template
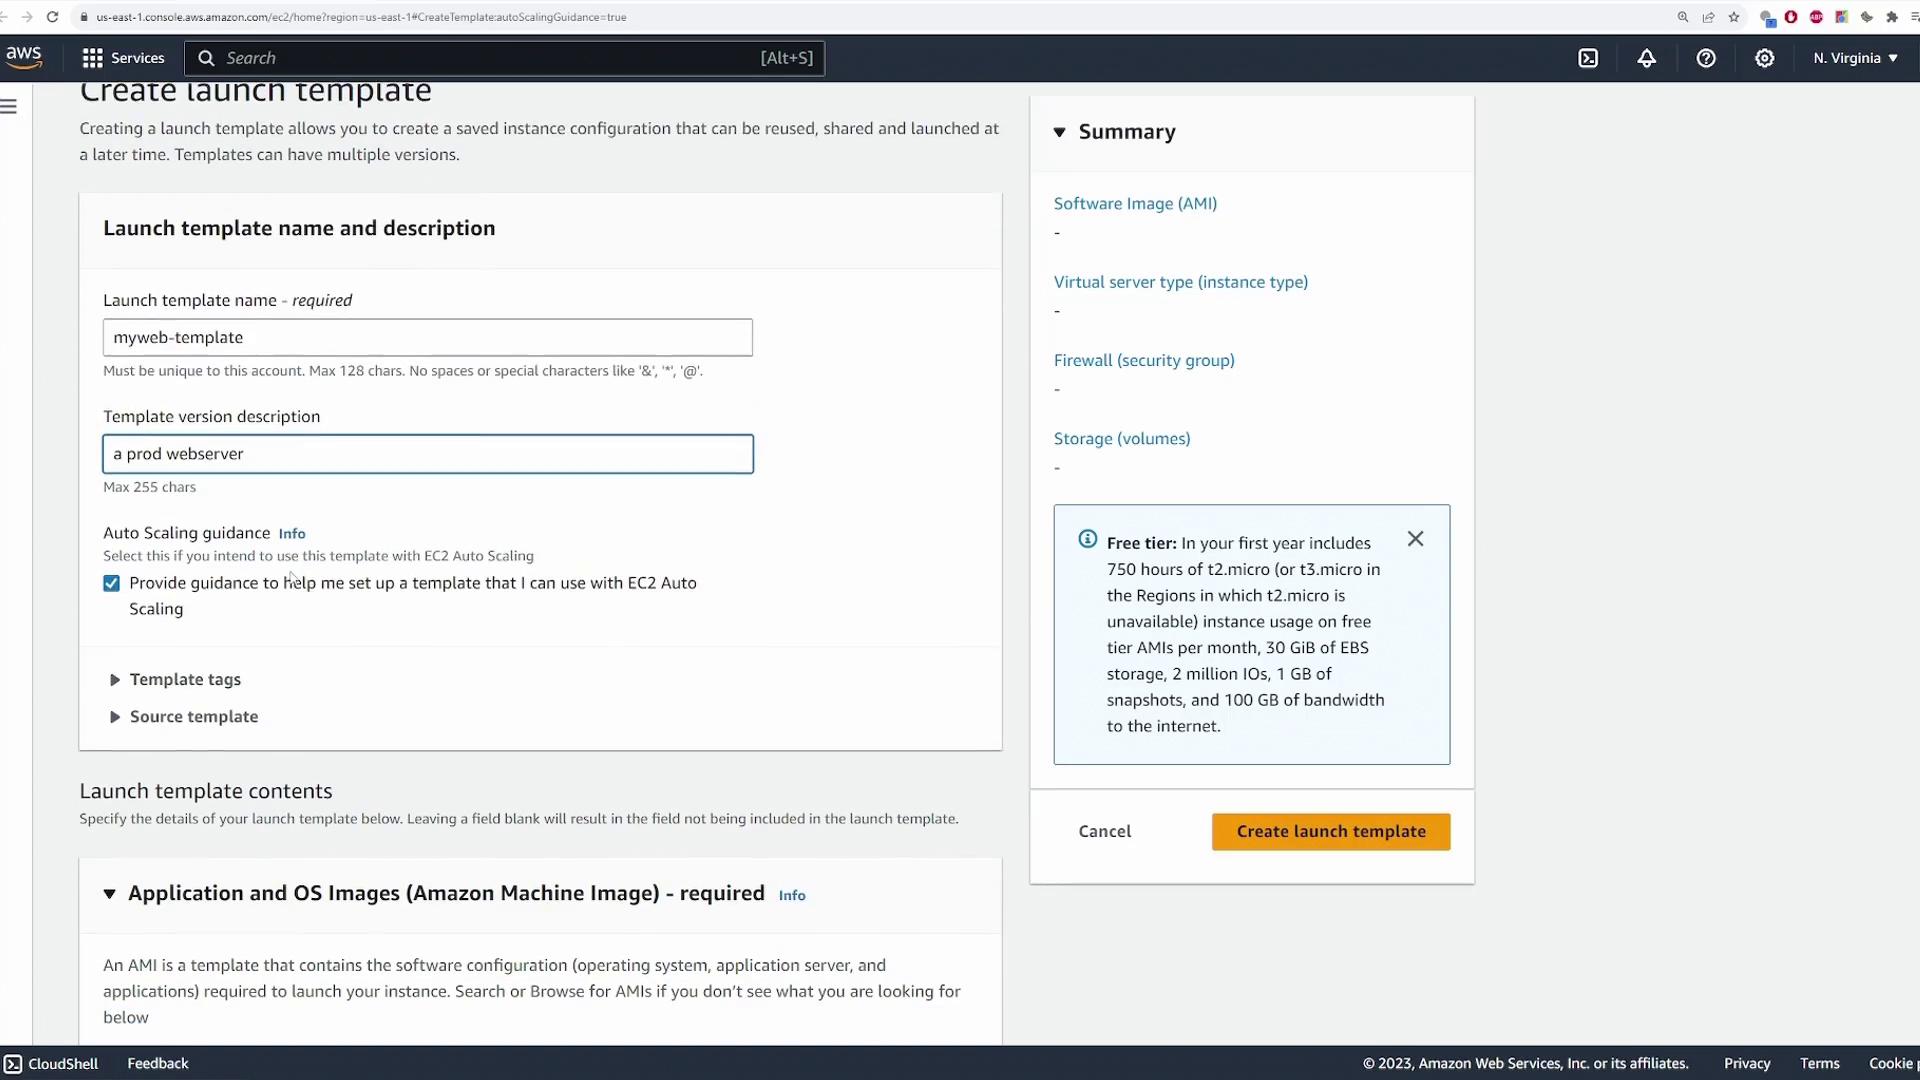
In the new tab, follow these steps to create your launch template:- Provide a descriptive name (for example, “my web template”) for the template that represents your production web server.
- Optionally, add tags or specify a source template if desired; this guide demonstrates building the template from scratch.
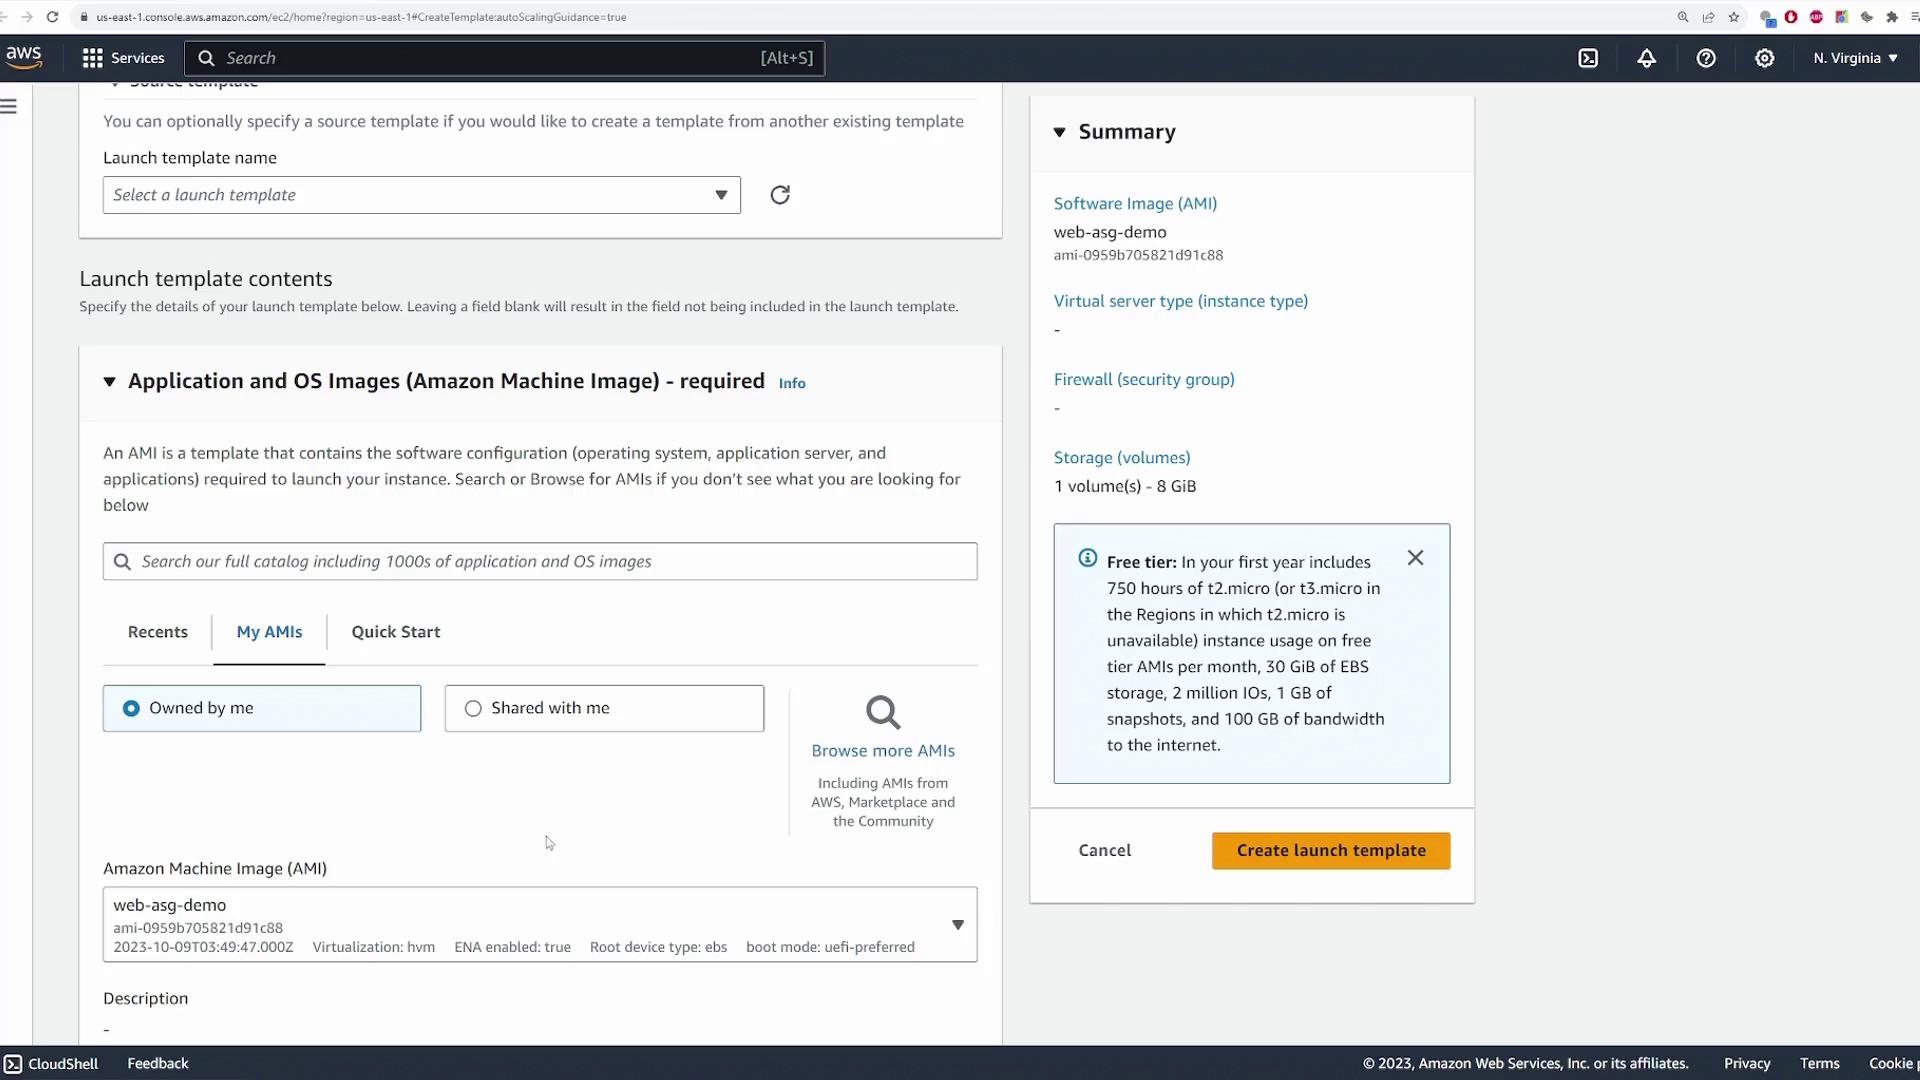
- Scroll down and select the Amazon Machine Image (AMI). For example, choose your custom AMI named “web ASG demo,” which launches a simple Linux instance running an Nginx server.
- Choose an instance type (e.g., t2.micro, free tier eligible) and specify the key pair (e.g., “main”) for SSH access.
- If desired, add network settings such as subnet details. In this example, leave the subnet blank so that the launch template can be used with multiple Auto Scaling Groups. Ensure you select a security group (for example, “web SG”) that permits HTTP (port 80) traffic.
- Retain the default settings for storage, resource tags, and advanced configurations. Finally, click “Create Launch Template” to save your configuration.
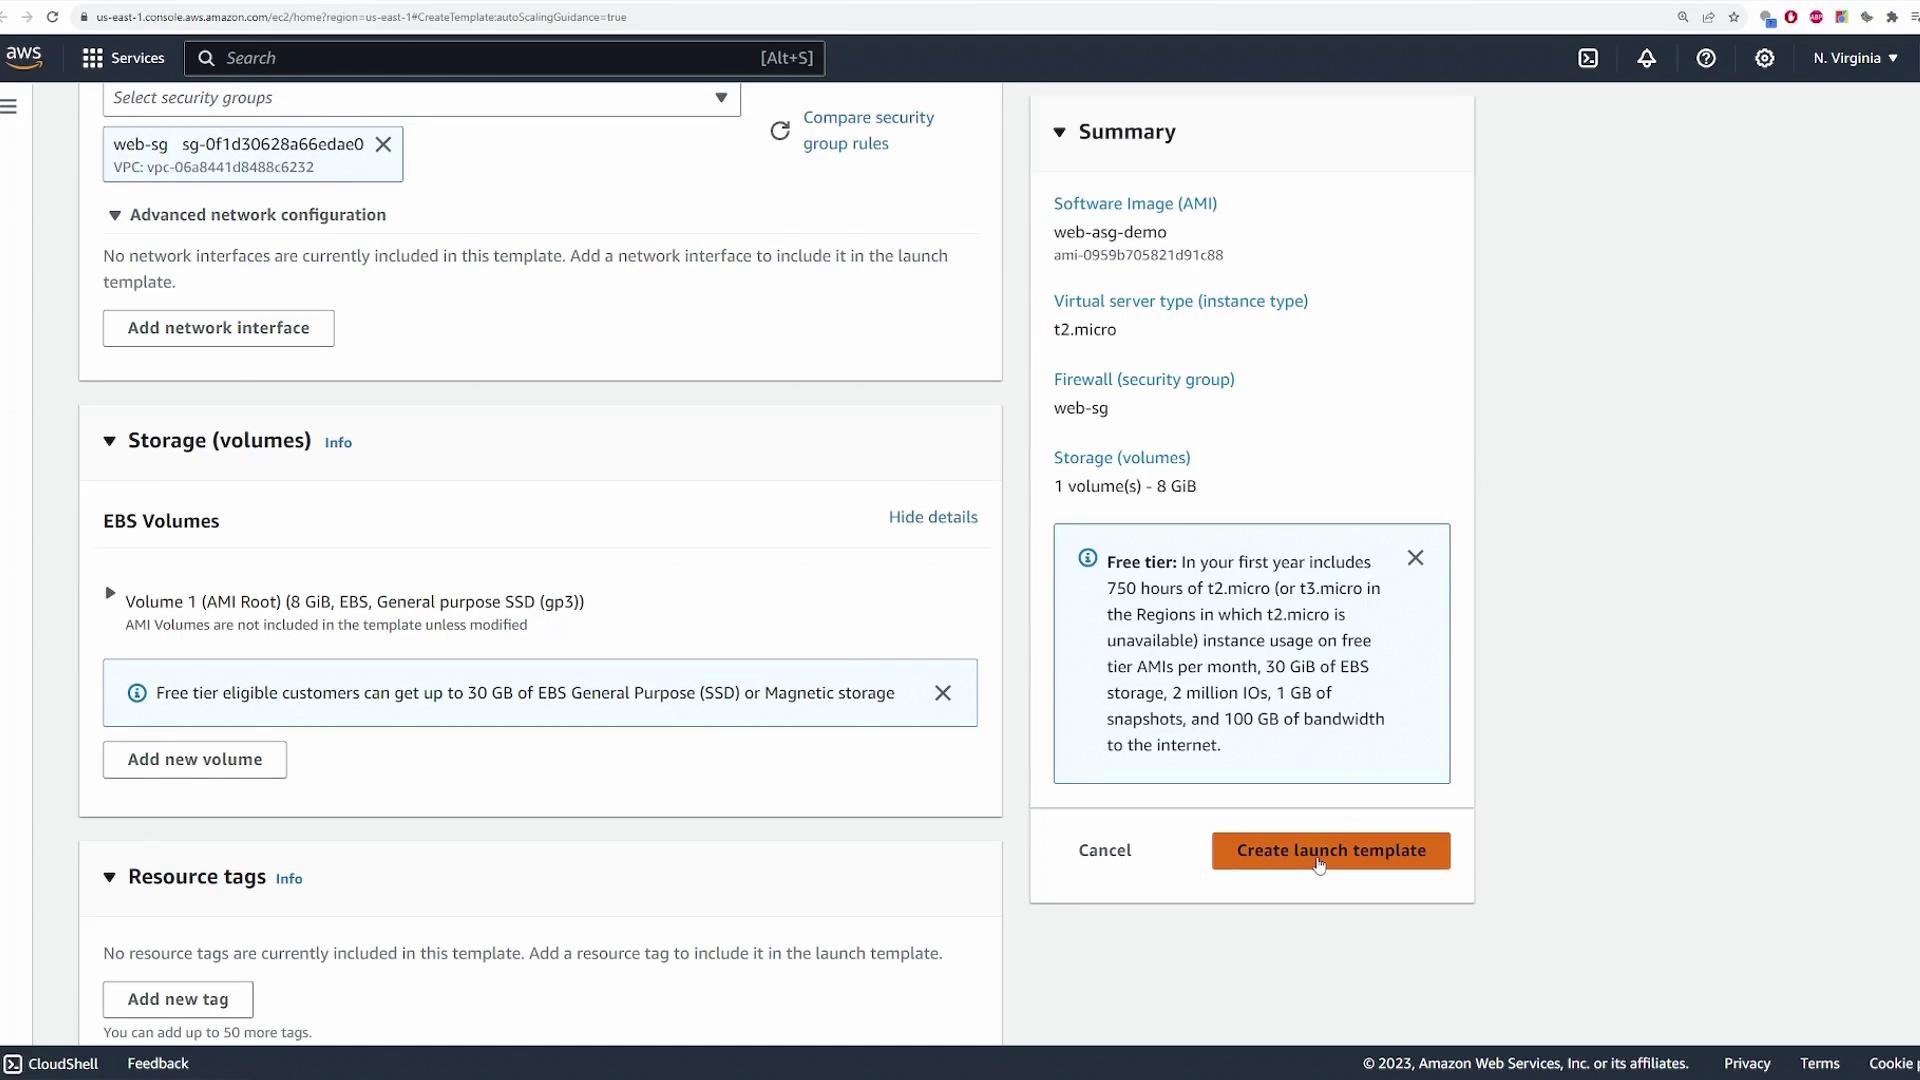
After creating the launch template, verify that it appears in the templates list with version 1. This versioning feature allows you to update settings like the AMI later, automatically propagating changes to all associated EC2 instances.

Configuring VPC, Load Balancer, and Target Group
- Review and update the Auto Scaling Group configuration:
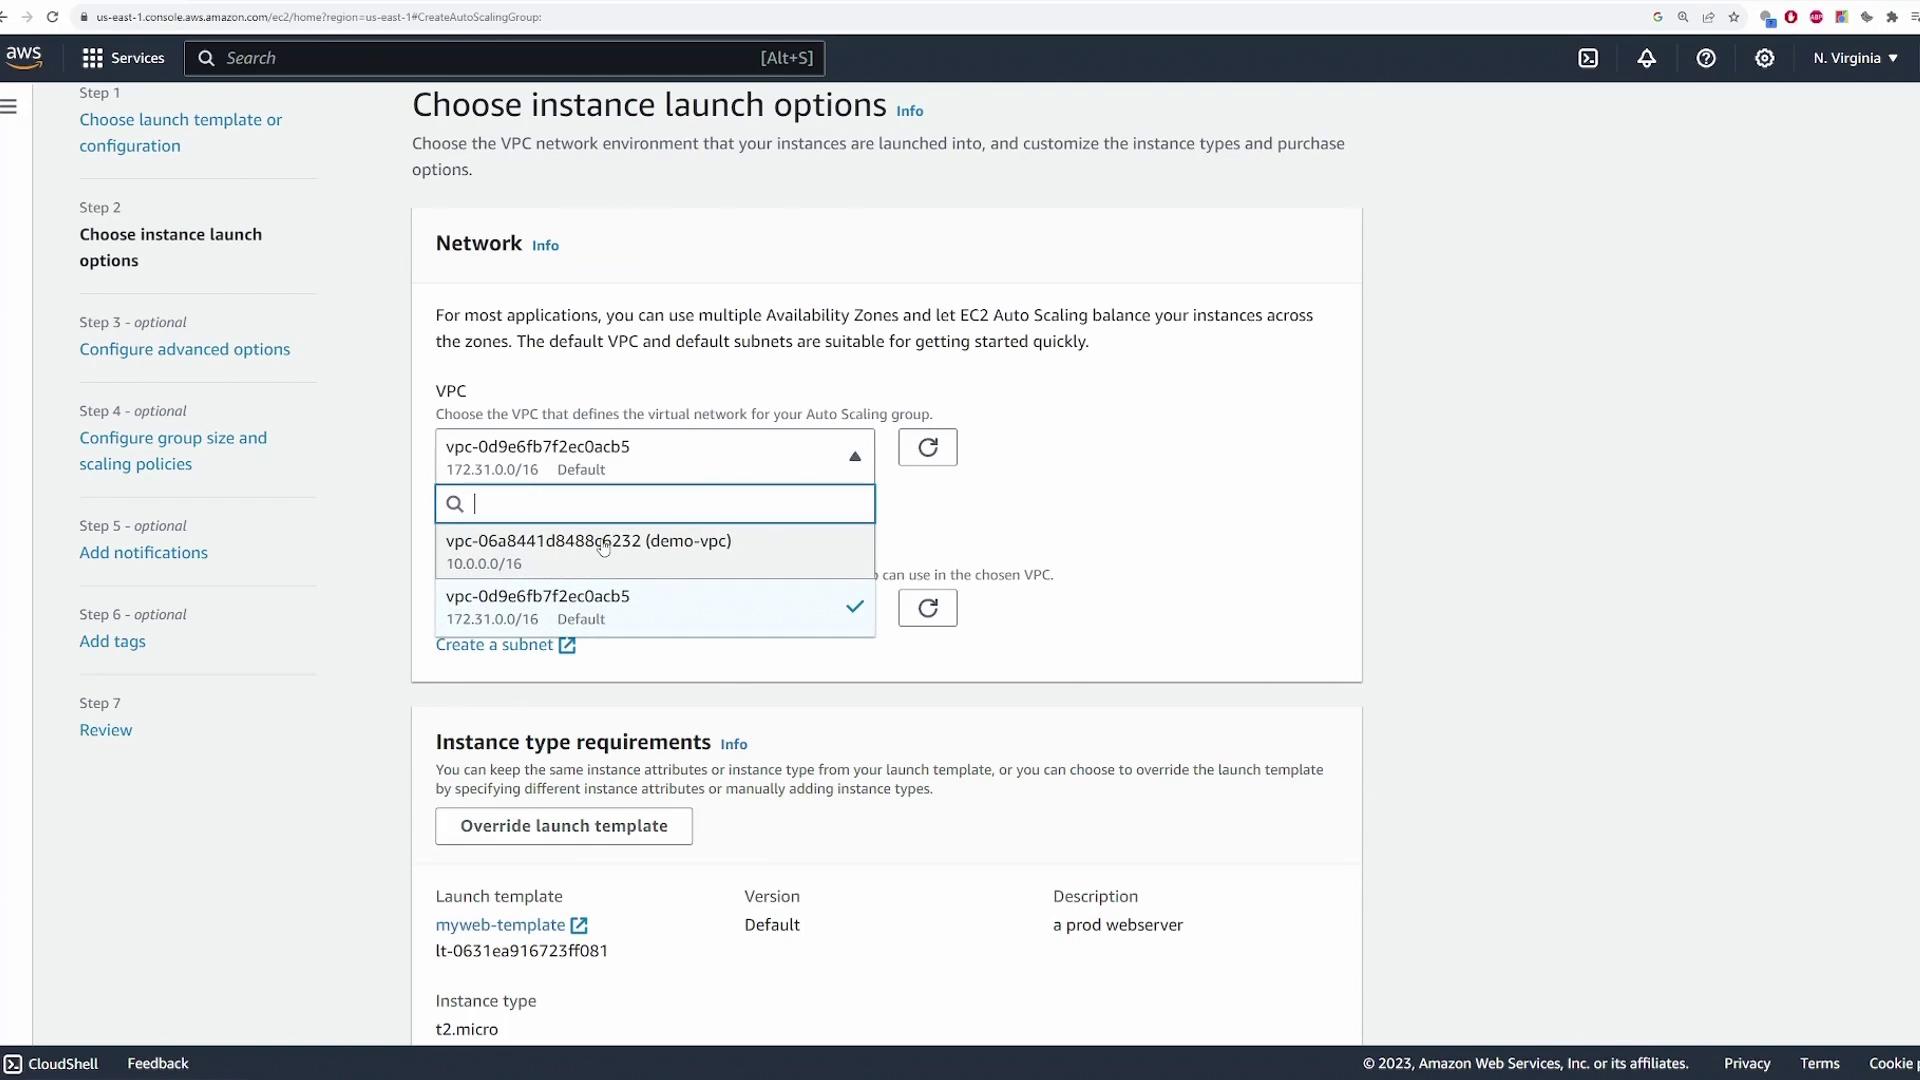
- Select the appropriate VPC (for example, “demo VPC”).
- Specify the availability zones and subnets where you want your EC2 instances deployed. In this guide, the instances are deployed within private subnets while the load balancer resides in public subnets.
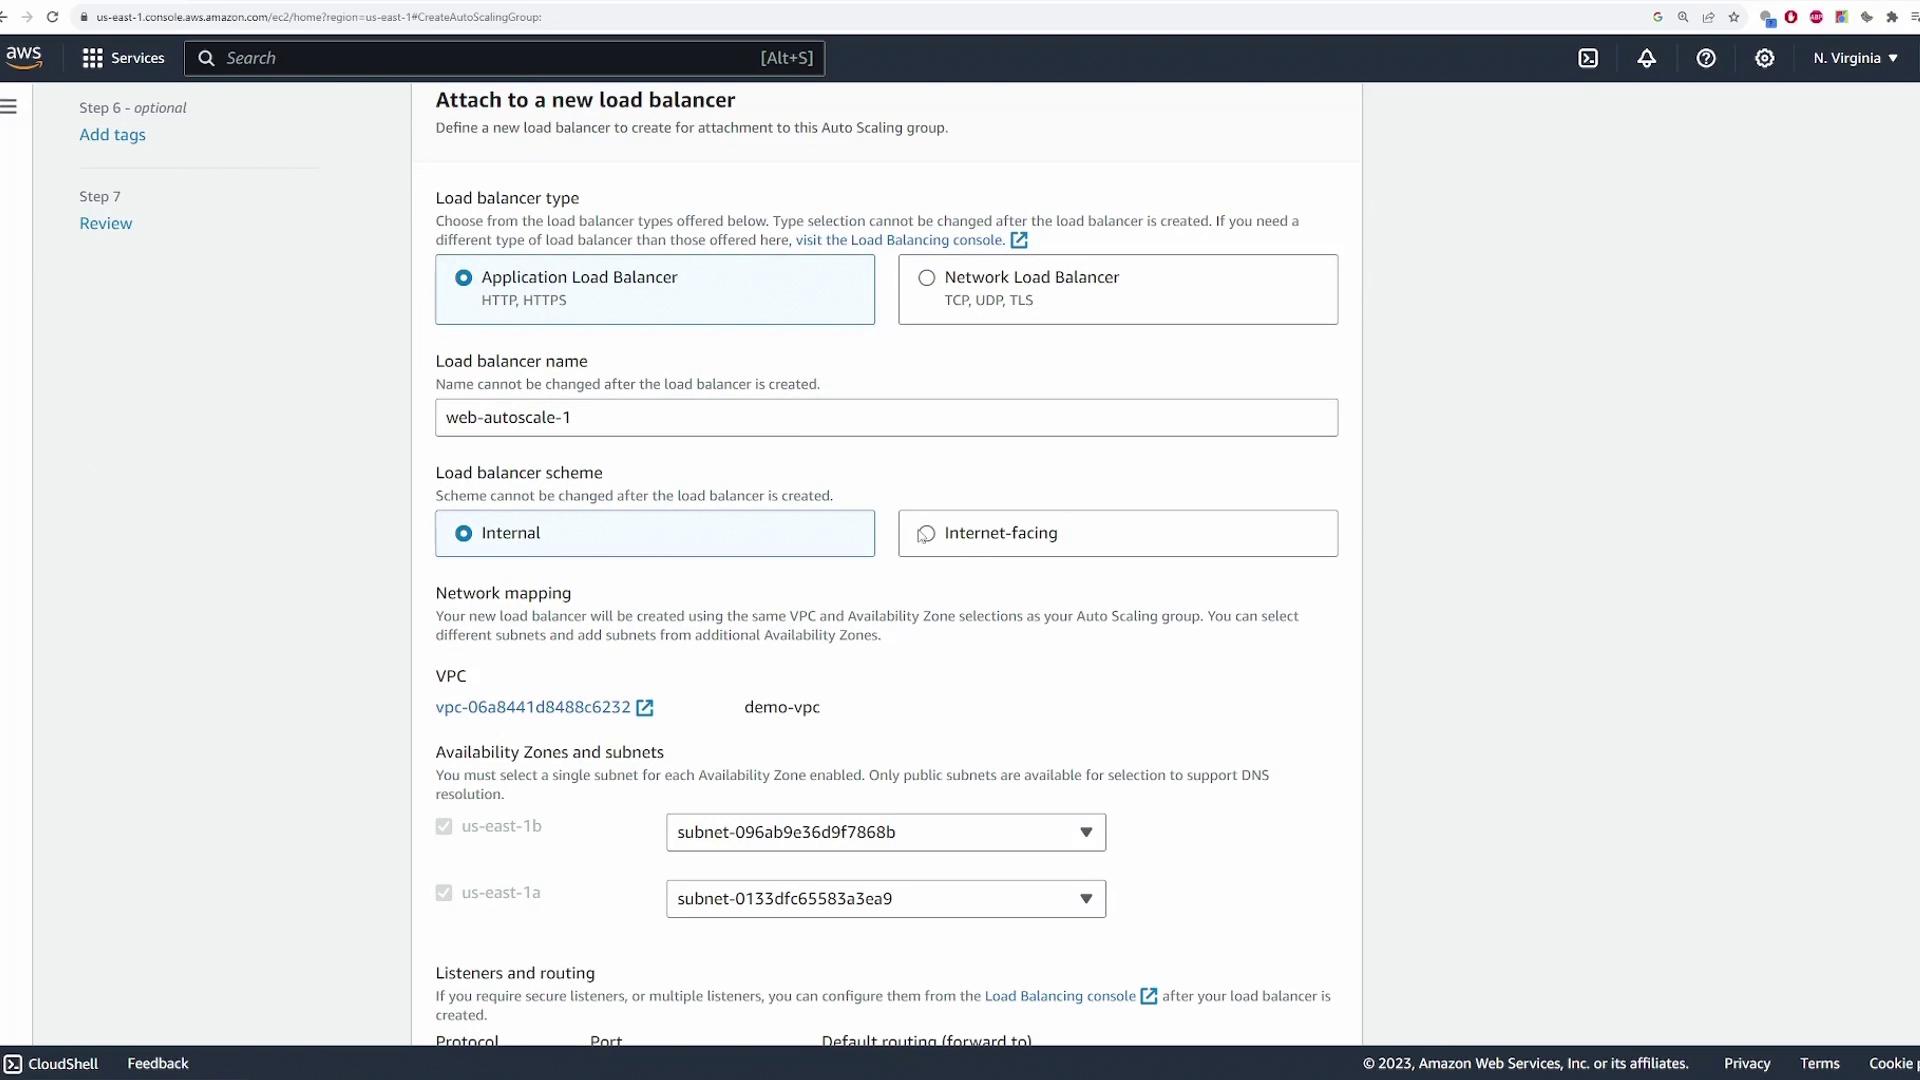
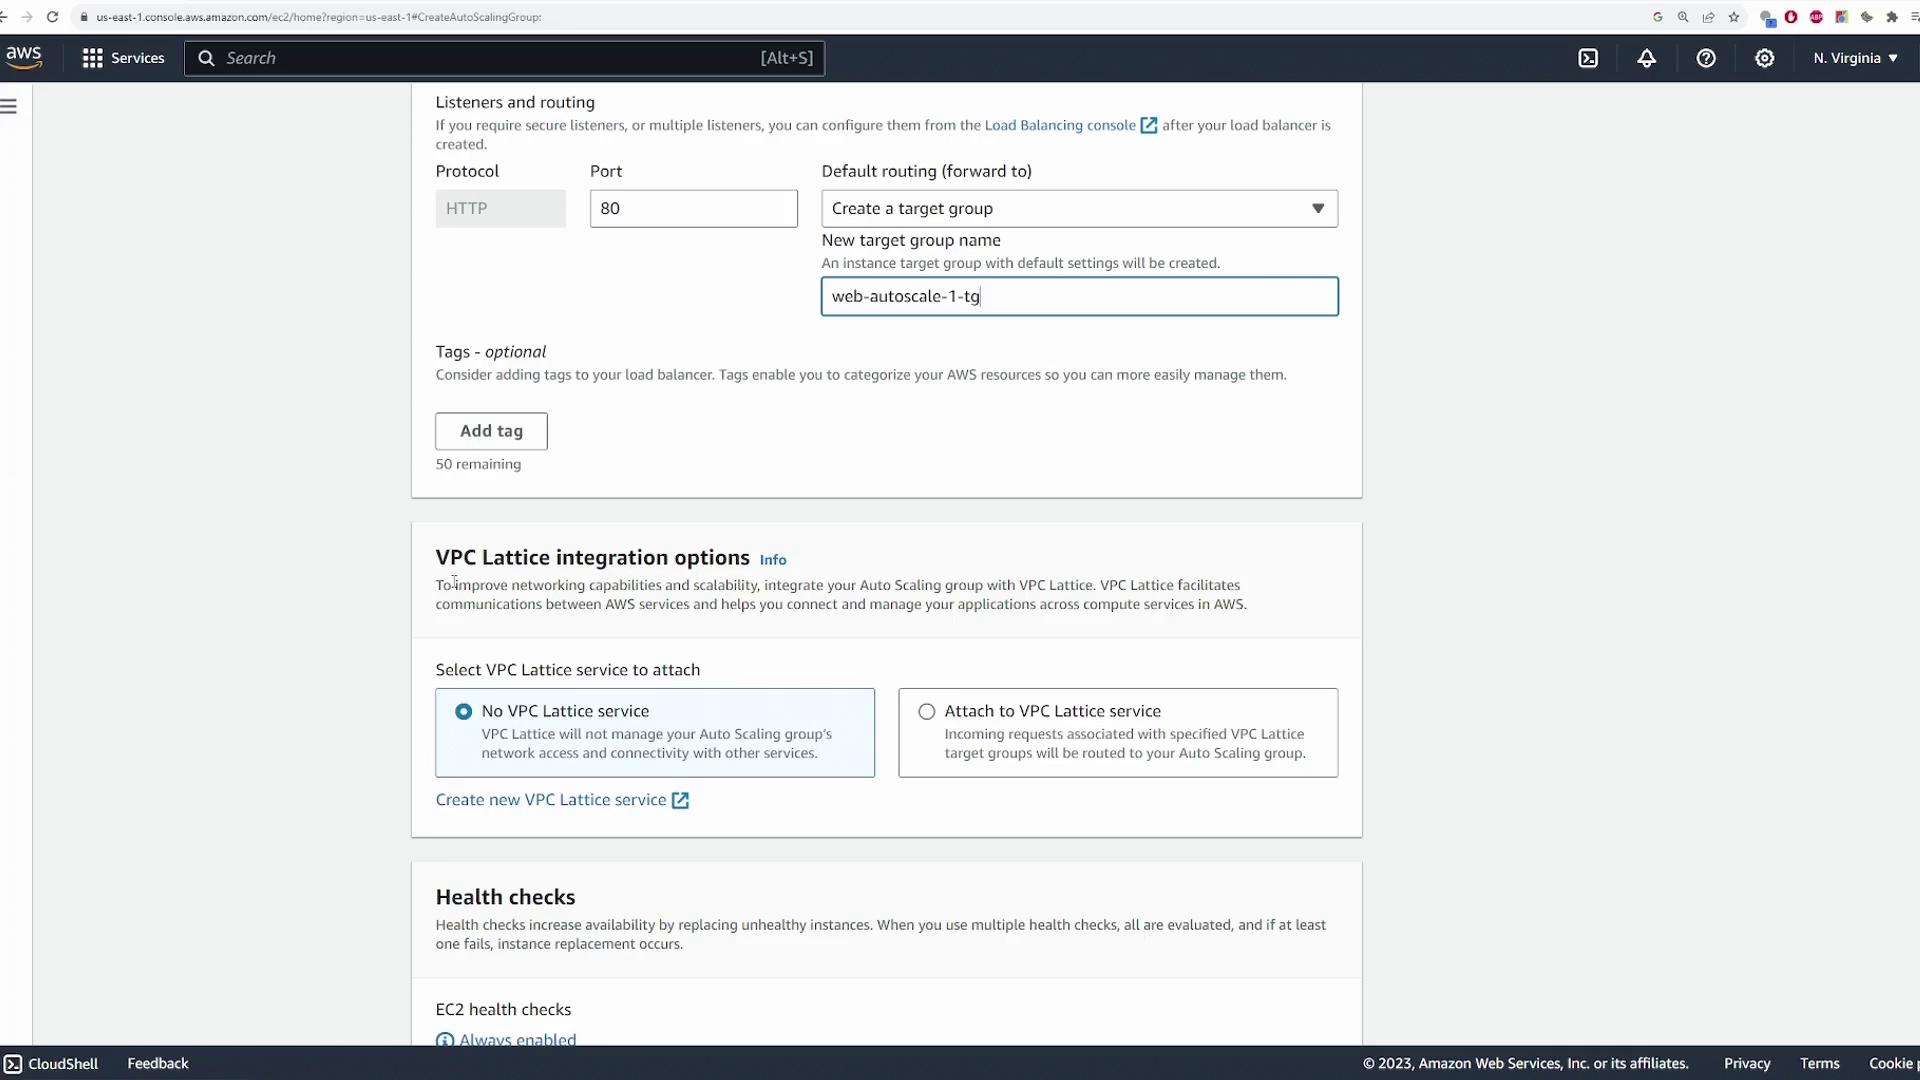
- Proceed to the load balancer configuration by selecting the option to create a new load balancer. For a web server deployment, choose an Application Load Balancer with a default name (such as “web autoscale”). Set the load balancer to be internet-facing and assign it to public subnets. Ensure that port 80 is used for the listener to handle HTTP traffic.
- Create a target group for the load balancer. Provide a name (for example, “web autoscale one tg”) and configure optional settings such as tags or VPC Lattice integration if necessary. Make sure to enable Elastic Load Balancing health checks with the default 300-second grace period, and configure CloudWatch metrics as needed.
Setting Scaling Policies and Capacity
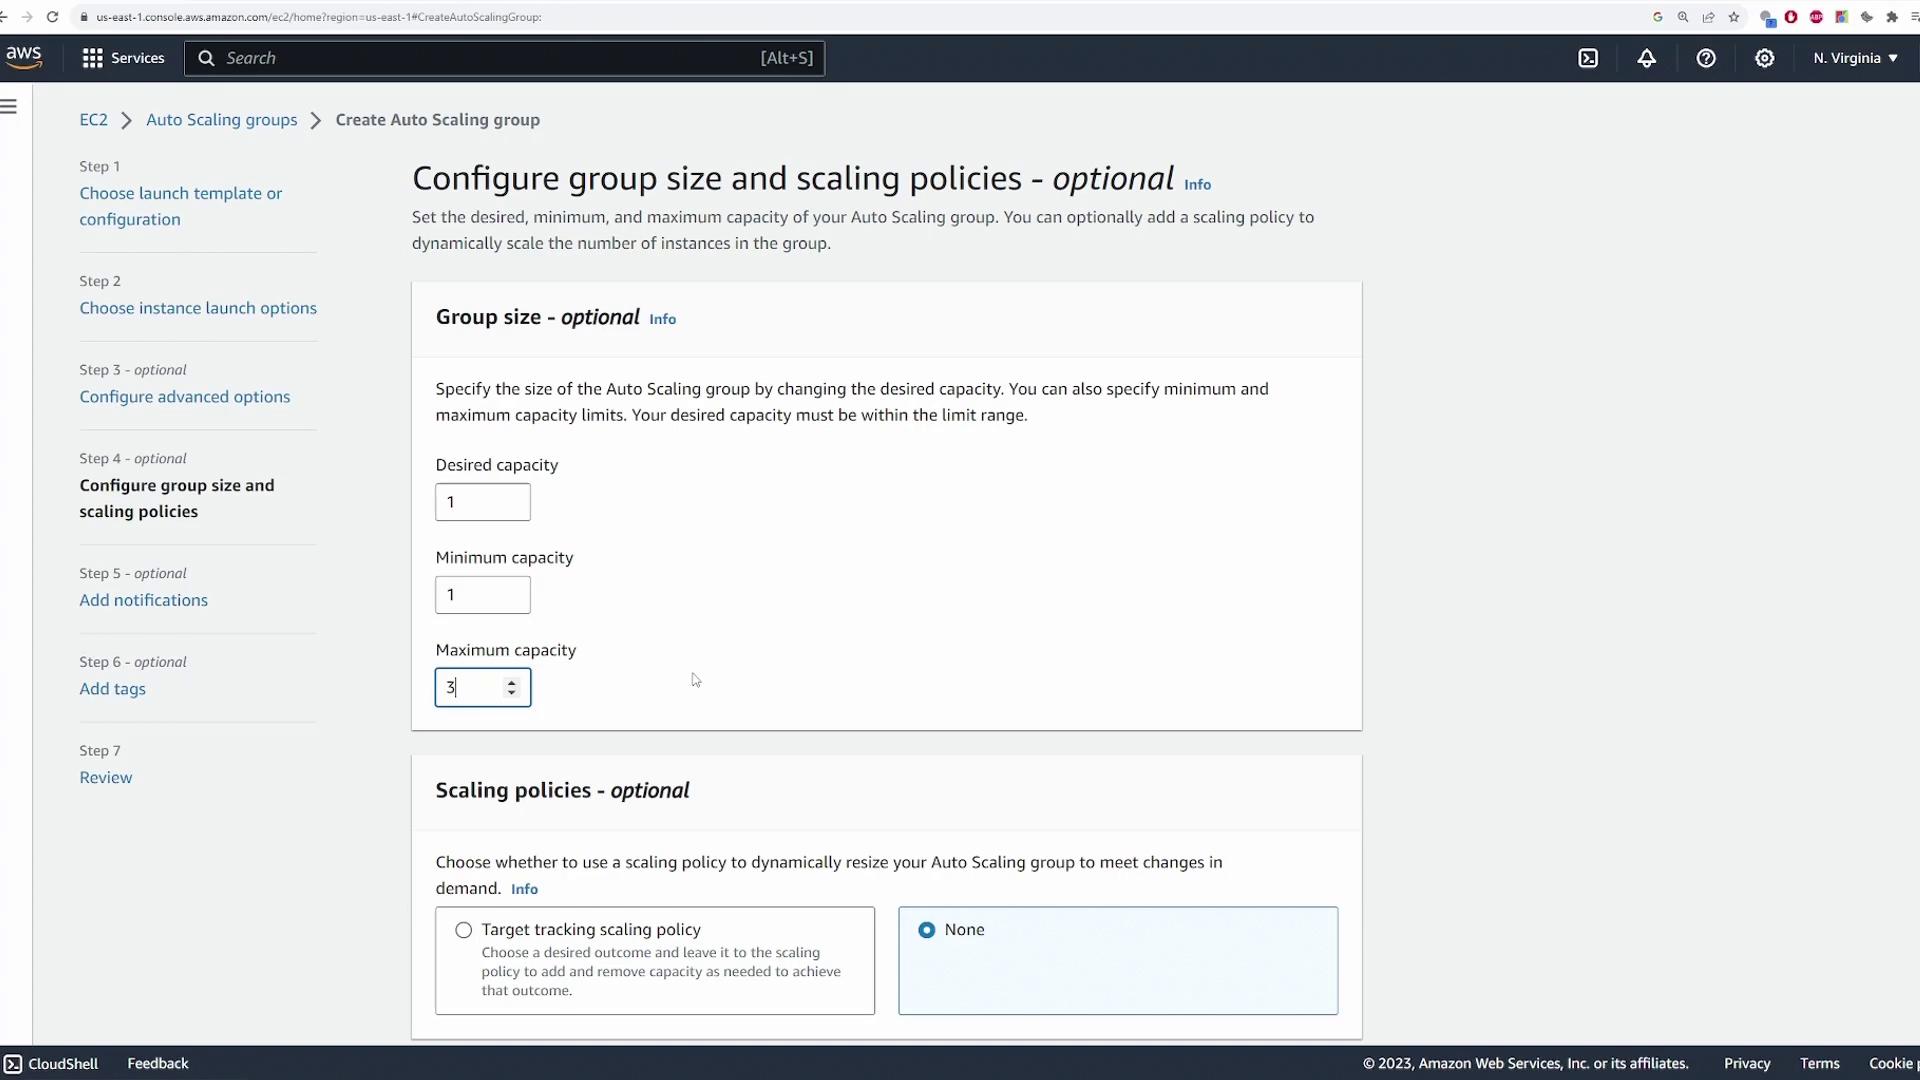
- Specify the capacity settings for your Auto Scaling Group using the following configuration:
- Desired Capacity: 1 instance
- Minimum Capacity: 1 instance (ensuring at least one server remains active)
- Maximum Capacity: 3 instances (to cap scaling even during high load)
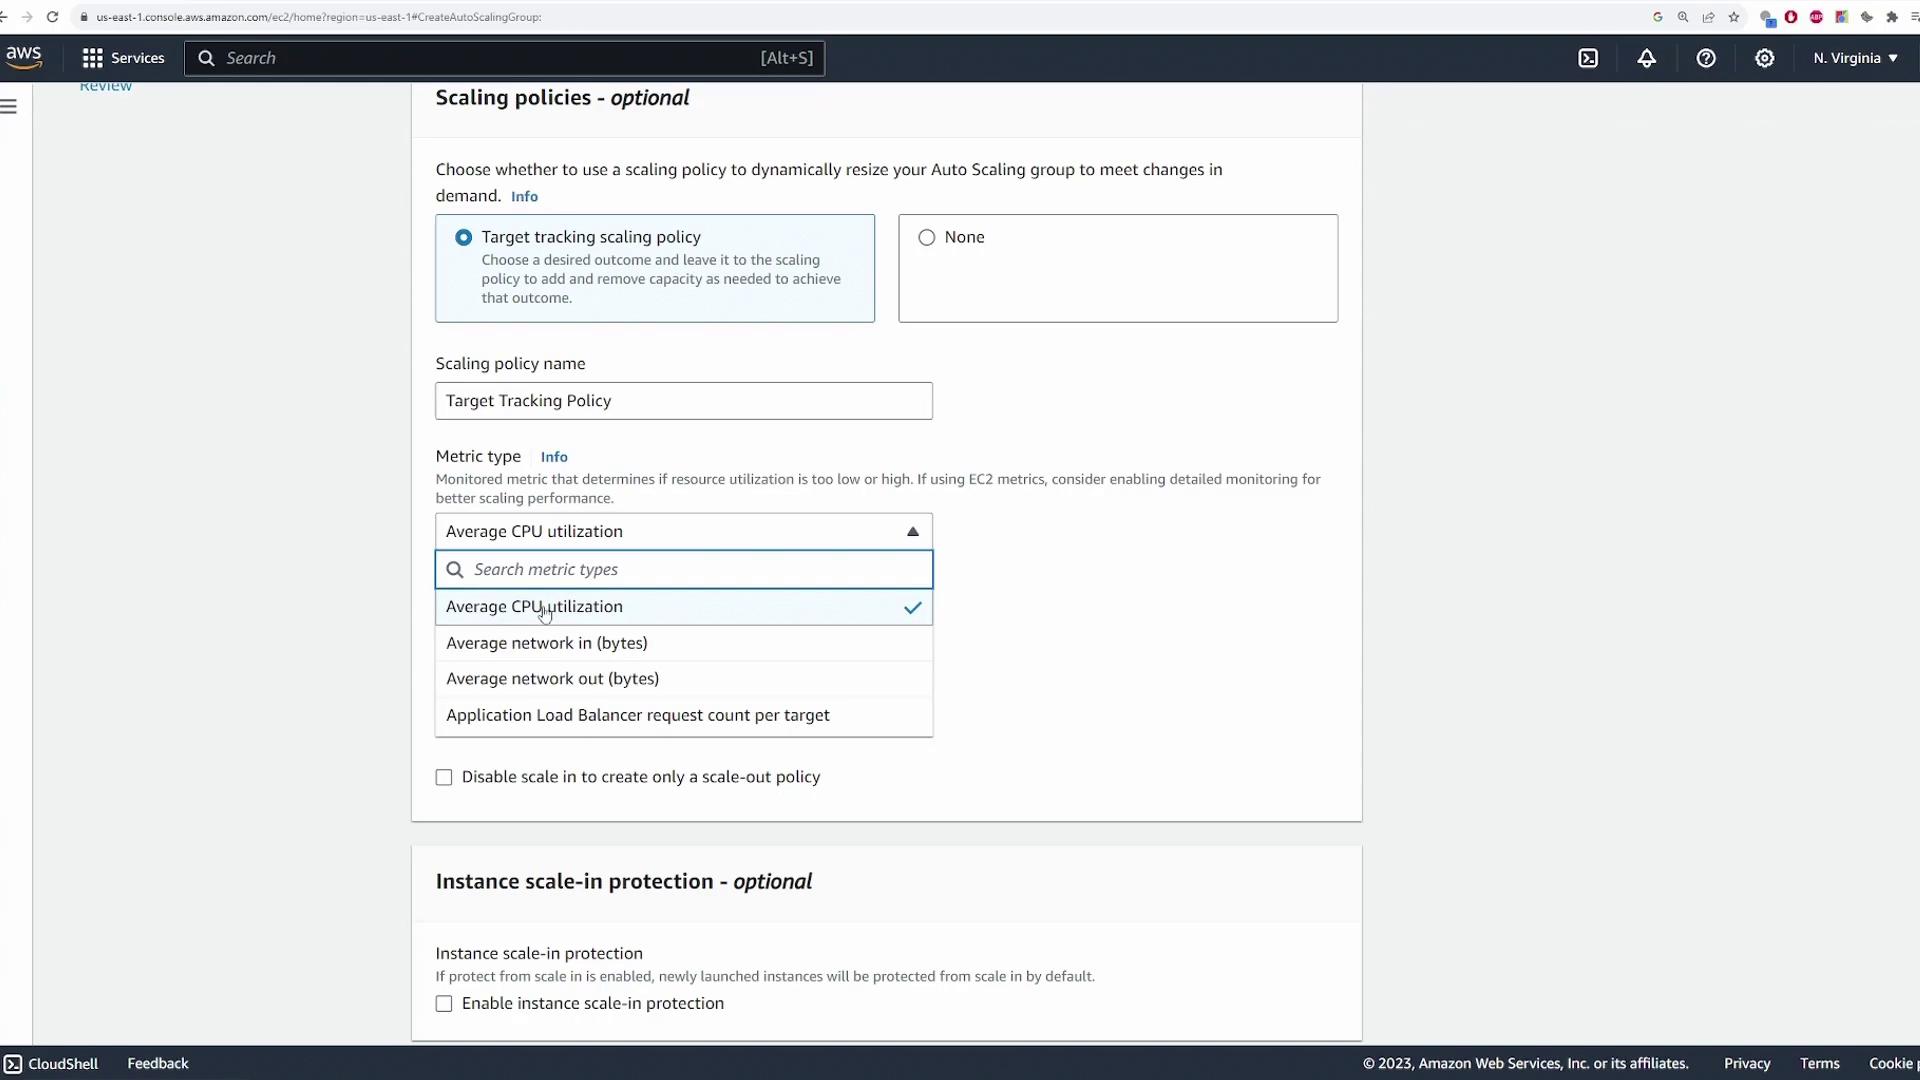
- Configure the scaling policy using a target tracking method. Set the policy to monitor the average CPU utilization across all instances in the group, with a target of 40% CPU usage. If desired, specify an instance warm-up period and enable scaling protections; the default values typically work well.
- Review additional settings such as notifications and resource tags, then click “Create Auto Scaling Group.” AWS will now deploy the Auto Scaling Group along with the associated EC2 instance, load balancer, and target group.
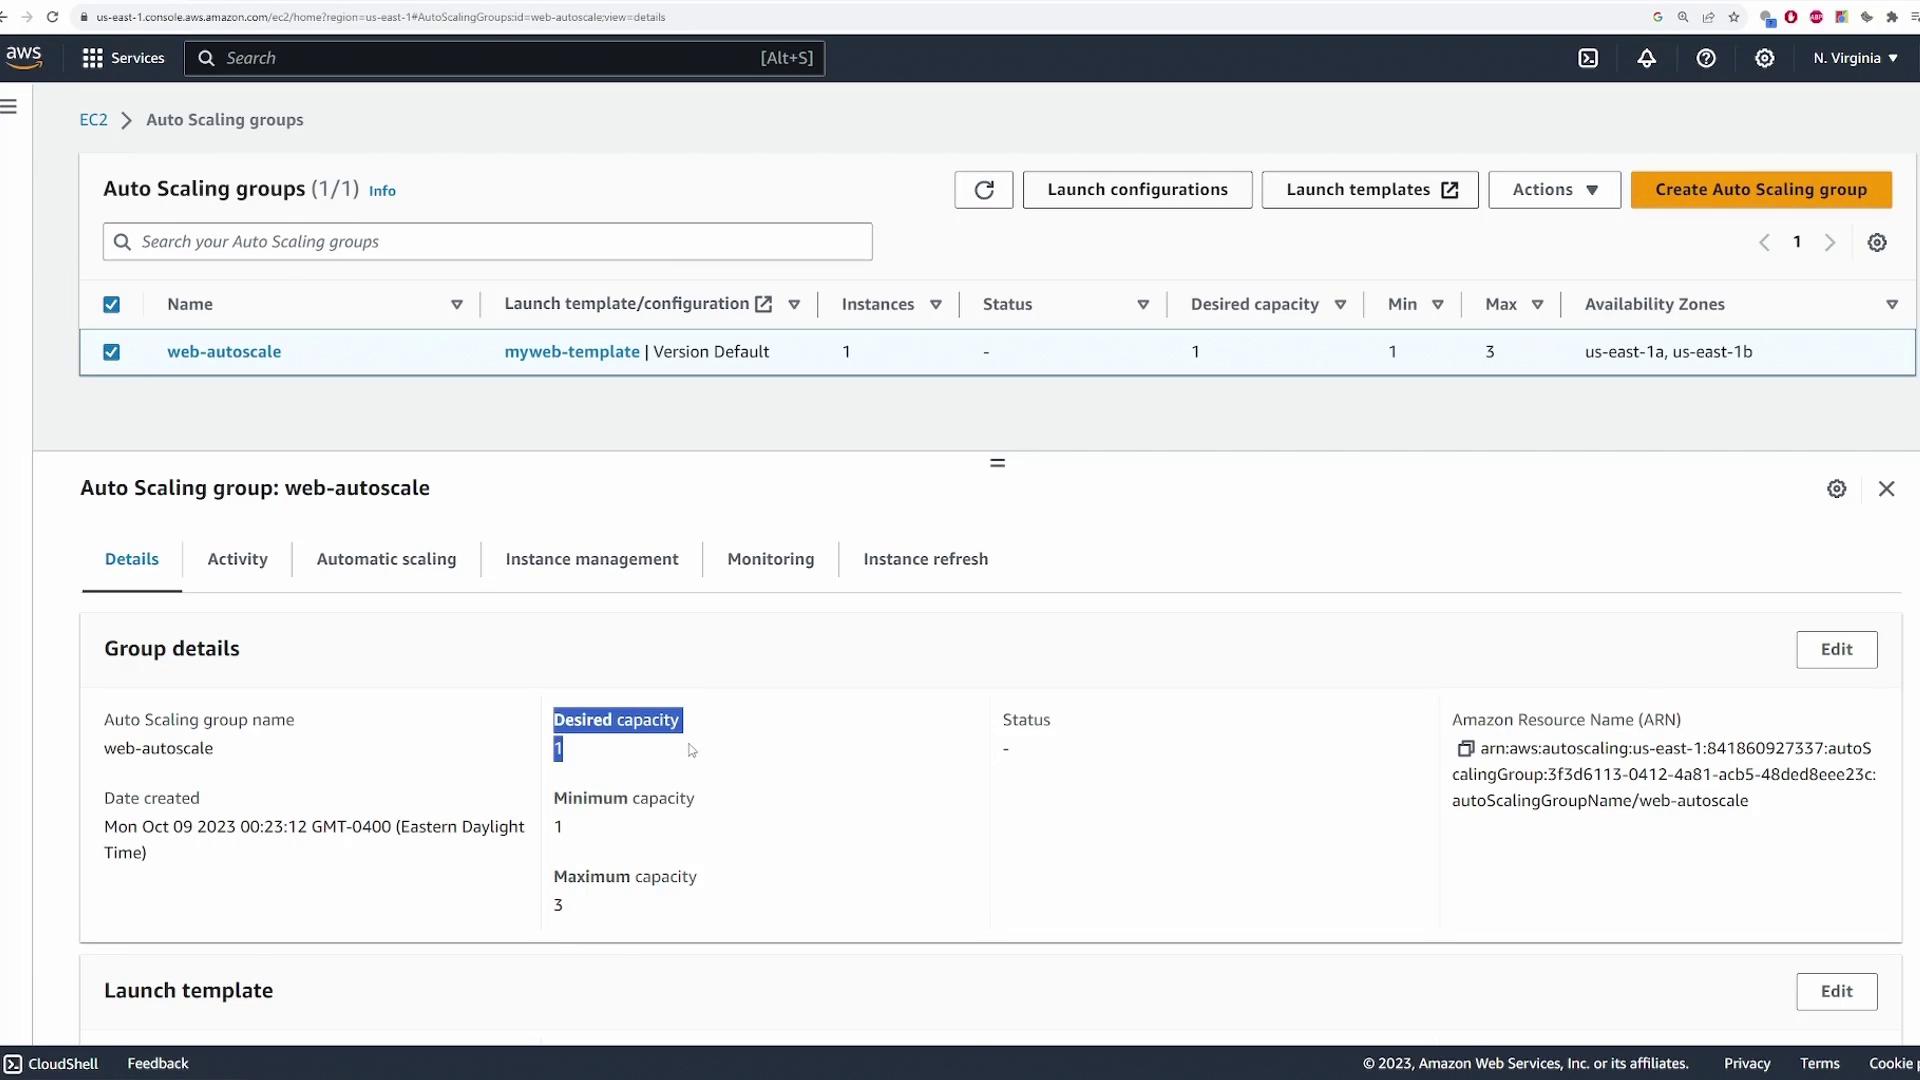
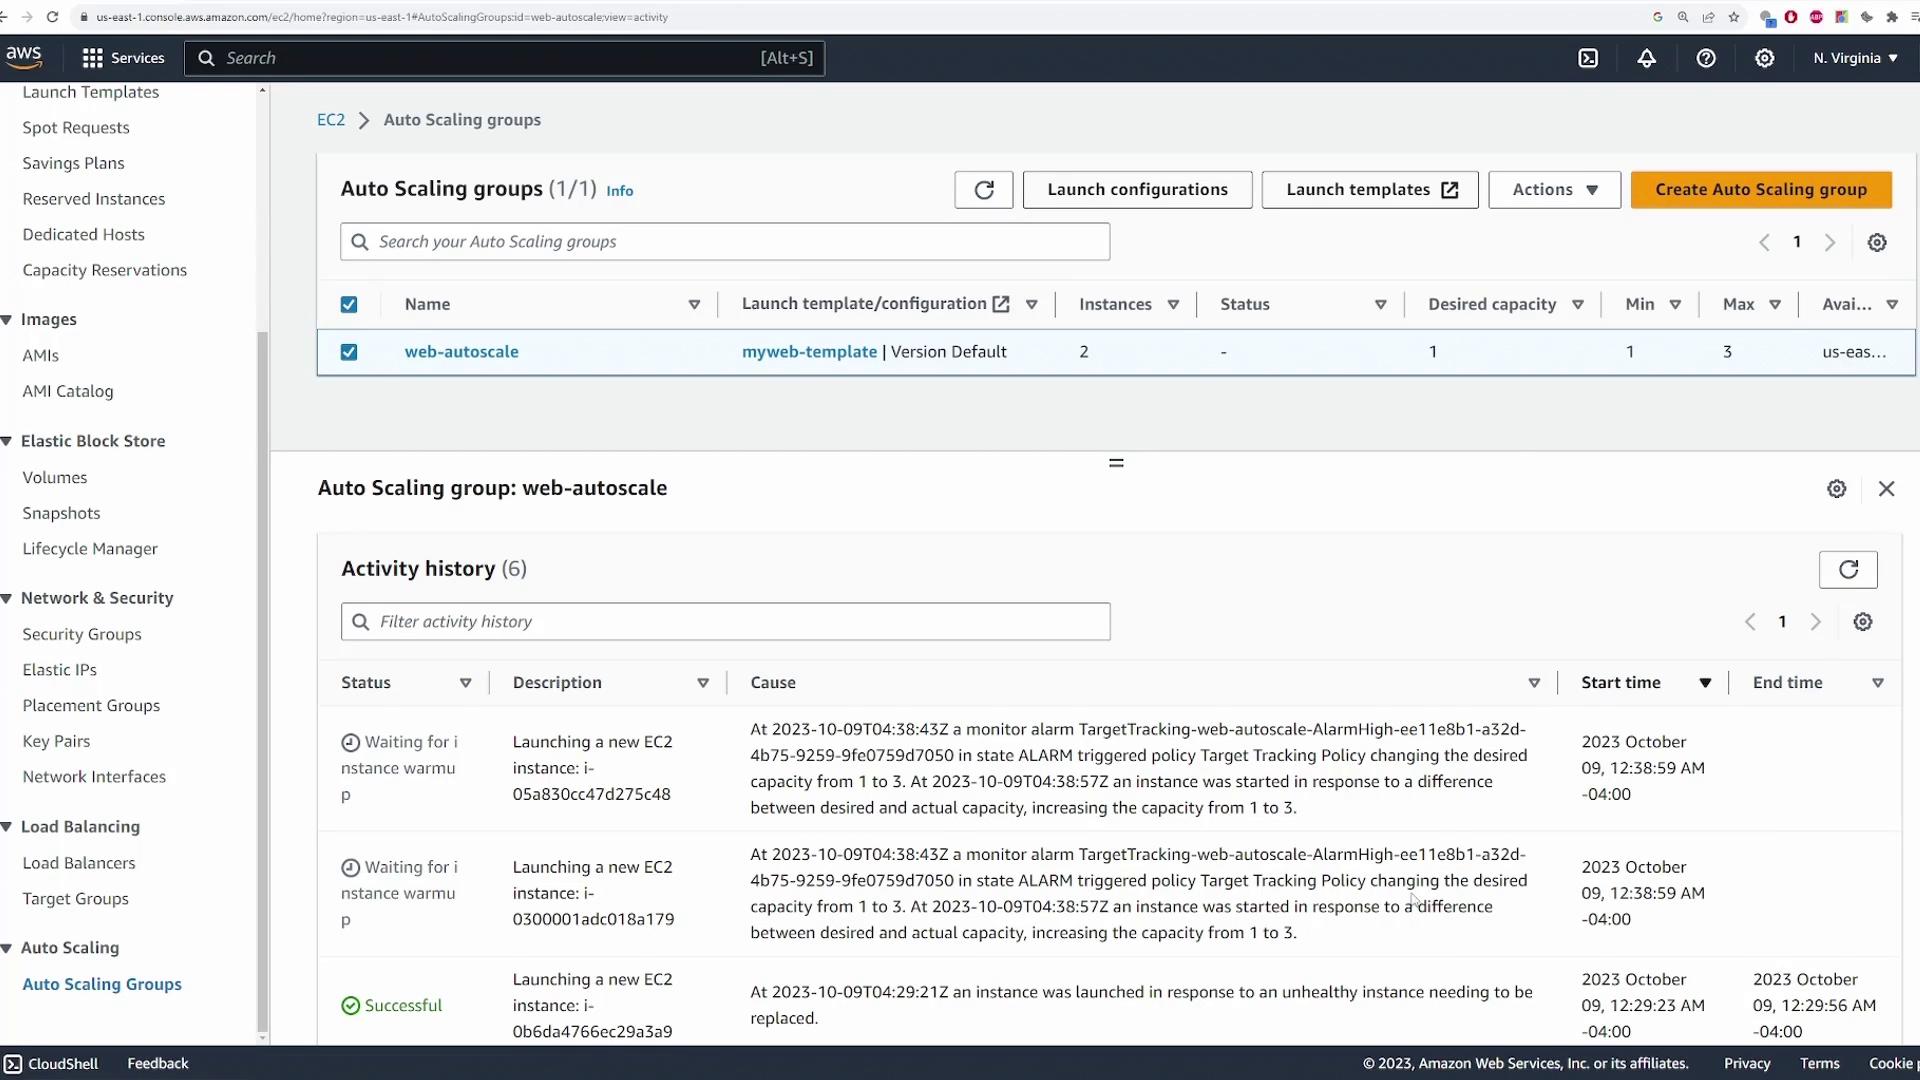
- Verify that the Auto Scaling Group details show a desired capacity of 1, a minimum of 1, and a maximum of 3. You can inspect configurations by clicking on the launch template or examining the load balancer details.
- Click on the load balancer link to verify the associated target group and other settings.
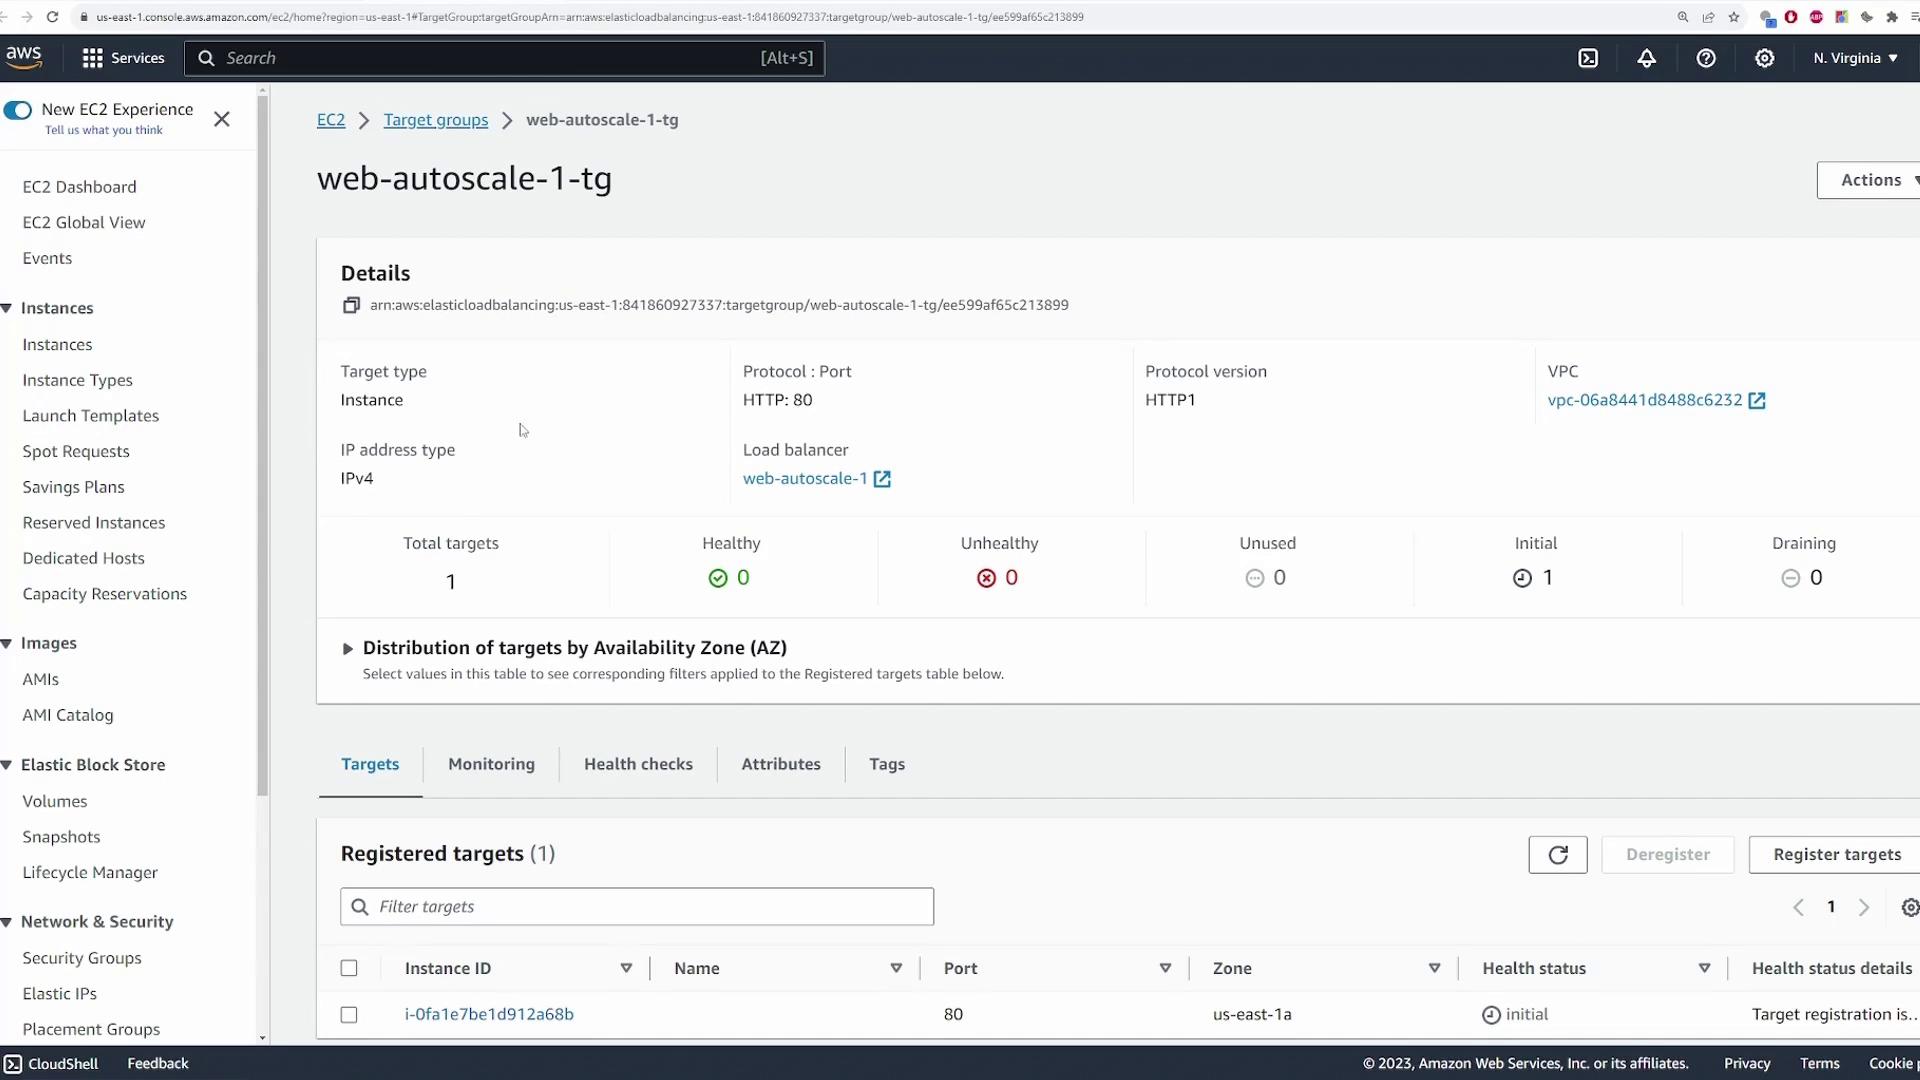
After verifying that one EC2 instance is running in your Auto Scaling Group, test connectivity by opening the load balancer’s DNS name in a new browser tab. You should see your welcome message (for example, “Welcome to KodeKloud”), confirming that the web server is accessible.
Testing Auto Scaling
To simulate an instance failure and validate that the Auto Scaling Group automatically replaces terminated instances:- Manually terminate the running EC2 instance via the EC2 console.
- Monitor the Auto Scaling Group’s activity log. It should show notifications that an instance went out of service due to a failed health check, followed by the launch of a replacement instance.
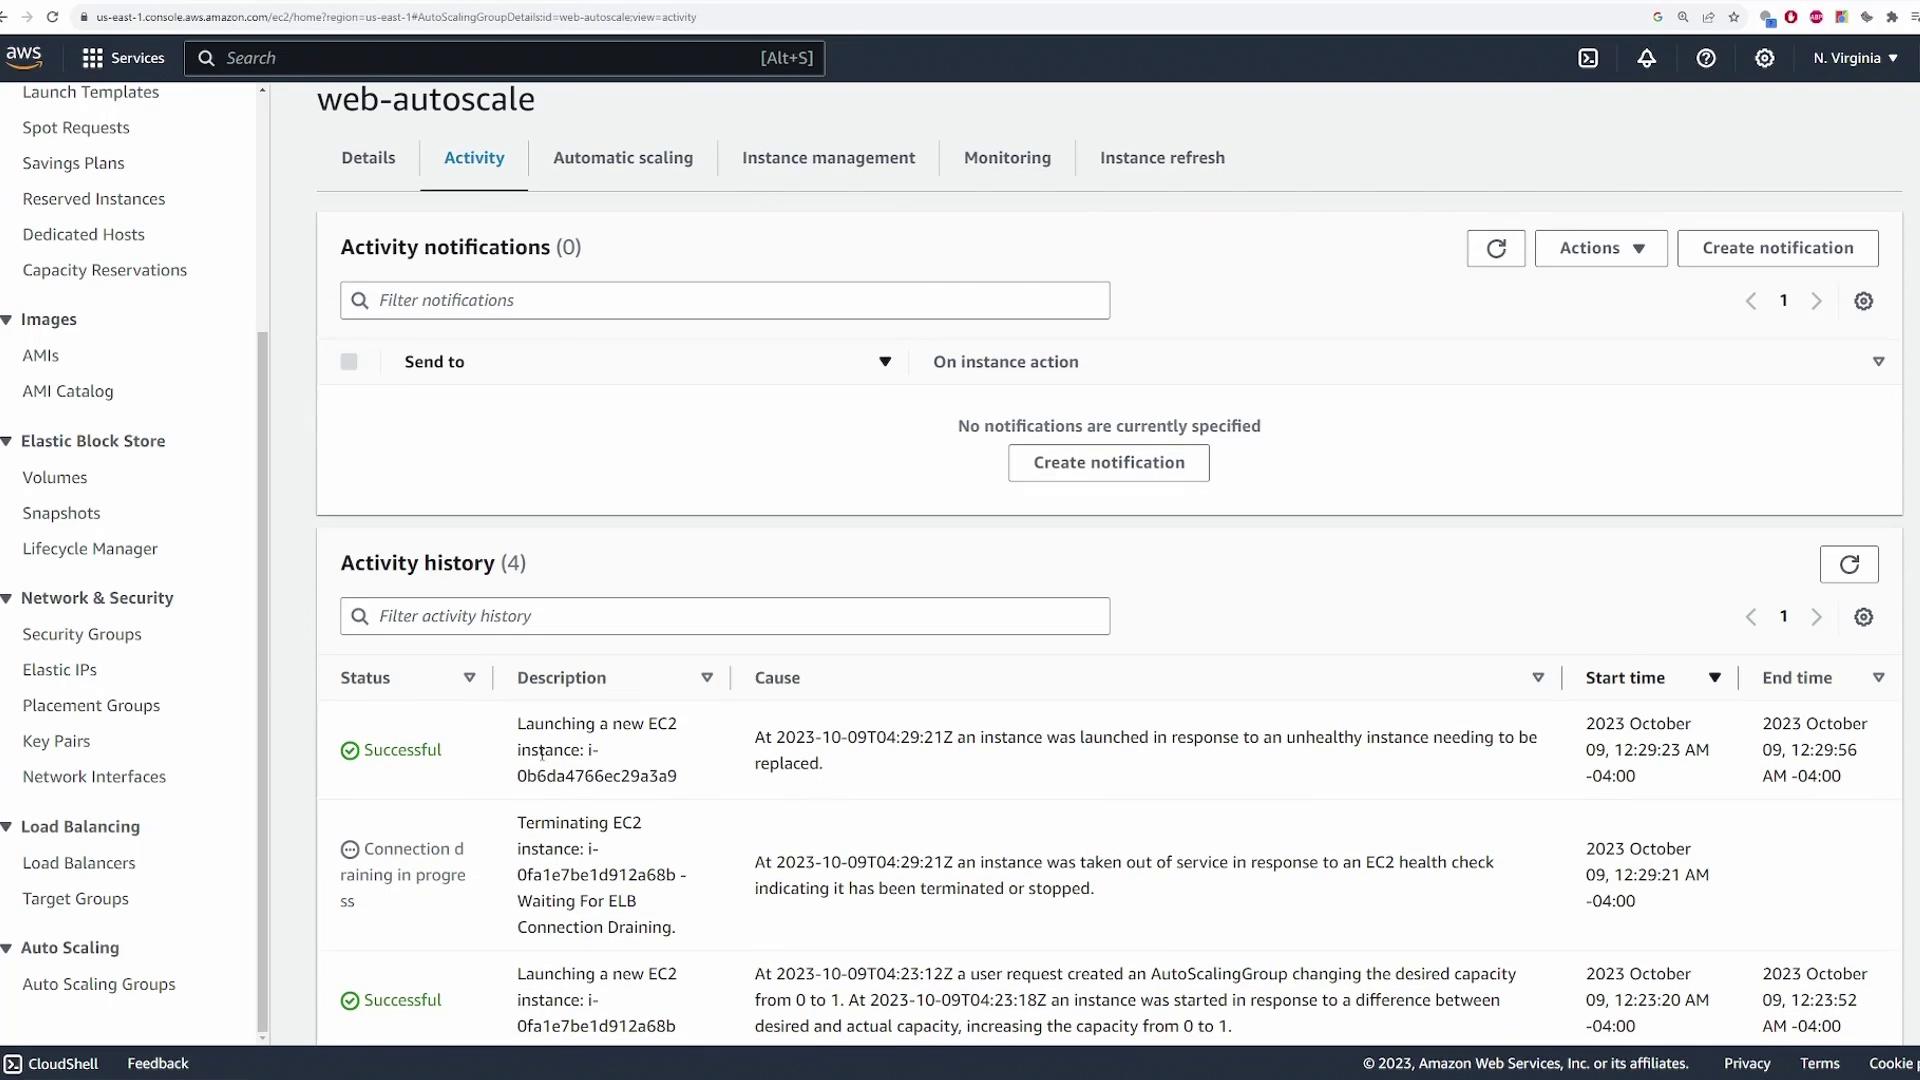
- Confirm in the EC2 console that a new instance is running, thereby ensuring the desired capacity of one instance is maintained.
Stress Testing and Monitoring CPU Utilization
The scaling policy is based on CPU utilization. To perform a stress test:- Connect to one of the EC2 instances in the Auto Scaling Group using SSH.
- Run the following command to view the system’s status: bash top - 04:33:30 up 3 min, 2 users, load average: 0.01, 0.04, 0.01 Tasks: 114 total, 1 running, 113 sleeping, 0 stopped, 0 zombie %Cpu(s): 0.0 us, 6.2 sy, 0.0 ni, 93.8 id, 0.0 wa, 0.0 hi, 0.0 si, 0.0 st MiB Mem : 949.4 total, 572.5 free, 1.0 used, 159.3 buff/cache MiB Swap: 0.0 total, 0.0 free, 0.0 used. 650.5 avail Mem PID USER PR NI VIRT RES SHR S %CPU %MEM TIME+ COMMAND 1 root 20 0 105164 16364 10024 S 0.0 1.7 00:00.86 systemd
- Next, execute the stress test command to increase CPU usage: bash [ec2-user@ip-10-0-129-234 ~]$ stress -c 1
- After executing the stress command, check the updated CPU report: bash top - 04:34:00 up 4 min, 2 users, load average: 0.29, 0.10, 0.03 Tasks: 116 total, 2 running, 114 sleeping, 0 stopped, 0 zombie %Cpu(s): 100.0 us, 0.0 sy, 0.0 ni, 0.0 id, 0.0 wa, 0.0 hi, 0.0 si, 0.0 st MiB Mem : 949.4 total, 572.3 free, 159.4 used, 217.7 buff/cache MiB Swap: 0.0 total, 0.0 free, 0.0 used. 650.3 avail Mem PID USER PR NI VIRT RES SHR S %CPU %MEM TIME+ COMMAND 2556 ec2-user 20 0 3512 112 0 R 99.7 0.1 0:19.71 stress 1 root 20 0 105164 16364 10024 S 0.6 1.7 0:08.86 systemd 2 root 20 0 0 0 0 S 0.0 0.0 0:00.00 kthreadd 3 root 20 0 0 0 0 S 0.0 0.0 0:00.00 rcu_gp 4 root 20 0 0 0 0 S 0.0 0.0 0:00.00 rcu_par_gp 5 root 20 0 0 0 0 S 0.0 0.0 0:00.00 slub_flushqw 6 root 20 0 0 0 0 S 0.0 0.0 0:00.00 netns 7 root 20 0 0 0 0 S 0.0 0.0 0:00.00 kworker/0:0-events 8 root 20 0 0 0 0 S 0.0 0.0 0:00.00 kworker/0:0H-events_highpri 9 root 20 0 0 0 0 S 0.0 0.0 0:00.00 kworker/u30:0-events_unbound 10 root 20 0 0 0 0 S 0.0 0.0 0:00.00 mm_percpu_wq 11 root 20 0 0 0 0 S 0.0 0.0 0:00.00 rcu_tasks_kthread 12 root 20 0 0 0 0 S 0.0 0.0 0:00.00 rcu_tasks_rude_kthread 13 root 20 0 0 0 0 S 0.0 0.0 0:00.00 rcu_tasks_trace_kthread 14 root 20 0 0 0 0 S 0.0 0.0 0:00.00 ksoftirqd/0 15 root 20 0 0 0 0 S 0.0 0.0 0:00.00 rcu_preempt 16 root 20 0 0 0 0 S 0.0 0.0 0:00.00 migration/0 17 root 20 0 0 0 0 S 0.0 0.0 0:00.00 kworker/0:1-cgroup_destroy
Finalizing
Once you have validated the Auto Scaling behavior with the stress test, clean up your resources by deleting the Auto Scaling Group:- Select the group within the AWS console.
- Click “Delete” to remove the Auto Scaling configuration, associated EC2 instances, load balancer, and target group.