Step 1: Accessing Auto Scaling Groups
- Log in to the AWS console and search for the EC2 service.
- Scroll down and select Auto Scaling groups.
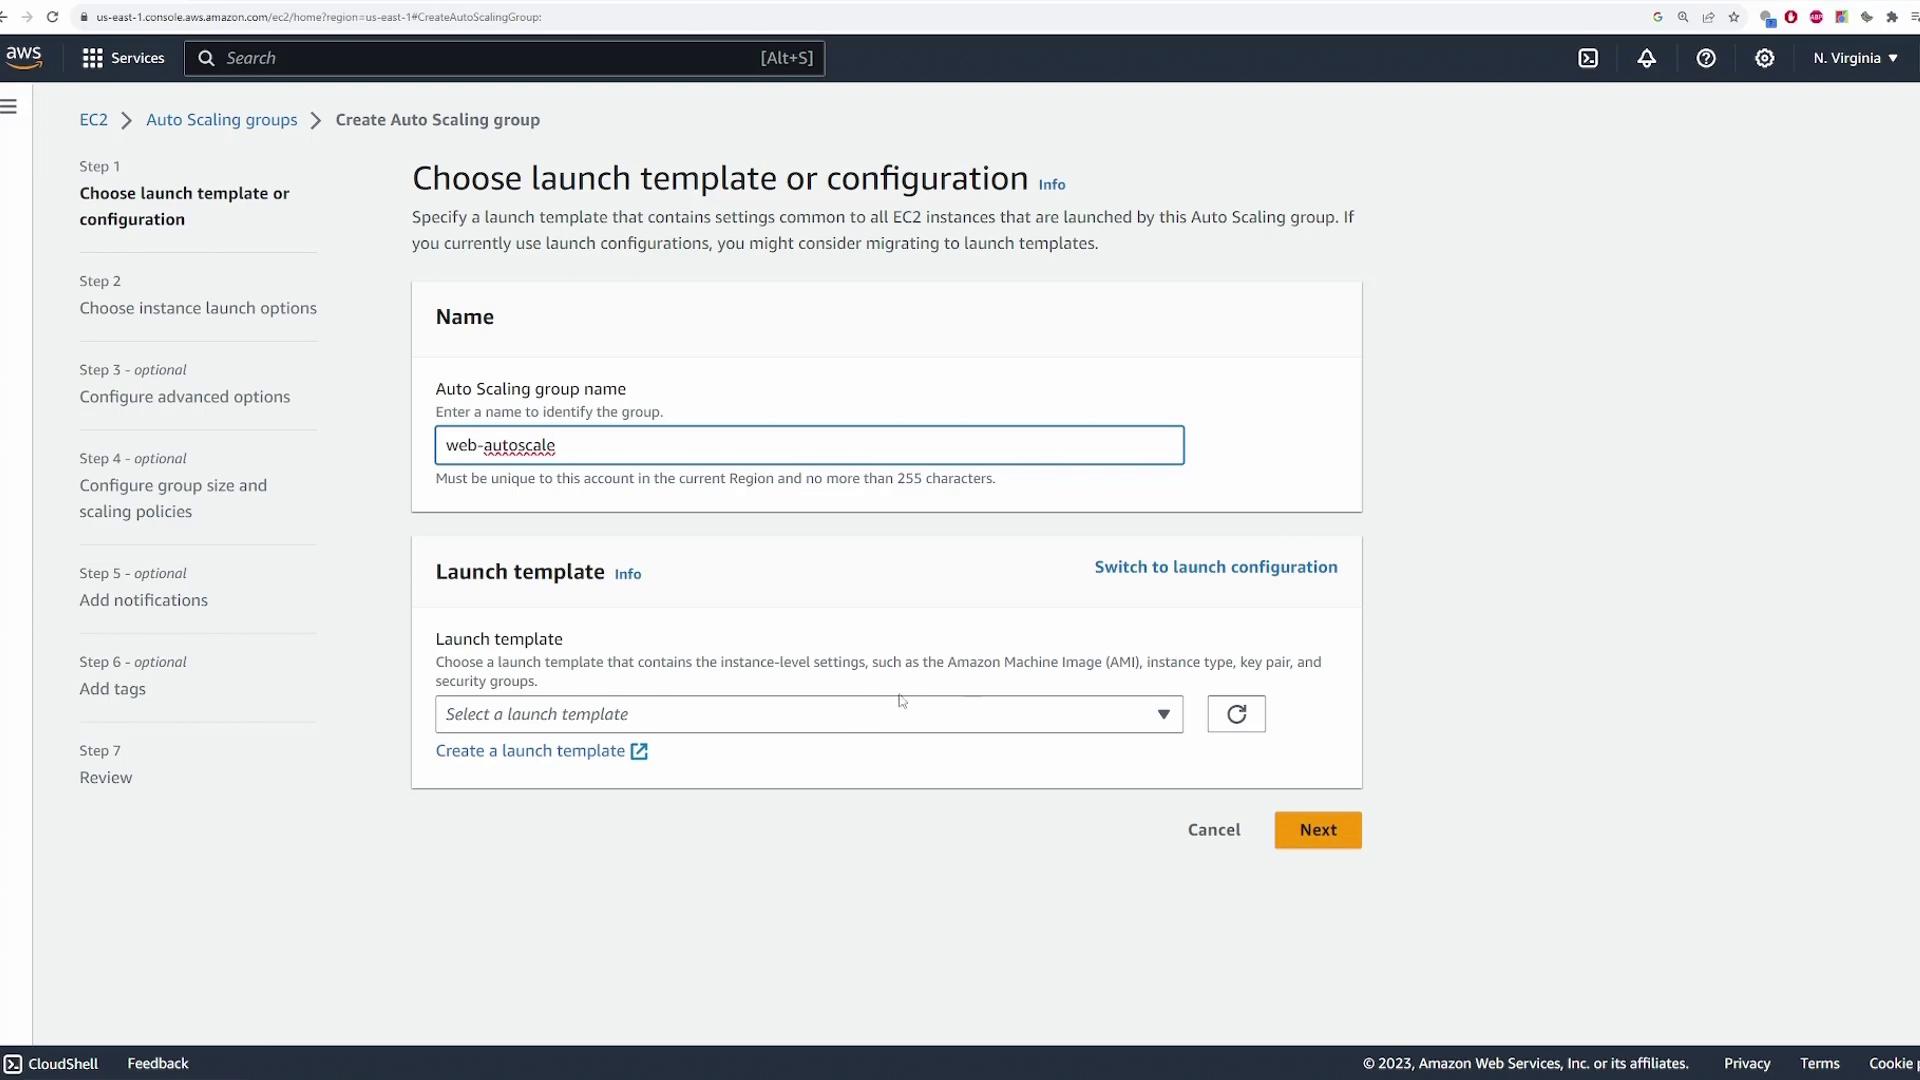
Step 2: Creating an Auto Scaling Group
- Click on the option to create a new Auto Scaling group.
- Assign a name to the group (e.g., “web-autoscale”).
At this stage, you must specify a launch template or a launch configuration. Launch templates are recommended as they provide enhanced customization options including the selection of AMI, instance type, key pair, and security groups.
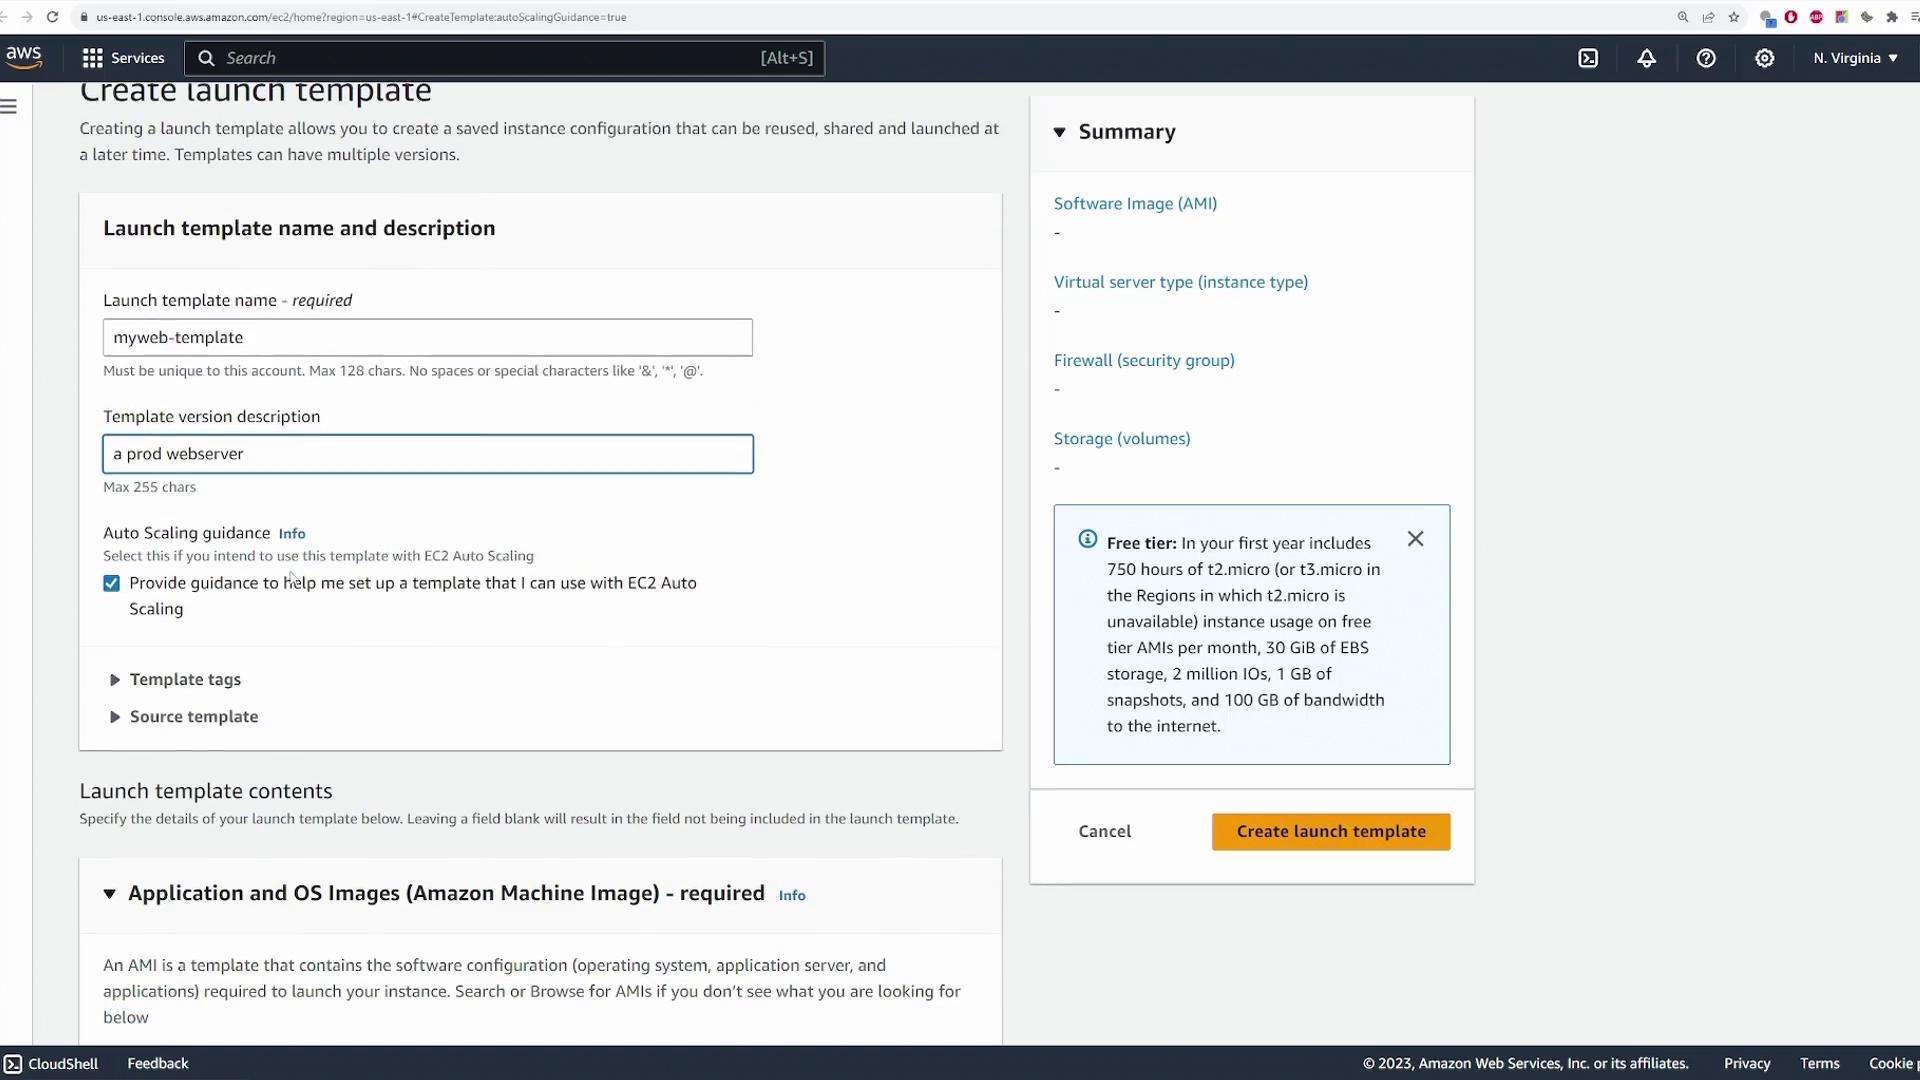
Step 3: Creating a Launch Template
Since no launch template exists yet, choose to create one. This will open a new tab where you can define the settings for your EC2 instances.- Enter a name for the launch template (e.g., “my web template”) along with a description such as “prod web server.”
- You may optionally add tags or select a source template, but in this demo, we are creating everything from scratch.
Step 4: Configuring the Launch Template
- Select the Amazon Machine Image (AMI) to use for the instance. For example, choose your custom AMI (e.g., “web ASG demo”) which runs Nginx on a simple Linux server.
- Choose the instance type. The t2.micro instance type is recommended as it qualifies for the free tier.
- Configure the key pair by selecting your preferred option (e.g., “main”).
- Under network settings, even though specifying subnets is optional at this stage (you can set them later in the Auto Scaling group), make sure to select a security group that permits traffic on port 80 for HTTP requests.
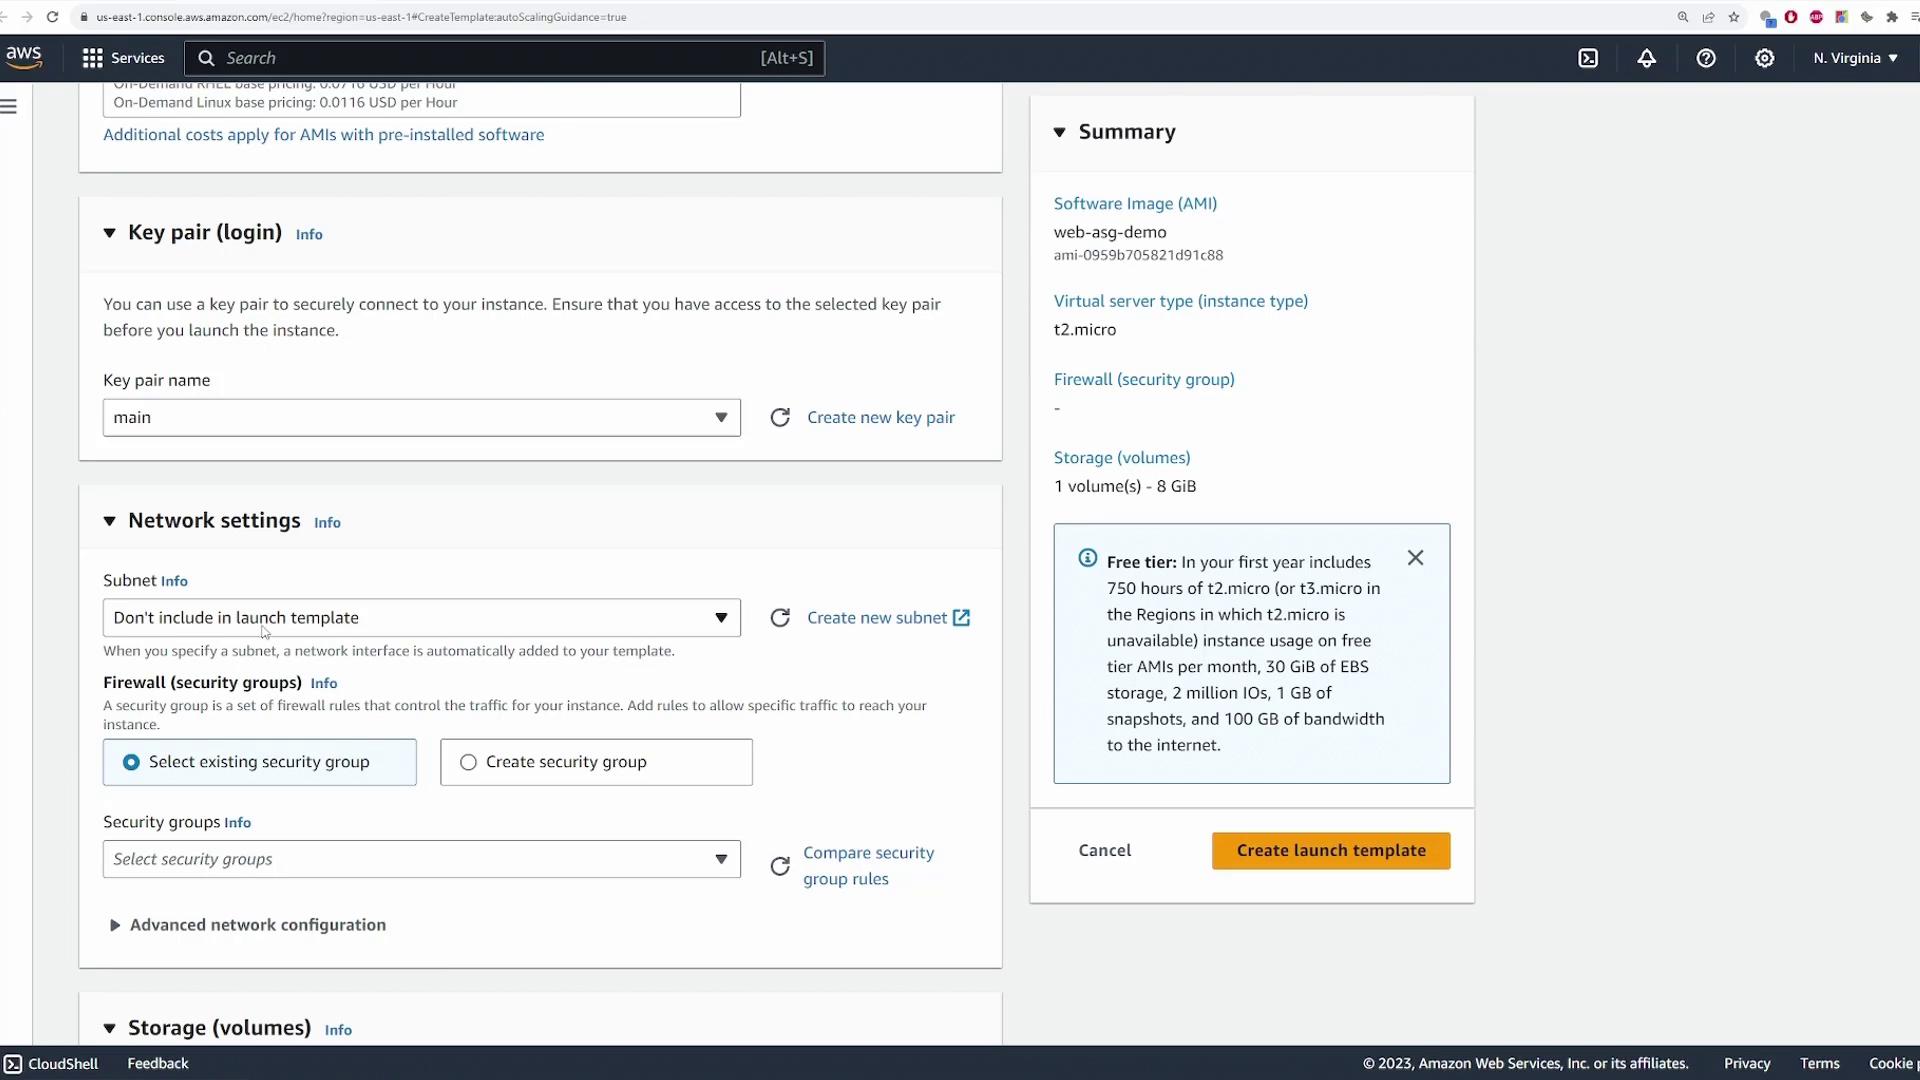
- Leave the default settings for storage, resource tags, and advanced options, then create the launch template. The new template (“my web-template”) will appear with version one. Future modifications to the template generate new versions, allowing seamless updates across all associated servers.
Step 5: Configuring the Auto Scaling Group
- Return to the Auto Scaling group tab in the AWS console and refresh the page.
- Select your newly created launch template ensuring that version one is chosen.
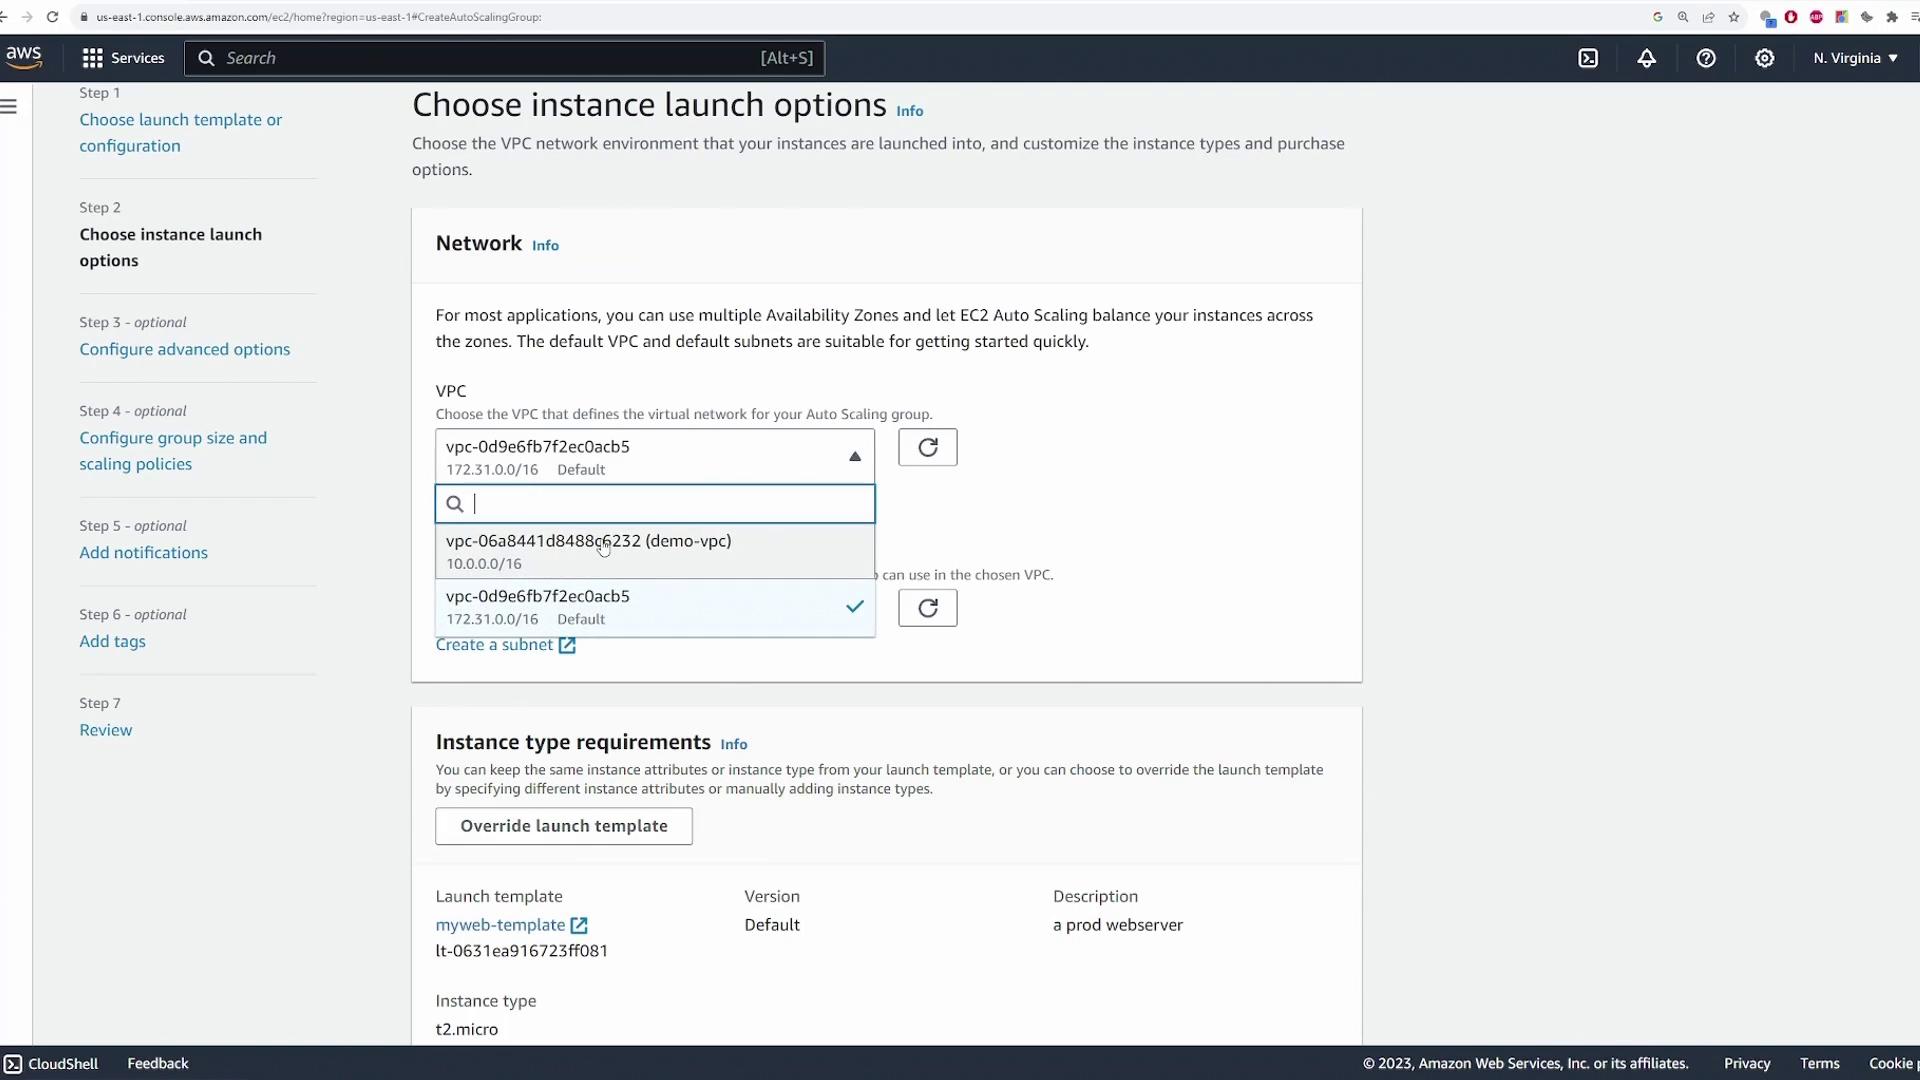
- Review the configuration details and click Next.
- Choose your VPC (e.g., “demo VPC”) and select the availability zones/subnets where you want your EC2 instance deployed. For this demo, deploy instances in private subnets while planning to configure the load balancer in public subnets.
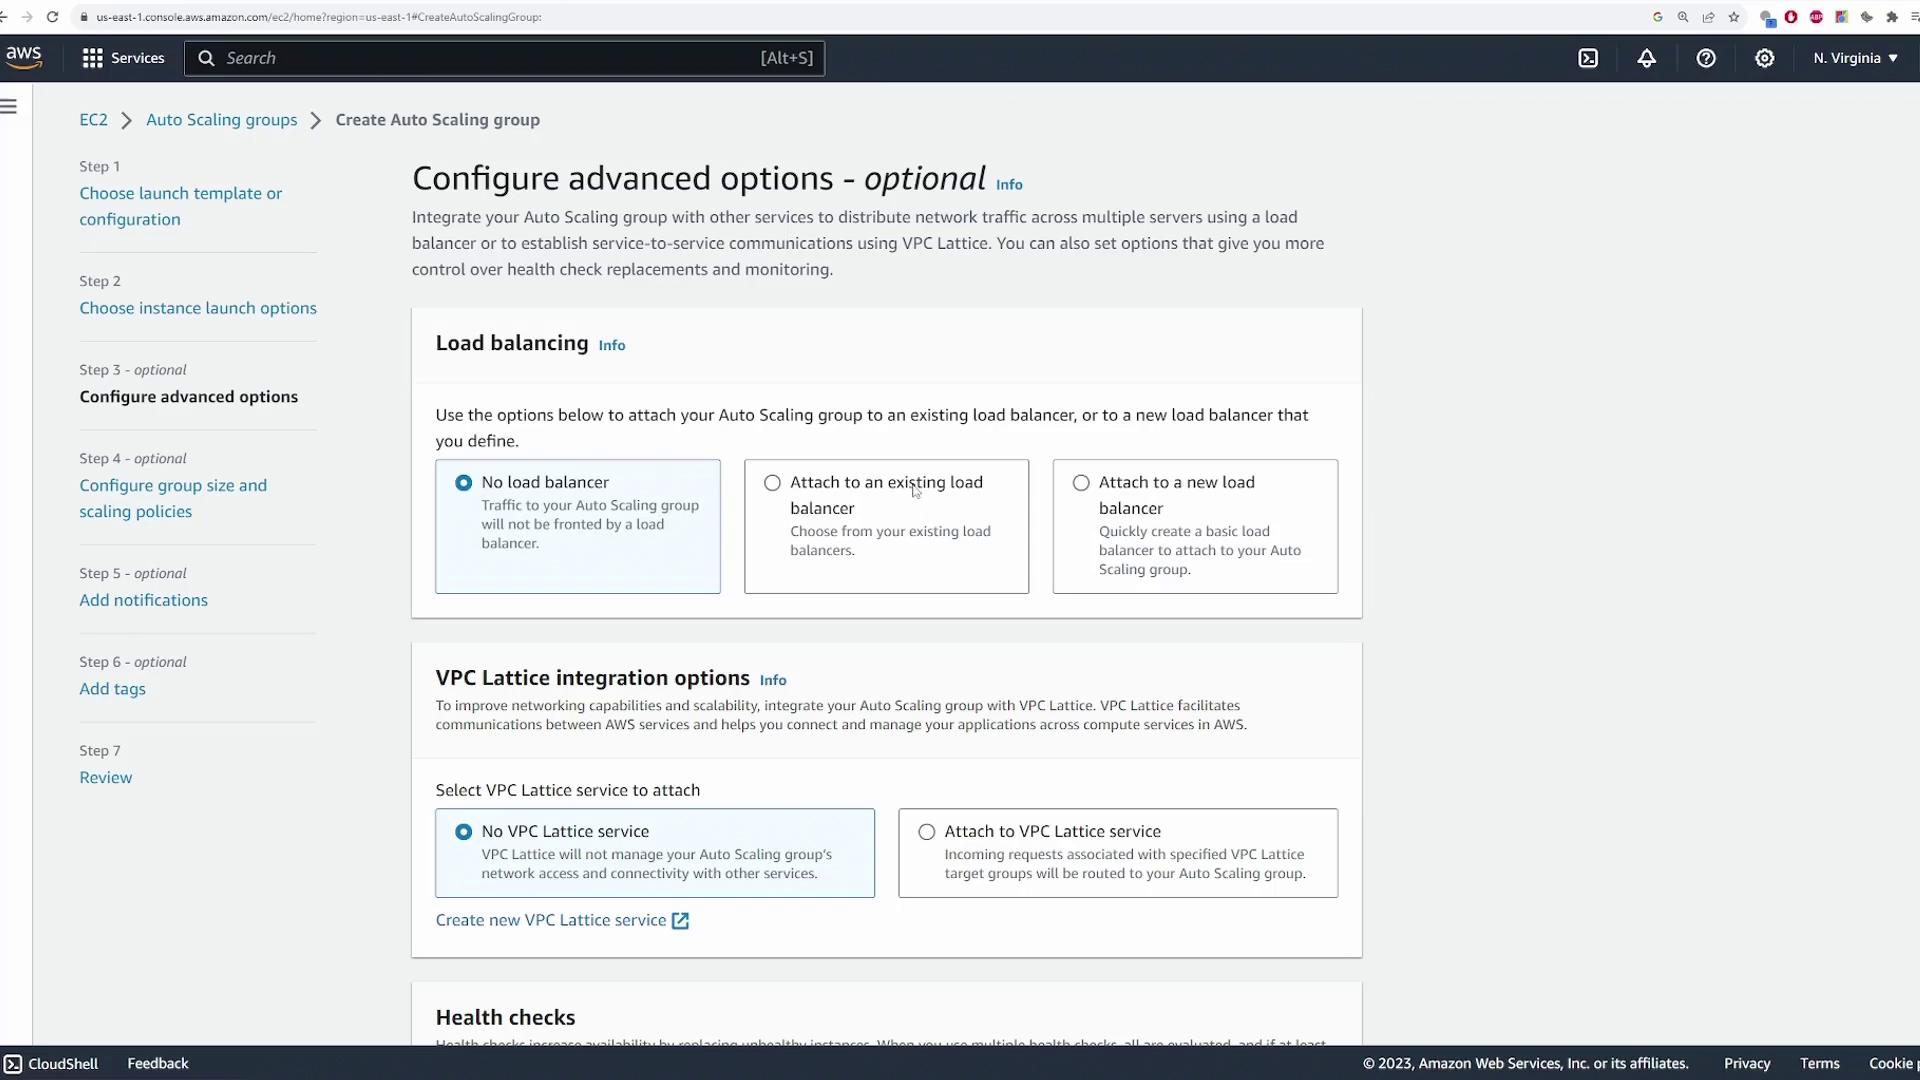
Step 6: Configuring the Load Balancer
- Specify whether you want to create a load balancer. For this demo, create a new load balancer.
- Choose the Application Load Balancer type for web servers. Use the default name (e.g., “web-autoscale”) and set the scheme to “internet-facing.”
- Select public subnets.
- Configure a listener on port 80 and create a target group (e.g., “web autoscale one tg”) that forwards requests from the load balancer to the EC2 instances.
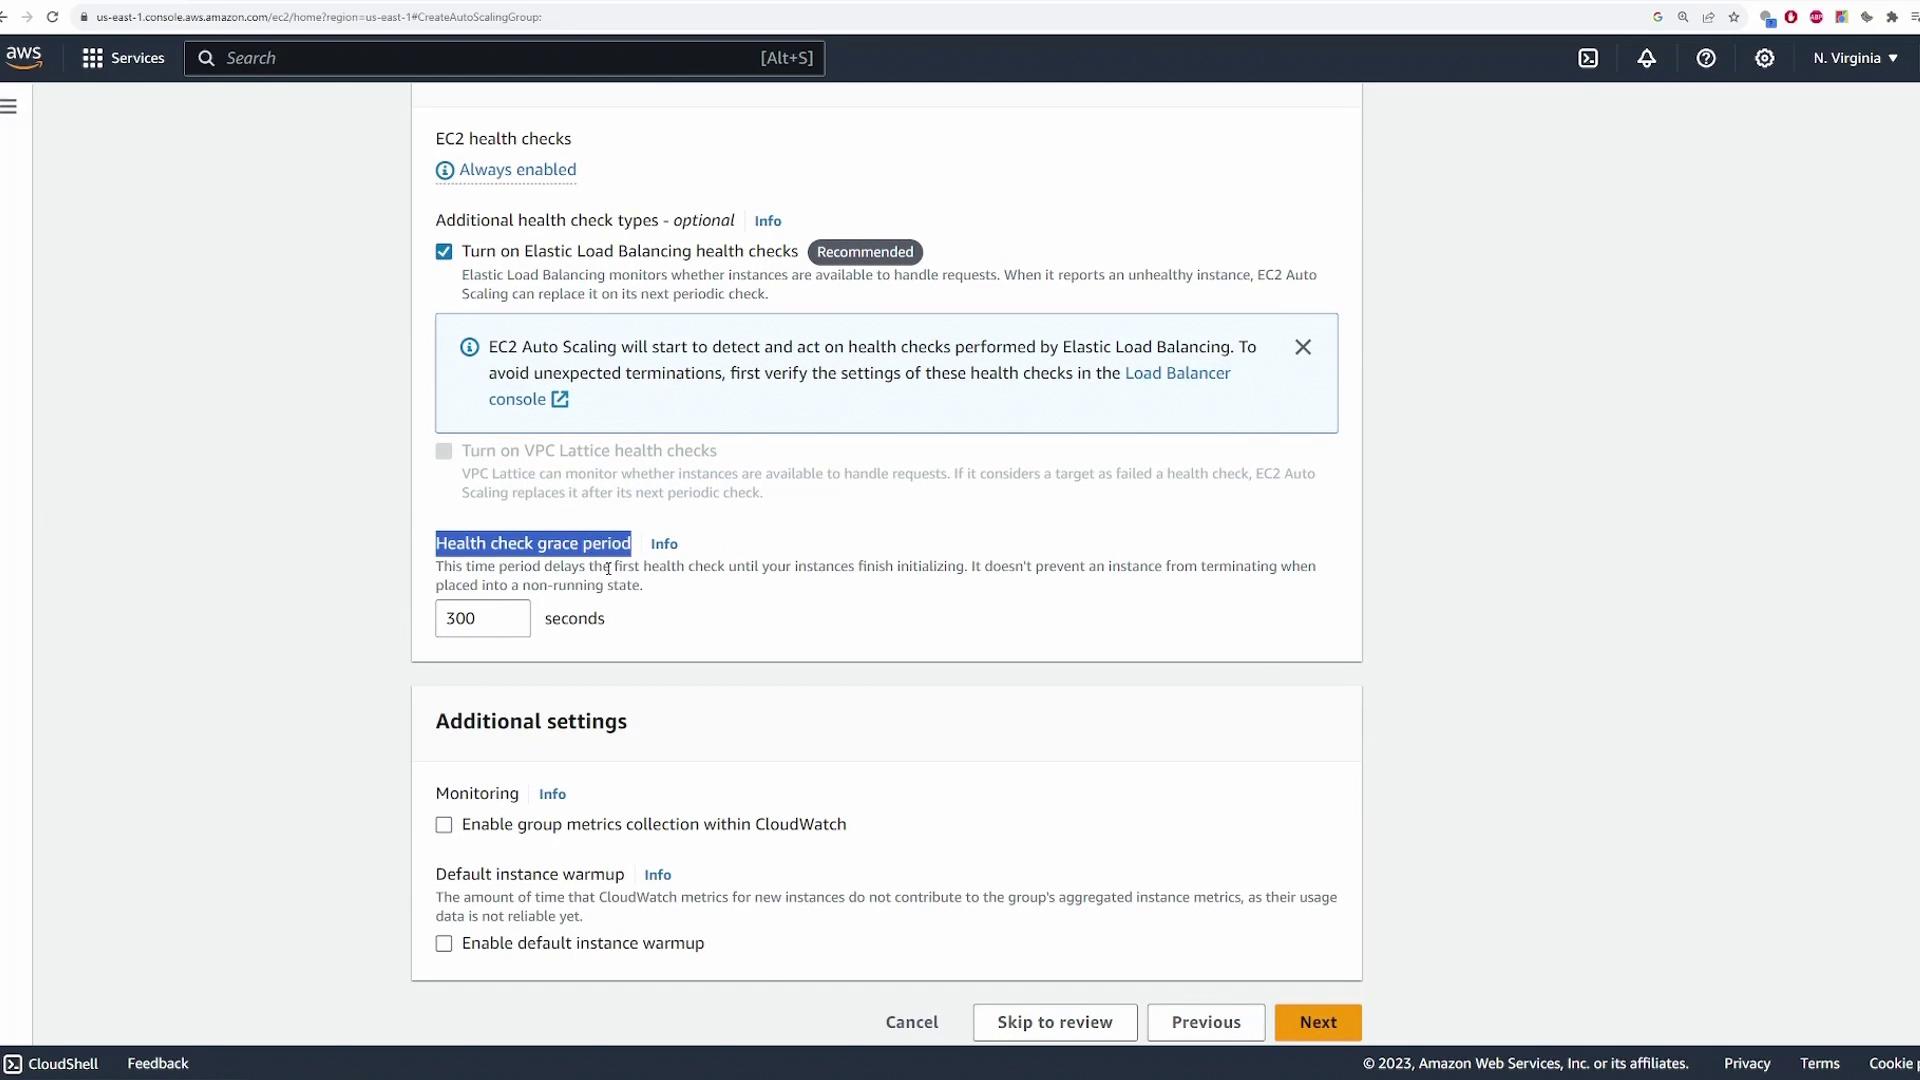
- Optionally, enable Elastic Load Balancing health checks, set a grace period (default of 300 seconds), and choose CloudWatch metrics if required.
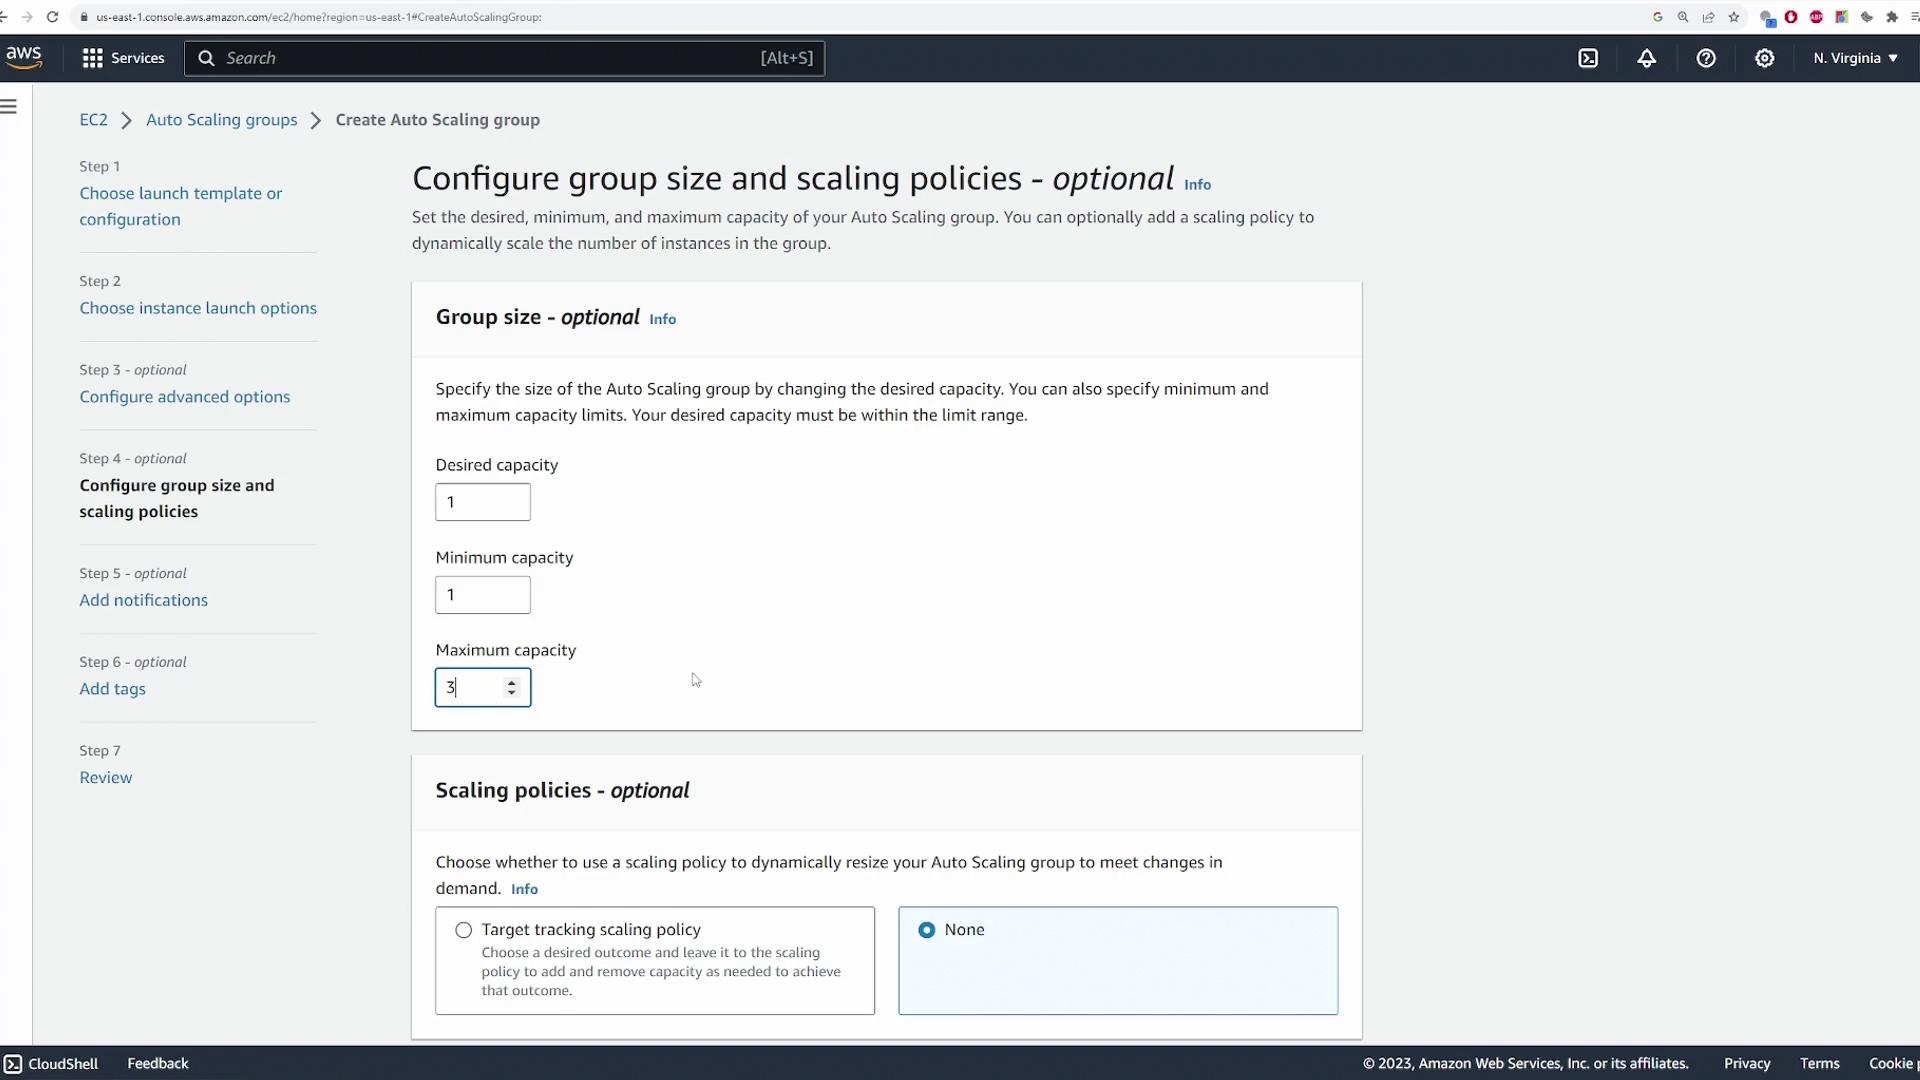
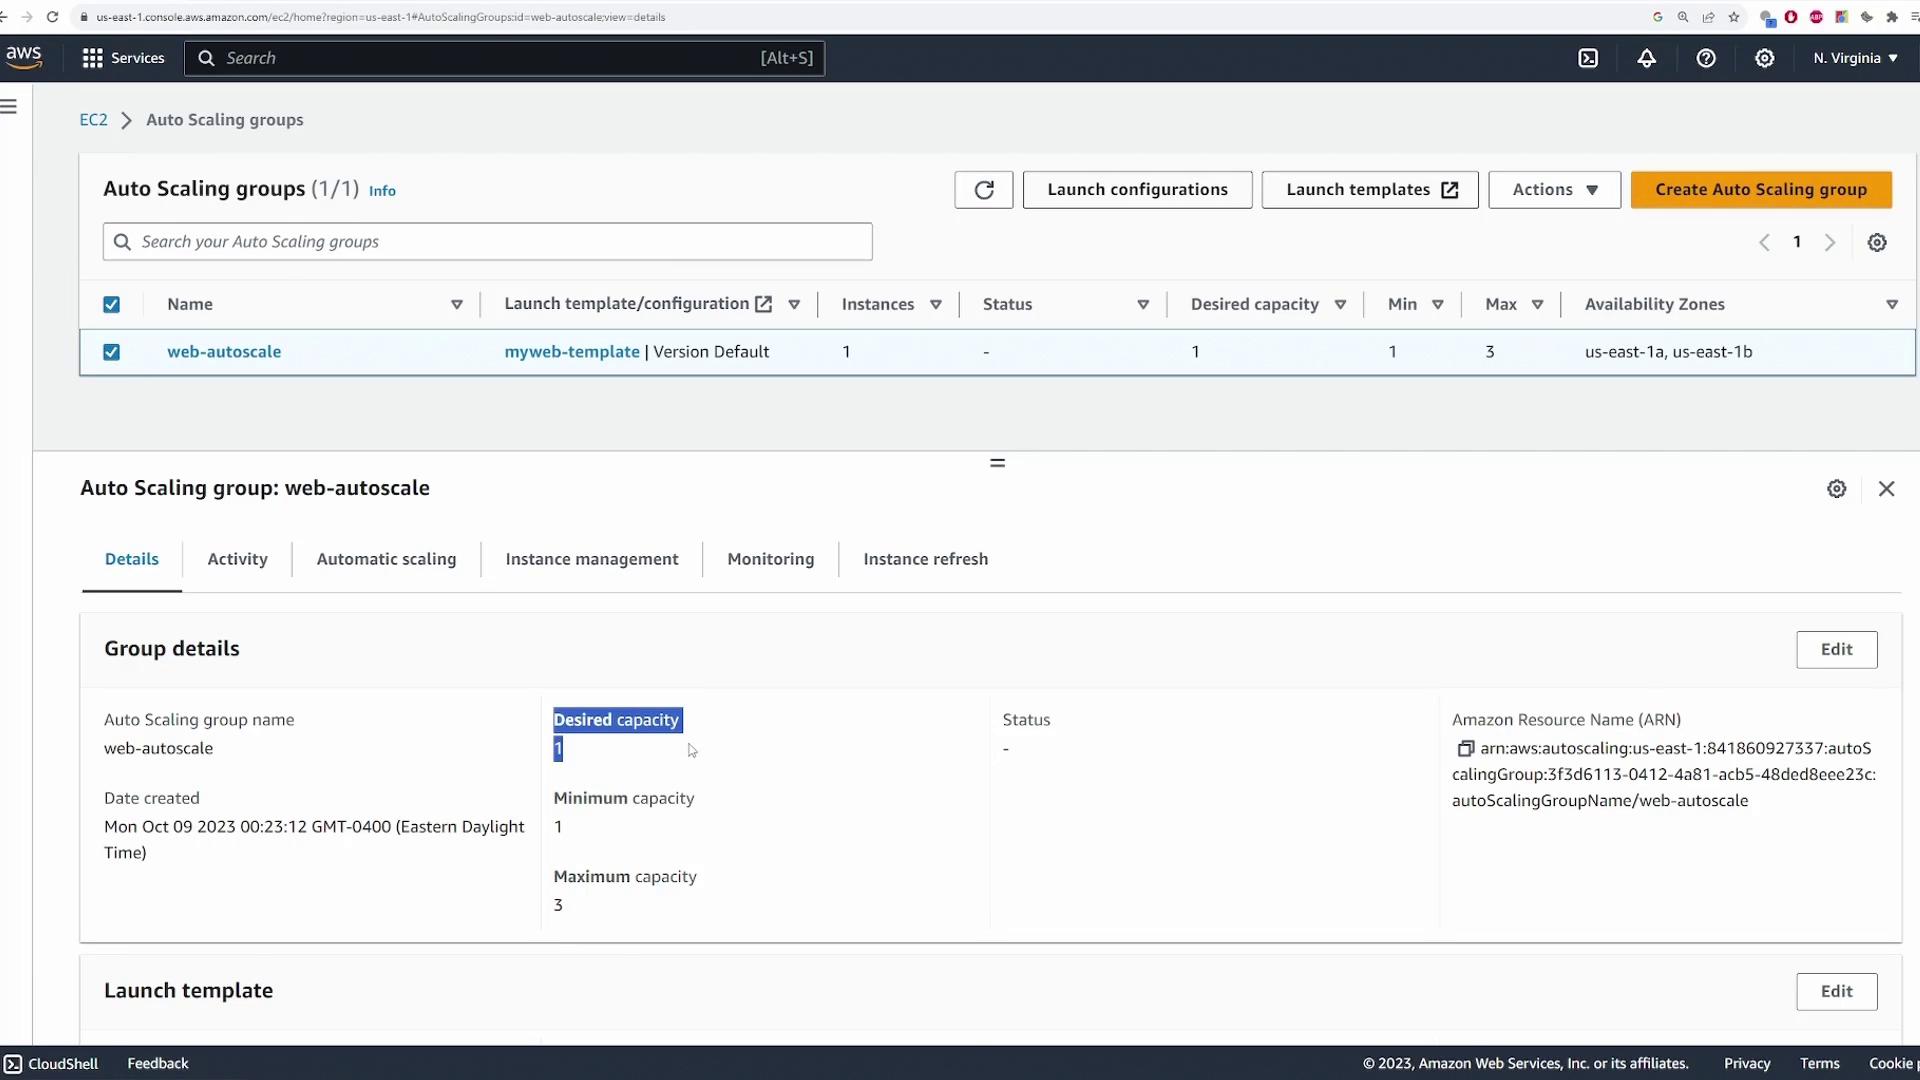
Step 7: Defining Group Sizes
- Set the desired capacity by defining the minimum, desired, and maximum number of EC2 instances.
- In this example, both the desired and minimum capacities are set to 1 to ensure that at least one instance is always running.
- The maximum capacity is set to 3 to allow the group to scale during periods of increased load.
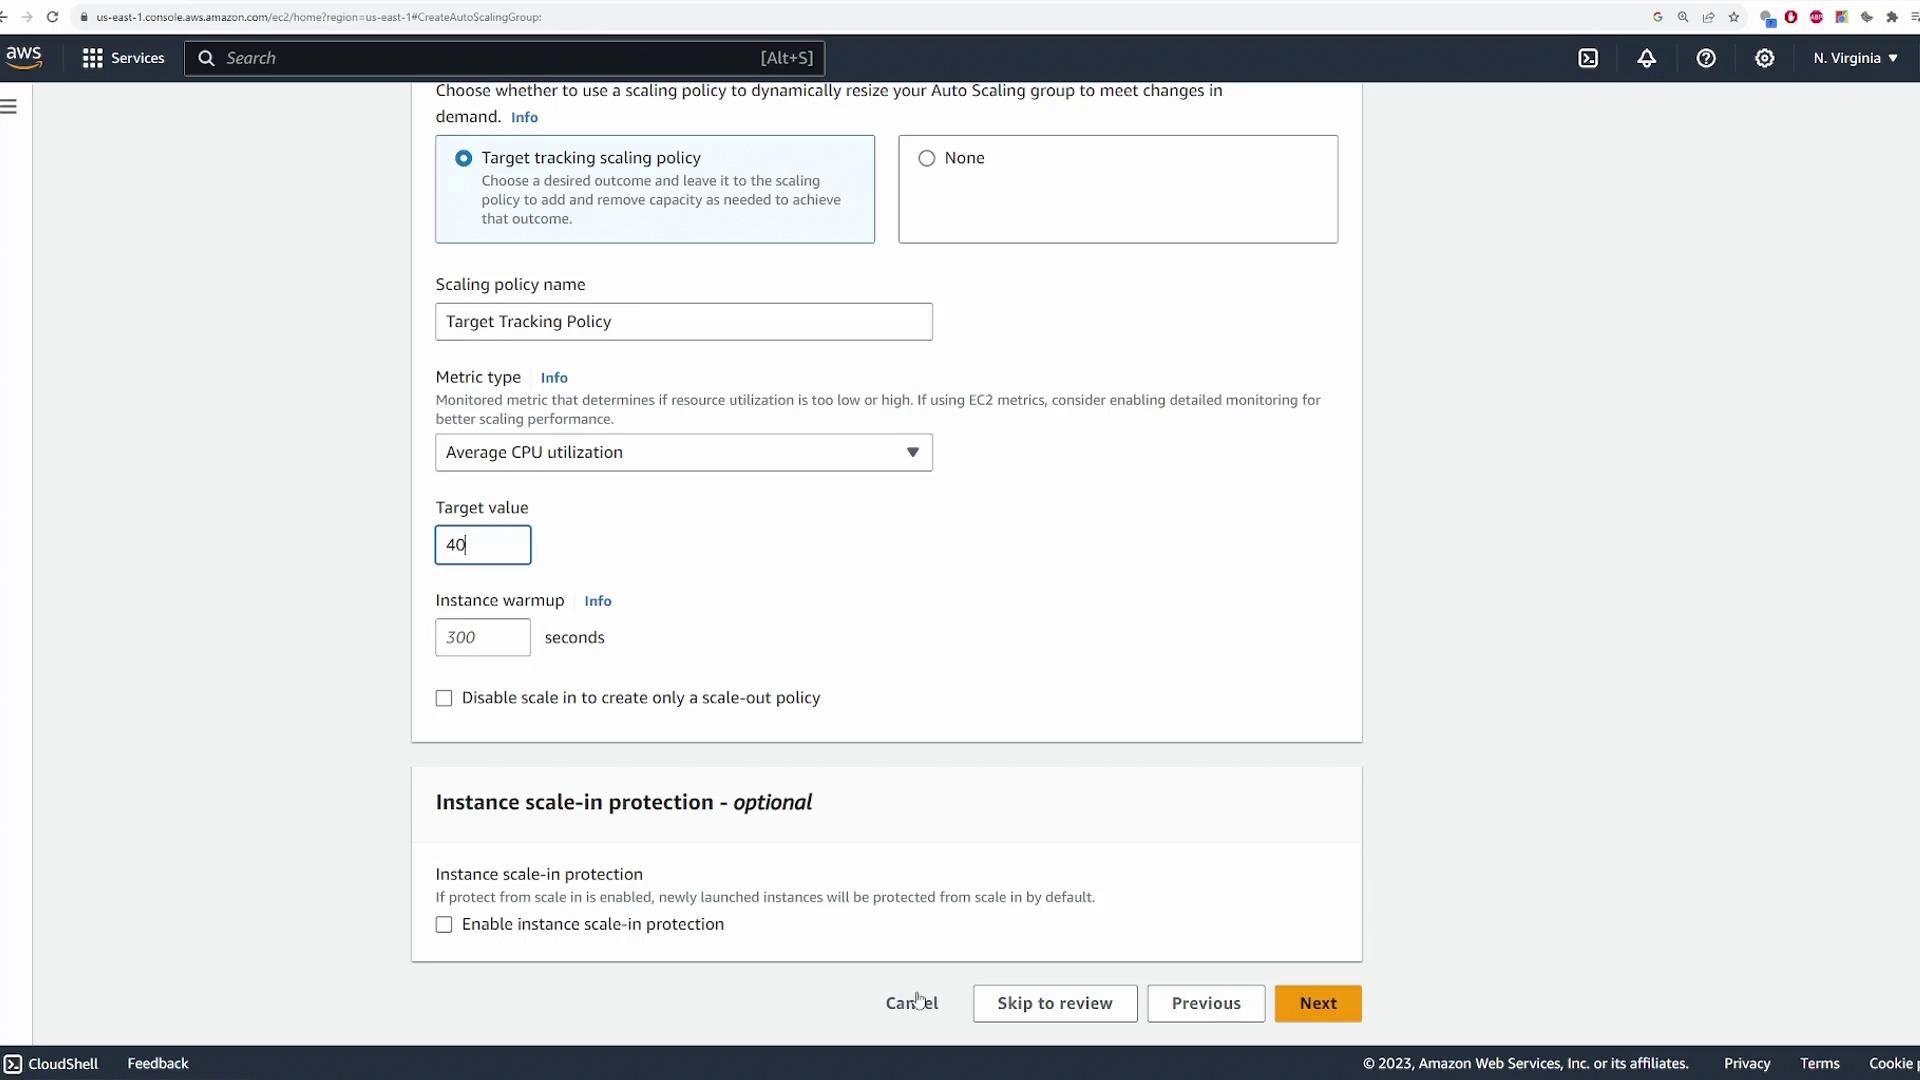
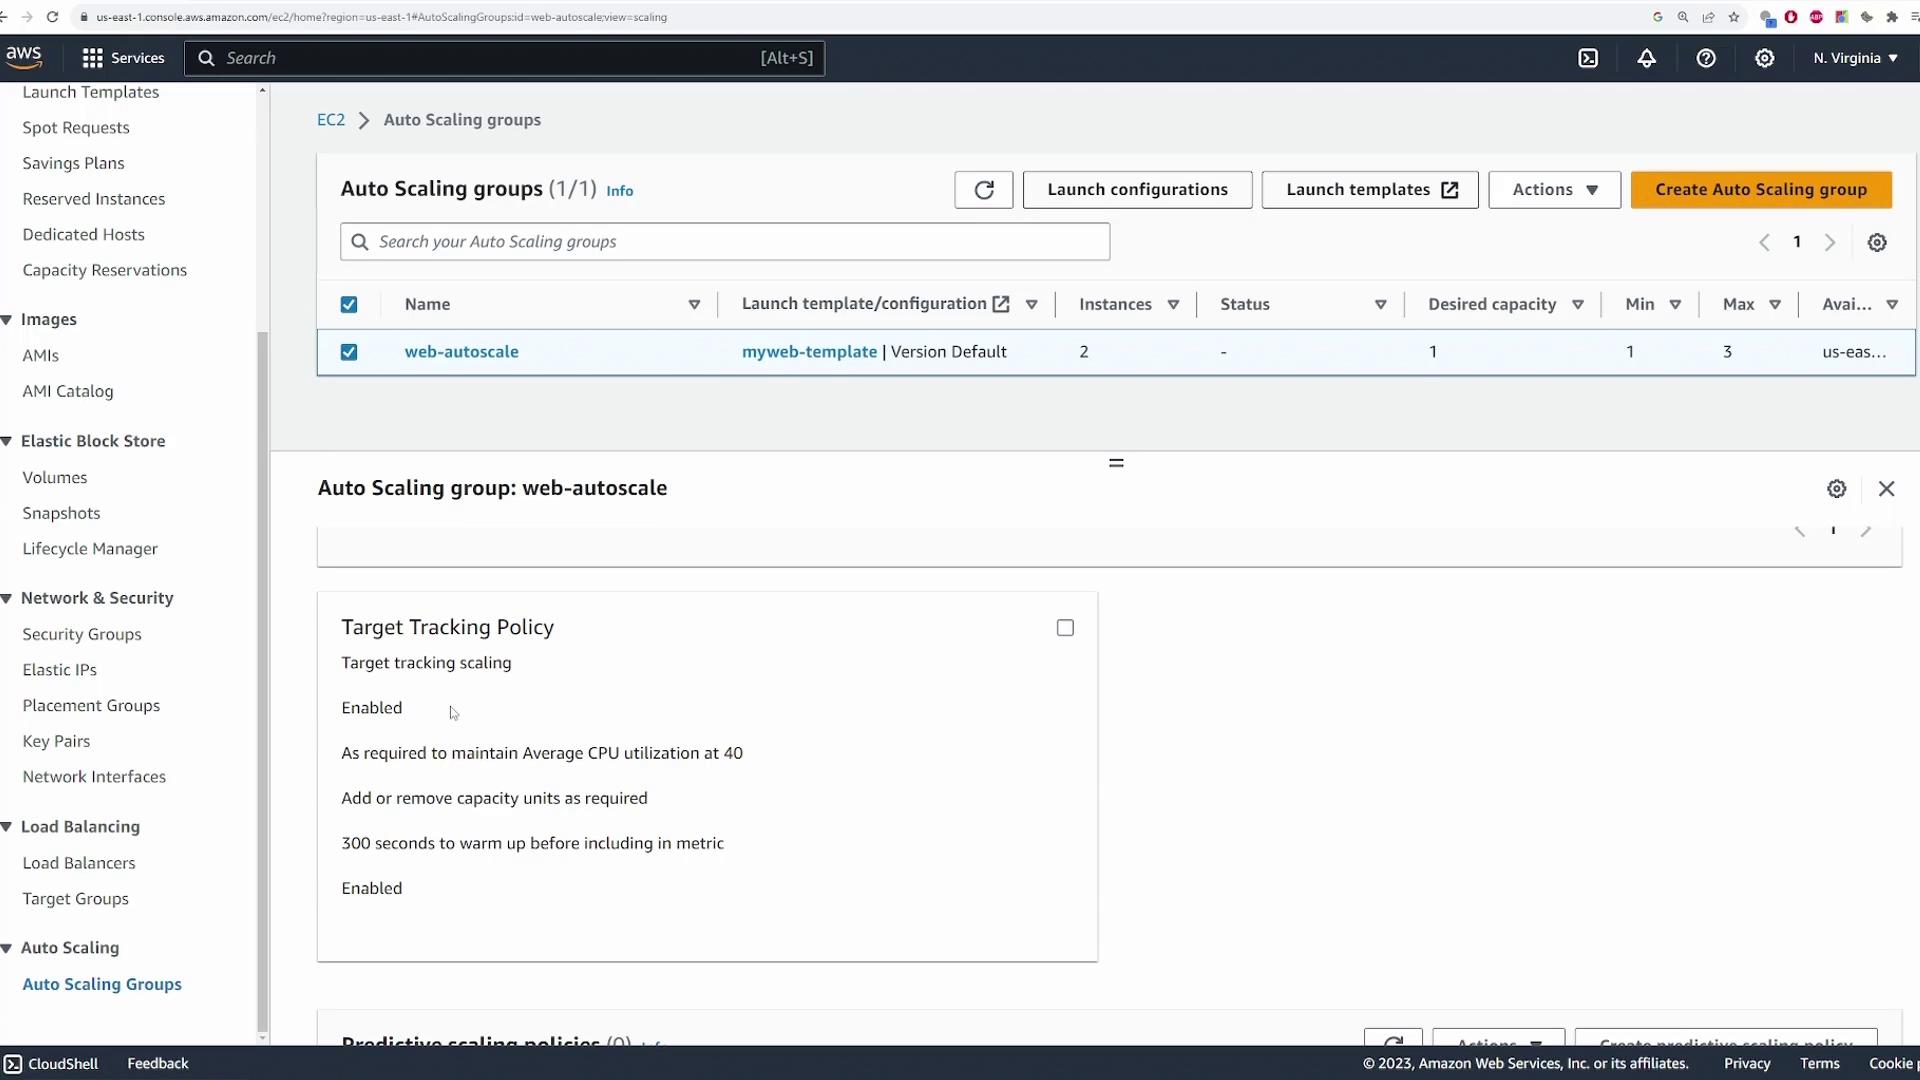
Step 8: Establishing a Scaling Policy
- Configure a target tracking scaling policy:
- Provide a name for the policy if desired.
- Set the metric type to “Average CPU utilization.”
- For demonstration purposes, use a target CPU utilization value of 40% to simulate scaling actions easily.
- Leave the instance warm-up and any instance scaling protections at their default settings.
- Optionally, add notifications or additional tags.
Step 9: Finalizing the Auto Scaling Group
- Review all your settings carefully.
- Click Create auto scaling group. AWS will:
- Create the Auto Scaling group.
- Launch the defined number of EC2 instances (one instance in this example).
- Set up the load balancer and target group as configured.
- The launch template configuration including network settings and load balancer details.
- The target group with its associated instance.
- The EC2 instance(s), which may initially show “status check initialization” while booting.
Step 10: Verifying Connectivity
- Retrieve the DNS name from the load balancer.
- Open a new browser tab and paste the URL.
- You should see the welcome page (e.g., “Welcome to KodeKloud”), indicating that the EC2 instance and load balancer are correctly integrated.
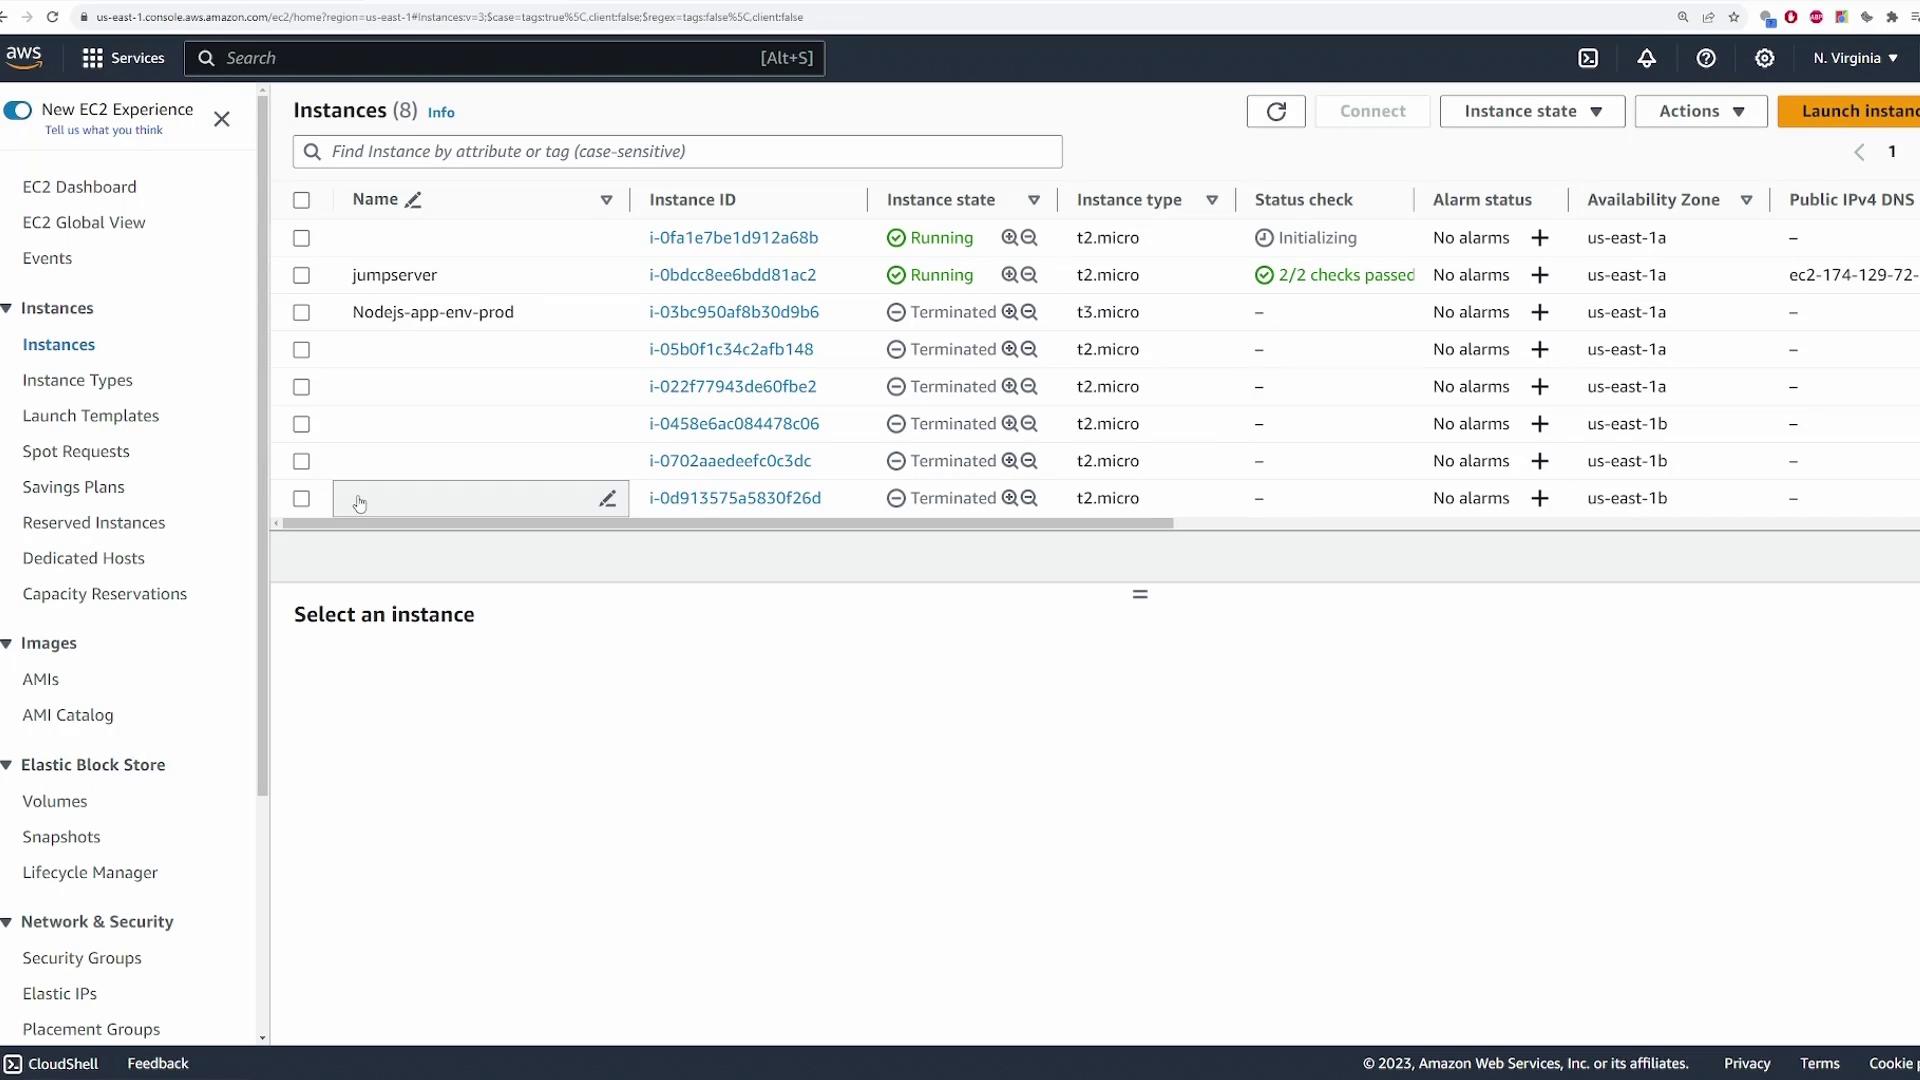
Step 11: Testing Auto Scaling Functionality
To demonstrate auto scaling during instance failure:- Navigate to the EC2 instances dashboard.
- Select the instance belonging to the Auto Scaling group and choose Terminate.
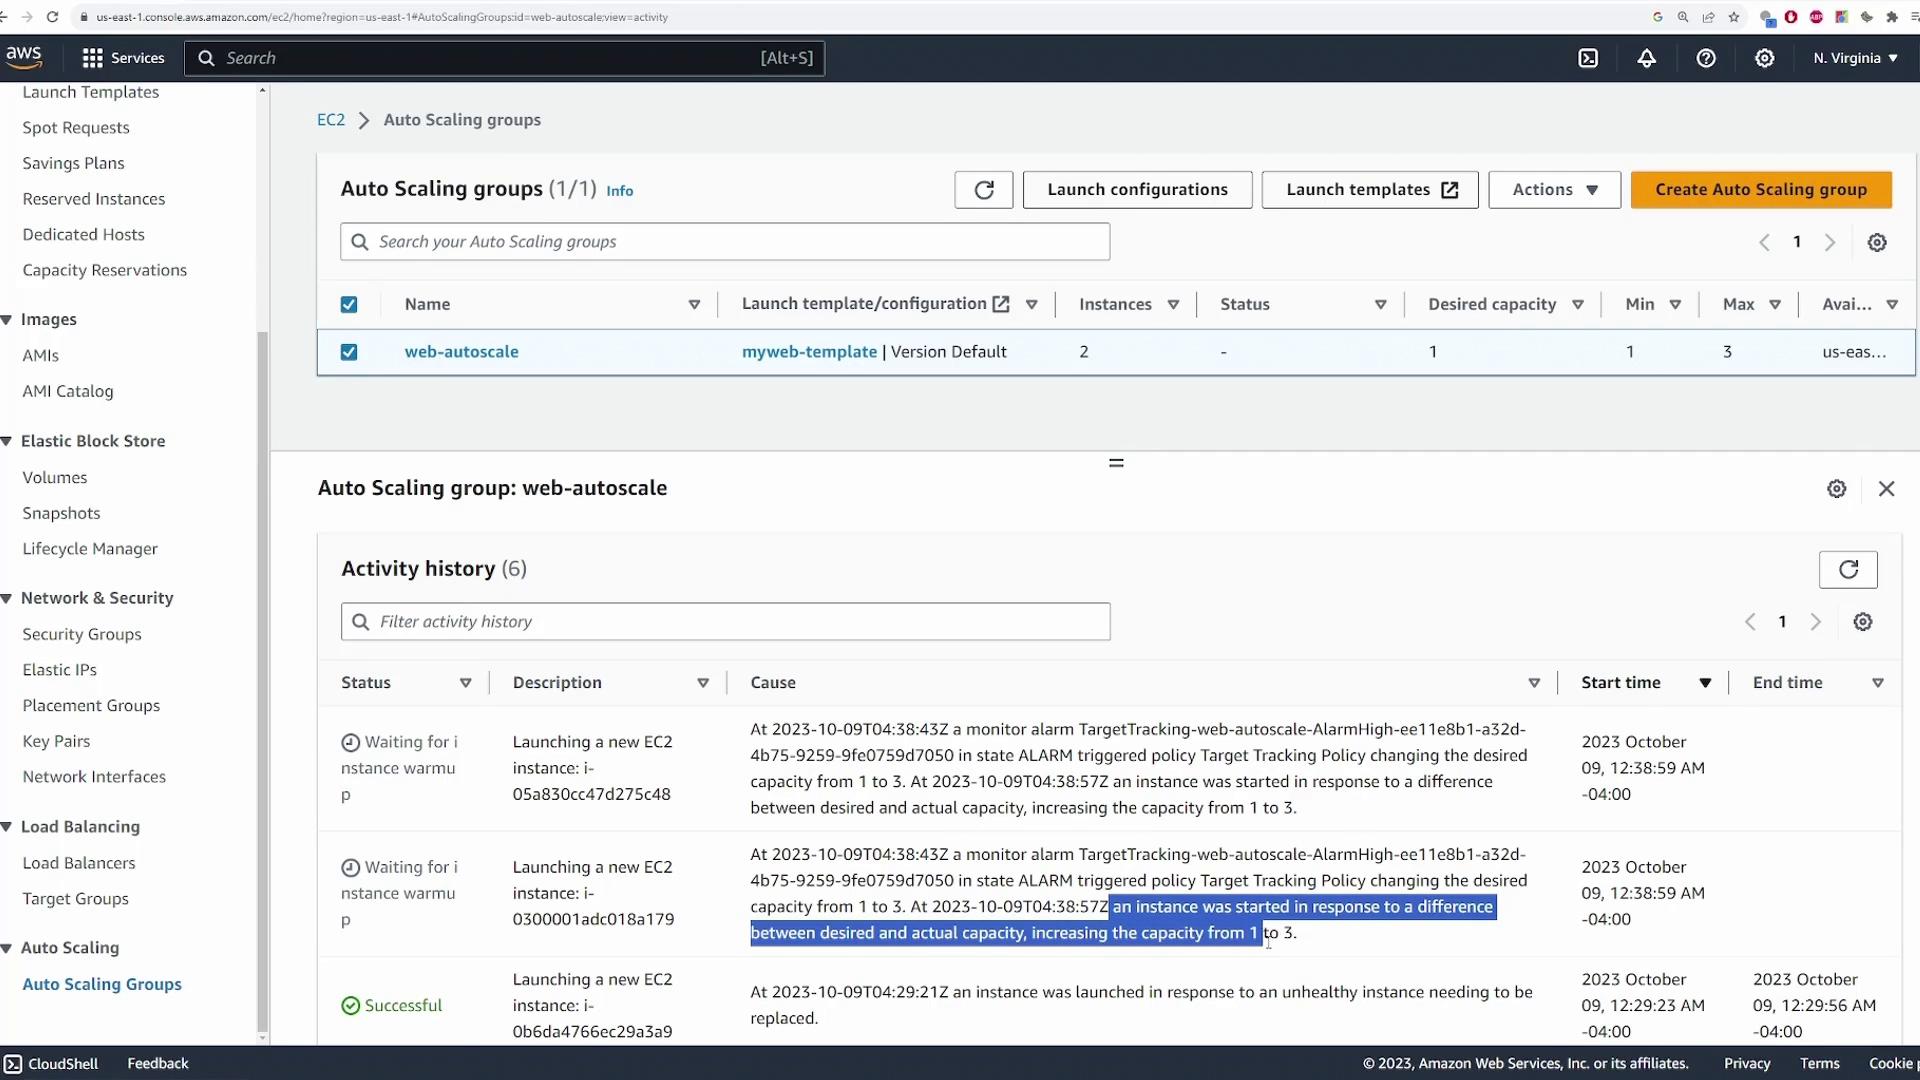
- The Auto Scaling group will detect the terminated instance and launch a replacement to meet the desired capacity.
- Review the Auto Scaling group’s activity log for entries indicating an instance removal due to failing a health check and subsequent replacement.
- Verify in the EC2 instances dashboard that the new instance is running.
Step 12: Simulating High CPU Load
To further test the scaling mechanism, simulate a high CPU load as follows:- Connect to the EC2 instance via SSH.
-
Check the current CPU usage:
-
Run a stress test to increase the CPU usage:
-
After initiating the stress test, check the CPU usage again:
Step 13: Cleaning Up
To conclude the demonstration, delete the Auto Scaling group by selecting it and clicking Delete. This action will remove the Auto Scaling group along with its associated resources.This demo illustrates how AWS Auto Scaling groups ensure application availability by automatically adjusting the number of running EC2 instances in response to changing demand.